If you ask me, canning pears in heavy syrup is one of the smartest ways to preserve summer’s bounty.
This old-fashioned method keeps those juicy pears sweet and tender for months to come. The heavy syrup locks in all that natural flavor while giving the fruit just the right amount of sweetness.
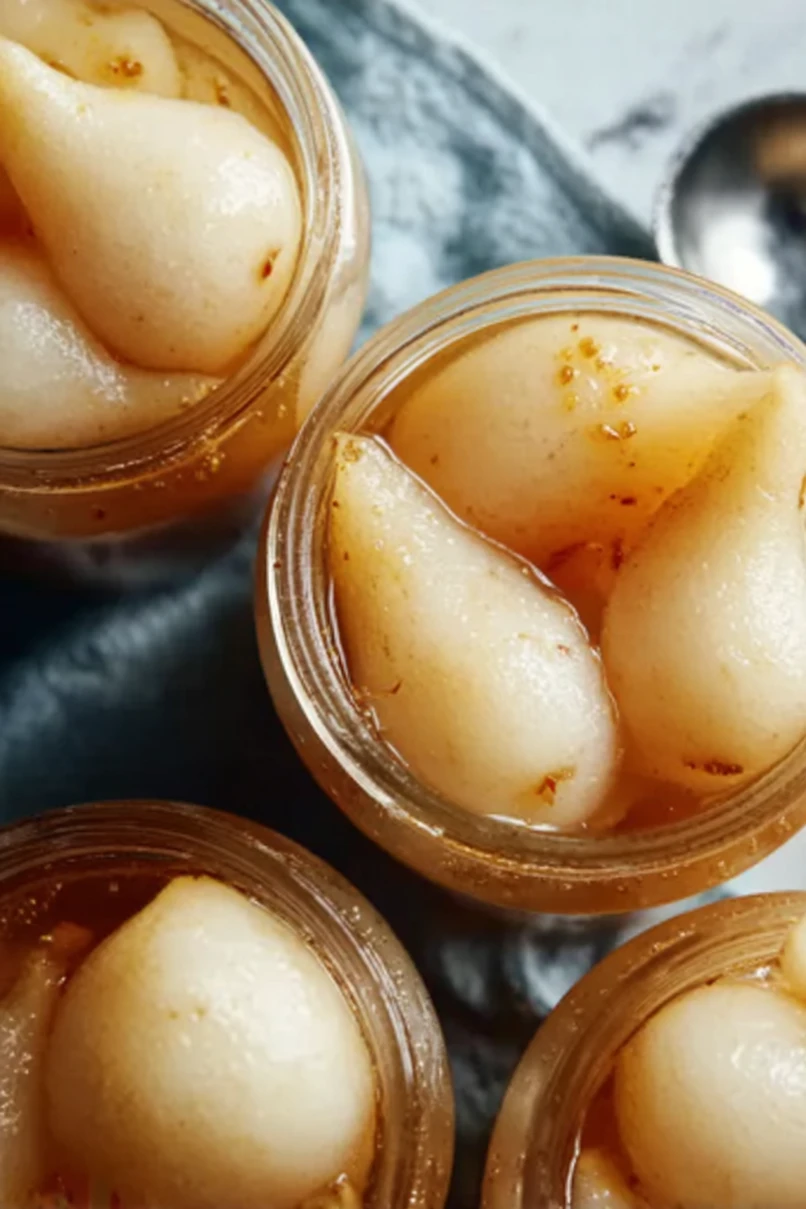
You’ll start with ripe pears that get peeled and cored, then packed into sterilized jars with a simple sugar syrup. A quick trip through the water bath canner seals everything up nice and tight.
It’s a satisfying project that fills your pantry with homemade goodness, perfect for cold winter days when you’re craving a taste of warmer weather.

Why You’ll Love This Canned Pears in Heavy Syrup
- Simple ingredients – With just pears, sugar, water, and lemon juice, you probably already have most of what you need to get started.
- Long-term storage – These canned pears will keep in your pantry for up to a year, giving you sweet, ready-to-eat fruit whenever you need it.
- Budget-friendly preservation – When pears are in season and cheap, you can stock up and preserve them for months, saving money compared to buying canned pears from the store.
- Great for beginners – Canning pears is one of the easier preservation methods to learn, making it perfect if you’re new to home canning.
- Multiple uses – These sweet pears work great on their own, in desserts, or even as a side dish for savory meals.
What Kind of Pears Should I Use?
For canning, you’ll want to choose pears that are ripe but still firm – they should give slightly to pressure but not be mushy. Bartlett pears are probably the most popular choice for canning because they hold their shape well and have that classic sweet pear flavor we all love. Anjou and Bosc pears also work great and tend to stay firmer during the canning process. Avoid pears that are overripe or have soft spots, as they’ll turn to mush in the jars and won’t look nearly as nice when you open them later.

Options for Substitutions
While canning requires some precision for safety, there are still a few swaps you can make with this recipe:
- Bottled lemon juice: Don’t substitute fresh lemon juice here – bottled lemon juice has consistent acidity levels that are crucial for safe canning. This ingredient is non-negotiable for food safety.
- Sugar amount: You can reduce the sugar to make a lighter syrup (use ½ cup instead of 1 cup) or increase it for extra-heavy syrup (up to 1½ cups). The sugar doesn’t affect safety, just sweetness and texture.
- Pears: Bartlett pears are ideal, but Anjou or Bosc work too. Just make sure they’re ripe but still firm – overly soft pears will turn mushy during processing.
- Water: Use filtered or distilled water if your tap water is very hard or has a strong mineral taste, as this can affect the final flavor of your preserved pears.
- Heavy syrup: You can pack pears in light syrup, juice, or even plain water, but heavy syrup helps maintain the best texture and color. If using juice, choose white grape or apple juice.
Watch Out for These Mistakes While Canning
The biggest mistake when canning pears is not using bottled lemon juice instead of fresh – fresh lemon juice can vary in acidity and won’t provide the consistent pH level needed for safe canning. Always peel and core your pears completely since any skin left on can cause the fruit to become tough and chewy during the canning process. Don’t skip the step of keeping your peeled pears in acidulated water (water with lemon juice) while you work, as this prevents browning and keeps them looking fresh. Make sure your jars are properly sterilized and your water bath canner has enough water to cover the jars by at least 1-2 inches, and always follow the recommended processing time for your altitude to ensure food safety.
What to Serve With Canned Pears?
These sweet canned pears are perfect on their own as a simple dessert, but they really shine when paired with a scoop of vanilla ice cream or a dollop of whipped cream. I love serving them over oatmeal or yogurt for breakfast, especially when topped with a sprinkle of cinnamon or chopped nuts. They also make a great addition to cheese boards alongside sharp cheddar or creamy brie – the sweetness of the pears balances out the savory cheese perfectly. For a cozy fall treat, try warming them up and serving over pancakes or waffles with a drizzle of the syrup.
Storage Instructions
Store: Your canned pears will keep beautifully in a cool, dark pantry for up to 2 years when properly sealed. Make sure to label each jar with the date so you can use the oldest ones first. I like to store mine in my basement pantry where the temperature stays nice and consistent.
Check Seals: Always check that your jar lids have sealed properly by pressing down on the center – it shouldn’t pop back up. Any jars that didn’t seal should go straight to the fridge and be eaten within a week. It’s better to be safe than sorry with home canning!
Serve: Once you open a jar, keep the leftover pears in the fridge and use them within 5-7 days. They’re delicious straight from the jar, over ice cream, or mixed into oatmeal for breakfast. The heavy syrup makes them extra sweet and perfect for desserts.
| Preparation Time | 30-45 minutes |
| Cooking Time | 25-60 minutes |
| Total Time | 55-105 minutes |
| Level of Difficulty | Medium |
Estimated Nutrition
Estimated nutrition for the whole recipe (without optional ingredients):
- Calories: 5000-5500
- Protein: 5-10 g
- Fat: 0-2 g
- Carbohydrates: 1300-1400 g
Ingredients
For the pears:
- 17 lb fresh pears (Bartlett or Bosc varieties are ideal for canning)
- 1/3 cup bottled lemon juice
For the syrup:
- 1 cup granulated sugar (I use C&H sugar)
- 6 cups water
Step 1: Prepare the Canning Equipment
- 6 cups water (plus additional for canning use)
Begin by filling your water bath canner with enough water to cover your jars by at least 1 inch once boiling.
Place the canner on the stove and turn the heat to high.
Once it boils, reduce the heat and keep the water hot so everything will be ready when the pears are processed.
Meanwhile, wash and sanitize your jars, keeping them warm to prevent cracking—either by filling them with hot water or placing them in a 170˚F oven.
Wash the lids in hot soapy water and set them aside in a clean bowl.
Step 2: Prepare the Pears
- 17 lb fresh pears
- 1/3 cup bottled lemon juice
- 6 cups water
Fill a large bowl halfway with water and stir in the bottled lemon juice.
Wash the pears.
Trim the tops and bottoms off the pears, then peel them with a vegetable peeler.
Cut each pear in half from top to bottom, and use a paring knife to remove the cores.
Immediately place the prepped pear halves into the lemon water to prevent browning.
I find that prepping pears in batches helps keep the process tidy and ensures they don’t darken.
Step 3: Make the Syrup
- 1 cup granulated sugar
- 6 cups water
When you have a substantial batch of pears prepped, start making the syrup.
In a large pot, mix 1 cup of sugar with 6 cups of water.
Heat this mixture over medium heat until the sugar dissolves and the syrup comes to a simmer.
You will use this syrup shortly to cover the pears in jars.
Step 4: Pack the Pears and Add Syrup
- prepared pears from Step 2
- syrup from Step 3
Depending on your preferred canning method:
– For hot pack: Once the syrup boils, add the prepared pears from Step 2 to the syrup one layer at a time, and heat for 5 minutes.
Then use a fork to place the softened pears cavity side down in the warm jars.
– For raw pack: Place the uncooked prepared pears cavity side down directly into the jars.
With a canning funnel and ladle, pour the hot syrup (from Step 3) over the pears in each jar, leaving 1/2 inch of headspace.
Remove any air bubbles using a utensil, such as a plastic chopstick.
Wipe the jar rims with a clean, damp rag to ensure they’re free of food and syrup.
Place a clean lid and ring on each jar and screw the ring on until fingertip tight.
I always take extra care wiping the rims—an unclean rim can keep a jar from sealing.
Step 5: Process the Jars
Using canning tongs, gently lower the filled jars into the canner.
Ensure the jars are covered by at least an inch of boiling water.
Secure the canner lid and bring the water back to a boil.
Process the jars for the appropriate amount of time, based on the altitude and your pack method (hot or raw) as follows:
– Hot Pack (0-1,000 ft): Pints 20 min, Quarts 25 min
– Raw Pack (0-1,000 ft): Pints 25 min, Quarts 30 min
(Increase time by 5 minutes for each higher elevation bracket as necessary.) Begin timing after the water returns to a rolling boil with the lid on.
Once the processing time is complete, remove the canner from heat, take off the lid (being careful of steam), and let the jars sit in the canner for 5 minutes.
Step 6: Cool and Store the Jars
Carefully remove the jars using tongs and place them on a towel-lined counter.
Let the jars cool undisturbed for 12-24 hours.
Once cooled, check the seals by pressing the center of each lid—if it doesn’t flex, it’s sealed.
Any jars that haven’t sealed should be refrigerated and used within three weeks.
Label the sealed jars and store in a cool, dark place for up to a year.
I like to reward myself with a taste test right after the pears have cooled—home-canned pears are always so much better than store-bought!
