I didn’t try green chile sauce until I moved to New Mexico for college. Back home in my mom’s kitchen, we stuck to the usual suspects—ketchup, ranch, maybe some hot sauce if we were feeling adventurous.
But New Mexico green chile sauce? That’s a whole different game. It’s got this smoky, earthy flavor that makes everything taste better. The locals put it on eggs, burgers, enchiladas—pretty much anything that doesn’t move. Once you try the real deal made with roasted Hatch chiles, you’ll understand why New Mexicans are so serious about their green chile.
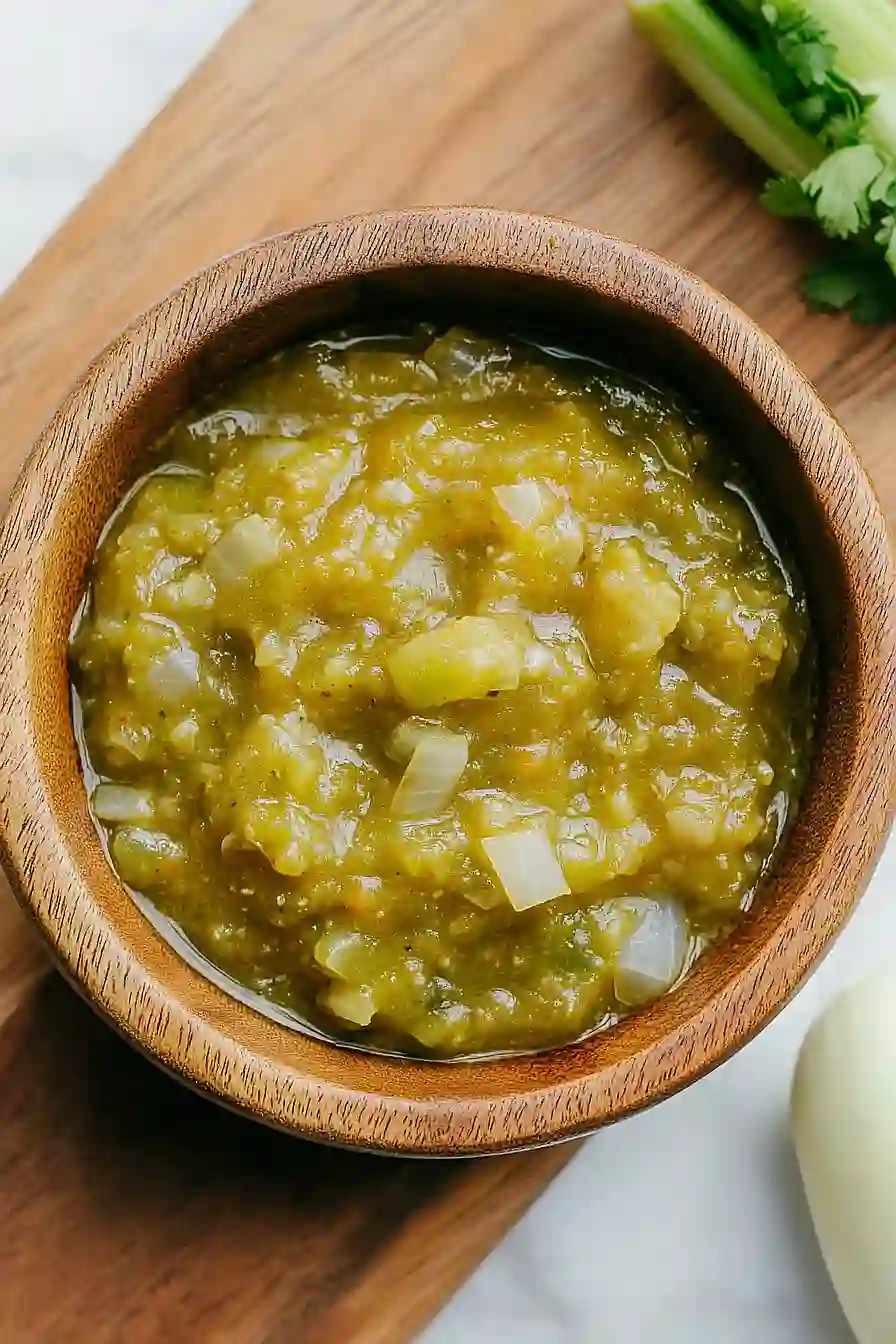
Why You’ll Love This Hatch Green Chile Sauce
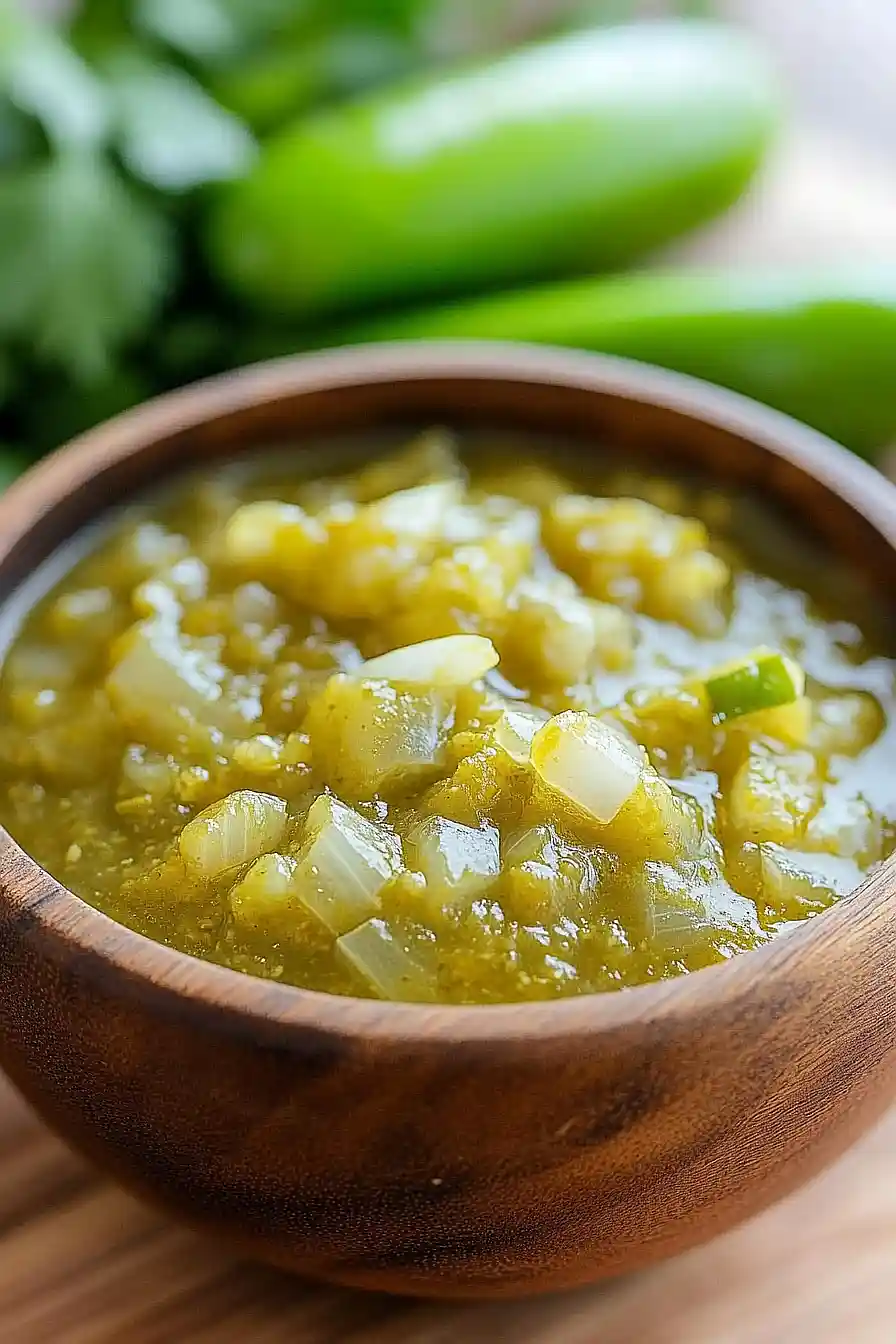
- Authentic New Mexican flavor – Made with real hatch green chiles, this sauce brings that distinctive smoky, earthy taste that’s impossible to replicate with other peppers.
- Simple ingredients – You only need a handful of basic pantry staples plus the star ingredient – hatch chiles – to create this flavorful sauce.
- Quick preparation – Ready in under an hour, this sauce comes together faster than you’d expect for such a rich, complex flavor.
- Perfect for multiple uses – This sauce works great on eggs, enchiladas, burritos, or really anything that needs a kick of New Mexican heat and flavor.
What Kind of Hatch Green Chiles Should I Use?
Fresh Hatch green chiles are your best bet for this sauce, and you’ll typically find them in grocery stores from late summer through early fall when they’re in season. If you can’t find fresh ones, frozen Hatch chiles work just as well – just make sure to thaw and drain them before roasting. You can choose mild, medium, or hot varieties depending on your heat preference, with mild being perfect for those who want flavor without too much spice. When selecting fresh chiles, look for ones that feel firm and have smooth, unblemished skin for the best roasting results.
Options for Substitutions
This sauce is pretty straightforward, but here are some swaps you can make if needed:
- Hatch green chiles: If you can’t find fresh Hatch chiles, roasted poblano peppers are your best bet for a similar mild heat and earthy flavor. Anaheim chiles work too, though they’re a bit milder. In a pinch, you can use canned diced green chiles, but use about 1½ cups since they’re already chopped and have more moisture.
- Vegetable oil: Any neutral oil like canola or avocado oil works fine here. You could even use olive oil, though it will add a slightly different flavor profile.
- Yellow onion: White onions are basically interchangeable with yellow in this recipe. Sweet onions like Vidalia will make the sauce a touch sweeter, which some folks prefer.
- Vegetable stock: Chicken stock works perfectly if that’s what you have on hand. You can even use water in a pinch, though you’ll lose some depth of flavor – just add a bit more salt to compensate.
- All-purpose flour: For a gluten-free option, try cornstarch (use half the amount) or arrowroot powder. Both will thicken the sauce just as well.
Watch Out for These Mistakes While Cooking
The biggest mistake when making hatch green chile sauce is not roasting the chiles properly – they need to be charred until the skin is completely blackened and blistered, which allows for easy peeling and develops that smoky flavor that makes this sauce special.
Another common error is rushing the peeling process while the chiles are still too hot, so let them steam in a plastic bag for at least 15 minutes after roasting to make the skins slip off easily without burning your fingers.
Don’t skip the step of cooking the flour with the onions for a full minute before adding the stock, as this prevents a raw flour taste and helps thicken the sauce properly.
Finally, resist the urge to add all the stock at once – pour it in gradually while stirring to avoid lumps, and remember that the sauce will thicken as it simmers, so don’t worry if it seems thin at first.
What to Serve With Hatch Green Chile Sauce?
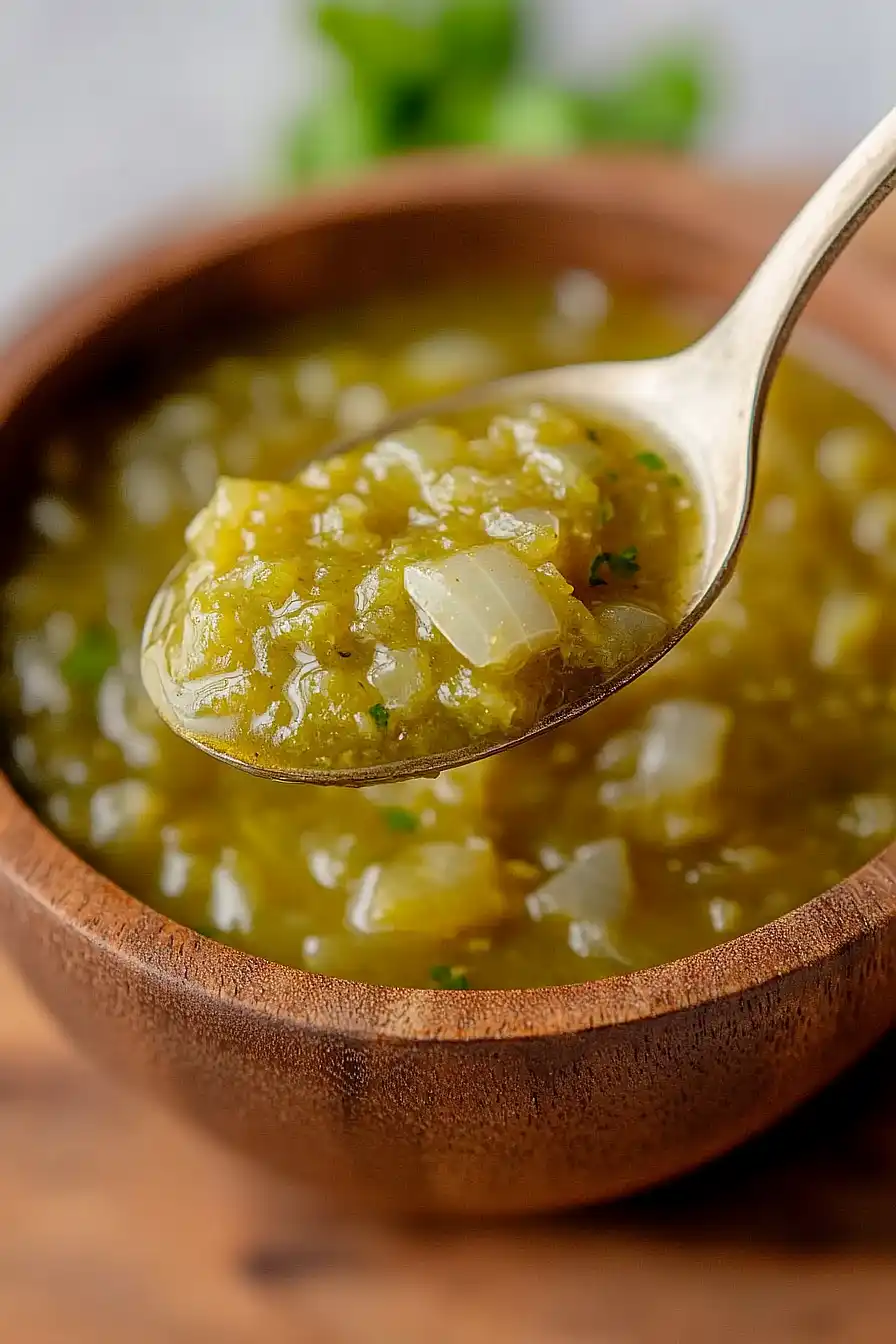
This sauce is perfect for drizzling over breakfast burritos, scrambled eggs, or hash browns – it really brings that authentic New Mexican flavor to your morning meal. You can also use it as a base for enchiladas or pour it over grilled chicken, pork chops, or even roasted vegetables for dinner. I love spooning it over rice and beans or using it as a dip for tortilla chips when I want a quick snack. Since it’s got that nice mild heat from the hatch chiles, it pairs really well with creamy foods like quesadillas, nachos, or even just drizzled over a simple cheese omelet.
Storage Instructions
Refrigerate: This green chile sauce keeps really well in the fridge for up to a week in an airtight container. I actually think it tastes even better after a day or two because all those flavors have time to meld together. Just give it a good stir before using since it might separate a little.
Freeze: You can definitely freeze this sauce for up to 6 months in freezer-safe containers or ice cube trays for easy portioning. I love freezing it in small portions so I can just grab what I need for enchiladas or eggs without thawing a whole batch.
Warm Up: To use your chilled or frozen sauce, just warm it gently on the stovetop over medium-low heat, stirring occasionally. If it’s too thick after reheating, add a splash of vegetable stock or water to get it back to the right consistency.
| Preparation Time | 20-30 minutes |
| Cooking Time | 20-30 minutes |
| Total Time | 40-60 minutes |
| Level of Difficulty | Medium |
Estimated Nutrition
Estimated nutrition for the whole recipe (without optional ingredients):
- Calories: 180-220
- Protein: 3-4 g
- Fat: 12-15 g
- Carbohydrates: 19-23 g
Ingredients
For the chiles:
- 5 Hatch green chiles (roasted, peeled, and seeded)
For the sauce:
- 2 tbsp vegetable oil
- 2 garlic cloves (minced for best flavor)
- 1 cup vegetable broth
- 1 tsp all-purpose flour
- 3/4 cup yellow onion (finely diced for even cooking)
- 1/4 tsp salt
Step 1: Roast and Steam the Hatch Green Chiles
- 5 hatch green chiles (yields about 1 cup when chopped), rinsed and dried
Preheat the broiler.
Spread the rinsed and dried hatch green chiles on a baking sheet.
Place under the broiler about 5 inches from the heat source, and broil until the skins are charred, turning the chiles to char all sides evenly.
Remove the chiles from the oven and transfer them to a bowl.
Cover the bowl with plastic wrap or a lid and let the chiles steam for 15 minutes.
This loosens the skins.
Step 2: Peel, Seed, and Chop the Chiles
- 5 hatch green chiles (yields about 1 cup when chopped), roasted and steamed from Step 1
After steaming, peel the skins off the chiles by gently rubbing them with a paper towel.
Remove the stems and seeds, then finely chop the chiles.
Set aside the chopped chiles for later use.
Step 3: Sauté Onions and Garlic
- 2 tbsp vegetable oil
- 3/4 cup finely diced yellow onion
- 2 garlic cloves, grated
Heat the vegetable oil in a sauté pan over medium heat.
Add the finely diced yellow onion and cook, stirring often, until the onion starts to soften, about 3-4 minutes.
Add the grated garlic and cook for one additional minute, stirring to prevent burning.
I always find that gently cooking the onion and garlic brings out a sweeter, more mellow flavor.
Step 4: Make the Green Chile Sauce
- 1 tsp all-purpose flour
- 1 cup vegetable broth
- 1/4 tsp salt
- chopped hatch green chiles from Step 2
- sautéed onion and garlic from Step 3
Sprinkle the all-purpose flour into the onion and garlic mixture and stir well.
Cook for 1 minute to eliminate the raw flour taste.
Gradually whisk in the vegetable broth, ensuring there are no lumps.
Add the chopped hatch green chiles from Step 2 and salt.
Bring the mixture to a boil, then reduce the heat and simmer for 15 minutes or until thickened, stirring occasionally.
Transfer the sauce to a bowl and let cool.
Taste and adjust salt if needed.
Step 5: Cool and Store the Sauce
Once the green chile sauce has cooled, transfer it to a container with a lid.
Refrigerate for up to one week.
The sauce thickens a little as it cools; I sometimes make it a day ahead to let the flavors meld.
