I spent years thinking angel food cake was off-limits once I started watching my sugar intake. My mom used to make it for every birthday when I was growing up, and I figured those days were behind me.
That’s because I didn’t know you could swap out regular sugar for alternatives and still get that light, airy texture angel food cake is known for. Sugar-free baking, on the other hand, just takes a little know-how about which sweeteners work best. For anyone avoiding sugar, this version is a game-changer.

Why You’ll Love This Sugar-Free Angel Food Cake
- Sugar-free and diabetic-friendly – Made with monk fruit sweetener instead of regular sugar, this cake lets you enjoy a classic dessert without the blood sugar spike.
- Light and airy texture – The fluffy, cloud-like consistency of this angel food cake makes it feel indulgent while still being a lighter dessert option.
- Simple ingredients – You probably have most of these pantry staples on hand already, making it easy to whip up whenever a sweet craving hits.
- Naturally low in fat – Angel food cake is made without butter or oil (except for greasing), so you get all the satisfaction of cake with fewer calories.
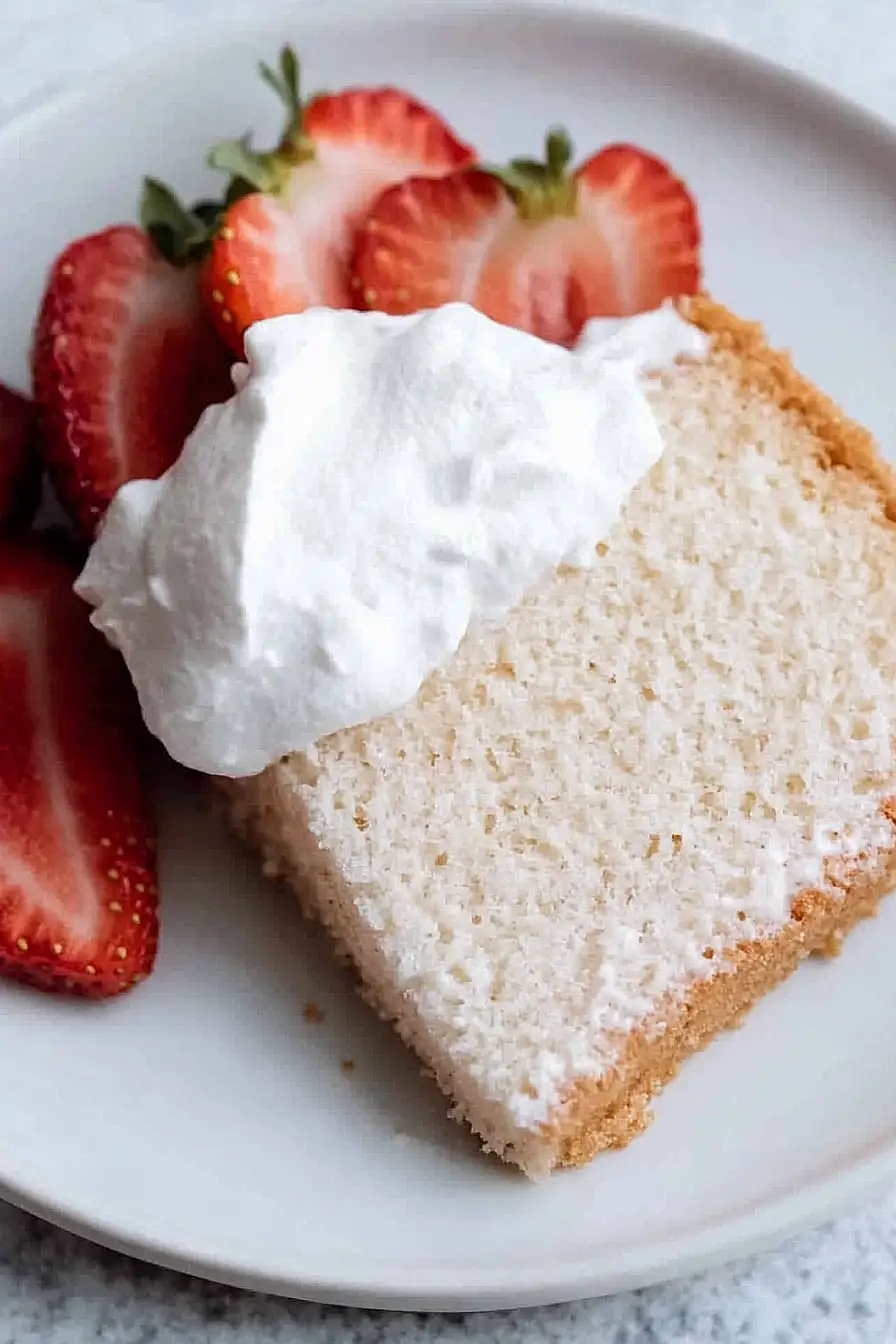
- Perfect base for toppings – This cake pairs beautifully with fresh berries, sugar-free whipped cream, or a light dusting of powdered monk fruit sweetener.
What Kind of Egg Whites Should I Use?
For angel food cake, you’ll want to use fresh egg whites from whole eggs rather than the carton variety. Fresh egg whites whip up much better and create more volume, which is exactly what you need for that light, airy texture that makes angel food cake so special. Make sure your eggs are at room temperature before you start – this helps them whip faster and achieve better peaks. When separating your eggs, be extra careful not to get any yolk in the whites, as even a tiny bit of fat can prevent them from whipping properly. If you accidentally get some yolk in there, use a clean eggshell piece to fish it out rather than your fingers.
Options for Substitutions
Angel food cake can be a bit tricky, but here are some swaps you can make while keeping that light, airy texture:
- Monk fruit sweetener: You can substitute with erythritol or stevia blend in equal amounts. Regular granulated sugar works too if you’re not worried about keeping it sugar-free – just use the same amount.
- Whole-wheat pastry flour: All-purpose flour works perfectly fine here, or you can try cake flour for an even lighter texture. If using cake flour, increase the amount to 1 cup + 2 tablespoons.
- Cream of tartar: This is pretty important for stabilizing the egg whites, but if you don’t have it, you can use 1 tablespoon of lemon juice or white vinegar instead.
- Egg whites: Don’t substitute these with liquid egg whites from a carton – fresh egg whites are essential for getting the proper volume and texture in angel food cake.
- Cornstarch: You can leave this out if you don’t have it, or replace it with an equal amount of additional flour. The cornstarch just helps create a more tender crumb.
- Vanilla extract: Try almond extract for a different flavor profile, or add some lemon zest along with the vanilla for a citrusy twist.
Watch Out for These Mistakes While Baking
The biggest mistake when making sugar-free angel food cake is getting even a trace of egg yolk in your whites, which will prevent them from whipping up properly – separate your eggs one at a time into a small bowl first, then transfer each white to your mixing bowl to avoid contaminating the whole batch.
Another common error is overbeating the egg whites past stiff peaks, which can cause your cake to collapse, so stop mixing as soon as you can turn the bowl upside down and the whites stay put.
Don’t grease your angel food cake pan despite what you might think – the batter needs to cling to the sides to rise properly, and make sure to cool the cake upside down for at least an hour to maintain its height.
Finally, fold in your flour mixture gently with a rubber spatula using a cutting motion rather than stirring, as too much mixing will deflate those precious air bubbles you worked so hard to create.
What to Serve With Sugar-Free Angel Food Cake?
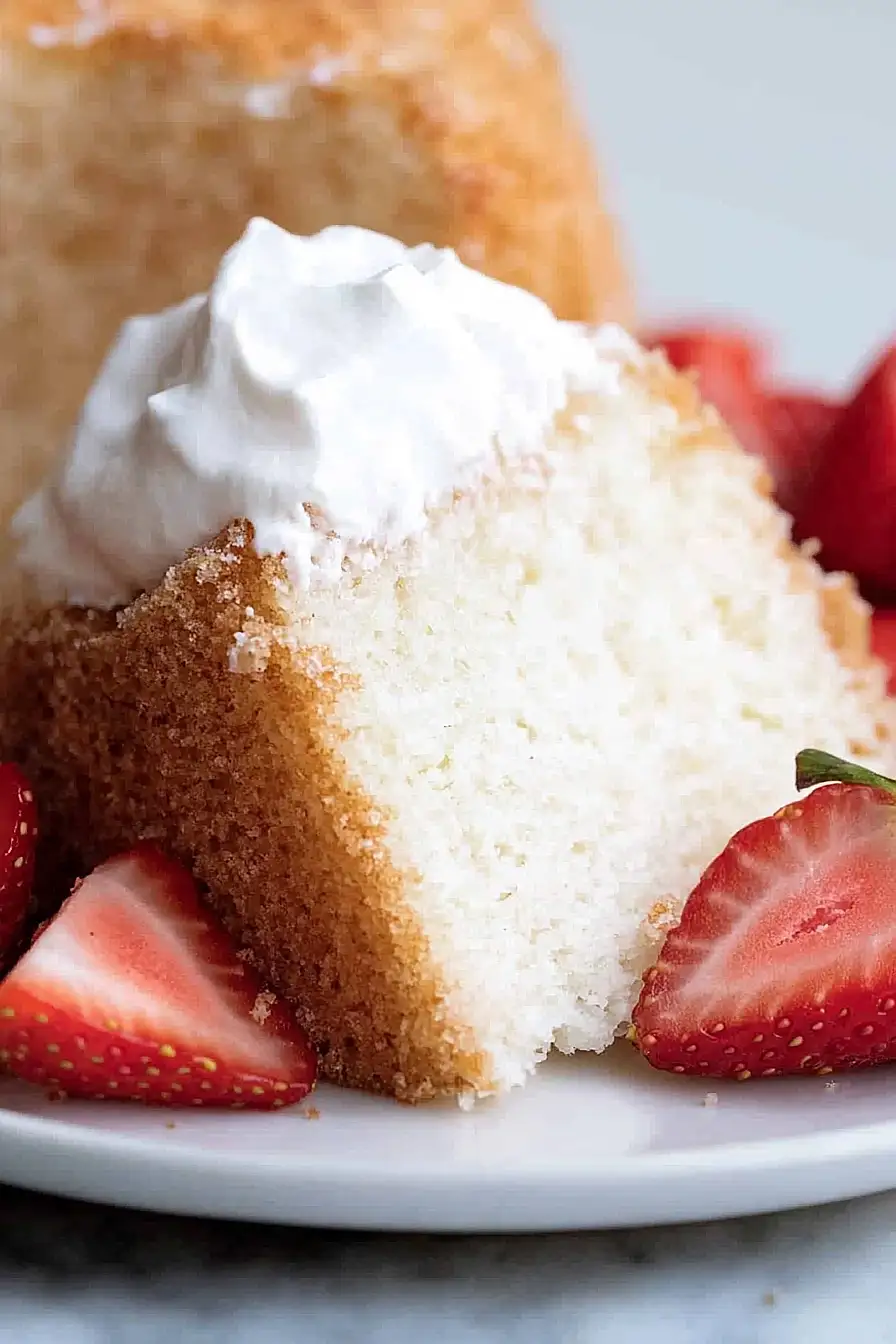
This light and fluffy cake is perfect on its own, but it really shines when you add some fresh berries like strawberries, blueberries, or raspberries on top. The natural sweetness of the fruit pairs beautifully with the cake’s airy texture, and you can even add a dollop of whipped cream if you want something a bit richer. For a simple finishing touch, try dusting the cake with a little powdered monk fruit sweetener or serving it alongside a cup of coffee or tea. Since this cake is naturally light, it makes a great ending to a heavier meal without leaving you feeling too full.
Storage Instructions
Keep Fresh: Angel food cake stays light and airy when stored properly at room temperature. Cover it with a cake dome or wrap it loosely in plastic wrap for up to 3 days. Don’t press down on the wrap since you want to keep that fluffy texture intact.
Refrigerate: If you want to keep your cake longer, pop it in the fridge where it’ll stay good for up to a week. Just wrap it gently in plastic wrap or store it in an airtight container. The texture might get a tiny bit denser, but it’s still delicious and perfect for serving with fresh berries.
Freeze: This cake freezes really well for up to 3 months! Wrap individual slices in plastic wrap and then place them in a freezer bag, or freeze the whole cake wrapped tightly. When you’re ready to eat it, just thaw at room temperature for about an hour and it tastes almost as good as fresh.
| Preparation Time | 15-20 minutes |
| Cooking Time | 35-40 minutes |
| Total Time | 50-60 minutes |
| Level of Difficulty | Medium |
Estimated Nutrition
Estimated nutrition for the whole recipe (without optional ingredients):
- Calories: 550-650
- Protein: 35-40 g
- Fat: 1-3 g
- Carbohydrates: 95-110 g
Ingredients
For greasing the pan:
- Coconut oil (a light coating for the pan)
For the cake batter:
- 2 tbsp cornstarch
- 1 cup plus 1 tbsp granulated monk fruit sweetener
- 1 tsp vanilla extract (I use Watkins brand for pure flavor)
- 12 egg whites (room temperature, not from a carton for best volume)
- 1/4 tsp salt
- 1 1/2 tsp cream of tartar
- 1 cup whole wheat pastry flour
Step 1: Prepare the Tube Pan and Sweetener
- coconut oil, small amount for preparing pan
- 1 cup plus 1 tbsp granulated monk fruit sweetener
Preheat your oven to 350°F.
Lightly rub just the bottom of a tube pan with a removable bottom with a very small amount of coconut oil, being careful to not grease the sides, as this can cause the cake to deflate.
Meanwhile, place the monk fruit sweetener in a large food processor and process for about 2 minutes until it becomes superfine and powdery.
Step 2: Sift the Dry Ingredients
- 1 cup whole wheat pastry flour (124 g)
- 2 tbsp cornstarch
- 1/4 tsp salt
- 1/3 of processed monk fruit sweetener (from Step 1)
In a sifter, combine the whole wheat pastry flour, cornstarch, and salt.
Sift this mixture three times to ensure it is well aerated.
After the third sift, add 1/3 of the processed monk fruit sweetener from Step 1, and sift again.
Set the flour mixture aside for combining with the egg whites later.
Step 3: Whip the Egg Whites
- 12 egg whites, at room temperature (not from a carton)
- 1 1/2 tsp cream of tartar
- 1 tsp vanilla extract
- remaining processed monk fruit sweetener (from Step 1)
In the bowl of a stand mixer fitted with a whisk attachment, add the egg whites, cream of tartar, and vanilla extract.
Beat them on medium speed for about 30 seconds, or until they are slightly foamy.
Gradually add the remaining monk fruit sweetener a little at a time while continuing to beat.
Increase the mixer speed to medium-high and beat until soft peaks form, around 2 1/2 to 3 1/2 minutes.
The peaks should curl at the top and melt back into the whites after a few seconds.
Be careful not to overbeat—the goal is to keep the whites airy to ensure a fluffy cake.
Step 4: Incorporate Dry Ingredients and Form Batter
- flour mixture (from Step 2)
- whipped egg whites (from Step 3)
Sift 1/3 of the flour mixture from Step 2 over the whipped egg whites from Step 3.
Using a large spatula, gently fold it in, taking care not to deflate the mixture.
Repeat this process two more times until all the flour mixture is incorporated.
Ensure that no streaks of flour remain, but do not overmix—the batter should remain as airy as possible.
I like to use a large balloon whisk or spatula for folding to keep everything fluffy.
Step 5: Bake the Cake
- batter (from Step 4)
Gently spoon the batter into the prepared tube pan from Step 1.
Smooth the top using a spatula, being careful not to press down and lose any air in the batter.
Bake in the preheated oven for 35 to 40 minutes, or until the top is golden brown and a skewer inserted into the center comes out clean.
Step 6: Cool and Remove the Cake
Immediately invert the pan onto a cooling rack and let the cake cool upside down for 1 hour.
This prevents the cake from collapsing while cooling.
Once cooled, run a butter knife along the outer and inner edges of the pan to loosen the cake, then carefully remove the sides.
Gently run a knife under the bottom of the cake to release it from the base, being cautious to avoid breaking it.
Let the cake cool completely before serving.
For best results, serve as soon as it has cooled, but if storing, keep it in an airtight container to preserve its texture.

