I used to think caramelized onions were too much work for what you get. All that standing around, stirring for what feels like forever, just to use them once and watch them go bad in the fridge a few days later.
Then I discovered you could dehydrate them. Now I make big batches when I have time, dry them out, and store them for months. No more babysitting onions on the stove every time I want that sweet, rich flavor in my cooking. Just grab a handful from the jar and you’re good to go.
Why You’ll Love These Dehydrated Caramelized Onions
- Long-lasting pantry staple – Once dehydrated, these caramelized onions can be stored for months, giving you that sweet, rich onion flavor whenever you need it without any waste.
- Minimal ingredients – You literally only need onions – any variety works, so you can use whatever you have on hand or find on sale.
- Hands-off process – While it takes time, most of it is passive dehydrating time where you can go about your day while the machine does the work.
- Concentrated flavor boost – The dehydration process intensifies that sweet, caramelized taste, so a little goes a long way in soups, stews, pasta dishes, or pizza toppings.
- Money-saving technique – When onions are in season or on sale, you can make big batches and preserve them for later, stretching your grocery budget further.
What Kind of Onions Should I Use?
Any type of onion will work for dehydrated caramelized onions, but each variety brings its own flavor profile to the table. Yellow onions are probably your best bet since they have a good balance of sweetness and sharpness that really shines when caramelized. Sweet onions like Vidalia or Walla Walla are also great choices if you want a milder, more mellow result. Red onions will give you a slightly more intense flavor and a beautiful color, while white onions tend to be a bit sharper but still work perfectly fine. The key is to slice them evenly so they dehydrate at the same rate, regardless of which variety you choose.
Options for Substitutions
This simple recipe is all about the onions, so let’s talk about your options:
- Onion varieties: Yellow onions are the go-to choice for caramelizing since they have the perfect balance of sweetness and flavor. Sweet onions like Vidalia or Walla Walla work great too and will give you extra sweetness. White onions are fine but might be a bit sharper, while red onions will add a slightly different flavor and gorgeous color.
- Onions: Here’s the thing – you really can’t substitute the onions in this recipe since they’re literally the star of the show! But if you’re out of fresh onions, you could try this technique with shallots for a more mild, refined flavor, though you’ll need quite a few to make it worthwhile.
Watch Out for These Mistakes While Dehydrating
The biggest mistake when making dehydrated caramelized onions is rushing the caramelization process – you need to cook them low and slow for at least 45 minutes to develop that deep, sweet flavor before dehydrating.
Another common error is not slicing the onions evenly, which leads to some pieces being perfectly dried while others remain chewy, so aim for consistent quarter-inch slices throughout.
Don’t skip the step of letting your caramelized onions cool completely before placing them in the dehydrator, as hot onions will create steam and prevent proper drying.
Finally, make sure your dehydrator trays aren’t overcrowded – the onions need good air circulation to dry evenly, and they’re done when they feel leathery but not brittle.
What to Serve With Dehydrated Caramelized Onions?
These concentrated little flavor bombs are perfect for sprinkling on top of burgers, steaks, or grilled chicken to add that sweet, savory punch. I love tossing them into pasta dishes or risottos where they rehydrate and spread their caramelized goodness throughout the whole dish. They’re also amazing mixed into cream cheese or goat cheese for an instant gourmet spread that’s perfect with crackers or crusty bread. You can even stir them into soups, stews, or grain bowls for an extra layer of rich onion flavor without all the prep work.
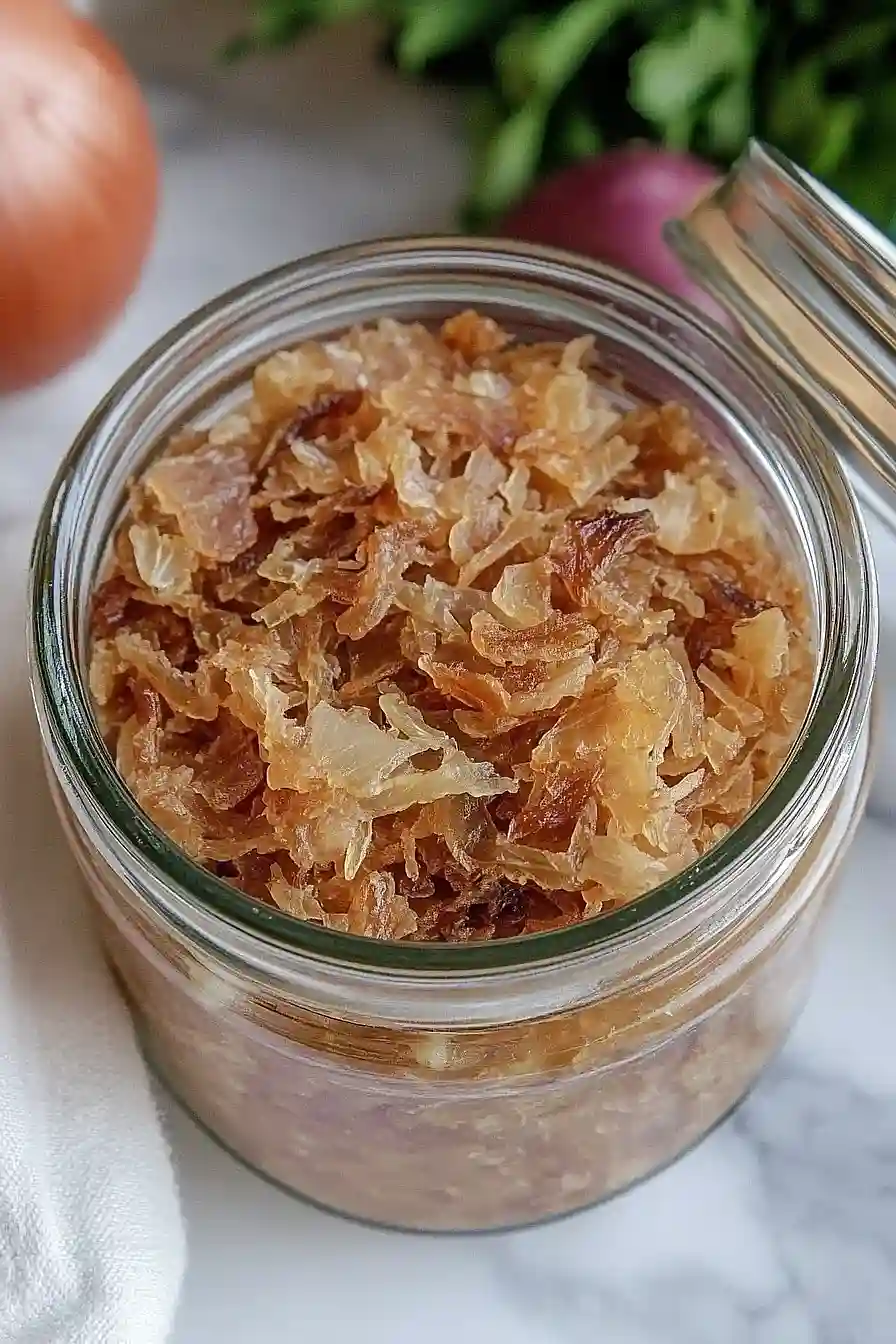
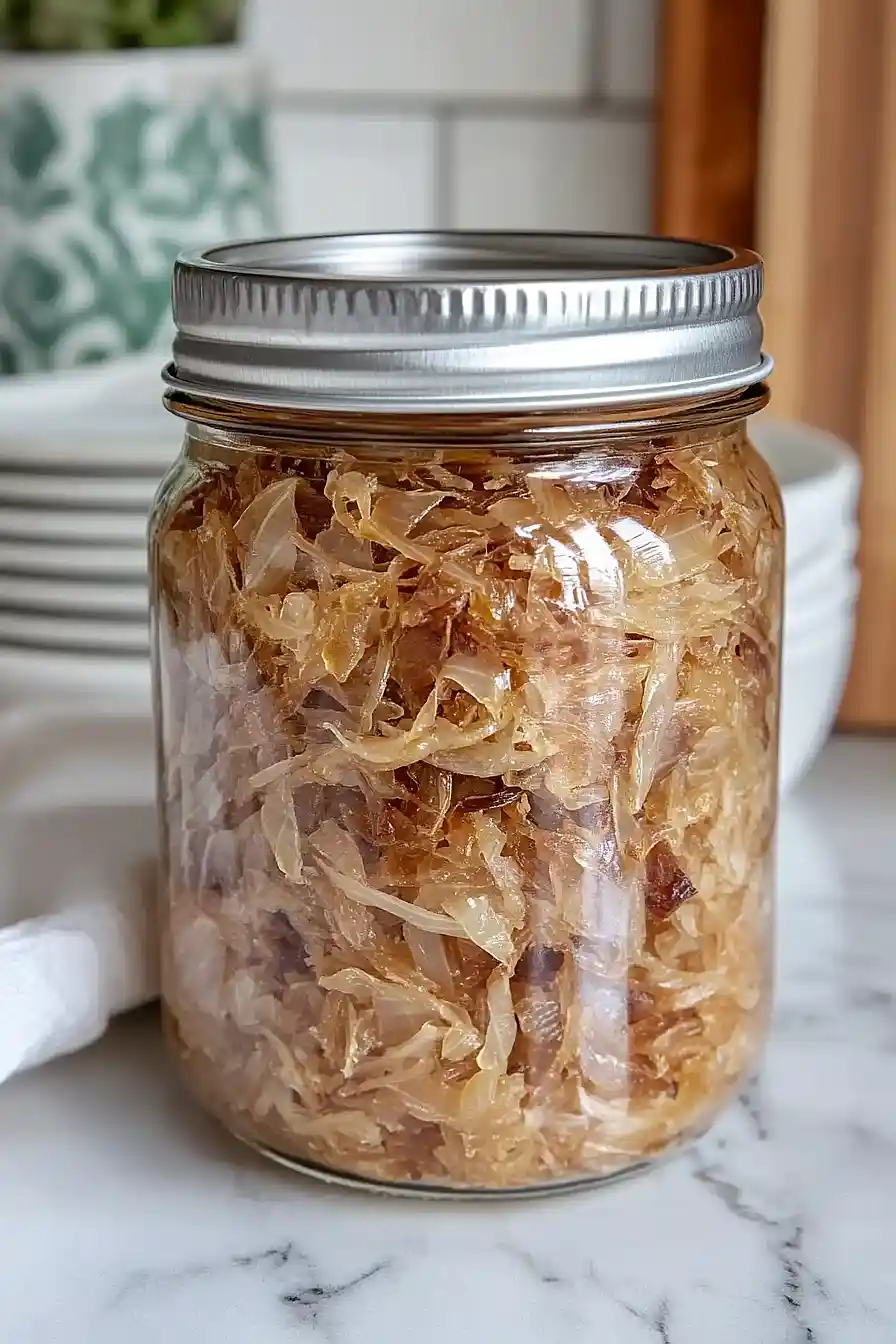
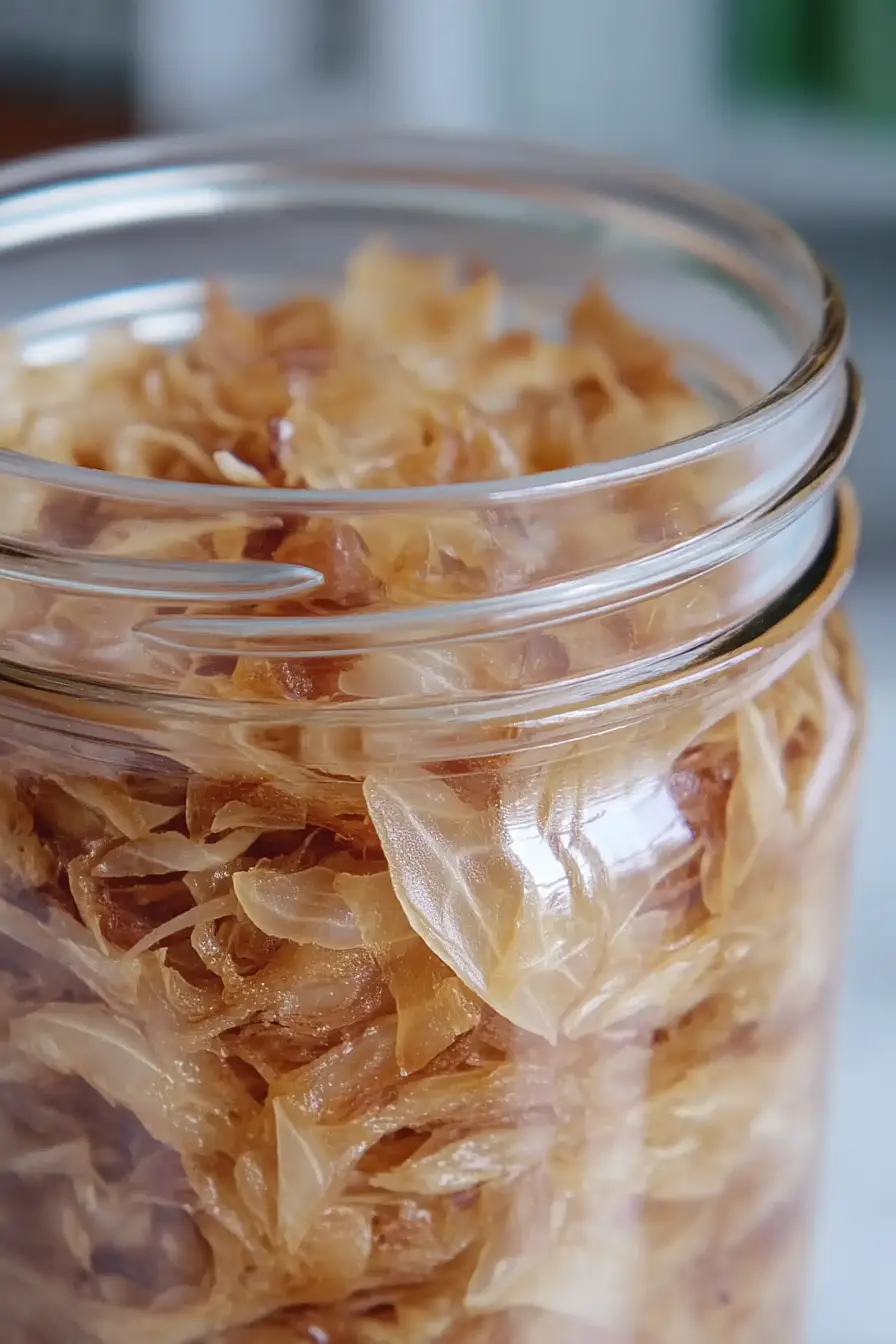
Storage Instructions
Store: Keep your dehydrated caramelized onions in an airtight container or glass jar in a cool, dry place like your pantry. They’ll stay good for up to 6 months when stored properly. Make sure they’re completely cool and dry before sealing them up to prevent any moisture from spoiling the batch.
Freeze: For even longer storage, you can freeze these in freezer-safe containers for up to a year. I like to portion them out in small amounts so I can grab just what I need for recipes. No need to thaw before using – just toss them straight into soups, stews, or pasta dishes.
Rehydrate: When you’re ready to use them, just soak the dehydrated onions in warm water for about 10-15 minutes until they plump back up. You can also add them directly to dishes with liquid like soups or sauces where they’ll rehydrate naturally while cooking.
| Preparation Time | 10-15 minutes |
| Cooking Time | 480-720 minutes |
| Total Time | 490-735 minutes |
| Level of Difficulty | Medium |
Estimated Nutrition
Estimated nutrition for the whole recipe (without optional ingredients):
- Calories: 40-60
- Protein: 1-2 g
- Fat: 0-0.2 g
- Carbohydrates: 9-14 g
Ingredients
- yellow onions (about 3-4 lbs per dehydrator tray for optimal drying)
Step 1: Prepare and Cook the Onions
- onions, any type
Begin by slicing or dicing the onions to your preferred size.
Place the prepared onions into a slow cooker.
Set the slow cooker on low and cook the onions for 4 to 6 hours or longer, until they are soft and translucent.
This slow cooking helps to concentrate the onion flavor and starts the drying process.
Step 2: Drain and Arrange the Onions for Dehydration
- cooked onions from Step 1
Once the onions have finished cooking, drain off any liquid (this can be reserved for use in soups or stews later).
Spread the cooked onions evenly across dehydrator trays, making sure they are in a single layer to promote even drying.
Step 3: Dehydrate the Onions
- cooked onions from Step 2
Set your dehydrator to 125°F (52°C).
Dry the onions for 8 to 12 hours, or until they are completely dry and brittle to the touch.
I like to check for dryness by breaking a few pieces in half; if they snap cleanly, they’re done.
Step 4: Condition and Store the Dried Onions
- dried onions from Step 3
Remove the dried onions from the dehydrator and let them cool.
Condition them by placing the onions in a jar for a few days, shaking daily to check for any signs of moisture.
If condensation forms, return them to the dehydrator.
Once thoroughly dry, store the onions in an airtight container to keep them fresh.
Step 5: Grind the Dried Onions
- dried onions from Step 4
Add the dehydrated onions to your favorite grinder or blender.
Pulse a few times to break them up, then blend continuously until you achieve a fine powder.
For a finer texture, I like to sift the powder and re-blend any larger pieces.
Step 6: Redry and Store the Onion Powder
- onion powder from Step 5
Spread the onion powder thinly on a tray and place it back in the dehydrator to redry, ensuring it’s completely moisture free.
Once redried, store the onion powder in an airtight container.
For best results and to prevent clumping, add a bit of arrowroot powder to the container before sealing.
