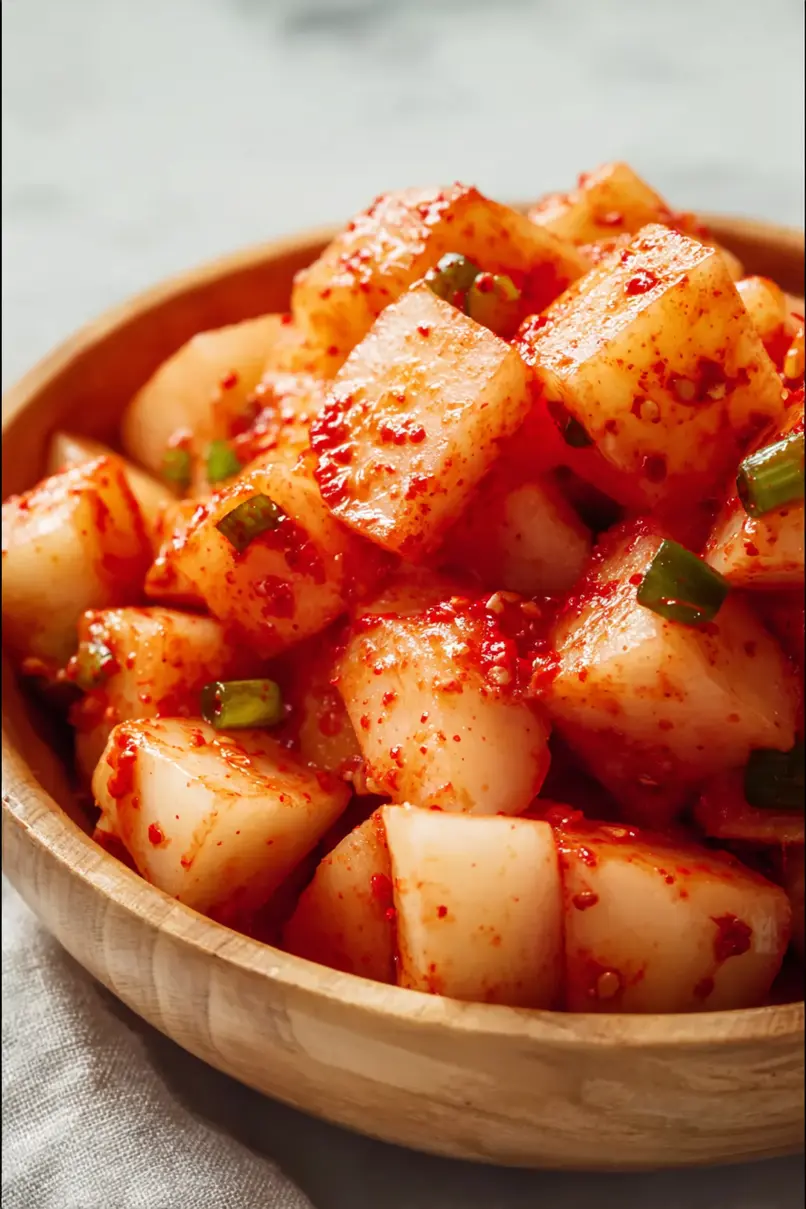
If you ask me, Korean radish kimchi is one of those side dishes that makes everything better.
This homemade kimchi recipe takes the humble Korean radish and turns it into something that’s both spicy and refreshing. The crisp radish chunks get coated in a savory mix of Korean red pepper, garlic, and ginger.
It’s made just like traditional kimchi, where the radishes spend time in salt before getting tossed with that signature red pepper mixture. A few days of fermentation lets all those good flavors sink in and work their magic.
It’s a simple banchan (side dish) that adds a kick to any Korean meal, and it’s especially good with a hot bowl of rice.
Why You’ll Love This Radish Kimchi
- Easy to make – Despite being a fermented food, this kimchi only needs basic chopping and mixing – no special techniques required. Just combine the ingredients and let time do its magic.
- Cost-effective – With just a few affordable ingredients like radish and basic Asian pantry staples, you can make a large batch that lasts for weeks in the fridge.
- Probiotic-rich – The natural fermentation process creates beneficial probiotics that are good for your gut health, making this a nutritious addition to any meal.
- Versatile side dish – This kimchi works great as a side dish, in stews, or mixed into rice – it adds a spicy, tangy kick to almost any Asian-inspired meal.
What Kind of Radish Should I Use?
Korean radish (also called mu or moo) is the traditional choice for this kimchi, but daikon makes an excellent substitute if you can’t find Korean radish at your local market. Korean radishes are generally shorter and rounder than daikon, with a slightly greener top, and they tend to be a bit sweeter and juicier. When shopping, look for radishes that feel heavy for their size and have smooth, unblemished skin – avoid any that feel soft or show signs of browning. If you’re using daikon instead, pick ones that are firm and white, with crisp greens still attached (this usually indicates freshness). Just remember to peel either type before using, as the skin can be a bit tough and bitter.
Options for Substitutions
While traditional kimchi has specific ingredients that give it its authentic taste, here are some possible substitutions if you’re in a pinch:
- Korean radish/daikon: Korean radish (mu) and daikon are pretty similar, so they work well interchangeably. If you can’t find either, you could use red radishes, though you’ll need to reduce the fermentation time since they’re smaller.
- Fish sauce: For a vegetarian version, you can use soy sauce mixed with a bit of seaweed powder, though the flavor will be different. Some folks also use coconut aminos, but keep in mind this will make it less authentic.
- Korean red pepper flakes: This is one ingredient that’s hard to substitute since it gives kimchi its signature taste and color. Regular red pepper flakes or cayenne won’t give you the same result, but if you must, use about 1/3 the amount as they’re usually spicier.
- Fresh garlic and ginger: In a time crunch, you can use pre-minced garlic and ginger, though fresh is better. Use 1 teaspoon pre-minced garlic for each clove, and 1/4 teaspoon pre-minced ginger for each teaspoon fresh.
- Green onions: You can swap these with chives or the green parts of regular onions, chopped finely. The taste will be slightly different but still good.
Watch Out for These Mistakes While Making
The success of your radish kimchi largely depends on how you cut the radish – chunks that are too large won’t properly ferment, while pieces that are too small can become mushy, so aim for consistent 1-inch cubes.
A common mistake is skipping the salting step or rushing through it – letting the radish sit with salt for at least 30 minutes helps draw out excess moisture and creates the perfect texture for fermentation.
The fermentation environment is crucial – storing your kimchi at room temperature for too long can lead to over-fermentation and an overly sour taste, so move it to the refrigerator after 1-2 days of room temperature fermentation.
When adding the seasonings, make sure your red pepper flakes are fresh and fragrant (not old and dull), and remember to wear gloves while mixing to protect your hands from the spicy paste and prevent contaminating the kimchi with bacteria from your hands.
What to Serve With Radish Kimchi?
This spicy, crunchy radish kimchi makes a perfect side dish for so many Korean and Asian-inspired meals! It’s great alongside a simple bowl of steamed rice and grilled meat like bulgogi or Korean BBQ. For a quick lunch, try adding it to rice bowls with a fried egg on top, or use it to add a punch of flavor to your favorite noodle dishes. If you’re making sandwiches, this kimchi can add a nice kick to banh mi or even regular turkey sandwiches – just make sure to drain it well first so your bread doesn’t get soggy.
Storage Instructions
Ferment: Let your radish kimchi ferment at room temperature for 1-2 days until it develops that perfect tangy flavor. You’ll notice small bubbles forming – that’s a good sign! Once it reaches your desired taste, pop it in the fridge to slow down fermentation.
Keep: This kimchi gets even better with time! Store it in an airtight glass container in the refrigerator, where it will continue to slowly ferment. It stays good for 2-3 months and many people enjoy it most when it’s aged for a few weeks. Remember to press the radish down under the brine to keep it fresh longer.
Tips: Leave a bit of headspace in your storage container as the kimchi can bubble up during fermentation. If you notice the lid bulging, simply open it to release the pressure. It’s normal to see some liquid at the bottom – that’s the tasty kimchi juice that keeps everything properly preserved!
| Preparation Time | 15-30 minutes |
| Cooking Time | 0 minutes |
| Total Time | 30 minutes + fermentation period |
| Level of Difficulty | Easy |
Estimated Nutrition
Estimated nutrition for the whole recipe (without optional ingredients):
- Calories: 400-500
- Protein: 6-8 g
- Fat: 2-4 g
- Carbohydrates: 100-120 g
Ingredients
- 2 tbsp minced garlic (freshly minced for best aroma)
- 2 tbsp coarse salt (kosher salt is ideal for brining)
- 2 tbsp granulated sugar
- 4 lb korean radish (cut into 1/2-inch cubes)
- 1 tsp minced ginger
- 4 stalks green onions (chopped into 1-inch pieces)
- 2/3 cup red pepper flakes (gochugaru, for vibrant color and flavor)
- 1/4 cup fish sauce (Red Boat is my preferred brand for authentic flavor)
Step 1: Prepare the Radish
Start by peeling the Korean radish, rinsing it in cold water, and patting it dry with a clean towel.
Once dried thoroughly, cut the radish into ¾ to 1-inch cubes and place them into a large bowl.
Step 2: Salt and Sugar the Radish
Add kosher salt and sugar to the bowl with the radish cubes.
Mix the ingredients well to ensure each radish cube is coated evenly.
Set the mixture aside for 30 minutes to allow the salt and sugar to draw out excess moisture from the radish.
Step 3: Prepare the Seasoning Mix
After 30 minutes, drain the juice from the radish into a small bowl and set it aside.
In the large bowl with the radish, add minced garlic, minced ginger, green onions, fish sauce, and hot pepper flakes.
Pour in ⅓ cup of the reserved radish juice and mix thoroughly until the radish cubes are evenly coated with the seasoning mixture and look juicy.
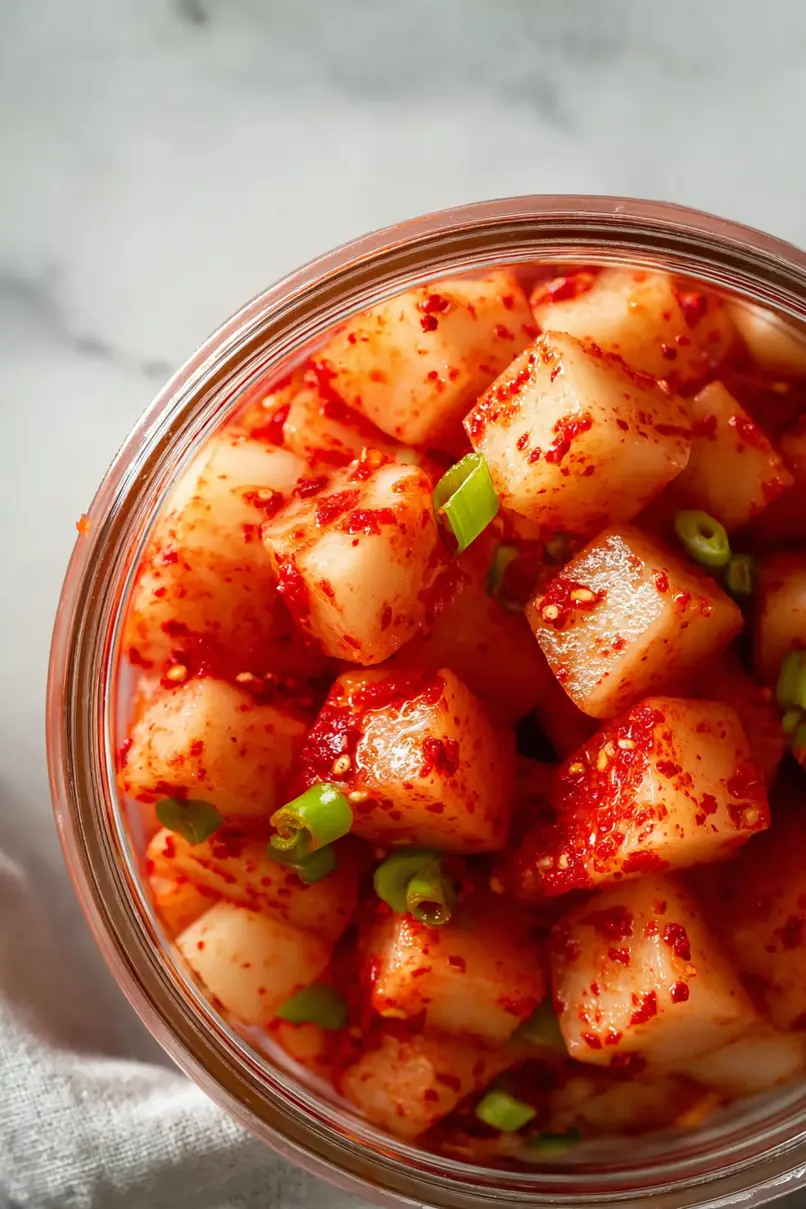
Step 4: Pack the Kkakdugi
Transfer the seasoned radish cubes into a glass jar.
As you fill the jar, press down on the top of the radish to remove any air pockets that may form between the cubes, ensuring a tight pack.
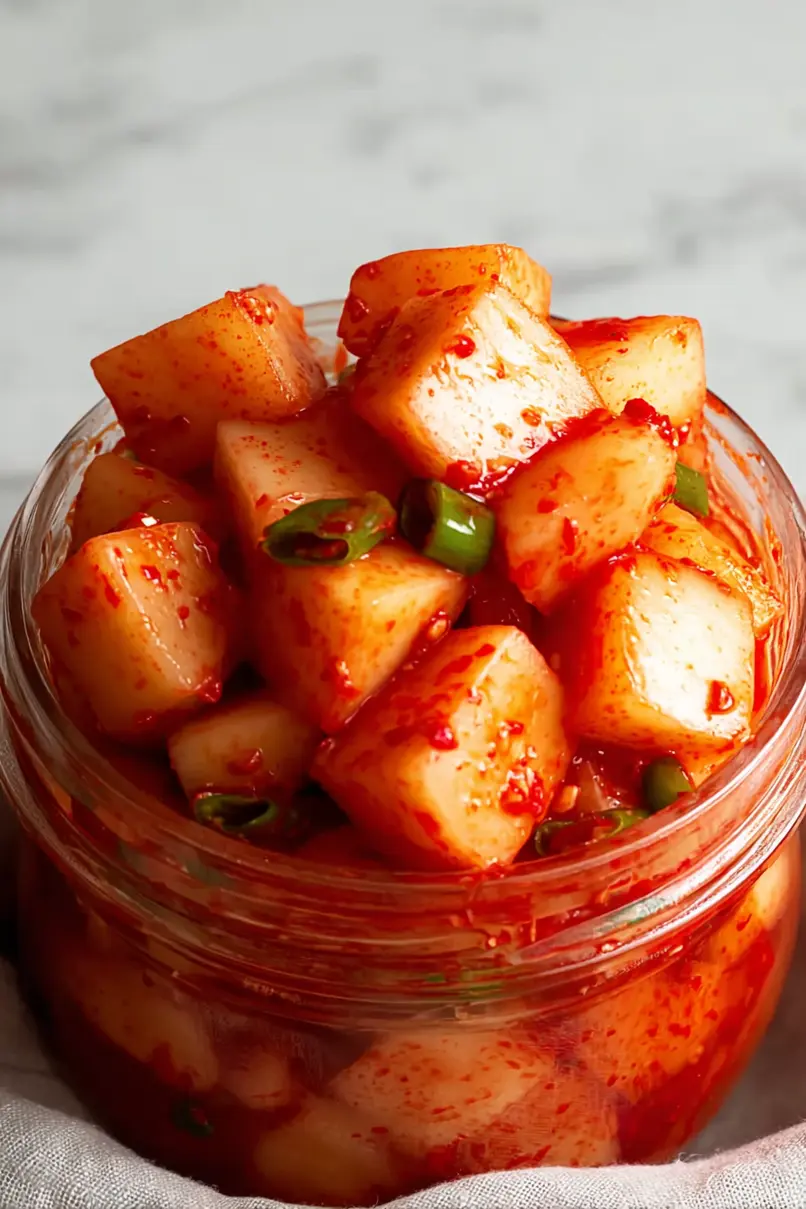
Step 5: Ferment and Store
The kkakdugi can be eaten right away, but for optimal flavor, let it ferment.
Initially, store the jar at room temperature for a few days to allow fermentation.
During this time, you may notice small bubbles appearing on the surface and a strong sour smell, indicating active fermentation.
Once it starts fermenting, transfer the jar to the refrigerator to slow down the fermentation process and maintain flavor.
Enjoy your homemade kkakdugi as a delicious side dish!
