Let’s face it – buying bags of tortilla chips at the store can get pretty expensive, especially when you’re feeding hungry snackers or hosting game day gatherings. After years of watching my grocery bills climb higher and higher, I finally decided to try making my own tortilla chips from flour tortillas I had sitting in the fridge.
These homemade flour tortilla chips are exactly what you need: they’re budget-friendly, ready in just minutes, and so much fresher than anything you’ll find in the snack aisle. Plus, you can season them exactly how you like and make as many (or as few) as you need.

Why You’ll Love These Tortilla Chips
- Quick and simple – These homemade chips take just 15-25 minutes from start to finish, using only 3 basic ingredients you probably already have in your kitchen.
- Fresher than store-bought – Nothing beats the taste of warm, crispy chips straight from your own kitchen – they’re way better than anything that comes in a bag.
- Customizable seasoning – While this recipe calls for sea salt, you can easily add your favorite seasonings like chili powder, garlic salt, or even cinnamon sugar for a sweet twist.
- Budget-friendly snack – Using basic flour tortillas and oil, you can make a batch of fresh chips for much less than premium store-bought varieties.
What Kind of Flour Tortillas Should I Use?
Regular store-bought flour tortillas work perfectly fine for making homemade tortilla chips, and you can find them in various sizes – though medium-sized (8-inch) tortillas are ideal for chips that aren’t too big or too small. Fresh tortillas from the refrigerated section tend to work better than shelf-stable ones since they’re usually more pliable and less likely to break when cutting. If you’re feeling ambitious, you can even use homemade flour tortillas, though there’s really no need to go through the extra effort just for chips. Just make sure your tortillas aren’t too thin or too thick – the standard supermarket varieties have just the right thickness for frying into chips.
Options for Substitutions
While this is a simple recipe, there are still some substitution options to consider:
- Flour tortillas: You can use corn tortillas instead of flour ones for a more traditional tortilla chip. Just note that corn tortillas will create a crunchier chip and may need less frying time. Whole wheat tortillas work too, but they’ll give you a slightly nuttier taste.
- Oil for frying: Any neutral-flavored oil with a high smoke point works here. Try vegetable oil, canola oil, or peanut oil. Avoid olive oil as its low smoke point makes it less suitable for frying.
- Sea salt: Regular table salt works just fine here. You could also try kosher salt, or get creative with seasonings like taco seasoning, ranch powder, or a mix of salt and chili powder.
- Cooking method: If you’re looking to make these healthier, you can bake them instead of frying. Brush with a little oil and bake at 350°F for about 10-12 minutes, flipping halfway through.
Watch Out for These Mistakes While Frying
The biggest challenge when making homemade tortilla chips is getting the oil temperature just right – too hot and they’ll burn in seconds, too cool and they’ll become greasy and soggy, so aim for 350-375°F using a thermometer if possible. Another common mistake is cutting the tortillas into uneven sizes, which leads to inconsistent cooking – use a sharp knife or pizza cutter to cut them into equal triangles for chips that cook at the same rate. To ensure perfectly crispy chips, avoid overcrowding the pan (work in small batches) and make sure to salt them immediately after removing from the oil while they’re still hot – this helps the salt stick better and creates that satisfying crunch we all love.
What to Serve With Tortilla Chips?
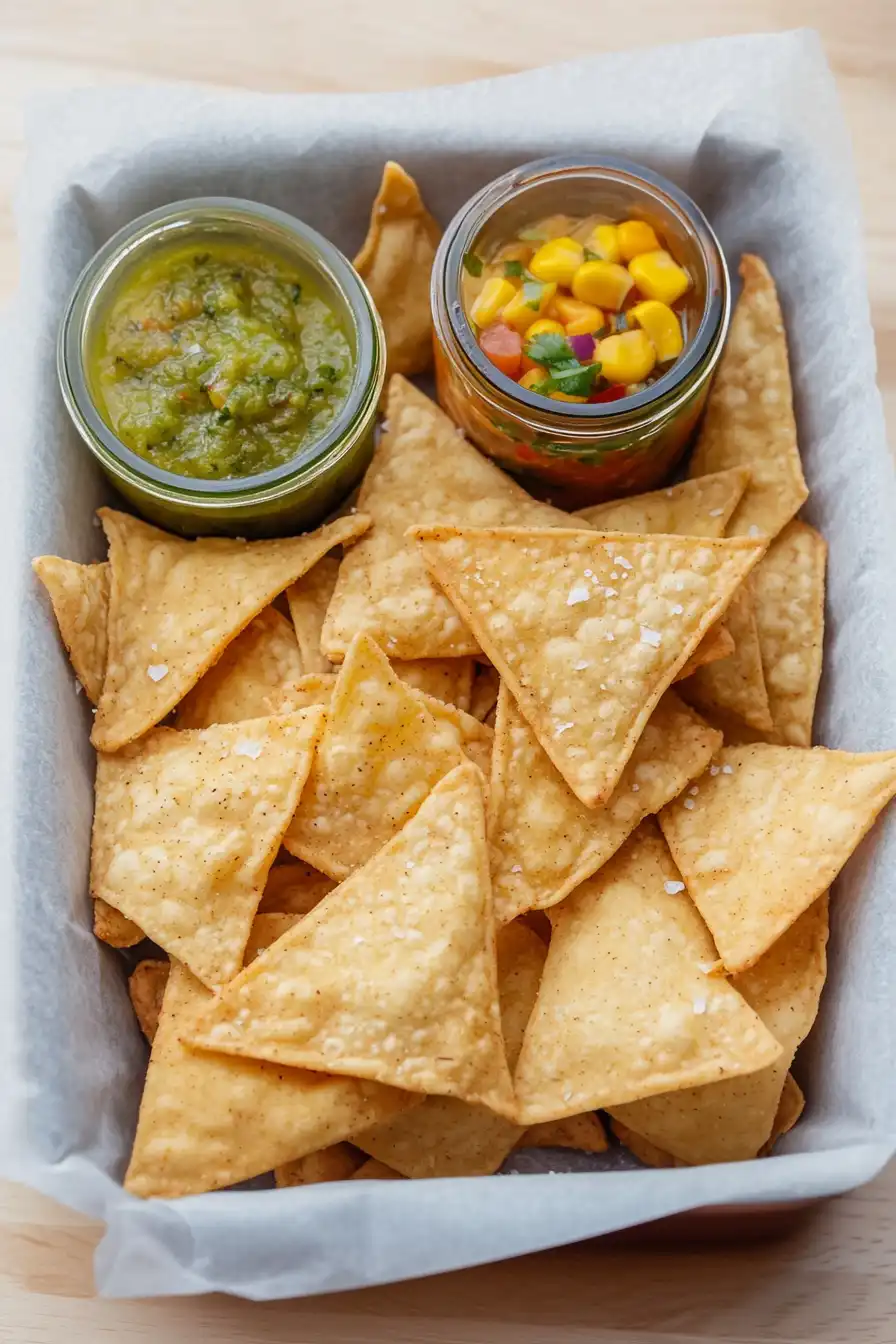
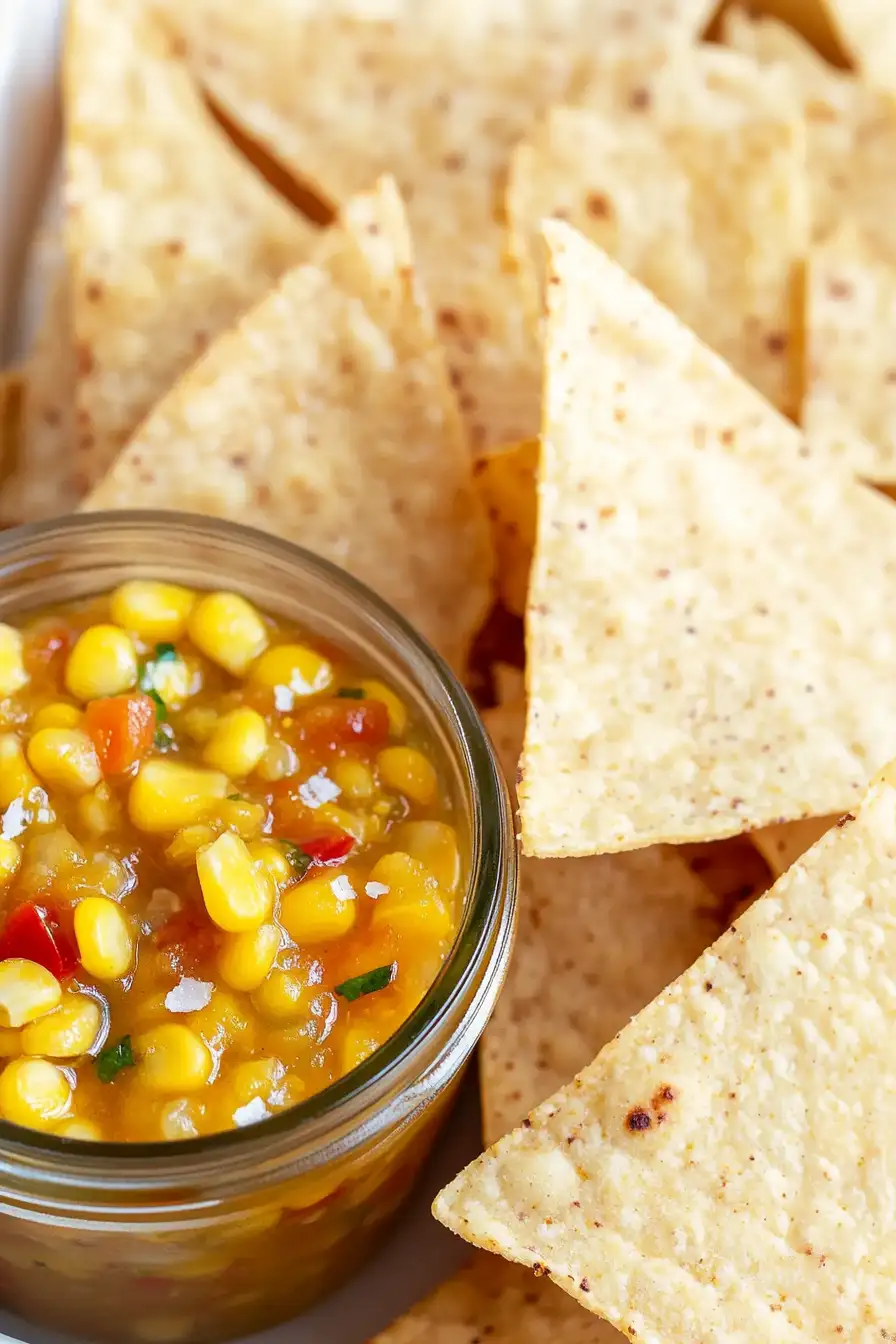
These homemade flour tortilla chips are perfect for dipping into all your favorite Mexican-inspired snacks! The most obvious pairing is a bowl of fresh salsa or guacamole, but don’t stop there. Try serving them alongside warm queso dip, bean dip, or even seven-layer dip for a party spread everyone will love. If you’re making these for taco night, they’re great for scooping up extra toppings that fall from your tacos or for crushing on top of taco salads for some extra crunch.
Storage Instructions
Keep Crispy: Let your homemade tortilla chips cool completely before storing them – this is key to keeping that perfect crunch! Place them in an airtight container or zip-top bag at room temperature, and they’ll stay fresh for up to 5 days. Pro tip: toss a paper towel in the container to absorb any excess moisture.
Make Ahead: These chips are perfect for making in advance for parties or snacking. You can fry them up to 2 days before you need them, and they’ll still taste great. Just remember to store them properly to maintain their crispiness.
Revive: If your chips lose some of their crunch after a few days, spread them on a baking sheet and pop them in a 350°F oven for about 2-3 minutes. They’ll crisp right back up, almost as good as fresh!
| Preparation Time | 5-10 minutes |
| Cooking Time | 10-15 minutes |
| Total Time | 15-25 minutes |
| Level of Difficulty | Easy |
Estimated Nutrition
Estimated nutrition for the whole recipe (without optional ingredients):
- Calories: 2000-2200
- Protein: 20-30 g
- Fat: 200-220 g
- Carbohydrates: 200-220 g
Ingredients
- sea salt (for sprinkling after baking)
- 2 cups oil (like canola or vegetable oil)
- 6 flour tortillas (I like Mission brand soft taco tortillas)
Step 1: Prepare the Tortilla Triangles
Start by taking your flour tortillas and using a knife or a pizza cutter, slice each tortilla into eighths.
This will create perfect-sized triangles for your tortilla chips.
Step 2: Heat the Oil
Pour vegetable oil into a skillet or deep fryer and heat it over medium-high heat.
Wait until the oil is hot enough for frying.
You can test the oil’s readiness by dropping a small piece of tortilla into the oil; it should sizzle immediately.
Step 3: Fry the Tortilla Chips
Once the oil is hot, carefully drop a few tortilla triangles into the oil, making sure not to overcrowd the pan or fryer.
Fry the triangles until they turn golden on each side.
This usually takes a couple of minutes.
Be attentive as the chips can brown quickly.
Step 4: Season and Drain the Chips
Remove the golden tortilla chips from the oil and place them on a plate lined with paper towels to drain excess oil.
While the chips are still warm, sprinkle them liberally with sea salt or coarse kosher salt.
This will ensure the seasoning sticks to the chips.
Step 5: Repeat the Process
Continue to fry the remaining tortilla triangles in batches.
Be careful not to overcrowd the pan, and monitor the oil temperature, adjusting the heat as necessary to ensure the chips do not burn or brown too quickly.
Enjoy your homemade tortilla chips with your favorite dip!
