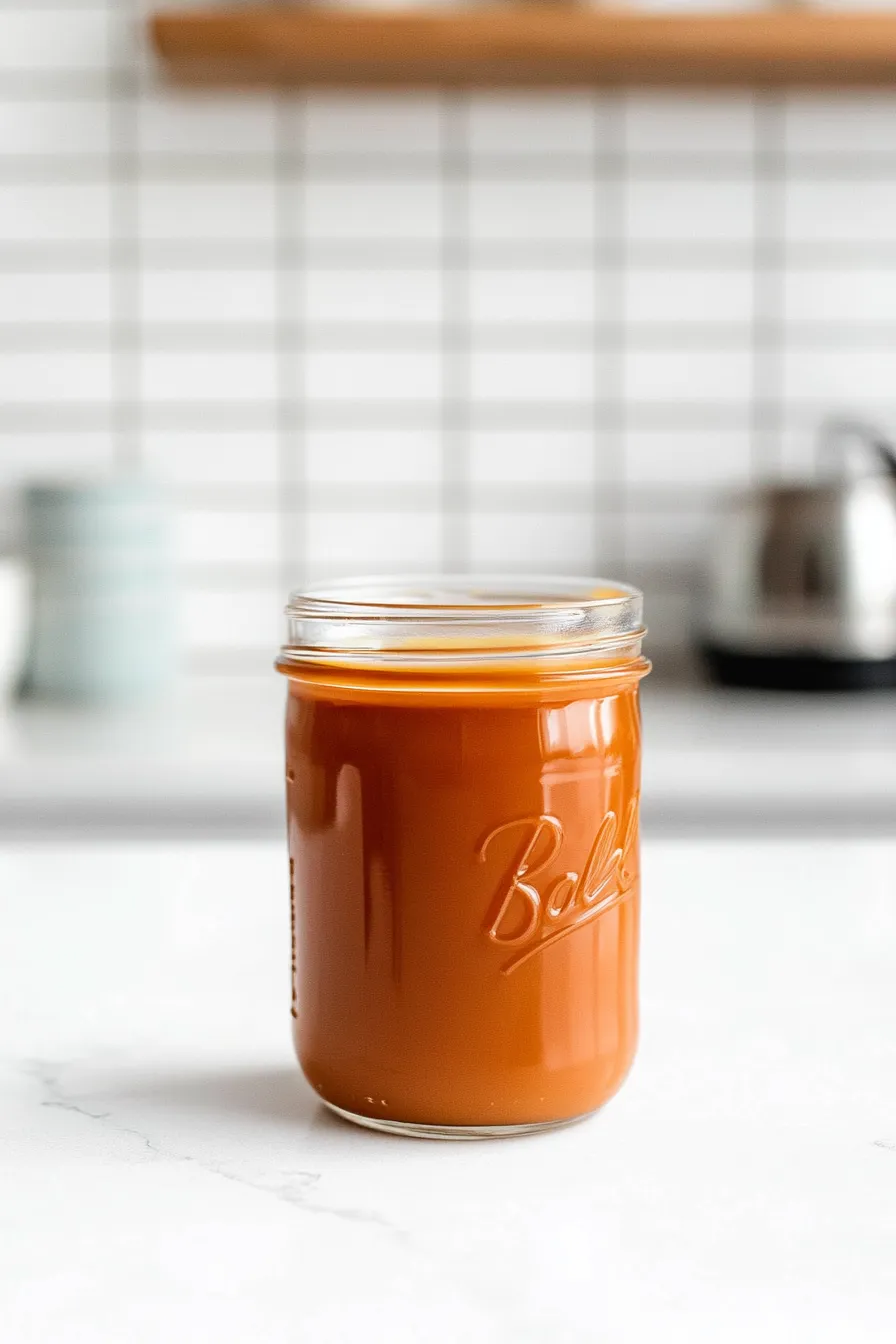
Here is my go-to caramel dip recipe that doesn’t need any corn syrup – just simple ingredients you probably already have in your pantry. The result is a smooth, creamy dip that’s perfect for fresh apple slices, pretzels, or whatever treats you love to dunk.
I make this dip at least twice a month for my kids’ after-school snacks, and it disappears faster than I can say “caramel.” Plus, it stores really well in the fridge when we (rarely) have leftovers!
Why You’ll Love This Caramel Dip
- Clean ingredients – Made without corn syrup, this caramel dip uses simple pantry staples you can actually pronounce – just sugar, butter, and cream as the main ingredients.
- Quick preparation – You’ll have homemade caramel ready in about 30 minutes, which is faster than a trip to the store for the pre-made stuff.
- Customizable sweetness – You can easily adjust the salt level and vanilla to make it exactly how you like it, from barely-there-salty to full-on salted caramel.
- Multi-purpose sauce – This caramel works great as a dip for apples, a topping for ice cream, or a filling for desserts – make one batch and use it different ways all week.
What Kind of Sugar Should I Use?
Regular white granulated sugar is your best friend for making caramel sauce at home. While you might be tempted to try other types like brown sugar or raw sugar, plain white sugar will give you the cleanest flavor and most predictable results. The main reason is that white sugar is pure sucrose, which means it will caramelize evenly and create that beautiful amber color we’re looking for. If you’re new to making caramel, stick with standard granulated sugar rather than superfine or coarse varieties – it’s more forgiving and melts at just the right pace. Just make sure your sugar is fresh and free from any lumps before you start cooking.
Options for Substitutions
While making caramel requires some precise ingredients, there are still a few substitutions you can try:
- White sugar: This is the main ingredient and can’t be substituted with artificial sweeteners or liquid sugars. However, you can use cane sugar instead of regular white sugar for a slightly different flavor.
- Heavy cream: For the heavy cream, you can use whipping cream as it has a similar fat content. Half-and-half isn’t recommended as it may make your caramel too thin. Don’t use milk – it doesn’t have enough fat and will make your caramel grainy.
- Butter: While unsalted butter is preferred, you can use salted butter – just reduce or skip the added salt in the recipe. Plant-based butter isn’t recommended as it can separate during heating.
- Vanilla essence: Feel free to skip it or try other flavors like bourbon, rum extract, or almond extract. Start with half the amount if using different extracts as they can be stronger.
- Kosher salt: Any type of salt works here – table salt, sea salt, or flaky salt. Just remember that table salt is more concentrated, so use about half the amount if substituting.
Watch Out for These Mistakes While Cooking
The trickiest part of making caramel without corn syrup is preventing crystallization – avoid stirring the sugar and water mixture once it starts boiling, and instead gently swirl the pan to combine. A common error is not watching the color closely enough – the caramel can go from perfect amber to burnt in seconds, so keep your eyes on the pan and have your butter and cream ready to go. To prevent dangerous splattering when adding the butter and cream, make sure your cream is warm (not cold) and stand back while adding them to the hot caramel. If you’re new to caramel making, use a light-colored pan instead of a dark one – this makes it much easier to monitor the changing color of your caramel and achieve that perfect golden brown shade.
What to Serve With Caramel Dip?
This smooth caramel dip is perfect for creating your own little dessert spread or snack board! Fresh apple slices are the classic choice – I like to use tart varieties like Granny Smith to balance out the sweetness of the caramel. You can also set out some sliced pears, banana chunks, strawberries, or any other fruit that catches your eye at the store. For something a bit different, try graham crackers, pretzels, or vanilla wafers for dipping – they add a nice crunch factor. If you’re feeling extra indulgent, some brownie bites or marshmallows are super fun to dip too!
Storage Instructions
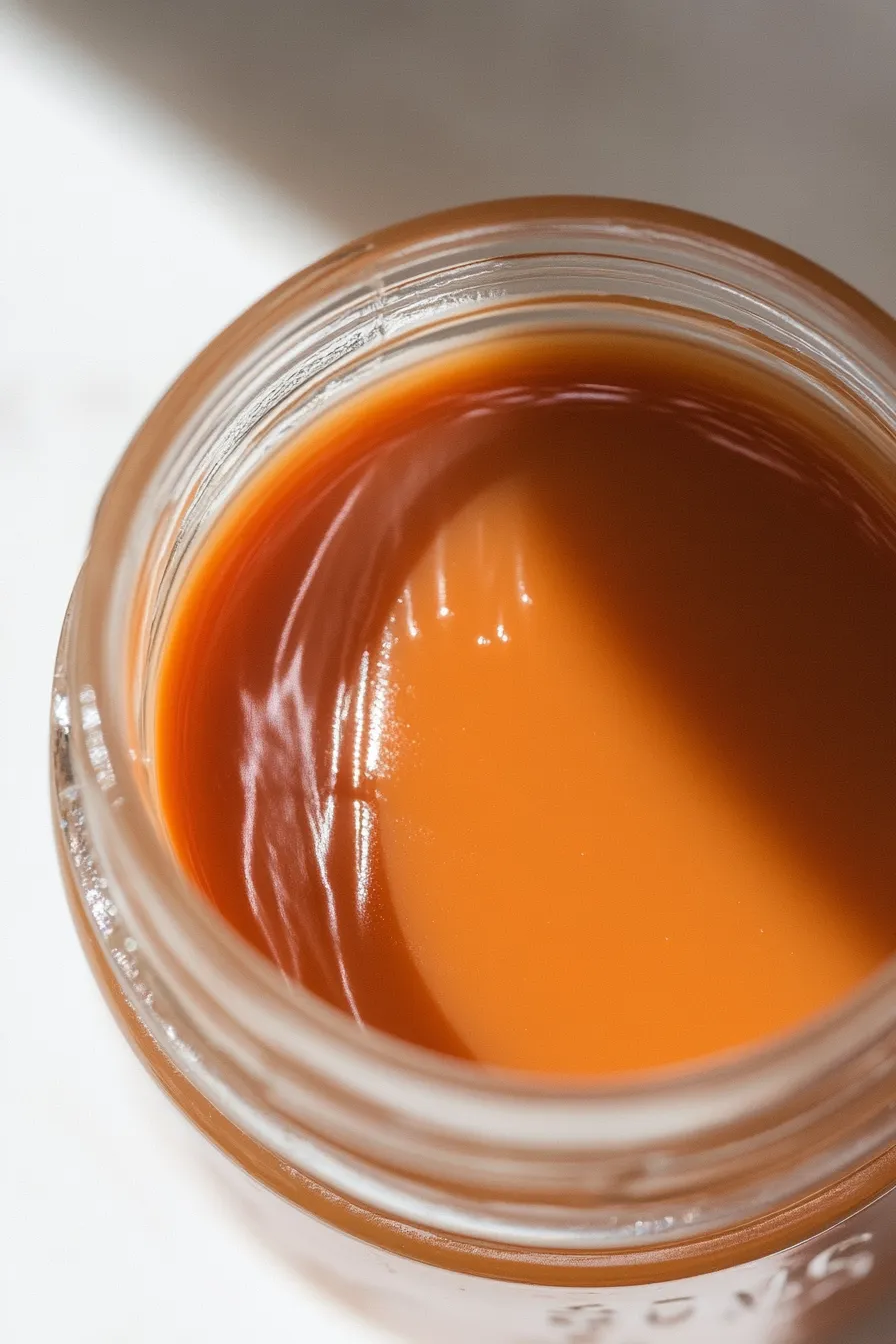
Keep Fresh: Your homemade caramel dip will stay smooth and delicious in an airtight container or jar in the refrigerator for up to 2 weeks. Just make sure to let it cool completely before storing. The caramel will thicken when chilled, which is totally normal!
Room Temperature: If you plan to use your caramel dip within 3-4 days, you can keep it in an airtight container at room temperature. This is great if you’re serving it at a party or want it ready for dipping right away.
Serve: When you’re ready to use refrigerated caramel, let it sit at room temperature for about 30 minutes to soften. If it’s too thick, warm it up in the microwave in 10-second intervals, stirring between each, until it reaches your desired consistency. You can also place the jar in a bowl of warm water for a few minutes to help it soften up.
| Preparation Time | 10-15 minutes |
| Cooking Time | 15-20 minutes |
| Total Time | 25-35 minutes |
| Level of Difficulty | Medium |
Estimated Nutrition
Estimated nutrition for the whole recipe (without optional ingredients):
- Calories: 1600-1800
- Protein: 4-6 g
- Fat: 100-110 g
- Carbohydrates: 200-220 g
Ingredients
- 1 1/2 cups white sugar
- 1/2 cup water (and additional for brushing the pan)
- 6 tablespoons butter, unsalted (cut into 1 tablespoon pieces)
- 3/4 cup heavy cream (heated)
- 1 teaspoon vanilla essence (optional)
- A small amount to 1 teaspoon of fine kosher salt or flaky salt (optional, adjust to taste)
Step 1: Dissolve Sugar and Prepare the Syrup
In a medium heavy-bottomed pot, combine granulated sugar and water over medium heat.
Stir gently just until the sugar dissolves, then stop stirring completely.
Use a wet pastry brush to remove any sugar crystals from the sides of the pot, allowing the water to wash them down into the syrup.
Repeat this process as necessary, but avoid stirring the syrup.
Let it boil.
Step 2: Caramelize the Syrup
Carefully watch the syrup as it continues to boil.
After about 8 to 10 minutes, it will reach 320° Fahrenheit and begin to caramelize, changing to a deeply amber color.
I recommend using an instant-read thermometer for accuracy.
Once the syrup reaches 330° – 335° Fahrenheit, promptly remove it from the heat.
Step 3: Incorporate Butter
Whisk in butter, one tablespoon at a time, being cautious as the caramel will foam and bubble up upon contact.
Ensure the butter is fully incorporated before proceeding to the next step.
Step 4: Add Cream and Flavorings
Warm the heavy cream in the microwave for about 1 minute.
Gradually stream the warmed cream into the caramel while whisking continuously.
Be cautious of continued bubbling and spitting.
Continue whisking until the cream is fully integrated and the bubbling subsides.
Add vanilla and a pinch of salt, whisking them in.
For a salted caramel, adjust the amount of salt to taste, starting with about 1 teaspoon.
Step 5: Cool and Store
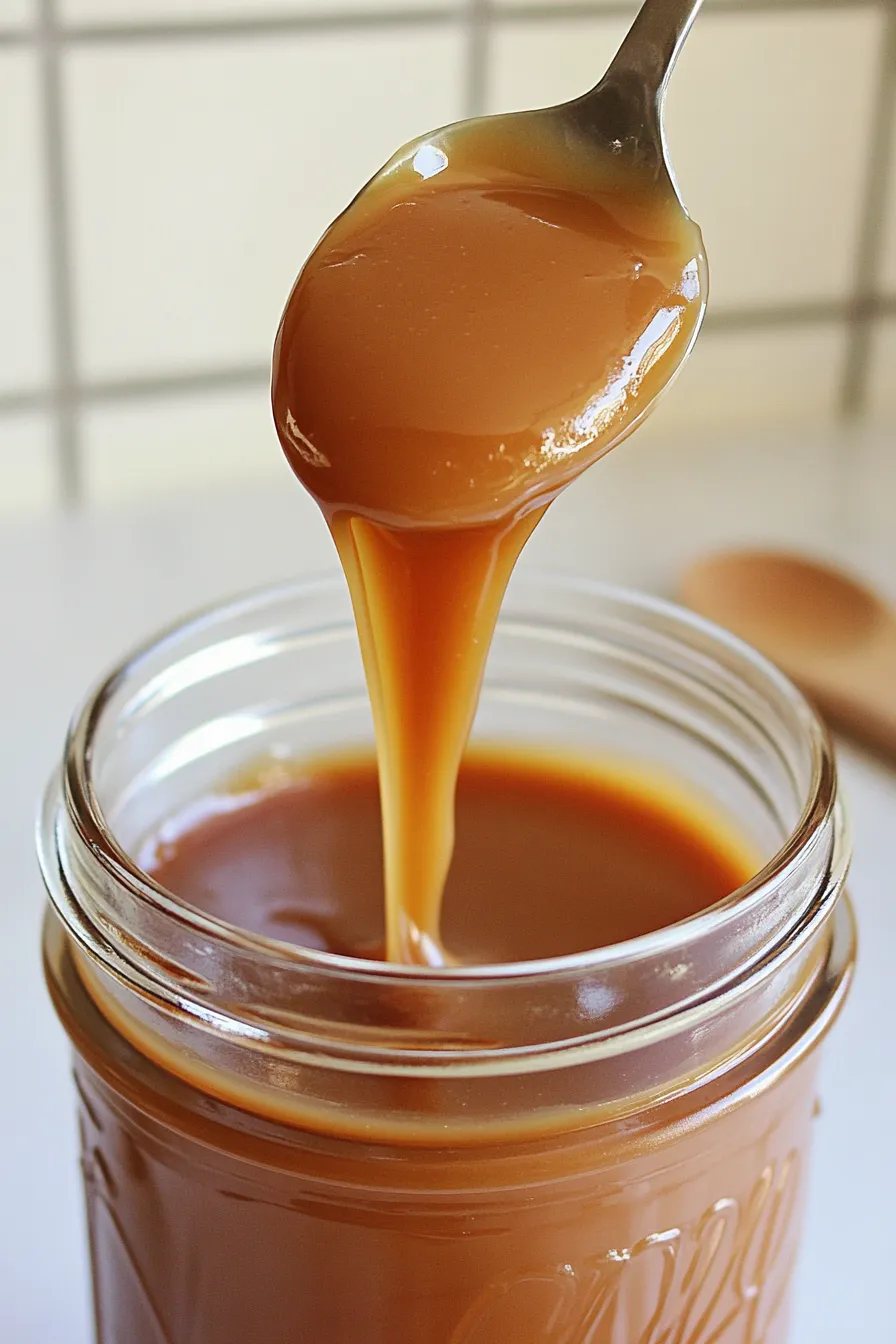
Allow the caramel sauce to cool slightly before transferring it to a heat-safe jar or container.
Keep in mind that the sauce will thicken significantly as it cools.
Homemade caramel sauce can be stored in the refrigerator for up to one week.
Step 6: Reheat and Serve
When you’re ready to serve the caramel sauce, reheat it in the microwave in 10-second intervals until it reaches your desired consistency.
Enjoy your rich and decadent homemade caramel sauce!
