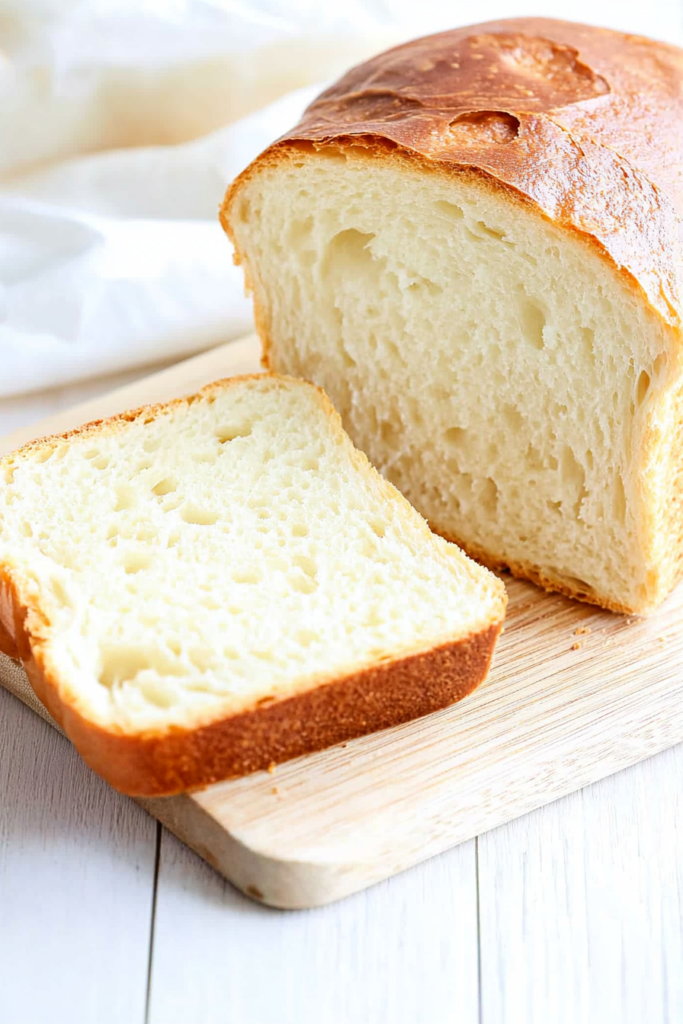
Hey there, bread lovers!
Are you in the mood for some warm, homemade goodness? Then you’re in for a treat!
Today, I’m excited to share my recipe for cottage cheese yeast bread.
This bread is soft, flavorful, and packed with protein. Perfect for sandwiches or just slathered in butter!
I promise it’s easier than you think. Let’s dive in and start baking!

| Preparation Time | 15-20 minutes |
| Cooking Time | 25-30 minutes |
| Total Time | 130-170 minutes |
| Level of Difficulty | Medium |
Ingredients
- 4 cups sifted and leveled bread flour (480g)
- 3 tablespoons sugar
- 2 teaspoons instant yeast
- 1 teaspoon salt
- 16 oz warm or room temperature low fat small curd cottage cheese
- 1/4 cup plus 1-2 tablespoons water
Step 1: Combine Dry Ingredients and Cottage Cheese
Begin by mixing together 4 cups of sifted bread flour, 2 teaspoons of instant yeast, 3 tablespoons of sugar, and 1 teaspoon of salt in the bowl of a stand mixer.
Add 16 ounces of low-fat small curd cottage cheese and ¼ cup of water to the dry ingredients.
Step 2: Initial Kneading
Set the stand mixer to a low setting (speed 2) and knead the dough for about 1 minute until all ingredients are combined.
If the mixture seems too dry, add 1-2 tablespoons of water as needed.
Continue kneading at the same speed.
Step 3: Extended Kneading
Continue kneading the dough for an additional 8 to 10 minutes until it pulls away from the bowl and forms a smooth, supple ball.
This is crucial for developing the dough’s elasticity and texture.
Step 4: First Rise
Remove the dough from the mixer bowl and place it in a lightly greased bowl.
Cover the bowl with a clean kitchen towel or plastic wrap and let the dough rise in a warm, draft-free area until it has doubled in size, which takes about 90-120 minutes.
Step 5: Shape the Dough
Once the dough has risen, punch it down and remove it from the bowl.
Place the dough on a generously floured surface and divide it into 4 equal pieces.
Use a small rolling pin to flatten each piece into a 6 x 9 inch rectangle.
Fold each rectangle into thirds, similar to how you would fold a letter.
Step 6: Form Cylinders and Prep for Baking
Starting from the long side of each folded rectangle, roll the dough tightly into a cylinder and pinch the ends to seal them.
This ensures the dough holds its shape during baking.
Step 7: Second Rise
Place each rolled dough cylinder into a well-oiled bread pan.
Cover the pans loosely with plastic wrap or a clean kitchen towel.
Let the dough rise in a warm, draft-free spot for about 60 minutes, or until the dough becomes puffy and fills out the bread pan.
Step 8: Preheat the Oven
Toward the end of the second rise, preheat your oven to 350°F (180°C).
Ensure the rack is in the center position to allow even baking.
Step 9: Optional Topping
For a shiny, golden crust, gently brush the tops of the loaves with a mixture of 1 tablespoon of non-dairy milk and 1 tablespoon of maple syrup.
You can also use regular milk or an egg wash for this step if preferred.
Step 10: Bake the Bread
Place the bread pans in the preheated oven.
Bake the loaves for 15 minutes initially, then cover them with aluminum foil to prevent over-browning.
Continue to bake for an additional 15 minutes, or until the internal temperature of the bread reaches 190°F (88°C).
Step 11: Cool the Bread
Remove the bread from the oven and carefully turn the loaves out onto a wire rack.
Allow the bread to cool slightly before slicing; this helps retain moisture and maintains the bread’s structure.
Step 12: Storing the Bread
Enjoy your freshly baked bread! You can store the loaves, wrapped well, at room temperature for up to 3–4 days.
For longer storage, place them in an airtight container or plastic freezer bag and freeze for up to 3 months.
Defrost at room temperature or use a microwave to warm before serving.


Baking directions?
I’m so sorry! Now the recipe instructions are complete. ☺️
How many loafs will this recipe make
Does this make 4 loaves for you? What size are your pans? This seems like it would make 2 regular sized loaves at best and I’m just a little confused by the instructions.
Yes. It makes 4 small loaves. 🙂
What size pans do you use?