If you ask me, frozen banana ice cream is a total game-changer.
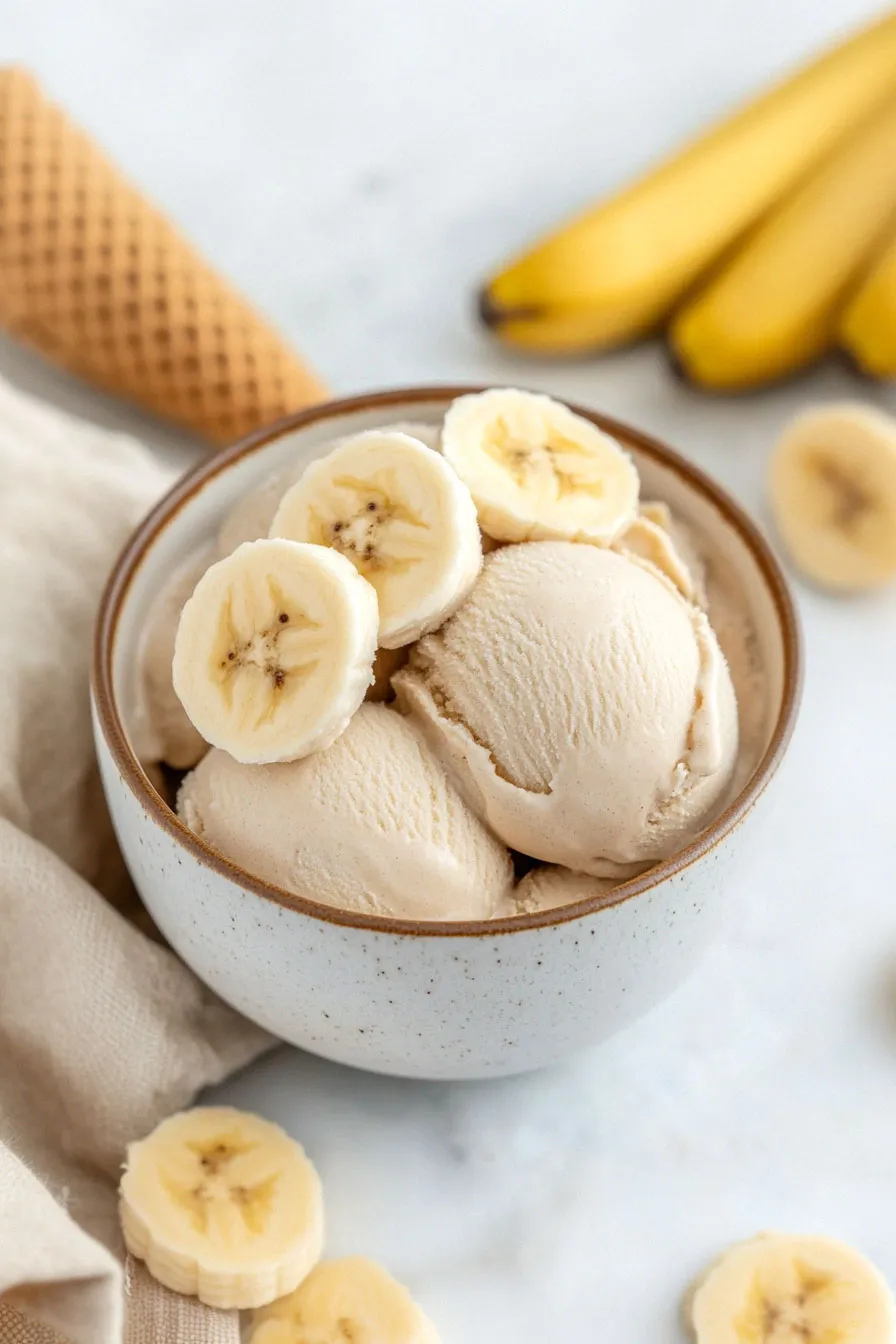
This creamy, dairy-free treat is as simple as it gets – just frozen bananas whirled into smooth, ice cream-like perfection. The natural sweetness of ripe bananas does all the heavy lifting here.
It’s the kind of dessert that makes you wonder why you ever thought you needed fancy equipment or a long list of ingredients to make ice cream at home. A food processor and some bananas are all it takes.
It’s a feel-good treat that satisfies those ice cream cravings, perfect for hot summer afternoons or whenever your sweet tooth kicks in.
Why You’ll Love This Banana Ice Cream
- Two-ingredient recipe – With just frozen bananas and optional almond milk, this couldn’t be more simple to make – perfect for when you’re craving something sweet but don’t want to run to the store.
- Dairy-free and vegan – This naturally creamy treat fits perfectly into plant-based and dairy-free diets, making it a great option for anyone with dietary restrictions.
- No added sugar – The natural sweetness of ripe bananas means you don’t need any extra sugar, making this a healthier alternative to traditional ice cream.
- Budget-friendly dessert – Using just bananas and a splash of milk, this affordable treat costs way less than store-bought ice cream or frozen desserts.
What Kind of Bananas Should I Use?
Regular Cavendish bananas (the most common type found in grocery stores) are perfect for making this frozen treat. The key is to let them ripen until they have some brown spots on the peel – this is when they’re at their sweetest and will give you the best flavor. Don’t use green or barely ripe bananas, as they won’t be sweet enough and can leave a starchy taste. Once your bananas are spotted, peel them and cut them into chunks before freezing. If you’re planning ahead, you can keep a stash of frozen ripe banana chunks in your freezer ready to go whenever the ice cream craving hits.

Options for Substitutions
This simple frozen treat is pretty straightforward, but here are some helpful substitution tips:
- Bananas: Bananas are the star here and can’t be substituted – they’re what gives this ‘nice cream’ its creamy texture and natural sweetness. Just make sure they’re really ripe (with brown spots) before freezing for the best flavor.
- Almond milk: The milk is optional, but if you want to use it, any milk works great here! Try coconut milk for tropical flavor, oat milk for extra creaminess, or regular dairy milk. Start with small amounts and add more as needed to help with blending.
- Additional mix-ins: While not in the original recipe, you can add cocoa powder, peanut butter, vanilla extract, or a splash of maple syrup to create different flavors. Just add these to taste after you’ve blended the basic mixture.
Watch Out for These Mistakes While Making
The biggest mistake when making frozen banana ice cream is using bananas that aren’t ripe enough – they should have plenty of brown spots before freezing, as this ensures maximum natural sweetness and the creamiest texture.
Another common error is trying to blend the frozen banana pieces all at once, which can strain your food processor – instead, pulse in short bursts and scrape down the sides frequently to achieve that smooth, ice cream-like consistency.
Adding too much liquid can quickly turn your “nice cream” into a smoothie, so start with just a tiny splash of almond milk (or none at all) and only add more if your blender needs help processing.
For the smoothest results, let the frozen banana chunks thaw for 3-5 minutes at room temperature before blending, and don’t forget to pre-cut the bananas before freezing – trying to cut frozen whole bananas is both difficult and dangerous.
What to Serve With Banana Ice Cream?
This creamy banana ice cream is super flexible when it comes to toppings and sides! A drizzle of warm peanut butter or chocolate sauce turns it into an extra special treat, while a sprinkle of chopped nuts adds a nice crunch. I love serving it alongside some fresh berries or sliced fruit for a healthy dessert combo. Since this ice cream is naturally sweet and dairy-free, it also pairs really well with a cup of hot coffee or tea for a cozy afternoon snack.
Storage Instructions
Keep Frozen: Your banana ice cream needs to stay in the freezer to maintain its creamy texture. Pop it in a freezer-safe container and it’ll keep well for up to 2 months. I like using a shallow container to make scooping easier later on.
Soften: When you’re ready to enjoy your frozen treat, let it sit at room temperature for about 5-10 minutes to soften slightly. This makes it easier to scoop and gives it that perfect soft-serve consistency. If it’s too hard, just be patient – it’ll soften up!
Prep Ahead: Make your life easier by keeping a stash of peeled, chopped bananas in your freezer. Store them in a zip-top bag and they’ll be ready whenever you’re craving this healthy dessert. Just remember to use bananas that are nice and ripe with lots of brown spots for the sweetest results.
| Preparation Time | 5-10 minutes |
| Cooking Time | 120 minutes |
| Total Time | 125-130 minutes |
| Level of Difficulty | Easy |
Estimated Nutrition
Estimated nutrition for the whole recipe (without optional ingredients):
- Calories: 210-240
- Protein: 2-4 g
- Fat: 0.5-1 g
- Carbohydrates: 54-60 g
Ingredients
- 1-2 tbsp almond milk
- 3 bananas (frozen solid, peeled, and sliced before freezing for easier blending)
Step 1: Prepare the Bananas
Begin by placing frozen banana chunks into the base of a food processor.
Ensure that the chunks are not too large to prevent straining the motor.
If the bananas are in large pieces, consider breaking them into smaller chunks before adding to the processor.
Step 2: Process the Bananas
Pulse or process the bananas until they become smooth and creamy.
This process typically takes 4-5 minutes in a standard food processor or 2-3 minutes in a high-powered blender.
During processing, you may need to stop the motor and stir the mixture occasionally to ensure even blending.
If the mixture isn’t coming together, add a little almond milk, 1 tablespoon at a time, until the desired consistency is reached.
Often, this additional liquid is unnecessary.
Step 3: Serve or Freeze the Ice Cream
For a soft serve consistency, spoon the creamy banana mixture into one or two bowls and serve immediately as a refreshing soft-serve treat.
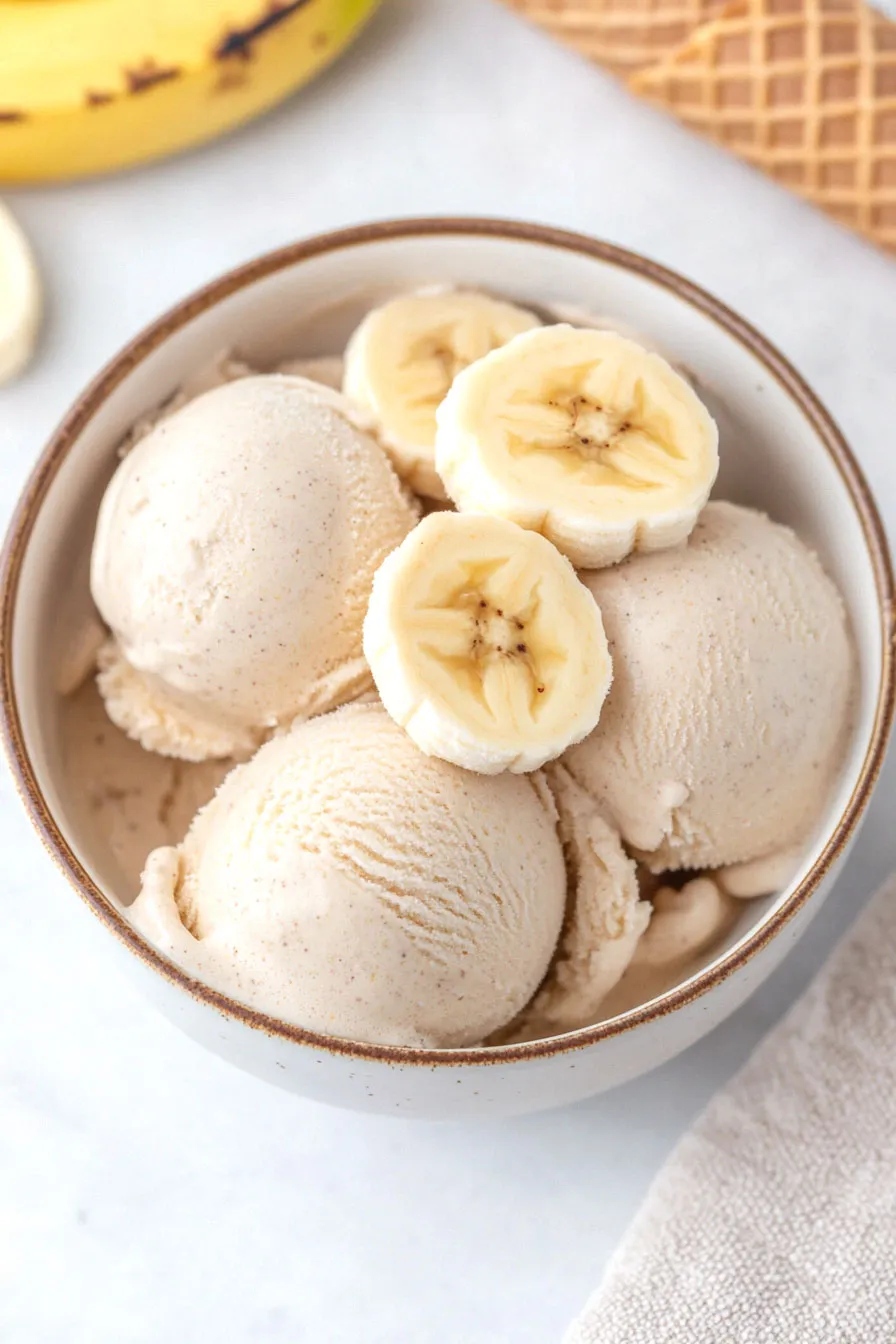
If you prefer a more traditional, scoop-able ice cream consistency, transfer the banana mixture to a freezer-safe dish.
Place the dish in the freezer and let it freeze for about 2 hours before serving.
Step 4: Enjoy!
Once the banana ice cream has reached your desired consistency, it’s ready to enjoy!
Serve as is or top with your favorite toppings like nuts, chocolate chips, or a drizzle of honey for an extra treat.
