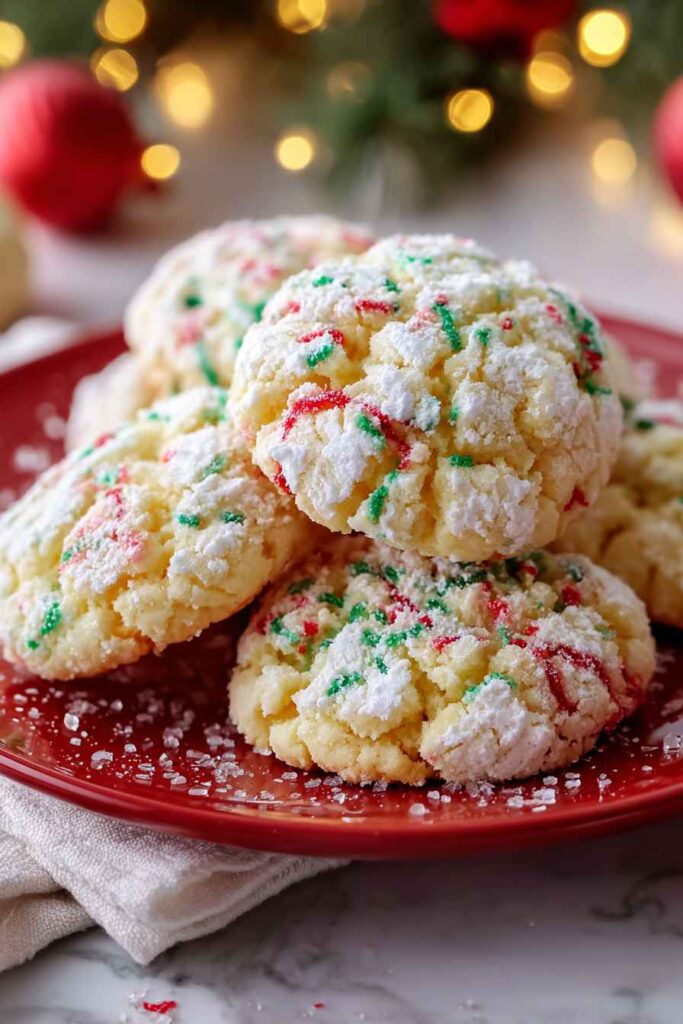
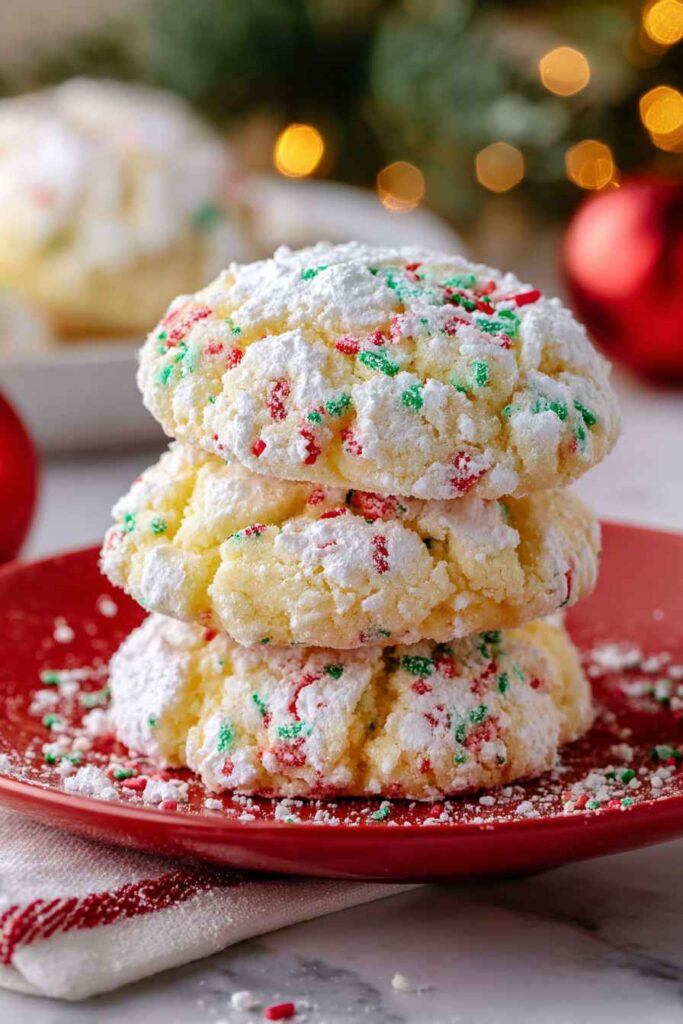
If you ask me, butter cookies made with cake mix are pure genius.
These soft, gooey cookies take the classic butter cookie and make it even better with the help of yellow cake mix. Each bite has that perfect melt-in-your-mouth texture that’ll remind you of your favorite childhood desserts.
The secret is in the simple combination of cream cheese and butter, mixed with that convenient box of cake mix you probably have sitting in your pantry right now. When they come out of the oven, they’ve got that slightly crispy edge with an irresistibly soft center.
They’re the kind of cookies that disappear fast at bake sales and always get requested at family gatherings – and nobody needs to know how easy they are to make.
Why You’ll Love These Butter Cookies
- Quick and simple – With just 6 basic ingredients and under 45 minutes total time, these cookies are perfect for last-minute baking or when you need a quick sweet treat.
- Customizable recipe – You can switch up the cake mix flavor and sprinkles to match any holiday or occasion – try chocolate, strawberry, or funfetti cake mix for different variations.
- No special skills needed – These cookies are practically foolproof – if you can mix ingredients together, you can make these cookies turn out perfectly every time.
- Rich and creamy texture – The combination of cream cheese and butter creates an incredibly soft, melt-in-your-mouth cookie that’s crispy on the outside and gooey on the inside.
Options for Substitutions
These cookies are pretty simple to make, and you’ve got some room to play around with the ingredients:
- Cake mix: While yellow cake mix is classic, feel free to experiment! Chocolate, strawberry, or even spice cake mix work great. Just keep in mind that any cake mix you choose will strongly influence the final flavor.
- Cream cheese: You can use regular or low-fat cream cheese, but avoid fat-free as it changes the texture too much. In a pinch, mascarpone cheese can work, though it will make the cookies a bit richer.
- Butter: Stick to real butter here – margarine can make the cookies spread too much. You can use salted butter instead of unsalted, just skip any extra salt in the recipe.
- Vanilla extract: Feel free to switch up the extract based on your cake mix flavor – try almond extract with cherry cake mix, or mint extract with chocolate cake mix.
- Powdered sugar: This is a must-have for the classic gooey butter cookie look and texture – there’s really no good substitute for the coating.
- Sprinkles: These are totally optional! You can skip them or swap them for colored sugar, nuts, or even mini chocolate chips.
Watch Out for These Mistakes While Baking
The biggest challenge when making gooey butter cookies is getting that perfect crackly top while maintaining their signature soft center – the secret is avoiding overbaking, so remove them from the oven when the edges are just set but the middle still looks slightly underdone.
Temperature control is crucial, so make sure both your butter and cream cheese are properly softened at room temperature (about 1 hour on the counter), as cold ingredients won’t blend smoothly and can lead to lumpy cookies.
When rolling the dough balls in powdered sugar, a common mistake is not using enough coating – be generous with the powdered sugar and roll each ball twice to achieve that beautiful white, crackled exterior that makes these cookies so appealing.
For the best texture, let the cookies cool on the baking sheet for 5 minutes before moving them to a wire rack – they’re very soft when hot and need this time to set properly without breaking apart.
How to Know When the Butter Cookies are Done
These cookies can be a bit tricky to gauge since they’re meant to stay soft and gooey in the middle, but there are clear signs to look for.
The edges should be lightly golden and set, while the centers will still look slightly underbaked and puffy – don’t worry, this is exactly what you want!
If you gently touch the top of a cookie, it should feel set but still leave a slight indent from your finger.
Remember that the cookies will continue to set up as they cool on the baking sheet, so it’s better to pull them out a minute early than to let them get too firm in the oven.
Storage Instructions
Keep Fresh: These gooey butter cookies stay wonderfully soft when kept in an airtight container at room temperature for up to 5 days. I like to place a piece of bread in the container – it’s an old trick that helps keep the cookies nice and soft!
Refrigerate: Since these cookies contain cream cheese, you can also pop them in the fridge in a sealed container. They’ll stay fresh for up to a week, though the texture might become slightly firmer. Just let them sit at room temperature for about 15 minutes before enjoying.
Freeze: These cookies freeze really well! Place them in a freezer-safe container with wax paper between layers and they’ll keep for up to 3 months. When you’re ready to eat them, just thaw them overnight in the fridge or for an hour at room temperature.
Make Ahead: You can prepare the cookie dough up to 24 hours in advance and keep it covered in the fridge. Just remember to let it sit at room temperature for about 30 minutes before rolling in powdered sugar and baking.
| Preparation Time | 20-30 minutes |
| Cooking Time | 10-12 minutes |
| Total Time | 40-42 minutes |
| Level of Difficulty | Easy |
Ingredients
For the cookies:
- 1 tsp vanilla extract
- 1 package yellow cake mix
- 1 large egg
- 8 oz cream cheese (softened at room temperature)
- 1/2 cup unsalted butter (softened at room temperature)
For the coating:
- festive sprinkles (optional, for decoration)
- powdered sugar (for dusting)
Step 1: Prepare the Wet Ingredients
In a large mixing bowl, beat together 1/2 cup of butter (softened), 1 teaspoon of vanilla extract, 1 large egg, and 8 ounces of cream cheese (softened) until the mixture is fluffy and well combined.
This can be done using a hand mixer or a stand mixer on medium speed.
Step 2: Add the Dry Ingredients
Gradually add a box of cake mix (any flavor of your choice) to the bowl with the wet ingredients.
Blend until everything is well mixed and you have a smooth, consistent dough.
The mixture might be a bit thick, but keep mixing until all the dry ingredients are incorporated.
Step 3: Chill the Dough
Cover the bowl with plastic wrap or a kitchen towel and place it in the fridge.
Allow the dough to chill for 30 minutes to 1 hour.
This step is crucial as it helps the dough to firm up, making it easier to handle and shape later on.
Step 4: Shape and Coat the Dough
Once the dough is chilled, remove it from the fridge.
Roll the dough into small balls, approximately 1 inch in diameter.
First, roll each ball in holiday sprinkles to get an even coating, then dip them in a bowl of powdered sugar.
Roll the balls around until they are completely covered in powdered sugar.
Step 5: Bake the Cookies
Preheat your oven to 350°F (175°C).
Place the coated dough balls on a baking sheet lined with parchment paper, spacing them about 2 inches apart.
Bake in the preheated oven for 10-12 minutes, or until the edges of the cookies are lightly browned.
Be careful not to overbake.
Step 6: Cool and Serve
Once the cookies are done baking, remove them from the oven and let them cool on the baking sheet for about 5 minutes.
This allows them to set slightly, making them easier to transfer.
After cooling, transfer the cookies to a wire rack to cool completely.
Enjoy your delightful holiday cookies!

Quick Gooey Butter Cookies with Yellow Cake
Ingredients
Cookies
- 1 tsp vanilla extract
- 1 package yellow cake mix
- 1 large egg
- 8 oz cream cheese (softened at room temperature)
- 1/2 cup unsalted butter (softened at room temperature)
Coating
- festive sprinkles (optional, for decoration)
- powdered sugar (for dusting)
Instructions
- In a large mixing bowl, beat together 1/2 cup of butter (softened), 1 teaspoon of vanilla extract, 1 large egg, and 8 ounces of cream cheese (softened) until the mixture is fluffy and well combined. This can be done using a hand mixer or a stand mixer on medium speed.
- Gradually add a box of cake mix (any flavor of your choice) to the bowl with the wet ingredients. Blend until everything is well mixed and you have a smooth, consistent dough. The mixture might be a bit thick, but keep mixing until all the dry ingredients are incorporated.
- Cover the bowl with plastic wrap or a kitchen towel and place it in the fridge. Allow the dough to chill for 30 minutes to 1 hour. This step is crucial as it helps the dough to firm up, making it easier to handle and shape later on.
- Once the dough is chilled, remove it from the fridge. Roll the dough into small balls, approximately 1 inch in diameter. First, roll each ball in holiday sprinkles to get an even coating, then dip them in a bowl of powdered sugar. Roll the balls around until they are completely covered in powdered sugar.
- Preheat your oven to 350°F (175°C). Place the coated dough balls on a baking sheet lined with parchment paper, spacing them about 2 inches apart. Bake in the preheated oven for 10-12 minutes, or until the edges of the cookies are lightly browned. Be careful not to overbake.
- Once the cookies are done baking, remove them from the oven and let them cool on the baking sheet for about 5 minutes. This allows them to set slightly, making them easier to transfer. After cooling, transfer the cookies to a wire rack to cool completely. Enjoy your delightful holiday cookies!


How many does this make?