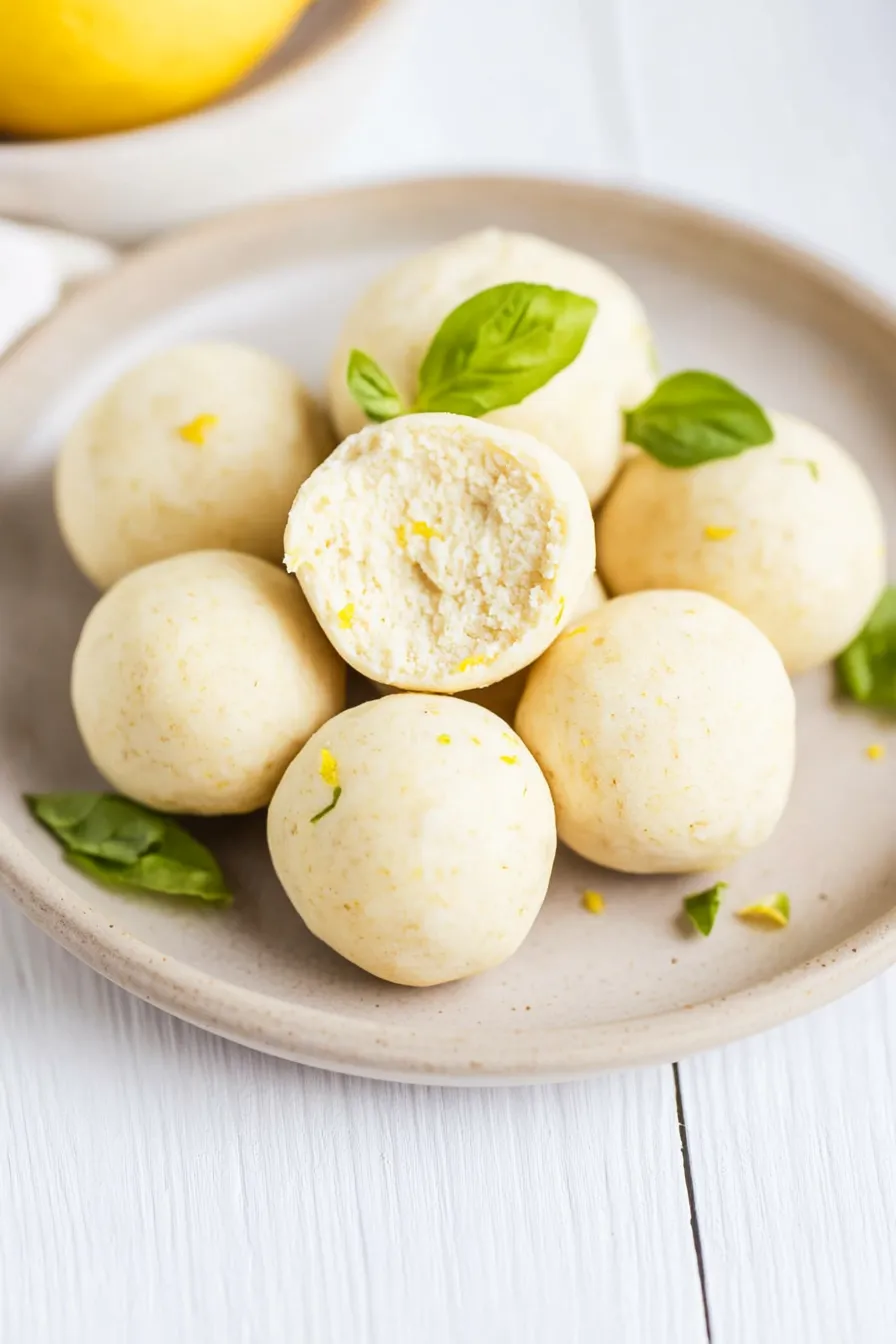
Here’s my go-to recipe for Greek yogurt protein balls, made with simple ingredients like oats, honey, and protein powder, plus some fun mix-ins that make them extra tasty and filling.
These protein balls have become my favorite afternoon pick-me-up snack, and I always keep a batch in the fridge. They’re perfect for grabbing on busy days when you need something quick and healthy – plus my kids love them too!
Why You’ll Love These Protein Balls
- High protein snack – These protein balls pack a powerful protein punch from both Greek yogurt and protein powder, making them perfect for post-workout fuel or an afternoon energy boost.
- Quick prep time – You can whip these up in just 15 minutes – perfect for meal prep or when you need a healthy snack in a hurry.
- Diet-friendly ingredients – Made with low-fat Greek yogurt and coconut flour, these protein balls fit perfectly into most healthy eating plans and are naturally lower in sugar than store-bought options.
- Gut-healthy option – With Greek yogurt and the option to add probiotics, these protein balls support digestive health while satisfying your snack cravings.
What Kind of Greek Yogurt Should I Use?
For protein balls, strained Greek yogurt is the way to go since it’s thicker and contains less moisture than regular yogurt. While this recipe calls for 0% fat Fage, you can use any fat percentage you prefer – just keep in mind that higher fat content will make your protein balls a bit richer and creamier. The most important thing is to make sure you’re using Greek yogurt that’s been properly strained – you can tell by its thick, almost cream cheese-like consistency. If your yogurt seems a bit watery, you can strain it yourself by placing it in a cheesecloth-lined strainer over a bowl for an hour or two before using it in the recipe.
Options for Substitutions
These protein balls are pretty adaptable – here’s what you can switch up:
- Protein powder: While vanilla protein works great here, you can use any flavor you like – chocolate, strawberry, or unflavored work too. If using unflavored, consider adding 1/2 teaspoon vanilla extract and 1-2 teaspoons honey for taste.
- Coconut flour: Coconut flour is pretty unique because it’s super absorbent, but you can try almond flour instead – you’ll need about 3/4 cup since it’s less absorbent. The texture will be slightly different but still good!
- Greek yogurt: Any fat percentage of Greek yogurt works fine here. Just make sure it’s Greek style – regular yogurt is too thin and will make the balls too wet. If you’re dairy-free, thick coconut yogurt can work, but you might need to add a bit more flour.
- Lemon peel: No fresh lemons? Use 1 teaspoon lemon extract or swap it out for orange zest. You can even skip the citrus altogether and add cinnamon or vanilla extract instead.
- Probiotics: This is totally optional – you can skip it without affecting the recipe at all. The probiotics just add some extra gut-health benefits.
Watch Out for These Mistakes While Making
The biggest challenge when making protein balls is getting the right consistency – adding too much protein powder or coconut flour can make them dry and crumbly, so start with the recommended amounts and adjust gradually if needed.
Temperature control matters more than you might think – keeping your Greek yogurt cold while mixing helps maintain the proper texture, and chilling the formed balls in the fridge for at least 30 minutes helps them hold their shape better.
When incorporating probiotic capsules, make sure to mix them in gently at the very end and avoid using warm ingredients, as heat can destroy the beneficial bacteria.
For the smoothest results, mix the dry ingredients thoroughly before adding the yogurt, and if the mixture feels too sticky, try chilling it for 10 minutes before rolling into balls rather than adding more flour.
What to Serve With Protein Balls?
These protein-packed snacks are perfect for grabbing on the go, but they’re even better when paired with some complementary items. A warm cup of green tea or coffee makes a great morning combo, giving you both protein and caffeine to kickstart your day. For post-workout fuel, try having these protein balls with a banana or apple slices to add some quick carbs to your protein boost. If you’re packing them for lunch, they work really well alongside a handful of almonds and some fresh berries for a balanced snack that’ll keep you going through the afternoon.
Storage Instructions
Keep Cool: Since these protein balls contain Greek yogurt, they need to be kept in the fridge in an airtight container. They’ll stay fresh and tasty for up to 5 days. I like to place them in a single layer to maintain their shape, or if stacking is necessary, separate layers with parchment paper.
Freeze: These little protein-packed treats freeze really well! Place them on a baking sheet and freeze until solid (about 2 hours), then transfer to a freezer bag or container. They’ll keep in the freezer for up to 2 months. This is great for meal prep when you want to make a bigger batch.
Thaw: When you’re ready to enjoy your frozen protein balls, just transfer them to the fridge and let them thaw overnight. I don’t recommend thawing at room temperature since they contain dairy. Once thawed, eat them within 3 days for the best taste and texture.
| Preparation Time | 10-15 minutes |
| Cooking Time | 0 minutes |
| Total Time | 15-30 minutes |
| Level of Difficulty | Easy |
Estimated Nutrition
Estimated nutrition for the whole recipe (without optional ingredients):
- Calories: 400-450
- Protein: 30-35 g
- Fat: 6-8 g
- Carbohydrates: 50-55 g
Ingredients
- 2 tbsp grated lemon peel (freshly grated for bright flavor)
- 1/4 cup vanilla protein powder (I use Optimum Nutrition Gold Standard)
- 1 to 2 probiotic capsules (contents only, not the capsule itself)
- 1/4 cup coconut flour
- 1/3 cup plain greek yogurt (full fat for best texture)
Step 1: Combine Dry Ingredients
In a small bowl, mix together the protein powder, coconut flour, and lemon zest until evenly combined.
This forms the base of your dough.
Step 2: Incorporate Probiotic and Yogurt
Carefully open a probiotic capsule and empty its contents into the bowl with the dry ingredients.
Add Greek yogurt to the bowl, then mix everything well.
Use your hands for kneading and pressing the ingredients to ensure the dough comes together fully and evenly.
Step 3: Adjust Dough Consistency
If the dough feels too soft, add a bit more coconut flour to firm it up.
Conversely, if the dough is too thick, add a teaspoon or more of Greek yogurt to soften it.
Your goal is to achieve a dough that’s cohesive and easy to roll.
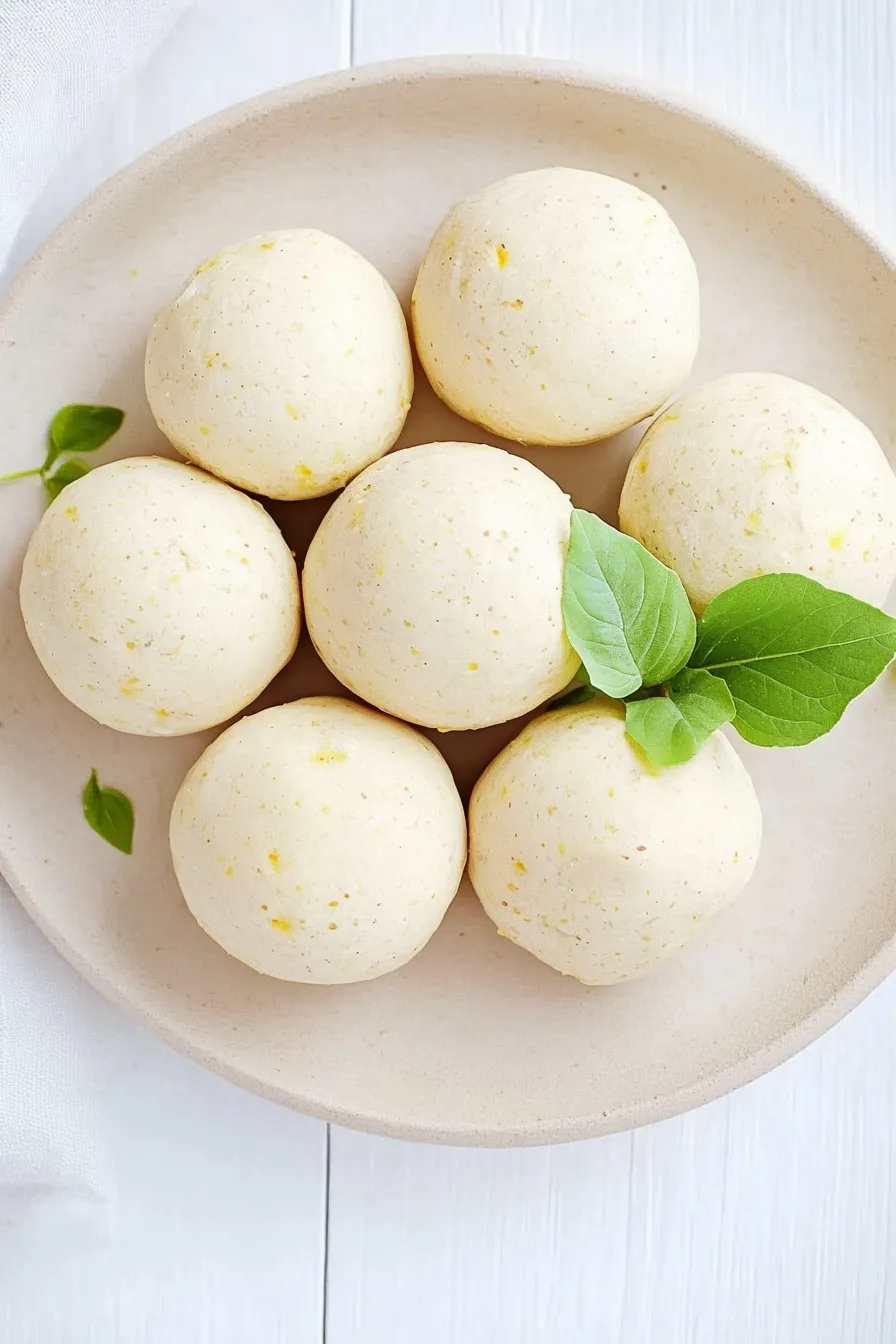
Step 4: Roll and Shape the Dough
With the dough ready, portion it into tablespoon-sized balls.
Roll each portion between your palms until you have smooth, uniform balls.
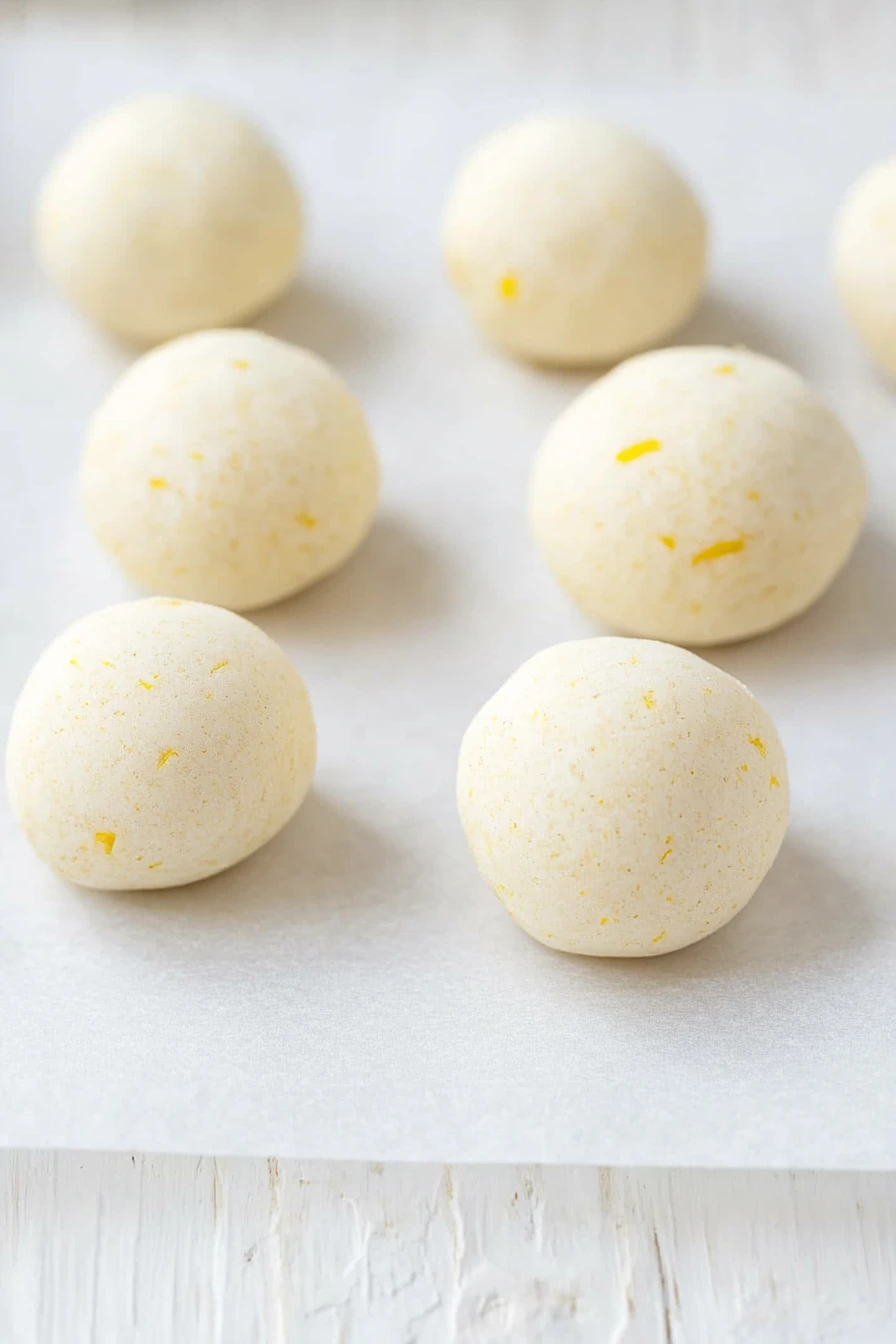
Step 5: Set in the Refrigerator
Arrange the protein dough balls on a plate or tray and refrigerate them for about 15 minutes.
This helps to set the shape and firm up the texture, readying them for serving.
Step 6: Enjoy Your Protein Bites
Once chilled, your protein bites are ready to enjoy as a nutritious snack or dessert.
Keep any leftovers stored in the refrigerator to maintain their texture and freshness.
