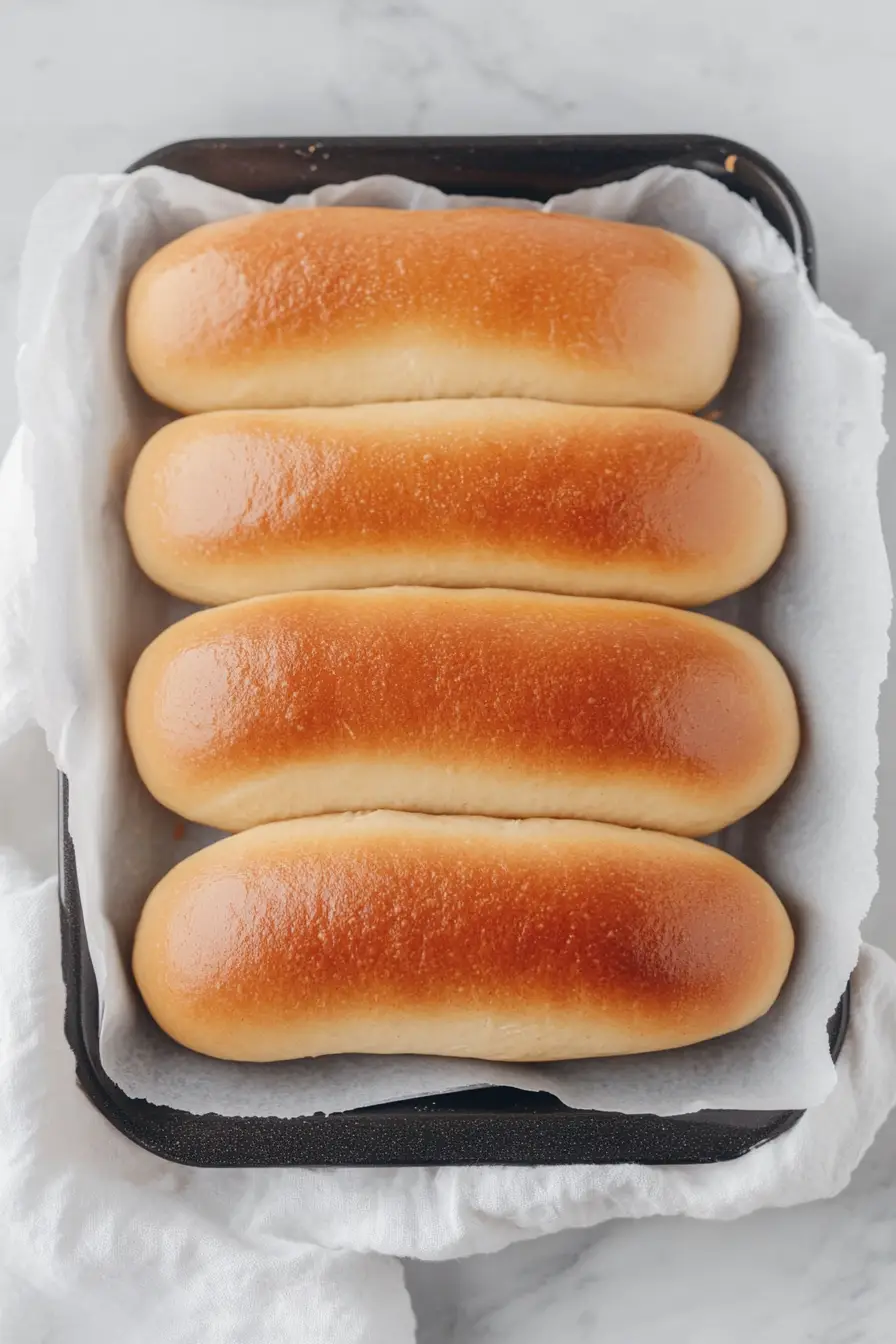
Here is my go-to hot dog bun recipe, with a simple, foolproof dough that bakes up soft and fluffy every time. These homemade buns have just the right amount of sweetness and a golden brown top that makes store-bought versions pale in comparison.
These buns have become a summer staple in our house, especially during barbecue season. I usually make a double batch because they freeze well, and let’s be honest – there’s nothing better than a fresh, warm bun hugging your favorite hot dog or sausage.
Why You’ll Love These Hot Dog Buns
- Better than store-bought – These homemade buns are soft, fresh, and free from preservatives – once you try them, you’ll never want to go back to the packaged version.
- Basic pantry ingredients – You probably already have everything you need in your kitchen to make these buns, using just flour, yeast, and a few common staples.
- Make-ahead friendly – While the total time includes rising, most of it is hands-off. You can even make the dough the night before and let it rise slowly in the fridge.
- Customizable size – Unlike store-bought buns, you can shape these exactly how you want them – perfect for regular hot dogs, bratwurst, or even smaller cocktail-sized sausages.
- Cost-effective – Making your own hot dog buns costs a fraction of what you’d pay for quality bakery buns, and you can make a big batch to freeze for later.
What Kind of Flour Should I Use?
All-purpose flour is your best bet for making hot dog buns at home, and both bleached or unbleached varieties will work well. While bread flour can be used, it might make your buns a bit too chewy – all-purpose flour gives you that perfect balance of softness and structure that you want in a hot dog bun. If you’re measuring by cups instead of weight, make sure to use the spoon-and-level method (spooning the flour into the measuring cup and leveling it off with a knife) rather than scooping directly from the flour bag, which can pack too much flour into your cup. For the most consistent results, stick with a major brand of all-purpose flour since protein content can vary between brands, which affects how your buns turn out.
Options for Substitutions
Making these hot dog buns at home? Here are some helpful substitution tips:
- All-purpose flour: You can use bread flour for a chewier texture, or replace up to half the flour with whole wheat flour (though the buns will be denser). Note: If using whole wheat, you might need to add 2-3 extra tablespoons of water.
- Active dry yeast: Instant yeast works just fine – use the same amount but you can skip the proofing step. Fresh yeast is also an option – use about 21g (three times the amount of dry yeast).
- Milk: Any plant-based milk (soy, almond, oat) can replace regular milk. You can even use just water, though the buns won’t be quite as tender.
- Butter: Any neutral oil works well here. Coconut oil (melted), olive oil, or even mayonnaise can work as substitutes.
- Egg wash: For a vegan option, brush with plant milk mixed with a bit of maple syrup or agave. For a glossy finish, you can also use melted butter or heavy cream.
- Sugar: Honey or maple syrup work well – use the same amount. The sugar feeds the yeast, so don’t skip it completely.
Watch Out for These Mistakes While Baking
The temperature of your liquids is crucial when making hot dog buns – if your milk and water are too hot (over 110°F), you’ll kill the yeast, but if they’re too cold, the dough won’t rise properly, so aim for warm, not hot liquid that feels comfortable on your wrist.
Many bakers rush the proofing process, but giving your dough enough time to rise (until it doubles in size) is essential for soft, fluffy buns – rushing this step will result in dense, heavy rolls that nobody wants.
When shaping your buns, keep them uniform in size and leave enough space between them on the baking sheet, as they’ll expand during their second rise and while baking – overcrowding leads to uneven baking and buns that stick together.
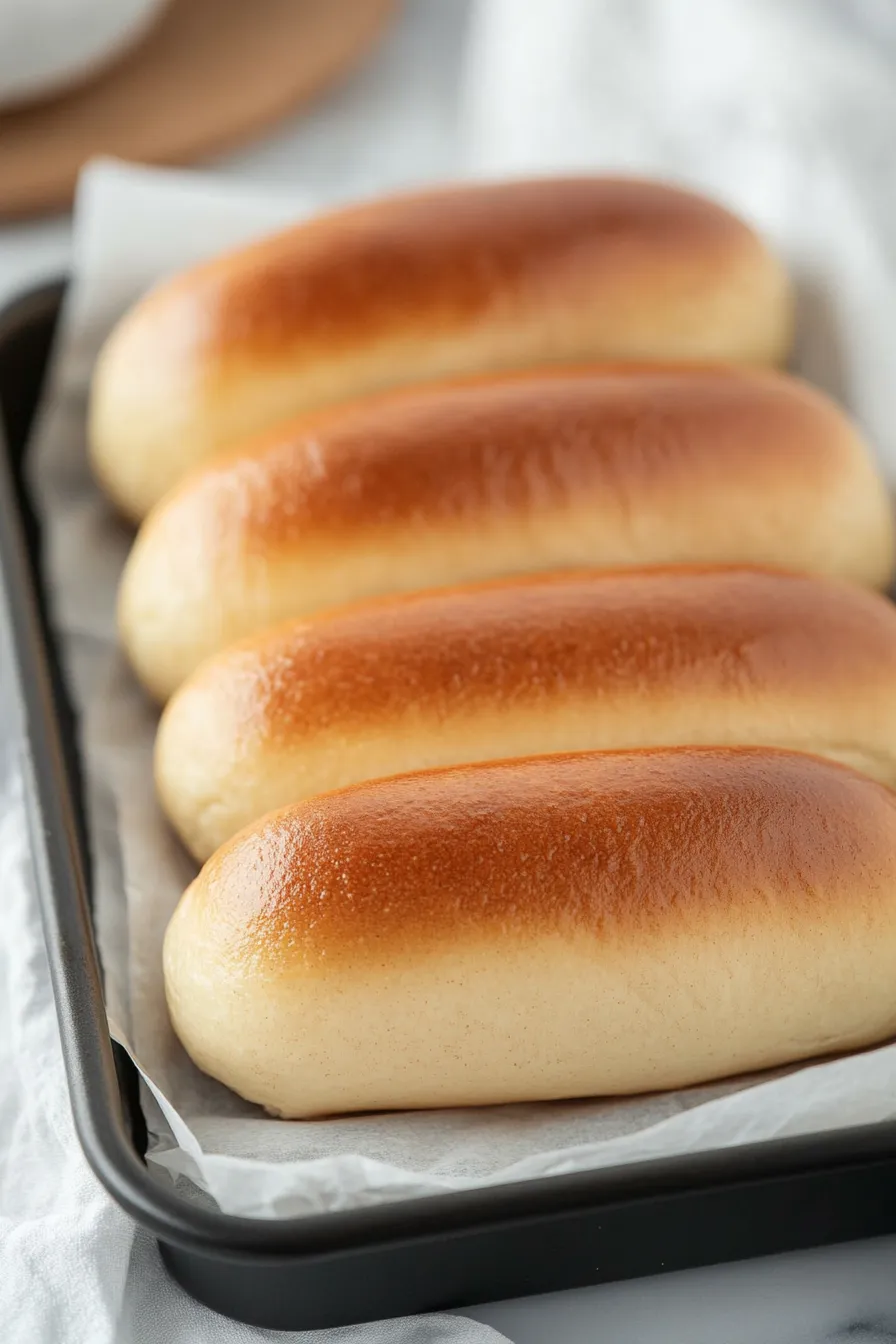
Don’t skip the egg wash before baking, as it gives the buns that beautiful golden-brown color, and remember to let them cool for at least 15 minutes on a wire rack to prevent soggy bottoms from trapped steam.
What to Serve With Hot Dog Buns?
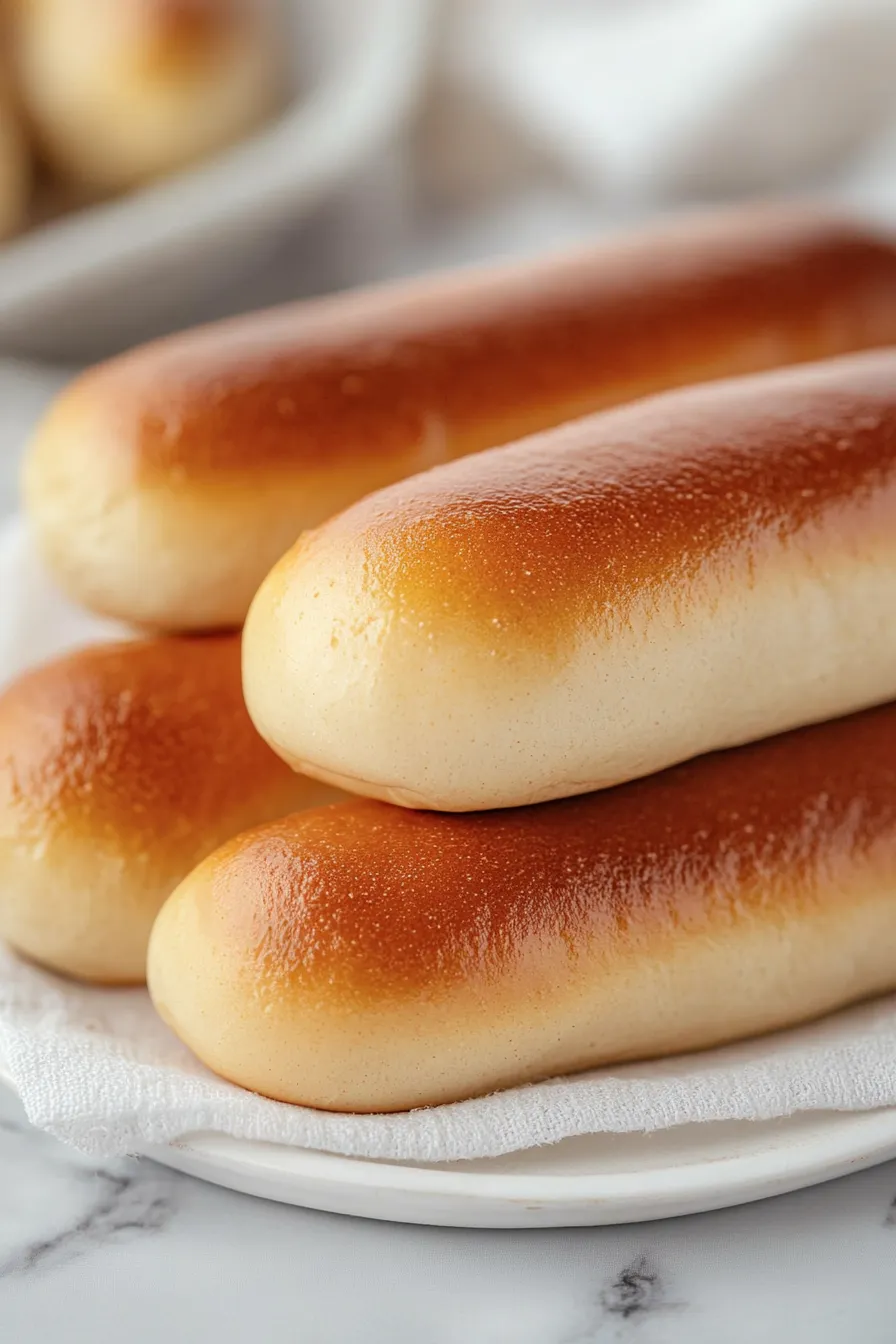
These freshly baked hot dog buns are perfect for your next cookout or casual dinner! The most obvious pairing is with grilled hot dogs, but don’t stop there – these soft, homemade buns work great with bratwurst, Italian sausages, or even grilled vegetables for a meat-free option. Load them up with your favorite toppings like sauerkraut, diced onions, relish, or mustard, and serve alongside classic cookout sides like potato salad, coleslaw, or baked beans. For a fun summer meal, set up a hot dog bar and let everyone build their own perfect combination!
Storage Instructions
Keep Fresh: These homemade hot dog buns stay fresh at room temperature for up to 3 days when stored in a sealed plastic bag or bread container. For the best texture, keep them away from direct sunlight and heat. They might get a bit softer over time, but that’s totally normal for homemade bread!
Freeze: Want to keep them longer? These buns freeze really well for up to 3 months! Just wrap them individually in plastic wrap, then pop them in a freezer bag. This way, you can grab just what you need when hot dog cravings strike.
Refresh: If your buns have been frozen or stored for a few days, you can easily bring back that fresh-baked taste. Just warm them in the oven at 350°F for about 5 minutes, or give them a quick 10-15 seconds in the microwave. They’ll taste almost as good as when they first came out of the oven!
| Preparation Time | 30-60 minutes |
| Cooking Time | 15-20 minutes |
| Total Time | 8-24 hours (including rising time) |
| Level of Difficulty | Medium |
Estimated Nutrition
Estimated nutrition for the whole recipe (without optional ingredients):
- Calories: 1600-1800
- Protein: 50-60 g
- Fat: 60-70 g
- Carbohydrates: 230-250 g
Ingredients
For the dough:
- 1/2 cup warm milk (whole milk for richer buns)
- 1 tbsp sugar
- 1 tsp sea salt
- 2 tsp active dry yeast (ensure it’s fresh for good rise)
- 1 large egg
- 4 cups all-purpose flour (I always use King Arthur all-purpose flour)
- 2 tbsp softened butter (unsalted is best for baking)
- 3/4 cup warm water
For assembly:
- additional oil for greasing the bowl (like vegetable or canola oil)
For the egg wash:
- 1 egg
Step 1: Prepare the Dough
In the mixing bowl of your stand mixer, combine the flour, yeast, sugar, and salt.
In another small bowl, whisk together the water, milk, and egg.
Using the paddle attachment on your stand mixer or a dough whisk, mix the dry ingredients and gradually add the water-milk-egg mixture.
Mix until combined.
Step 2: Knead the Dough
Switch to the dough hook of your stand mixer and knead the dough until it comes together.
The dough should be fairly wet and sticky.
Continue kneading for about 5 minutes until you have a smooth ball of dough.
Add the oil or butter and knead for an additional 5-10 minutes (about 8 minutes is ideal) until the dough becomes shiny, smooth, and tacky to the touch.
Step 3: First Rise
Lightly oil a large bowl and place the dough inside, ensuring the surface of the dough is also lightly oiled.
Cover the bowl with plastic wrap.
For best results, refrigerate the dough overnight (8 hours) or for up to 24 hours.
If you’re baking the same day, let it rise for 1 hour in a warm place until it doubles in size.
Step 4: Shape the Dough
If refrigerated, turn the chilled dough onto a lightly floured surface.
If not chilled, you may need extra flour to prevent sticking.
Roll the dough into a rectangle about 16 inches long and 4-5 inches wide.
Cut the dough into 8-10 sections.
For each section, knead briefly to form a smooth ball, then roll into a flattened piece about 5 inches long and 4 inches wide.
Tightly roll the dough into a cylinder, tuck in the sides, and pinch edges to seal.
Place on a parchment-lined baking tray, spaced about 2 inches apart.
Step 5: Second Rise and Preheat Oven
Cover the dough with plastic wrap and let it rise for 45 minutes in a warm place, or until almost doubled in size.
Timing may vary based on ambient temperature.
About 30 minutes before baking, preheat your oven to 180°C (350°F).
Step 6: Bake the Rolls
Brush the tops of the rolls with an egg wash (lightly beaten egg).
Optionally, sprinkle with sesame seeds or poppy seeds before baking.
Bake in the preheated oven for 15-20 minutes, or until they are golden brown on top and sound hollow when tapped.
Remove from the oven and let cool slightly before handling.
Enjoy the rolls on the same day, or store them in an airtight container in the fridge for longer shelf life.
