Finding a crowd-pleasing dessert for summer gatherings or potlucks can feel like a real challenge. Between juggling different tastes and dietary preferences, plus wanting something that travels well and won’t melt in the heat, it’s enough to make anyone feel overwhelmed at the dessert table.
That’s where this cream cheese jello salad comes to the rescue: it’s cool and refreshing, super easy to make ahead of time, and always gets enthusiastic nods from both kids and adults alike. Plus, it’s one of those reliable recipes that you can customize with different flavors to match any occasion.

Why You’ll Love This Cream Cheese Jello Salad
- Make-ahead friendly – You can prepare this dessert salad the day before your gathering, making party planning so much easier.
- No-bake recipe – Perfect for hot summer days when you don’t want to turn on the oven – just mix, chill, and serve!
- Simple ingredients – With just 4 main ingredients that you can easily find at any grocery store, this recipe keeps shopping stress-free.
- Customizable toppings – Add your favorite fruits or toppings to make it your own – fresh raspberries and whipped cream make it extra special.
- Kid-friendly dessert – The creamy, fruity combination is always a hit with children, making it perfect for family gatherings and potlucks.
What Kind of Cream Cheese Should I Use?
Regular block-style cream cheese is your best bet for this jello salad – just make sure it’s full-fat, not reduced fat or whipped varieties. The key is getting your cream cheese really soft before mixing, so take it out of the fridge at least an hour before you plan to make the recipe. If you’re in a hurry, you can cut the block into smaller cubes to help it soften faster. Store brands work just as well as name brands like Philadelphia in this recipe, so feel free to use whichever you prefer. Just remember that spreadable cream cheese from a tub has extra ingredients and a different texture, so stick with the classic block form for the best results.
Options for Substitutions
This creamy jello salad is pretty adaptable – here’s what you can switch up:
- Raspberry Jello: Feel free to experiment with different Jello flavors! Strawberry, cherry, or mixed berry all work great with the pears. Just keep the package size the same.
- Pears: You can swap canned pears with canned peaches or fruit cocktail. Just remember to still reserve that 1 cup of juice, whatever fruit you choose.
- Cool Whip: No Cool Whip? Make your own by whipping 2 cups of heavy cream with 1/4 cup powdered sugar until stiff peaks form. You’ll need about 3 cups of whipped cream to match a 12-oz container of Cool Whip.
- Cream Cheese: While regular cream cheese works best here, you can use Neufchatel cheese (1/3 less fat cream cheese) if you’re looking for a lighter option. Just make sure it’s well softened.
- Raspberries: For topping, any fresh berries will do – try strawberries, blackberries, or a mix of different berries. You can even use canned fruit if fresh isn’t available.
Watch Out for These Mistakes While Making
The biggest challenge when making cream cheese jello salad is getting the temperature just right – if your jello mixture is too hot when you add the cream cheese, it will create lumps, so let it cool until it’s just slightly warm to the touch but not set.
Many cooks make the mistake of not draining the pears properly, which can lead to excess liquid and prevent your salad from setting firmly – make sure to measure exactly 1 cup of pear juice and drain the rest.
Another common error is rushing the setting process – this dessert needs at least 4 hours in the refrigerator to set completely, and trying to serve it too soon will result in a loose, messy consistency.
For the smoothest texture, beat your cream cheese until it’s completely soft and lump-free before mixing, and fold in the Cool Whip gently rather than stirring vigorously, which can deflate the mixture and make it dense.

What to Serve With Cream Cheese Jello Salad?
This sweet and creamy jello salad is a perfect side dish for casual gatherings and holiday meals. Since it’s on the sweeter side, it pairs really well with savory main dishes like baked ham, roasted turkey, or grilled chicken. For a summer cookout or potluck, try serving it alongside burgers and hot dogs – the cool, fruity flavor makes a nice contrast to grilled meats. If you’re having it for dessert, keep things simple with a cup of coffee or tea on the side, since the jello salad itself brings plenty of sweetness to the table.
Storage Instructions
Keep Cool: This creamy jello salad needs to stay chilled! Pop it in the fridge in an airtight container, and it’ll stay fresh for up to 4 days. The texture is actually best when it’s had at least a few hours to set up completely, so it’s perfect for making ahead for parties or gatherings.
Make Ahead: You can prepare this jello salad up to 2 days before serving. If you’re planning to add the optional whipped cream and raspberry toppings, wait to add those until just before serving – they’ll look and taste their best this way!
Serving Tip: Take the jello salad out of the fridge about 5-10 minutes before serving to let it soften slightly – this makes it easier to scoop and serves up prettier portions. Just don’t leave it out too long, as it’s best enjoyed nice and cold!
| Preparation Time | 20-30 minutes |
| Cooking Time | 3-4 hours |
| Total Time | 3.5-4.5 hours |
| Level of Difficulty | Easy |
Estimated Nutrition
Estimated nutrition for the whole recipe (without optional ingredients):
- Calories: 1200-1400
- Protein: 10-15 g
- Fat: 60-70 g
- Carbohydrates: 150-160 g
Ingredients
For the jello mixture:
- 1 cup water
- 1 can sliced pears
- 1 pkg whipped topping (thawed, like Cool Whip brand for best results)
- 1 box raspberry gelatin
- 1 pkg cream cheese (softened, about 70°F)
For top garnishes (optional):
- 1 cup whipped cream
- 1 cup fresh raspberries (for a pop of color and freshness)
Step 1: Prepare the Pear Juice Mixture
- 1 can (29 oz) sliced pears (reserve 1 cup juice)
- 1 cup water
Open the can of sliced pears and drain 1 cup of the pear juice into a bowl, discarding the remaining juice.
Add 1 cup of water to the reserved pear juice.
Microwave the mixture for 2-3 minutes, or until the liquid reaches a boiling point.
Step 2: Dissolve the Gelatin
- 1 box (6 oz) raspberry gelatin
Add the box of raspberry gelatin to the hot pear juice and water mixture.
Stir thoroughly until the gelatin granules are completely dissolved.
Place the bowl in the refrigerator to cool for about 7-10 minutes.
You want it to be cool to the touch, but not set—I always find this cooling step helps prevent the whipped topping from melting in the next step.
Step 3: Blend the Pears, Cream Cheese, and Whipped Topping
- sliced pears (from Step 1)
- 1 package (8 oz) cream cheese, softened
- cooled gelatin mixture (from Step 2)
- 1 package (12 oz) whipped topping, thawed
In a large blender, add the pears from the can and the softened cream cheese.
Pour in the cooled gelatin mixture (from Step 2) and the thawed whipped topping.
Blend everything together until the mixture is completely smooth and fully combined.
Step 4: Chill the Dessert
- blended pear and gelatin mixture (from Step 3)
Pour the blended mixture from Step 3 into a 9 x 13 inch pan, spreading it out evenly.
Refrigerate the pan for 3-4 hours or until the gelatin has set completely.
You can also let it set overnight for convenience.
Step 5: Serve with Garnishes
- 1 cup whipped cream, for garnish (optional)
- 1 cup fresh raspberries, for garnish (optional)
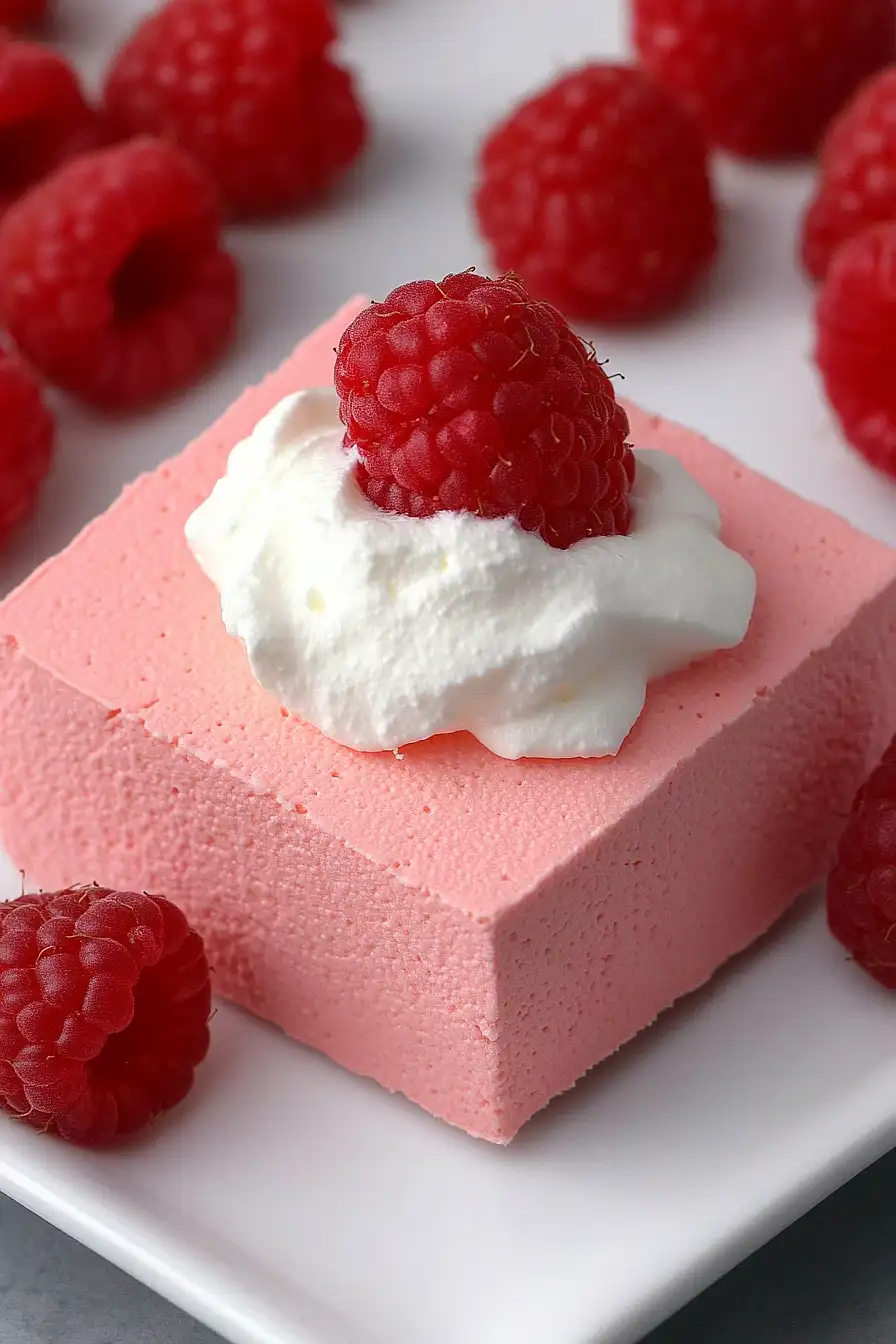
Once the dessert is fully set, cut it into squares and serve.
Top each serving with a dollop of whipped cream and a few fresh raspberries for a colorful, delicious finish.
Personally, I think the fresh raspberries add a bright and juicy contrast that really takes this dessert up a notch!
