Looking for a quick, healthy snack that doesn’t leave you feeling guilty? These PB2 protein balls have become my go-to solution for busy afternoons when I need a pick-me-up. I started making these when I realized I was spending way too much money on store-bought protein bars that didn’t even taste that great.
What I love about these protein balls is how simple they are to make. I usually whip up a batch on Sunday evenings while I’m meal prepping for the week. They take just a few minutes to put together, and then they’re ready whenever I need them. Plus, my kids actually ask for these instead of cookies, which feels like a major mom win.
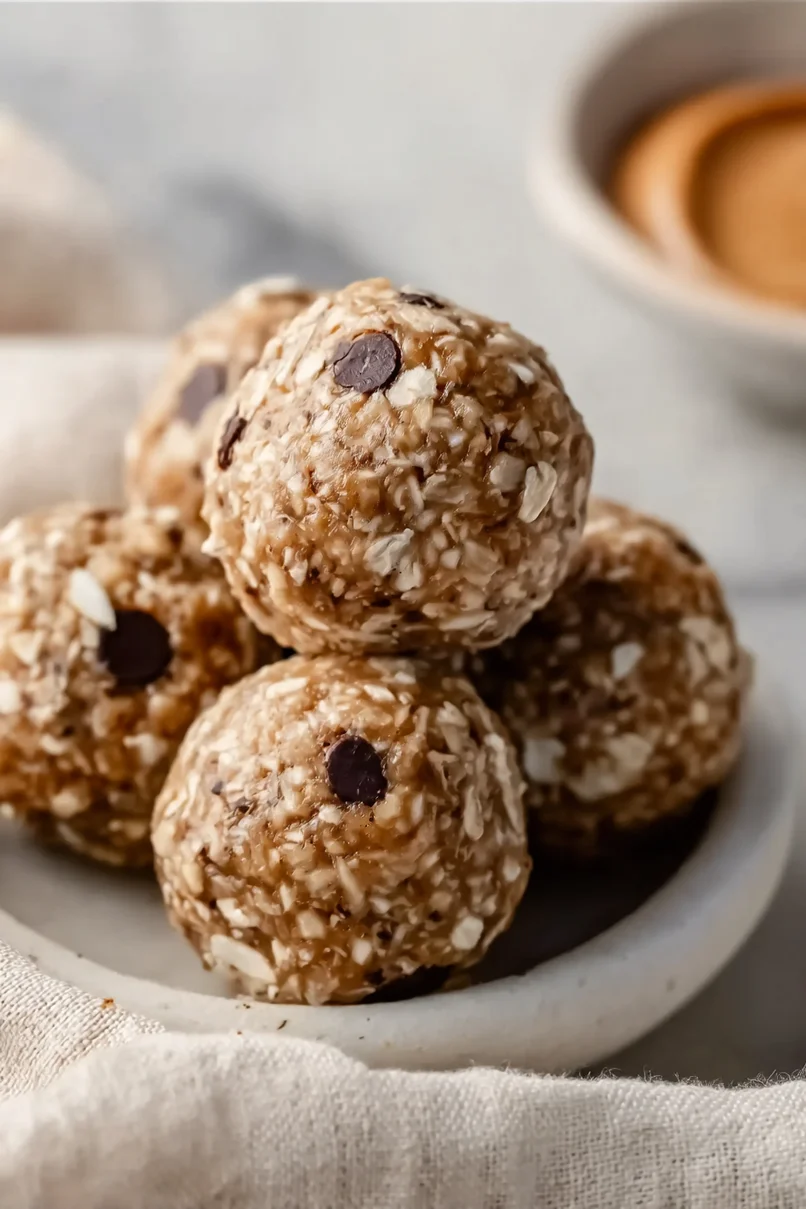
The combination of PB2 powder and protein makes these little bites both satisfying and nutritious. If you’re like me and trying to find that sweet spot between healthy and tasty, you’re going to want to keep these in your fridge.

Why You’ll Love These Protein Balls
- Quick no-bake snack – These protein balls come together in just 10-20 minutes with no cooking or baking required – perfect for busy days when you need a healthy snack fast.
- Protein-packed – With protein powder, PB2, and flaxseed, these balls give you the protein boost you need to power through your day or recover after a workout.
- Healthier treat option – Using PB2 instead of regular peanut butter cuts down on calories and fat while still giving you that delicious peanut butter taste you crave.
- Portable snack – These bite-sized treats are perfect for taking to work, the gym, or anywhere you need a quick energy boost on the go.
What Kind of Powdered Peanut Butter Should I Use?
While PB2 is the most well-known brand of powdered peanut butter, there are several options available at most grocery stores these days. Regular PB2, PBfit, and other similar brands all work well in this recipe since they’re made through the same process of pressing out oils from roasted peanuts. The main thing to watch out for is whether your powdered peanut butter contains added sugar or other ingredients – some brands add more sweeteners than others, which could affect the final taste of your protein balls. If you’re using a brand that’s pre-sweetened, you might want to reduce the amount of agave or honey in the recipe to balance things out. Just make sure to check that your powdered peanut butter is fresh and hasn’t absorbed any moisture, as this can make it clump and harder to work with.
Options for Substitutions
These protein balls are super adaptable – here’s how you can mix things up:
- PB2 (powdered peanut butter): Regular powdered almond butter works great here, or you can use regular peanut butter – just reduce the agave/honey to 1 tablespoon since regular nut butter is already moist.
- Agave syrup: Honey, maple syrup, or brown rice syrup all work well as binding agents. Each will give a slightly different sweetness level, so adjust to taste.
- Oats: Quick oats or rolled oats both work fine. You can also try quinoa flakes for extra protein, just note the texture will be a bit different.
- Puffed rice: Any puffed grain will do – try puffed quinoa, puffed millet, or even crushed rice krispies. For a different crunch, chopped nuts work too.
- Ground flaxseed: Chia seeds or hemp hearts make good swaps – they’ll still give you those healthy fats and help bind the mixture.
- Vanilla protein powder: Any flavor protein powder works here – chocolate, peanut butter, or unflavored. If skipping protein powder, add 2-3 extra tablespoons of PB2 to maintain the right texture.
- Chocolate chips: Try cacao nibs, chopped dried fruit, or mini M&Ms. You can even skip them completely if you prefer.
Watch Out for These Mistakes While Making
The biggest challenge when making protein balls is getting the right consistency – if your mixture is too dry, the balls won’t hold together, so start by adding your liquid ingredients gradually and adjust as needed. A common mistake is rushing the mixing process – take your time to thoroughly combine all ingredients, especially the PB2 powder, to avoid dry patches and ensure even distribution of flavors. When rolling the balls, working with slightly damp hands prevents the mixture from sticking to your fingers and helps create smooth, uniform shapes. For the best texture and flavor, let these protein balls chill in the refrigerator for at least 30 minutes before eating, and store them in an airtight container to maintain freshness and prevent them from drying out.

What to Serve With Protein Balls?
These peanut butter protein balls make a perfect grab-and-go snack, but there are lots of tasty ways to enjoy them as part of a bigger spread! They’re great alongside your morning coffee or tea for breakfast, or pack them with some fresh fruit like apple slices or banana for a balanced post-workout snack. I like to serve them with a cold glass of almond milk or regular milk, which helps balance out the nutty, sweet flavors. For an afternoon pick-me-up, try placing a couple protein balls on a small plate with some berries and a dollop of Greek yogurt for extra protein.
Storage Instructions
Keep Fresh: These protein balls stay perfectly snackable in an airtight container in the fridge for up to a week. I like to separate layers with parchment paper to prevent them from sticking together. They’re great for grabbing on your way to the gym or as an afternoon pick-me-up!
Freeze: Want to make a bigger batch? These little energy bites freeze really well for up to 3 months. Just place them in a freezer-safe container with parchment paper between layers. I often make a double batch and keep them frozen for busy weeks.
Thaw: When you’re ready to enjoy your frozen protein balls, just transfer them to the fridge the night before. Or if you’re in a hurry, let them sit at room temperature for about 30 minutes. They’ll be ready to eat when they’re soft but still hold their shape.
| Preparation Time | 10-15 minutes |
| Cooking Time | 0-5 minutes |
| Total Time | 10-20 minutes |
| Level of Difficulty | Easy |
Estimated Nutrition
Estimated nutrition for the whole recipe (without optional ingredients):
- Calories: 500-550
- Protein: 40-45 g
- Fat: 15-20 g
- Carbohydrates: 65-70 g
Ingredients
- 2 tbsp agave syrup (or use honey for a slightly different flavor profile)
- 1/2 cup oats
- 1 scoop vanilla protein supplement
- 24 chocolate chips
- 1/2 cup puffed rice (adds a nice textural contrast)
- 1/3 cup powdered peanut butter (PB2 is recommended for consistent results)
- 2 tbsp ground flaxseed
Step 1: Prepare the PB2 Mixture
In a small bowl, combine the PB2 with 3 tablespoons of water and some agave.
Stir the mixture well until all ingredients are fully combined and smooth.
Set aside this mixture for later use.
Step 2: Mix the Dry Ingredients
In a medium-sized bowl, combine all the dry ingredients, except for the chocolate chips.
Make sure these ingredients are evenly mixed together to ensure even distribution of flavors and textures.
Step 3: Combine Wet and Dry Ingredients
Pour the PB2 mixture into the bowl of dry ingredients.
Mix until fully combined.
The mixture might become hard to stir, so don’t hesitate to use your hands to bring everything together into a cohesive dough.
Step 4: Form the Dough Balls
Once the dough is fully mixed, divide it into 8 equal portions.
Roll each portion into a ball using your hands for an even shape.
Step 5: Add Chocolate Chips and Enjoy
Stick 3 chocolate chips into each dough ball, pressing them in gently to secure them.
Your snack is now ready to enjoy!
No baking is needed, so indulge in these delicious, no-bake dough balls right away!
