I never really understood the appeal of pickled onions until my mom served them at a backyard barbecue when I was in my twenties. Growing up, onions were just those tear-inducing vegetables that went into spaghetti sauce or got sliced onto burgers.
But these pickled red onions were different – tangy, crisp, and way less sharp than their raw counterparts. The simple combination of red wine vinegar and onions creates something that’s become a regular in my fridge. Now I keep a jar ready to go, just like my mom did, because they make pretty much any sandwich or taco better.
Why You’ll Love These Pickled Red Onions
- Quick preparation – These pickled onions come together in just 20 minutes – no canning equipment or special skills needed. Just slice, simmer, and wait!
- Make-ahead friendly – They keep well in the fridge for weeks, so you can make a batch and have them ready whenever you need to add some zing to your meals.
- Versatile topping – These tangy onions are perfect on tacos, sandwiches, salads, or burgers – they add a pop of flavor and crunch to practically any dish.
- Simple ingredients – You probably have most of these basic ingredients in your pantry already, and they’re easy to find at any grocery store.
What Kind of Red Onions Should I Use?
Regular red onions from your local grocery store work perfectly for pickling – no need to hunt down anything fancy. Look for onions that feel firm and heavy for their size, with dry, papery skin and no soft spots or signs of sprouting. Bigger onions are often easier to slice into rings, but smaller ones will work just as well and might even pickle a bit faster. If your onions have any green spots starting to sprout from the top, that’s okay – just trim those away before slicing. Just make sure to slice your onions thinly and evenly (about 1/8 inch thick) so they pickle consistently and are easy to pile onto sandwiches or tacos.

Options for Substitutions
Need to make some swaps? Here’s what works in this pickled onion recipe:
- Red onions: While red onions give the best color and mild flavor, you can use white or sweet onions too. Shallots also work great, though you’ll need about 4-5 to match the amount.
- Red wine vinegar: You’ve got options here! Apple cider vinegar or white wine vinegar work well, though they’ll change the flavor slightly. Rice vinegar is another good choice, but reduce the sugar by 1 tablespoon since it’s naturally sweeter.
- Bay leaf: If you’re out of bay leaves, you can skip it or add a small sprig of thyme instead.
- Whole cloves: No whole cloves? Use 1/8 teaspoon ground cloves, or skip them altogether – your pickled onions will still taste great.
- Peppercorns: Ground black pepper works too – use 1/4 teaspoon instead of the whole peppercorns.
- Granulated sugar: You can swap in honey or maple syrup – use 1.5 tablespoons instead of 2, as they’re sweeter than regular sugar.
Watch Out for These Mistakes While Pickling
The biggest mistake when making pickled red onions is cutting the onions too thick, which prevents them from properly absorbing the pickling liquid – aim for thin, consistent slices about 1/8 inch thick using a sharp knife or mandoline. Getting the vinegar mixture too hot is another common error, as boiling temperatures can make your onions mushy instead of crisp; simply heat until the sugar dissolves, then remove from heat immediately. To ensure your pickled onions last longer and maintain their crunch, don’t skip the step of pouring the hot brine over the onions while it’s still warm, as this helps create a proper seal and kills any bacteria. For the best flavor development, resist the urge to eat them right away – let the onions pickle for at least 30 minutes at room temperature, though they’ll taste even better after 24 hours in the fridge.

What to Serve With Pickled Red Onions?
These tangy pickled red onions are super versatile and can add a nice zip to so many different dishes! They’re perfect on tacos, burgers, and sandwiches, adding both crunch and a bright pop of flavor. I love tossing them into salads or grain bowls for extra punch, and they’re especially good on pulled pork or grilled chicken sandwiches. You can also chop them up and mix them into tuna or chicken salad, or use them as a topping for avocado toast for a quick and tasty breakfast upgrade.
Storage Instructions
Keep Fresh: These pickled red onions are best kept in their brine in an airtight glass jar in the refrigerator. They’ll stay crunchy and flavorful for up to 3 weeks, though I bet they’ll disappear way before then! The flavor actually gets better after the first few days as the onions soak up more of the pickling liquid.
Make Ahead: These pickled onions are perfect for making ahead! You’ll want to let them cool completely before storing them in the fridge, and give them at least 4 hours to pickle before eating. They’re even better after 24 hours when the flavors have had time to develop fully.
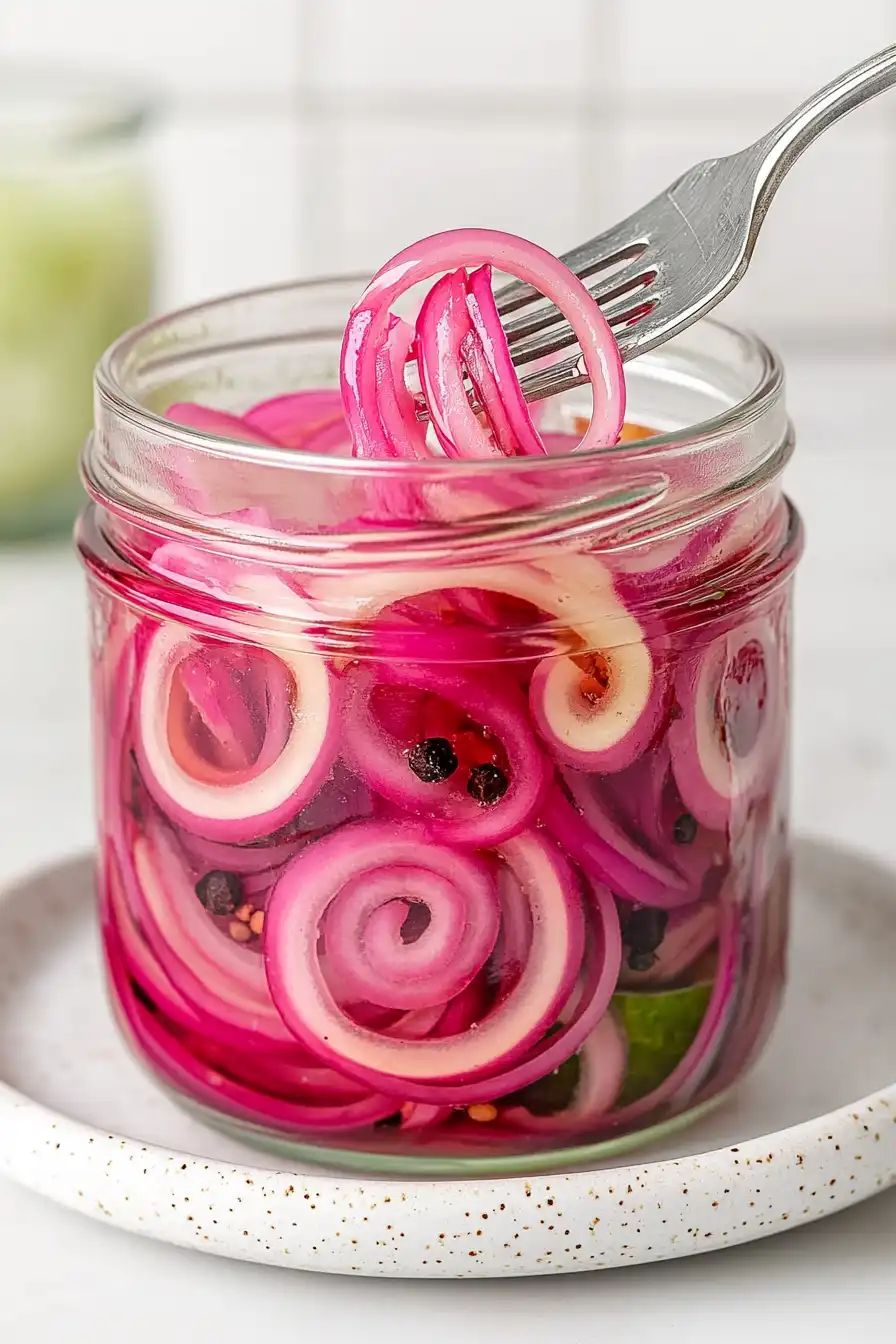
Quick Tip: Always use a clean fork or spoon when taking onions from the jar to prevent any contamination. Make sure the remaining onions stay submerged in the brine – this helps them stay fresh longer and maintains their awesome pink color!
| Preparation Time | 10-15 minutes |
| Cooking Time | 5-10 minutes |
| Total Time | 20-25 minutes |
| Level of Difficulty | Easy |
Estimated Nutrition
Estimated nutrition for the whole recipe (without optional ingredients):
- Calories: 250-300
- Protein: 1-3 g
- Fat: 0-1 g
- Carbohydrates: 60-70 g
Ingredients
- 2 tbsp granulated sugar
- 1/2 tsp whole black peppercorns (adds a subtle, aromatic heat)
- 2/3 cup water
- 5 whole cloves
- 1 bay leaf
- 1 large red onion (thinly sliced into rings)
- 1/2 tsp salt
- 2/3 cup red wine vinegar (I like Colavita red wine vinegar)
Step 1: Prepare the Vinegar Brine
Add the water, red wine vinegar, sugar, and salt to a small saucepan.
Heat the mixture over medium heat, stirring occasionally, until the sugar and salt have completely dissolved.
This process creates a flavorful brine that you’ll use for pickling.
Step 2: Slice the Onion
While the brine is heating, prepare the onion.
Remove the outer layer, and then use a sharp knife or mandoline to cut the onion into very thin slices.
Thin slices are crucial for ensuring the pickles absorb the brine fully and pickle evenly.
Step 3: Assemble the Pickling Jar
In a 16-ounce (500 ml) glass jar, add the onion slices along with a bay leaf, cloves, and black peppercorns.
These spices will infuse additional flavors into your pickled onions.
Step 4: Pour and Seal
Once the brine is ready, carefully pour it over the contents of the jar, ensuring the onion slices are completely submerged in the liquid.
Close the jar tightly with a lid to create an airtight seal.
Step 5: Cool and Preserve
Let the jar come to room temperature for optimal absorption.
After that, transfer it to the refrigerator.
Allow the onions to pickle overnight, or for at least 20 minutes if you’re short on time, to develop their full flavor.
Serve chilled and enjoy your homemade pickled onions.
