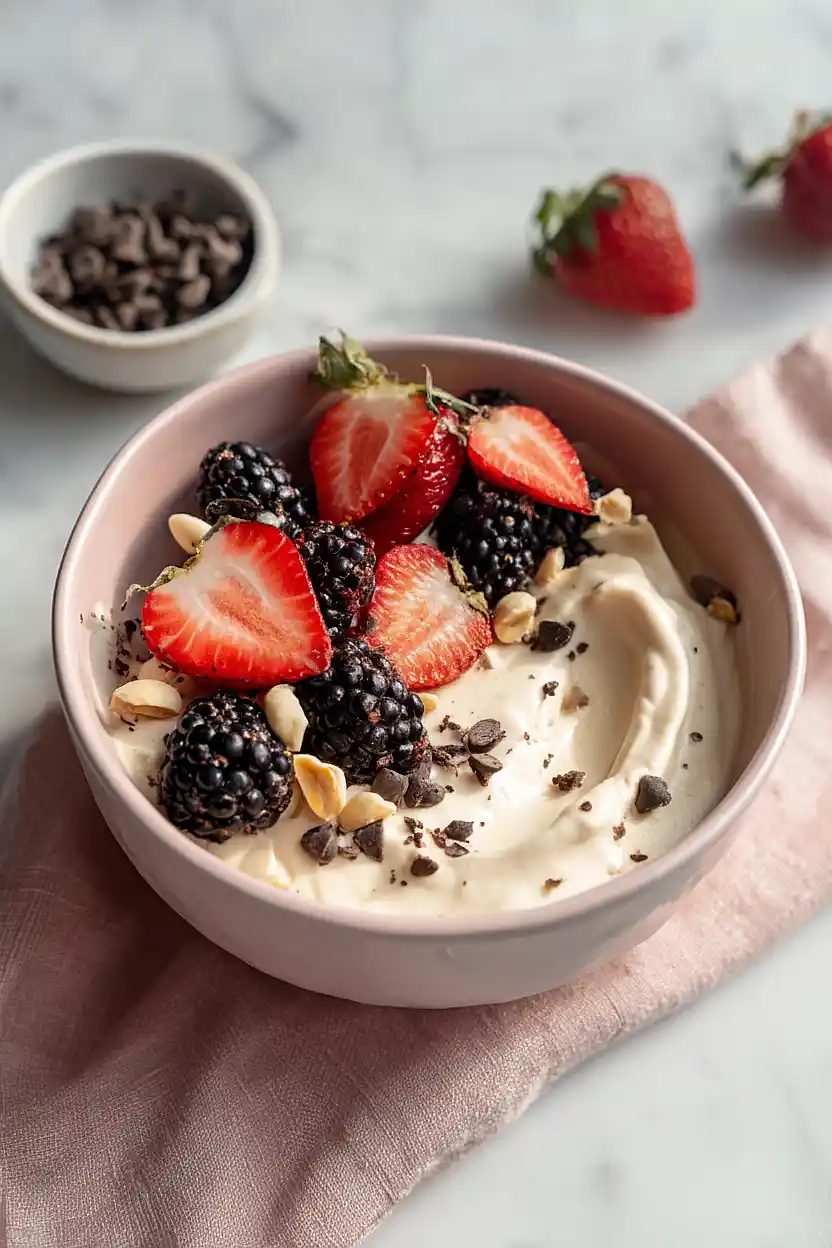
Here is my favorite single serve cottage cheese cheesecake recipe, with a creamy base of cottage cheese and yogurt, protein powder for extra staying power, and whatever toppings you’re in the mood for.
This little cheesecake has become my go-to treat when I want something sweet but don’t want to commit to a whole dessert. I love that it comes together in minutes and bakes up in a small ramekin. Perfect for those nights when everyone else is having ice cream and you want something that feels a bit more special.
Why You’ll Love This Cottage Cheese Cheesecake
- High-protein dessert – With cottage cheese, yogurt, and protein powder, this cheesecake packs a serious protein punch that makes it perfect for a post-workout treat or guilt-free snack.
- Single-serve portion – No need to worry about leftovers tempting you from the fridge. This recipe makes just one serving, so you can enjoy it without overindulging.
- Quick and easy – Ready in under 40 minutes with minimal ingredients, this cheesecake comes together faster than running to the store for dessert.
- Simple ingredients – You probably already have most of these staples in your fridge, making this an easy go-to when you’re craving something sweet.
- Diet-friendly – This cheesecake fits perfectly into low-carb, keto, and high-protein eating plans without sacrificing that creamy, indulgent texture you crave.
What Kind of Cottage Cheese Should I Use?
Any type of cottage cheese will work for this single-serve cheesecake, whether you go with full-fat, low-fat, or even fat-free. The key is to blend it really well so you get that smooth, creamy cheesecake texture without any lumps. Small curd cottage cheese tends to blend more easily than large curd, but honestly, both will work just fine if you mix thoroughly. If you want the richest, most indulgent result, full-fat cottage cheese will give you the creamiest texture, but I’ve made this with low-fat versions plenty of times and it still turns out great.
Options for Substitutions
This single-serve cheesecake is pretty forgiving when it comes to swaps:
- Cottage cheese: You can use ricotta cheese instead, which will give you a slightly creamier texture. Greek yogurt also works, though the result will be a bit tangier and less dense.
- Yogurt: Greek yogurt, sour cream, or even an extra tablespoon of cottage cheese will work here. Each option adds moisture and a slight tang to balance the sweetness.
- Protein powder: If you don’t have protein powder, you can use 3 tablespoons of flour or almond flour instead. Keep in mind this changes the protein content but still gives structure to your cheesecake.
- Egg: For an egg-free version, try using 3 tablespoons of applesauce or mashed banana, though the texture will be slightly different and more pudding-like.
- Vanilla essence: Almond extract, maple extract, or even a pinch of cinnamon can replace vanilla if that’s what you have on hand.
Watch Out for These Mistakes While Baking
The biggest mistake with cottage cheese cheesecake is not blending long enough – you need to blend for at least 60-90 seconds until completely smooth, or you’ll end up with a grainy texture instead of that creamy cheesecake consistency.
Another common error is adding toppings before chilling, which can cause them to sink or make the top soggy, so always wait until after it’s set to add your berries, chocolate chips, or granola.
If you’re using the freezer method, don’t leave it in for more than 30-40 minutes or it becomes too hard to eat right away, and make sure to use a shallow bowl rather than a deep one so it sets evenly.
For the best texture, let it sit at room temperature for 5 minutes after freezing, which makes it easier to scoop and gives you that perfect soft-serve consistency.

What to Serve With Cottage Cheese Cheesecake?
Since this is a single-serve cheesecake that’s already packed with protein, it works great as a standalone breakfast or snack. I like to top mine with fresh berries like strawberries or blueberries, which add a nice pop of sweetness without making it too heavy. A drizzle of honey or maple syrup is another simple option if you want a little extra sweetness, or you could go with some sliced banana and a sprinkle of cinnamon. If you’re eating it for breakfast, pair it with a cup of coffee or tea to round out the meal.
Storage Instructions
Refrigerate: This little cheesecake keeps really well in the fridge for up to 3 days. Just cover it with plastic wrap or store it in an airtight container. It actually tastes even better the next day once all the flavors have had time to settle in!
Serve: You can enjoy this cheesecake straight from the fridge when it’s nice and cold, or let it sit at room temperature for about 10 minutes if you prefer a softer texture. Add your favorite toppings right before eating to keep everything fresh and prevent them from getting soggy.
| Preparation Time | 5-10 minutes |
| Cooking Time | 0 minutes |
| Total Time | 35-40 minutes |
| Level of Difficulty | Easy |
| Servings | 1 serving |
Estimated Nutrition
Estimated nutrition for the whole recipe (without optional ingredients):
- Calories: 210-260
- Protein: 25-32 g
- Fat: 5-8 g
- Carbohydrates: 13-18 g
Ingredients
- 3/4 cup cottage cheese (I use Good Culture for a thicker texture)
- 3 tbsp yogurt (I prefer Fage 5% for extra richness)
- 1 egg
- 2 tbsp protein powder
- 1/2 tsp vanilla
- pinch of salt
- assorted toppings
Step 1: Blend the Cheesecake Mixture Until Smooth
- 3/4 cup cottage cheese
- 3 tbsp yogurt
- 1 egg
- 2 tbsp protein powder
- 1/2 tsp vanilla
- pinch of salt
Combine the cottage cheese, yogurt, egg, protein powder, vanilla, and salt in a blender or food processor.
Blend on high speed for 60-90 seconds, scraping down the sides halfway through, until the mixture is completely smooth and creamy with no lumps.
This ensures a silky texture rather than a grainy one, which is crucial for a proper cheesecake consistency.
Step 2: Transfer to Bowl and Add Toppings
- blended cheesecake mixture from Step 1
- assorted toppings
Pour the blended cheesecake mixture from Step 1 into a microwave-safe bowl or ramekin.
I like to choose a bowl that’s about 8-10 ounces to give the cheesecake room to expand slightly during cooking.
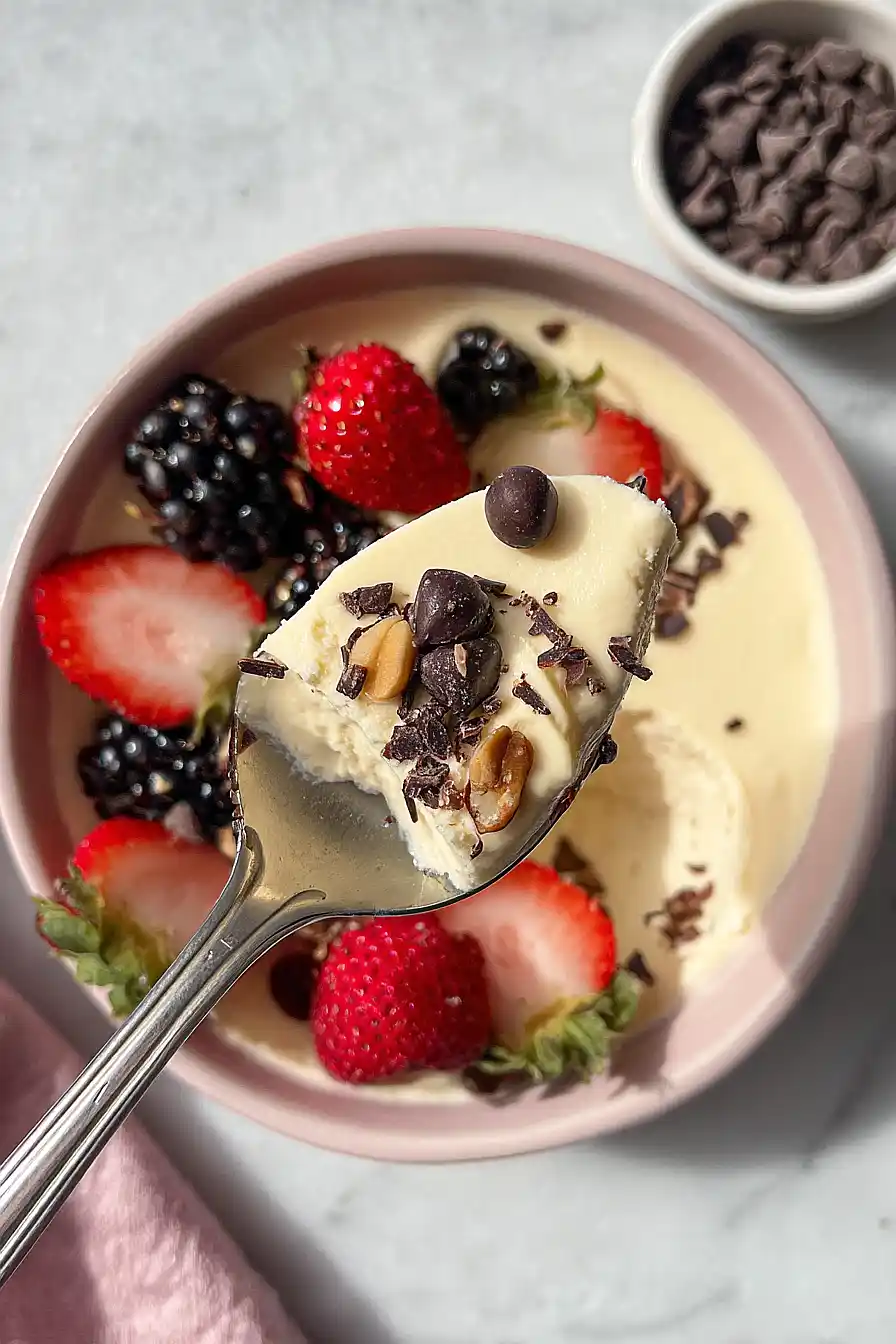
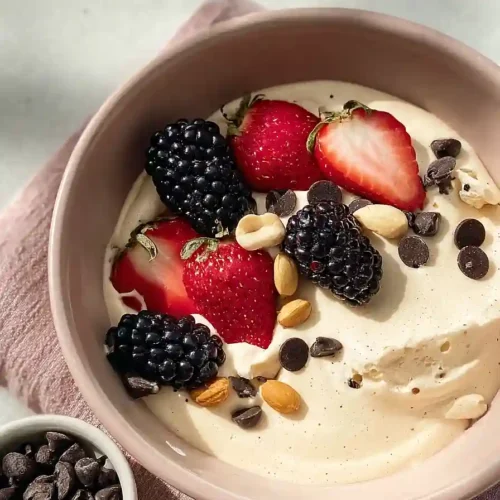
Top generously with your chosen toppings—fresh berries, granola, nuts, or chocolate chips all work beautifully.
Step 3: Cook via Microwave or Conventional Heat
- prepared cheesecake from Step 2
For microwave: Microwave on 50% power for 3-4 minutes, checking at the 2-minute mark until the cheesecake is set but still slightly jiggly in the very center.
For oven: Pour into a small oven-safe ramekin and bake at 325°F for 12-15 minutes until just set.
Alternatively, you can skip cooking entirely and simply refrigerate for 2 hours or freeze for 30 minutes for a no-bake mousse-like texture—I personally prefer the frozen version for a creamier, gelato-like consistency.
Best Single Serve Cottage Cheese Cheesecake
Ingredients
- 3/4 cup cottage cheese (I use Good Culture for a thicker texture)
- 3 tbsp yogurt (I prefer Fage 5% for extra richness)
- 1 egg
- 2 tbsp protein powder
- 1/2 tsp vanilla
- pinch of salt
- assorted toppings
Instructions
- Combine the cottage cheese, yogurt, egg, protein powder, vanilla, and salt in a blender or food processor. Blend on high speed for 60-90 seconds, scraping down the sides halfway through, until the mixture is completely smooth and creamy with no lumps. This ensures a silky texture rather than a grainy one, which is crucial for a proper cheesecake consistency.
- Pour the blended cheesecake mixture from Step 1 into a microwave-safe bowl or ramekin. I like to choose a bowl that's about 8-10 ounces to give the cheesecake room to expand slightly during cooking. Top generously with your chosen toppings—fresh berries, granola, nuts, or chocolate chips all work beautifully.
- For microwave: Microwave on 50% power for 3-4 minutes, checking at the 2-minute mark until the cheesecake is set but still slightly jiggly in the very center. For oven: Pour into a small oven-safe ramekin and bake at 325°F for 12-15 minutes until just set. Alternatively, you can skip cooking entirely and simply refrigerate for 2 hours or freeze for 30 minutes for a no-bake mousse-like texture—I personally prefer the frozen version for a creamier, gelato-like consistency.
