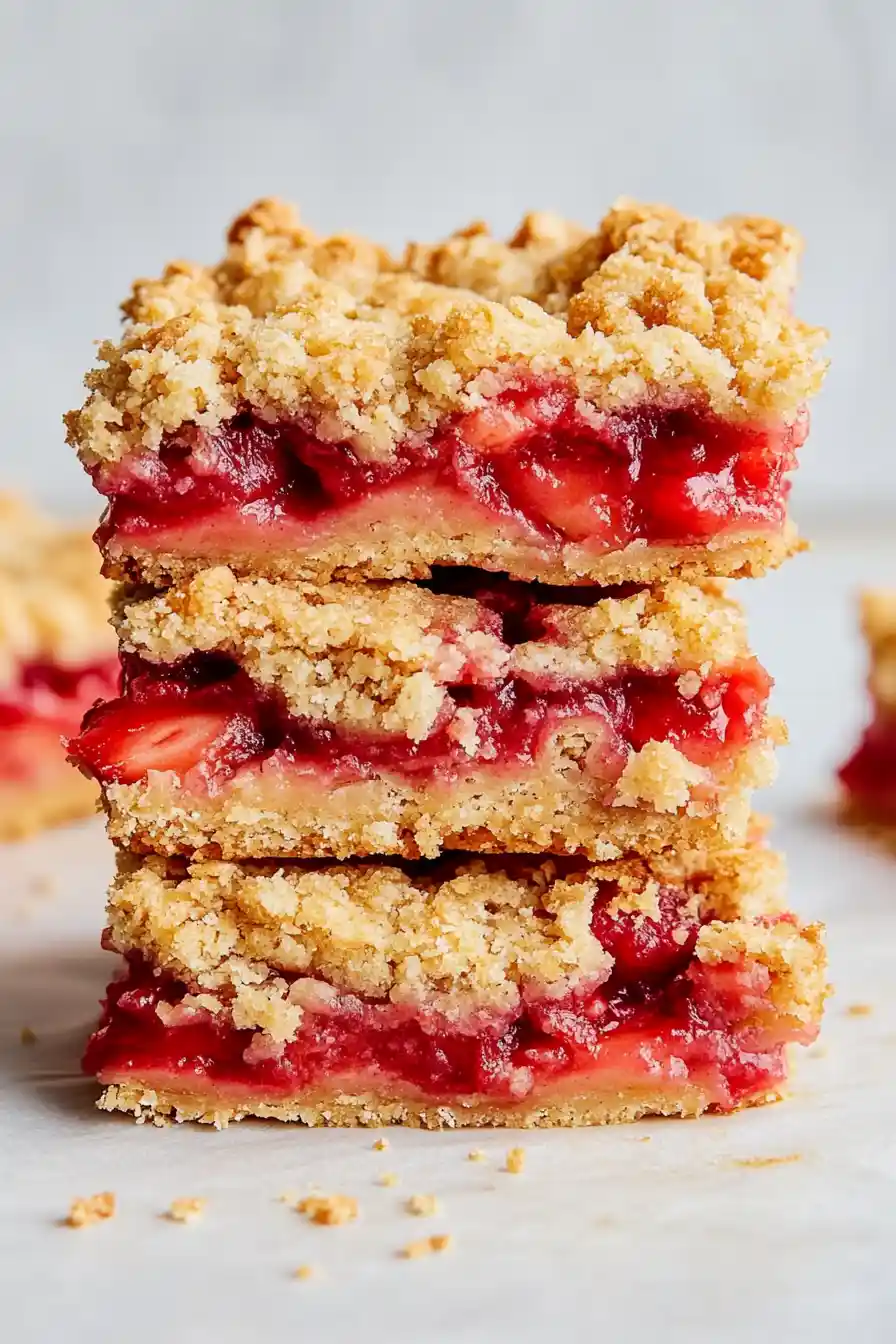
Summer desserts hold a special place in my heart. There’s something about the combination of sweet and tart flavors that just makes everything feel right. These strawberry rhubarb pie bars have become my go-to recipe when I want the taste of a homemade pie without all the fuss of making a traditional crust.
I started making these bars a few years ago when my neighbor shared some fresh rhubarb from her garden. Like many of you, I grew up eating classic strawberry rhubarb pie, but sometimes I don’t have the time or energy to roll out a perfect pie crust. These bars give you all that wonderful flavor in an easier-to-make format. Plus, they’re perfect for potlucks or picnics since you can cut them into neat squares and transport them without worry.
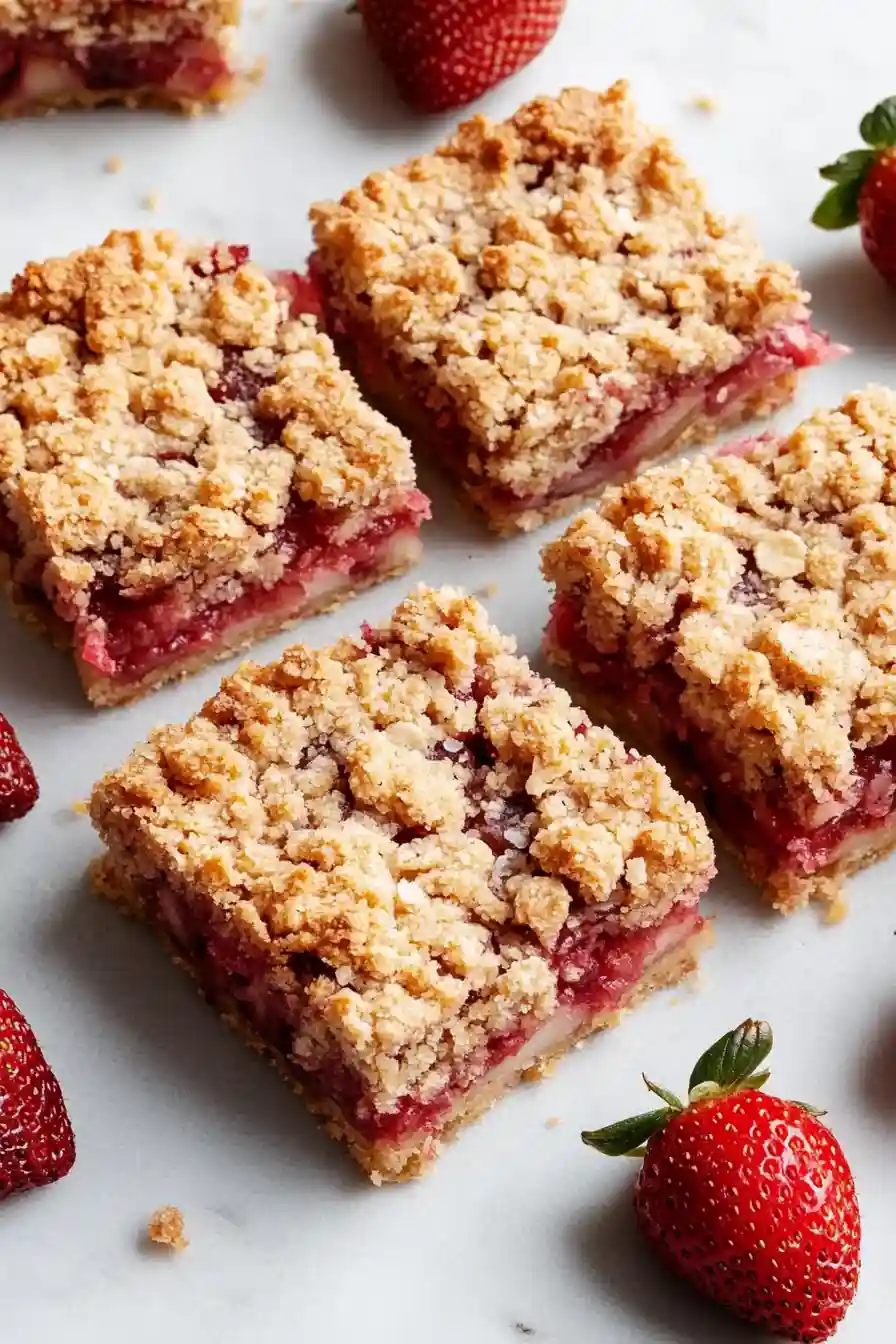
Whether you’re a longtime fan of strawberry rhubarb pie or just looking to try something new, these bars might become your new favorite summer treat. They’re straightforward to make, and trust me – they disappear fast at any gathering.
Why You’ll Love These Strawberry Rhubarb Bars
- Perfect balance of flavors – The sweet strawberries and tart rhubarb create that classic flavor combination that makes these bars irresistible – it’s like spring in every bite!
- Make-ahead friendly – These bars can be made in advance and stay fresh for several days, making them perfect for busy schedules or when you’re planning ahead for gatherings.
- Easier than pie – You get all the delicious flavors of a strawberry rhubarb pie but in an easy-to-make bar form – no pie crust skills needed!
- Portable dessert – Unlike traditional pie, these bars are perfect for picnics, potlucks, or packed lunches since they’re neat and easy to transport.
- Customizable – You can easily adjust the sweetness to your taste, add nuts for extra crunch, or even swap in different berries depending on what’s in season.
What Kind of Rhubarb Should I Use?
For pie bars, both field-grown and hothouse rhubarb will work great – the main difference is that hothouse rhubarb tends to be a brighter red and slightly less tart. When shopping, look for stalks that are firm and crisp, with no soft spots or blemishes. The color can range from deep red to light pink to mostly green, and contrary to what some might think, the color doesn’t indicate ripeness or sweetness. Just trim off the leaves (they’re not edible!) and give the stalks a quick wash before chopping. If your rhubarb is particularly stringy, you can peel away any tough strings just like you would with celery.
Options for Substitutions
These pie bars are pretty adaptable – here’s what you can switch up if needed:
- Rhubarb and strawberries: While this combo is classic, you can try other fruit pairs like apple-raspberry or peach-blackberry. Just keep the total amount of fruit the same (about 2½-3 cups total).
- Cornflour: Regular all-purpose flour or arrowroot powder work as thickeners too – use the same amount. If using flour, cook the filling a bit longer to remove any floury taste.
- Vanilla essence: Vanilla extract, vanilla bean paste, or even almond extract can work here. If using vanilla bean paste, use just ½ teaspoon.
- Rolled oats: Quick oats can work in a pinch, though the texture won’t be quite as nice. You could also use extra chopped nuts instead.
- Brown sugar: Out of brown sugar? Mix regular sugar with a touch of molasses, or just use all white sugar – though you’ll miss some of that caramel-like flavor.
- Butter: For a dairy-free version, try coconut oil (solid, not melted). Just note that the crust might be a bit more crumbly.
Watch Out for These Mistakes While Baking
The biggest challenge when making strawberry rhubarb pie bars is getting the right consistency of the fruit filling – using too much liquid can make your bars soggy, so make sure to thoroughly drain your chopped strawberries and rhubarb before mixing them with other ingredients. Another common mistake is underbaking the bottom crust; to ensure it’s properly cooked, pre-bake it for 15-20 minutes until it’s lightly golden before adding the filling, which prevents the dreaded “soggy bottom.” When preparing the crumb topping, avoid overmixing the butter with the dry ingredients – you want to maintain a coarse, pebbly texture that will create that perfect crumbly top layer. For the best texture and easy cutting, let the bars cool completely (at least 2-3 hours) before slicing, and store them in the refrigerator to maintain their shape.
What to Serve With Strawberry Rhubarb Pie Bars?
These sweet and tangy pie bars are perfect for pairing with your favorite ice cream – vanilla bean is my go-to choice since it lets the fruit flavors shine through. A dollop of fresh whipped cream or a drizzle of warm custard sauce would also make these bars extra special. If you’re serving these at a spring or summer gathering, try adding some fresh mint leaves on the side and maybe a few extra fresh strawberries for garnish. For a morning or afternoon treat, these bars go perfectly with a hot cup of coffee or tea.
Storage Instructions
Keep Fresh: These yummy strawberry rhubarb pie bars stay good in an airtight container in the fridge for up to 5 days. I like to place a piece of parchment paper between layers to prevent them from sticking together. They actually taste even better the next day when all the flavors have had time to mingle!
Freeze: Want to save some for later? These bars freeze really well for up to 3 months. Just wrap them individually in plastic wrap, then place them in a freezer bag. This way, you can grab one whenever you’re craving something sweet!
Thaw: When you’re ready to enjoy your frozen bars, just transfer them to the fridge overnight. You can eat them cold, or let them come to room temperature for about 30 minutes. The crumb topping might be a bit less crispy after freezing, but they’ll still be super tasty.
| Preparation Time | 20-30 minutes |
| Cooking Time | 30-35 minutes |
| Total Time | 50-65 minutes |
| Level of Difficulty | Medium |
Estimated Nutrition
Estimated nutrition for the whole recipe (without optional ingredients):
- Calories: 1200-1400
- Protein: 10-15 g
- Fat: 70-80 g
- Carbohydrates: 150-160 g
Ingredients
For the fruit filling:
- 2 tsp cornflour
- 1.5 cups rhubarb (chopped into 1/2-inch pieces)
- 2 tbsp brown sugar
- 1 pinch salt
- 1.5 cups strawberries (hulled and diced)
- 1 tbsp lemon juice
- 0.5 tsp ground cinnamon
- 1 tsp vanilla extract (I use Nielsen-Massey for best flavor)
For the crust and crumble:
- 0.25 cup chopped nuts (optional, pecans or walnuts work well)
- 1.67 cups plain flour (I use King Arthur all-purpose flour for consistent results)
- 0.5 tsp salt
- 0.25 cup granulated sugar
- 12 tbsp unsalted butter (softened at room temperature, about 70°F for easy creaming)
- 0.25 cup rolled oats
- 0.33 cup packed brown sugar
Step 1: Prepare the Pan and Oven
Preheat your oven to 375°F (190°C).
Line an 8×8-inch square pan with parchment paper, ensuring the edges extend over the sides for easy removal later.
Set the pan aside as you prepare the other components.
Step 2: Mix the Fruit Filling
In a mixing bowl, combine the diced rhubarb and strawberries with tapioca starch, lemon juice, cinnamon, vanilla extract, a pinch of salt, and brown sugar.
Toss everything together until the fruit is well coated with the mixture.
Set the fruit filling aside to allow the flavors to meld.
Step 3: Make the Dough
Using an electric mixer, cream together the softened butter, brown sugar, and white sugar until the mixture is light and fluffy.
Gradually add the flour, oats, and salt, mixing on low speed until all ingredients are incorporated.
Reserve the nuts for the topping, if using.
Step 4: Assemble the Crust
Take about ⅔ of the dough mixture and place it into the prepared 8×8-inch pan.
Use your fingertips or the flat bottom of a measuring cup to press the dough firmly and evenly into the bottom of the pan, creating a solid base.
Step 5: Add the Fruit Filling
With a slotted spoon, transfer the fruit mixture onto the pressed dough crust.
This method helps to drain off most of the excess liquid.
Spread the fruit evenly over the crust and discard any remaining liquid to prevent the bars from becoming soggy.
Step 6: Top with Crumble
Combine the remaining dough mixture with the reserved nuts, if using.
Sprinkle the crumble evenly over the fruit layer, pressing it gently to adhere without compacting it too much.
Step 7: Bake and Enjoy
Transfer the assembled pan to your preheated oven and bake for 30 to 35 minutes.
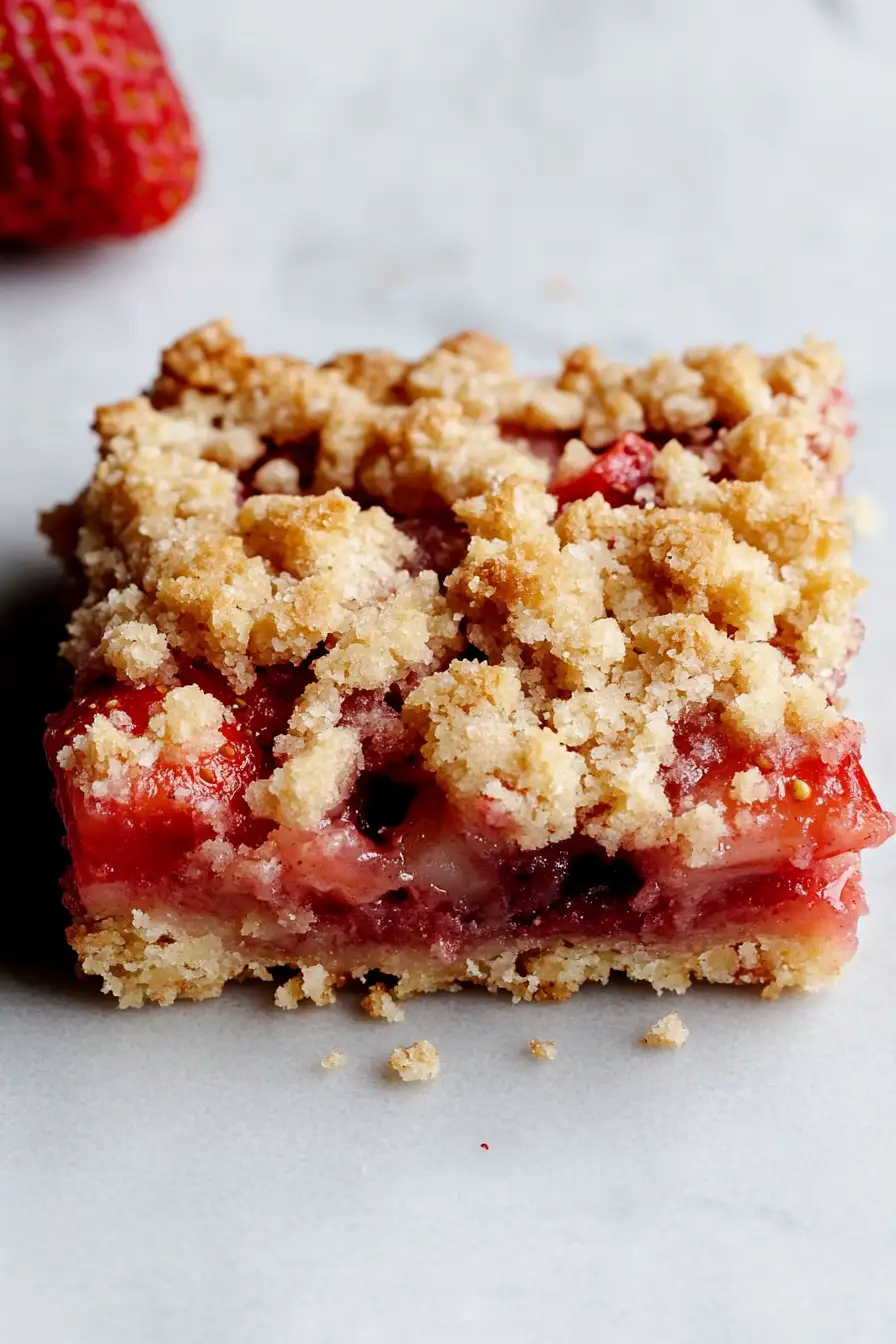
You’ll know it’s ready when the crumb topping turns golden brown and slightly crispy.
Remove from the oven, allow it to cool in the pan before slicing into bars, and enjoy your delicious fruit crumble bars!
