Growing up, I always dreaded the annual Thanksgiving turkey battle. You know the one – where mom would wrestle that giant bird into the roasting pan, constantly basting it for hours, only to end up with dry meat anyway. That was until my neighbor shared her “upside down” method with me. At first, I thought she was joking – cooking a turkey breast-side down seemed wrong on so many levels. But it turns out, sometimes doing things backward makes perfect sense. Like most good cooking discoveries, this one happened by accident when she put her turkey in the pan the “wrong” way, and it turned out to be the juiciest bird she’d ever made.
Suggestions for Ingredient Substitution
For the yellow onion, red onion or shallots can be used as alternatives, providing a slightly different but complementary flavor profile. These substitutions maintain the aromatic base while offering subtle variations in taste and color. The apple can be replaced with a pear or quince for a similar sweet-tart flavor and moisture content. These fruits will contribute to the overall taste and juiciness of the turkey. For those seeking a herb alternative, sage can be substituted for thyme or rosemary. Sage offers a similar earthy, aromatic quality and pairs well with poultry. Use slightly less sage than the recipe calls for thyme or rosemary, as its flavor can be more intense. When making these substitutions, maintain the same cooking method and adjust quantities based on personal taste preferences.
| Preparation Time | 10-15 minutes |
| Cooking Time | 150-180 minutes |
| Total Time | 180-240 minutes |
| Level of Difficulty | Medium |
Estimated Nutrition
Estimated nutrition for the whole recipe (without optional ingredients):
- Calories: 5000-6000
- Protein: 450-600 g
- Fat: 250-300 g
- Carbohydrates: 50-100 g
Ingredients
- 1 medium yellow onion (roughly chopped)
- 4 sprigs fresh rosemary
- 6 sprigs fresh thyme
- 3 tbsp coarse salt
- 1 turkey (12-15 lb) (I use Bell & Evans organic turkey)
- 1 small apple (cut into quarters)
- 3/4 tsp black pepper (freshly ground for best flavor)
Step 1: Thaw the Turkey
Thaw the turkey in the refrigerator, allowing about 24 hours for every five pounds.
A 12- to 15-pound turkey will require approximately 3 days to fully thaw.
It is important to plan ahead to ensure the turkey is completely thawed before cooking.
Step 2: Prepare Aromatics and Season the Turkey
Peel and quarter 1 medium yellow onion.
Quarter and remove the core from 1 small apple.
Remove the giblets and neck from inside the turkey’s cavity.
In a small bowl, mix 3 tablespoons of kosher salt with 3/4 teaspoon of black pepper.
Season the turkey both inside and out with this salt and pepper mixture to enhance the flavor as it cooks.
Step 3: Stuff the Turkey and Let It Reach Room Temperature
Set the turkey on a roasting rack inside a roasting pan.
Place the prepared onion and apple, along with 6 sprigs of fresh thyme and 4 sprigs of fresh rosemary, into the cavity of the turkey.
Allow the turkey to sit at room temperature for 2 hours prior to roasting.
This helps ensure even cooking.
Step 4: Prepare the Oven and Begin Roasting
Arrange a rack in the middle of the oven and remove any racks above it.
Preheat the oven to 400°F (200°C).
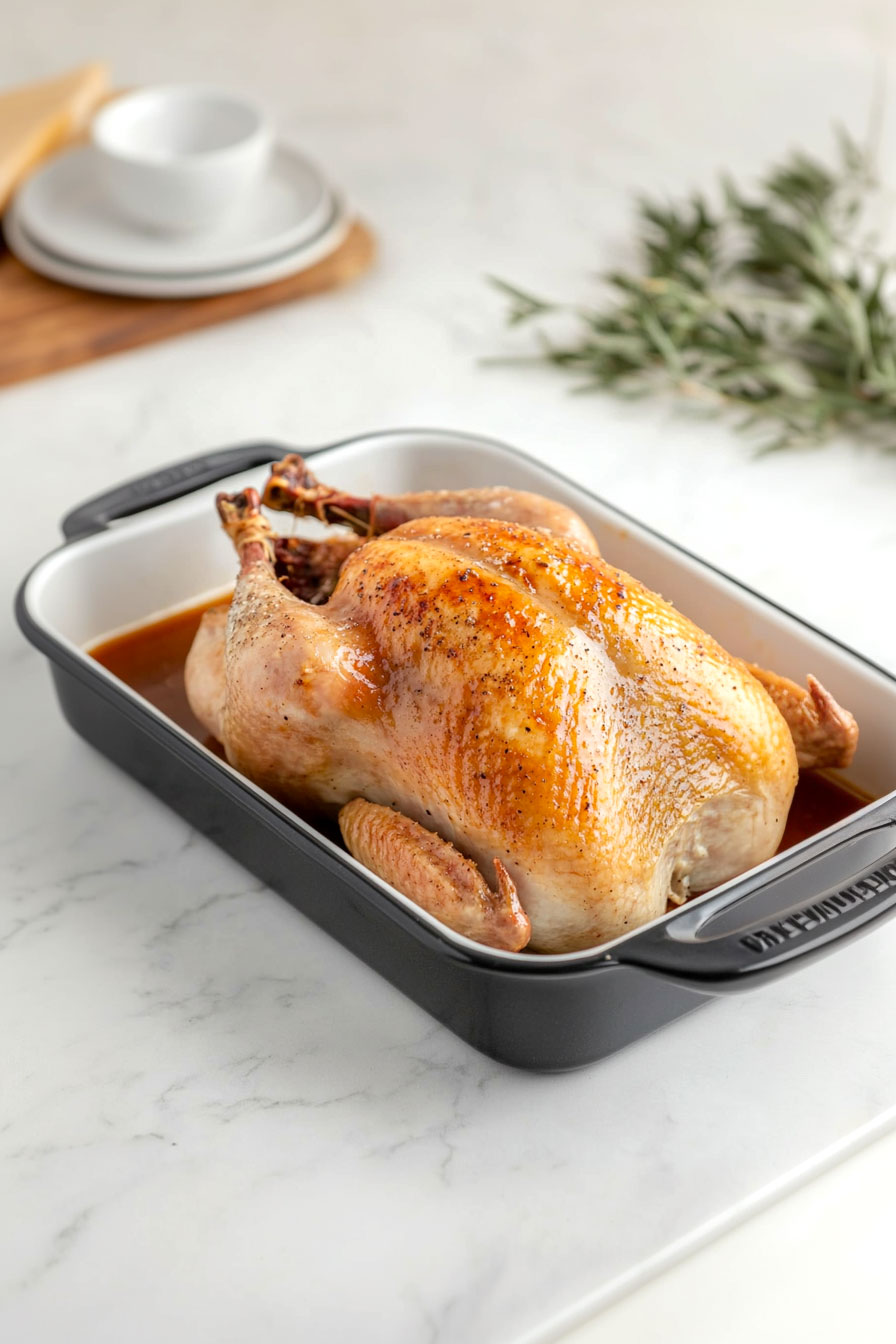
Roast the turkey breast-side down on the roasting rack for 30 minutes to darken and crisp the skin.
This initial high temperature roasting technique helps achieve a deliciously golden and crispy exterior.
Step 5: Continue Roasting at a Lower Temperature
After the initial 30 minutes, reduce the oven temperature to 325°F (165°C).
Continue roasting the turkey for an additional 2 hours.
This gentler cooking step ensures the meat stays moist and tender.
Step 6: Check and Finish Cooking
Begin checking the internal temperature of the turkey.
Make sure to insert the thermometer into the thickest part of the breast and thigh, avoiding bones.
The turkey is done when it reaches an internal temperature of 165°F (74°C).
If needed, continue roasting, checking the temperature every 15 minutes, until done.
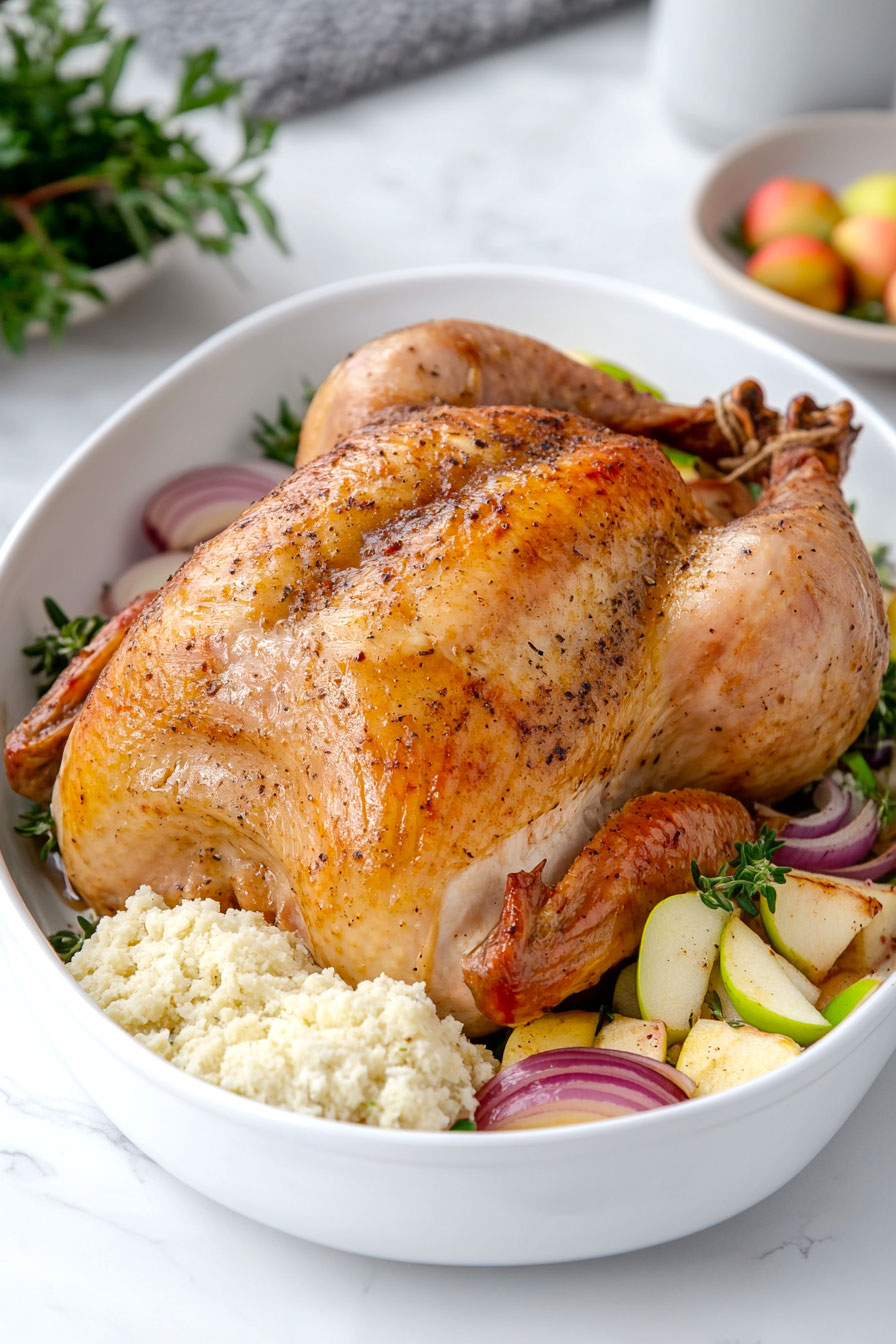
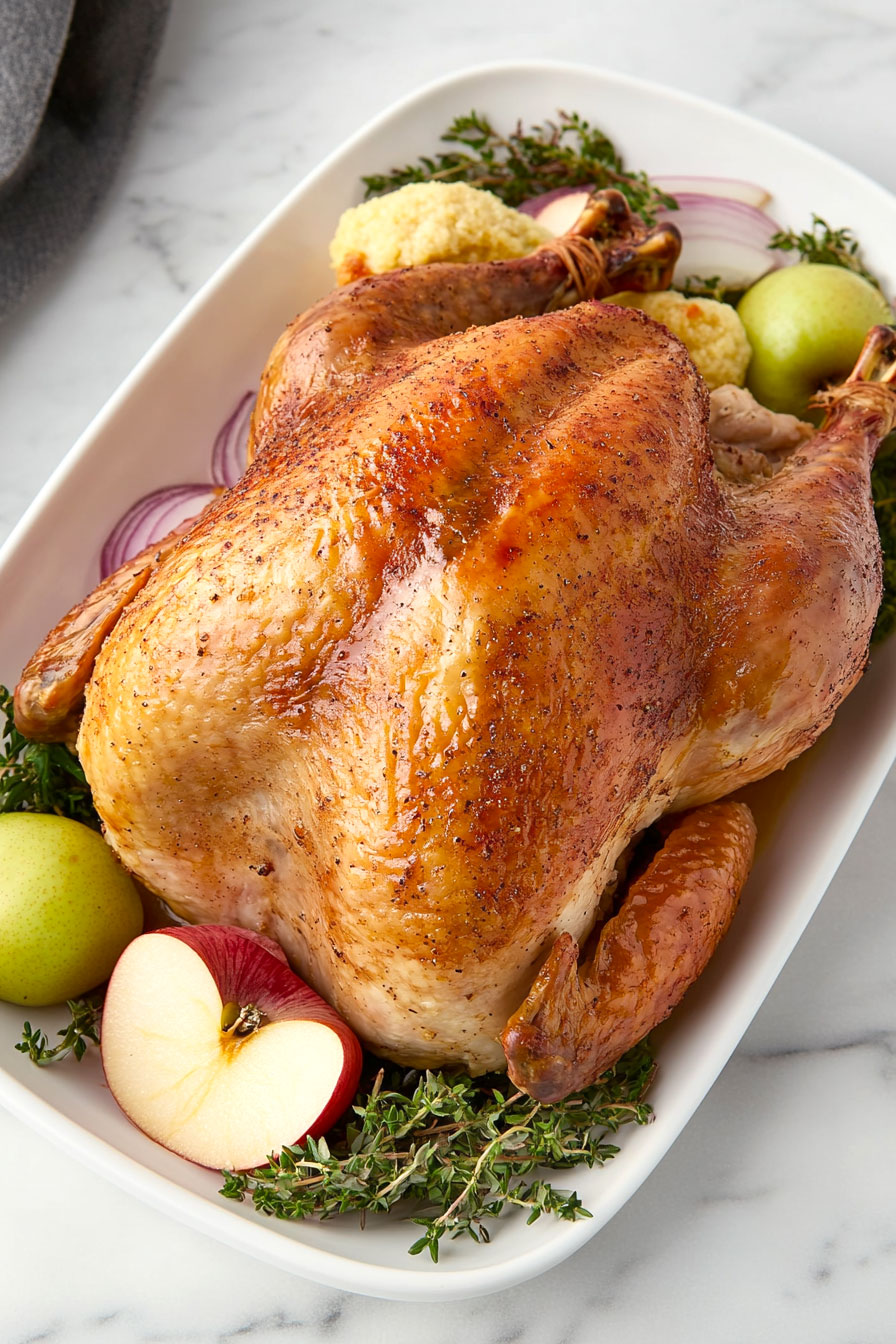
Step 7: Rest and Serve
Once the turkey has reached the desired internal temperature, remove it from the oven.
Allow it to rest for at least 20 to 30 minutes before carving.
Resting helps the juices redistribute, making the turkey juicier and easier to carve.
Serve with your favorite sides and enjoy your perfectly roasted turkey!