Let me tell you about these vegan brownies that have become a regular treat in our house. Like many of you, I grew up loving those classic chocolate brownies my mom would make, but when my friend Sarah went vegan, I wanted to find a way we could still enjoy our dessert nights together. After some kitchen experiments (and yes, a few flops), I figured out how to make brownies that are just as good as the ones I remember – minus the eggs and dairy.
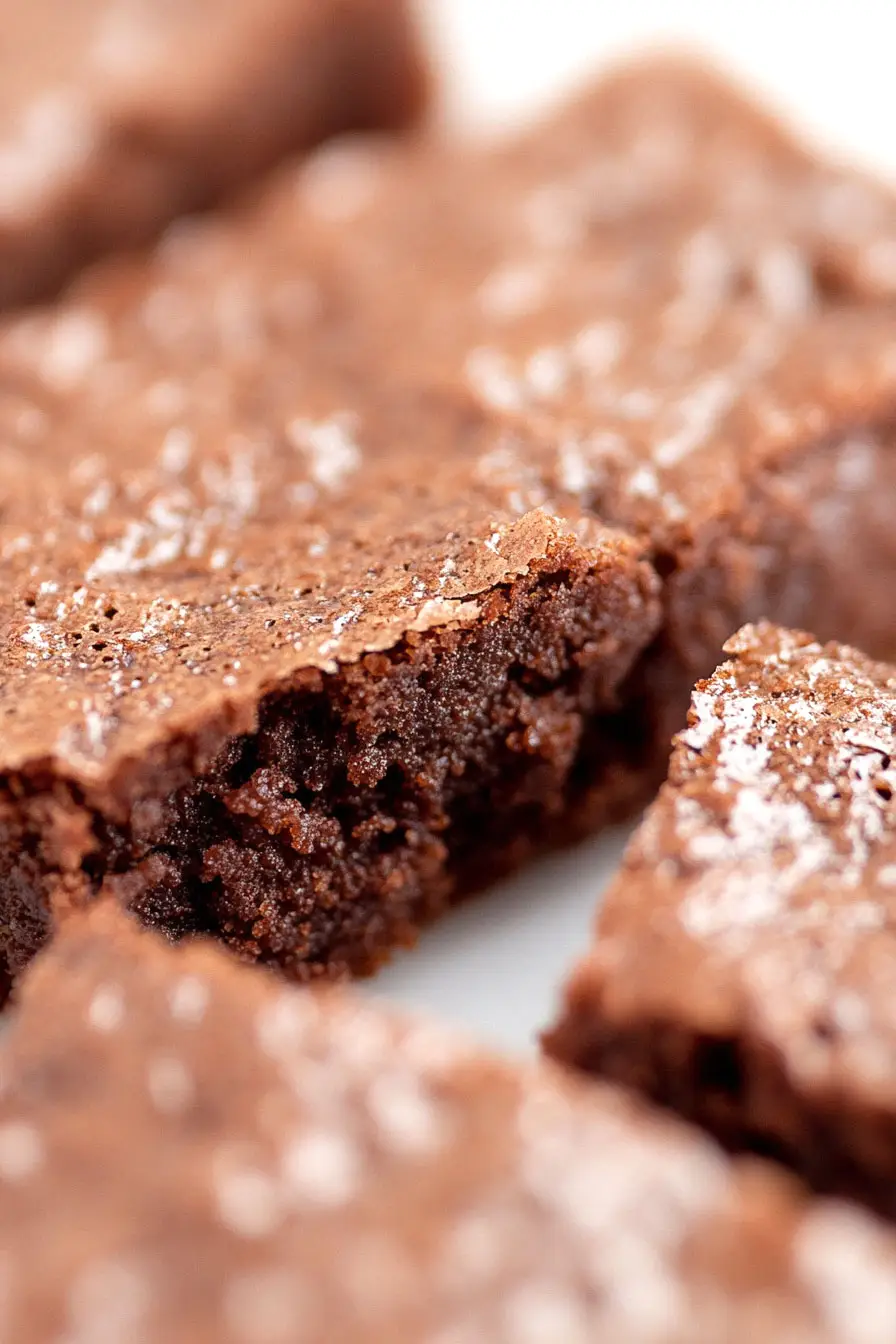
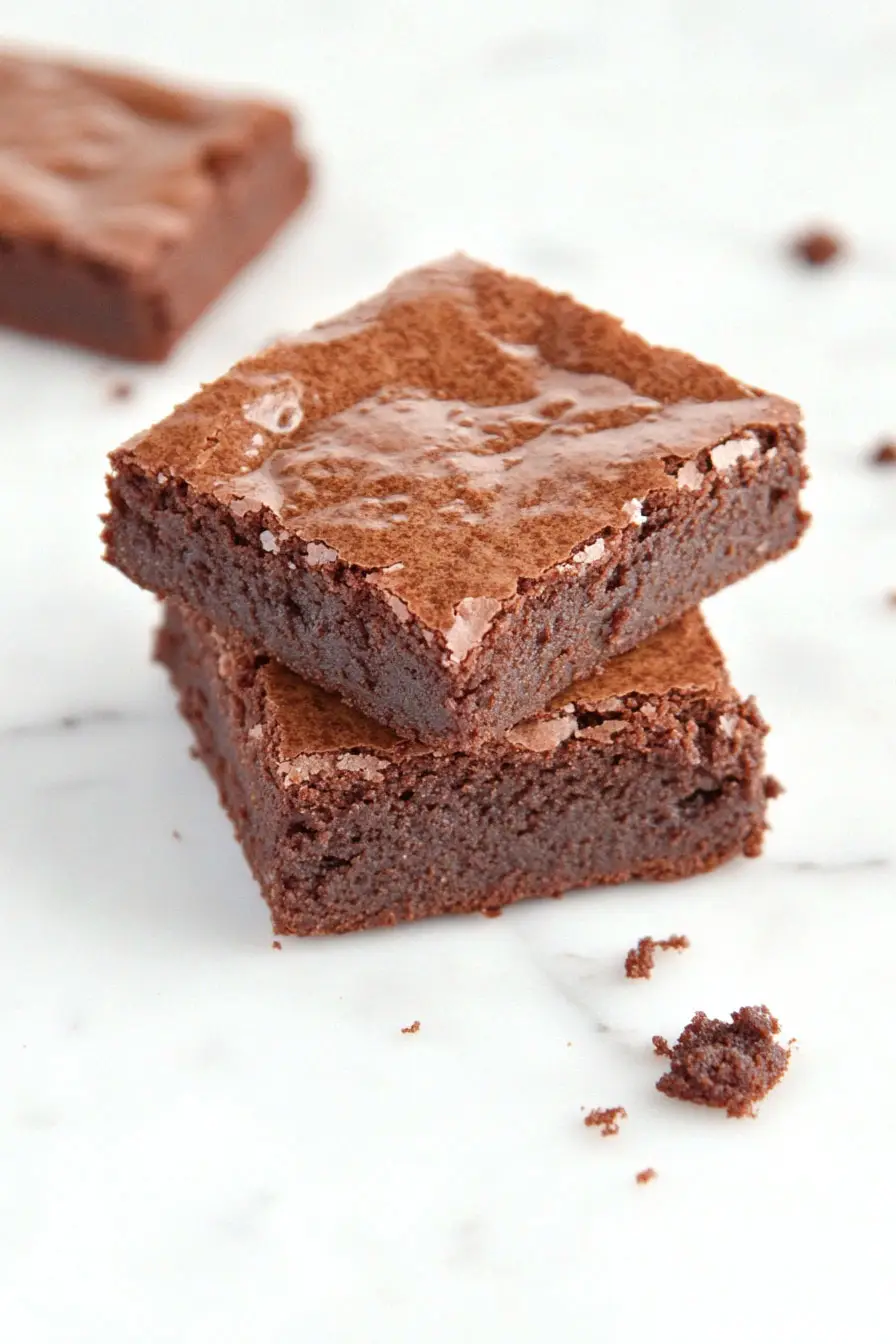
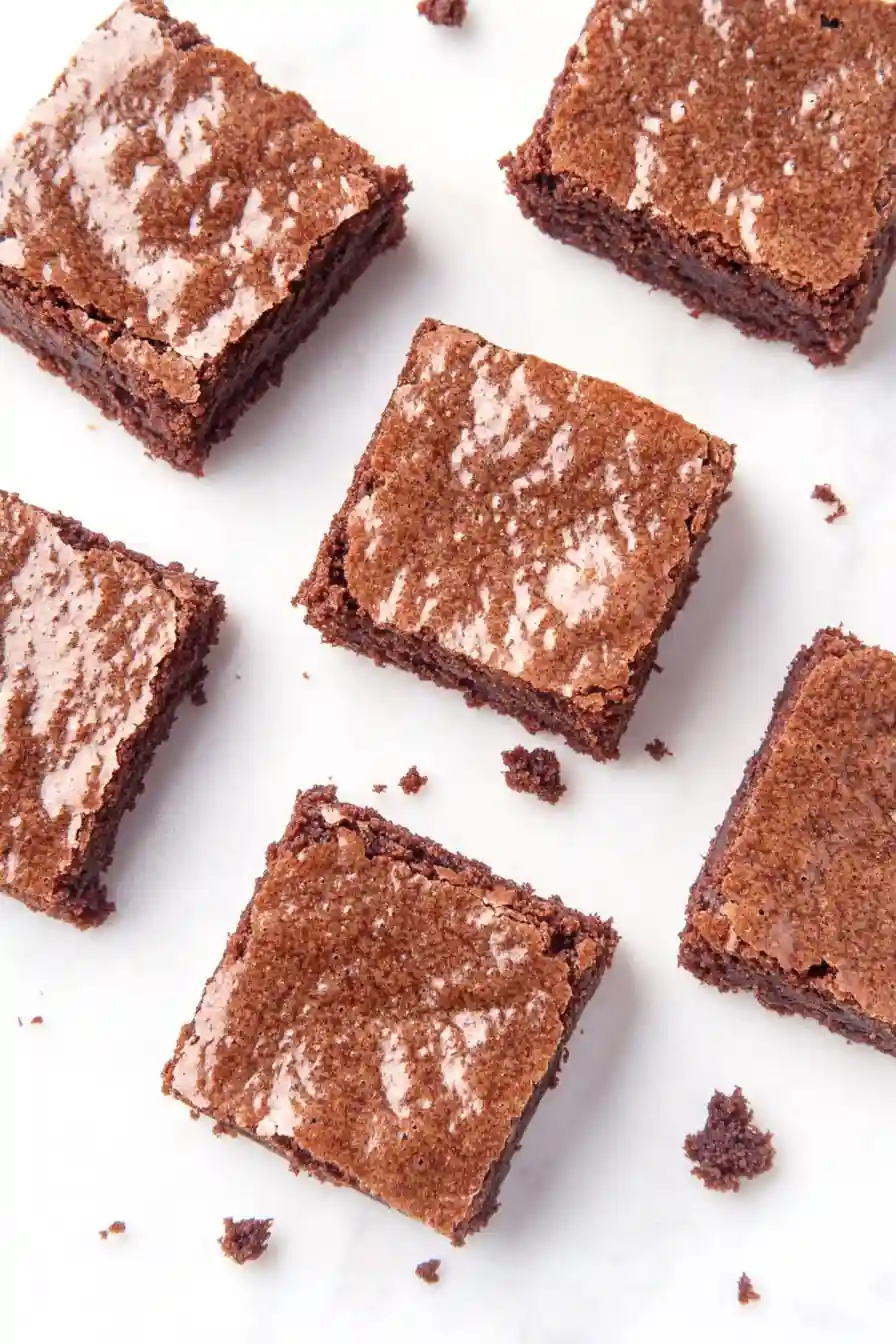
The best part? Most people can’t even tell these are vegan. My kids grab them right off the cooling rack, and my husband, who usually raises an eyebrow at “alternative” desserts, keeps asking me to make more. They’re rich, chocolatey, and have that perfect crackly top that every good brownie needs. Plus, you probably have most of the ingredients in your pantry already.

Why You’ll Love These Vegan Brownies
- Dairy-free and egg-free – These brownies are completely vegan-friendly while still delivering that classic chocolate brownie taste you crave.
- Pantry-friendly ingredients – You probably already have most of these basic ingredients in your kitchen – no fancy vegan substitutes needed.
- Quick preparation – With just a few simple steps and common ingredients, you can have these mixed and in the oven in under 15 minutes.
- Budget-friendly dessert – Using standard pantry ingredients instead of expensive vegan alternatives makes this a wallet-friendly treat that everyone can enjoy.
- Foolproof recipe – This straightforward recipe is perfect for beginner bakers or those new to vegan baking – it’s hard to mess up!
What Kind of Cocoa Powder Should I Use?
Natural unsweetened cocoa powder is your best bet for these vegan brownies, though Dutch-processed cocoa will work too if that’s what you have on hand. Natural cocoa powder has a deeper chocolate flavor and works really well with the baking powder in this recipe to help the brownies rise properly. When shopping, just make sure to grab unsweetened cocoa powder rather than a hot chocolate mix – they might look similar on the shelf, but hot chocolate powder has added sugar and other ingredients that will throw off your recipe. If you want to make your brownies extra rich, you could even use dark cocoa powder, which has an even more intense chocolate flavor.

Options for Substitutions
These vegan brownies are pretty adaptable and here’s what you can swap if needed:
- All-purpose flour: You can use whole wheat flour for a nuttier taste (though brownies may be denser), or gluten-free flour blend with xanthan gum for gluten-free brownies. Just note that gluten-free versions might be slightly more crumbly.
- Granulated sugar: Brown sugar works great and adds moisture, or coconut sugar for a less refined option. If using liquid sweeteners like maple syrup or agave, reduce the water by 1/4 cup.
- Cocoa powder: Dutch-process or natural cocoa powder both work here. Just don’t skip it – it’s essential for that chocolate flavor!
- Cooking oil: Any neutral oil works – try canola, sunflower, or melted coconut oil. For a healthier twist, you can replace half the oil with applesauce, but the texture will be more cake-like.
- Vanilla essence: Vanilla extract, vanilla bean paste, or even a splash of coffee work great. You can skip it if you don’t have any, though it does add nice flavor.
Watch Out for These Mistakes While Baking
The biggest challenge when making vegan brownies is achieving the right texture – overmixing the batter can lead to tough, chewy brownies instead of the fudgy texture we’re after, so mix just until the ingredients are combined.
Getting the baking time right is crucial since vegan brownies can quickly go from perfectly moist to dry and crumbly – start checking them about 5 minutes before the recommended baking time by inserting a toothpick in the center (it should come out with a few moist crumbs, not completely clean).
Many bakers make the mistake of using low-quality cocoa powder, but since these brownies rely heavily on cocoa for chocolate flavor, it’s worth investing in a good Dutch-processed cocoa powder for richer results.
One final tip: let the brownies cool completely before cutting – they’ll continue to set as they cool, and cutting them too soon can result in a messy, crumbly texture rather than clean, perfect squares.

What to Serve With Vegan Brownies?
These rich chocolate brownies are great on their own, but there are so many fun ways to dress them up! A scoop of dairy-free vanilla ice cream on top of a warm brownie creates that perfect hot-and-cold dessert combo that everyone loves. For a quick weeknight treat, try serving them with fresh berries and a dollop of coconut whipped cream, or drizzle them with your favorite non-dairy chocolate sauce. If you’re hosting friends for coffee, these brownies pair really well with a hot oat milk latte or a cold glass of almond milk.
Storage Instructions
Keep Fresh: These vegan brownies stay good at room temperature for up to 3 days when kept in an airtight container. I like to place a piece of parchment paper between layers to prevent them from sticking together. For longer storage, pop them in the fridge where they’ll stay fresh for up to a week.
Freeze: Want to save some for later? Cut the brownies into squares, wrap them individually in plastic wrap, and store them in a freezer bag. They’ll keep well for up to 3 months in the freezer. This is perfect when you need a quick chocolate fix!
Thaw: When you’re ready to enjoy your frozen brownies, just transfer them to the fridge overnight or let them sit at room temperature for about 2 hours. If you like warm brownies, pop them in the microwave for 15-20 seconds – they’ll taste just like freshly baked!
| Preparation Time | 10-15 minutes |
| Cooking Time | 30-35 minutes |
| Total Time | 40-50 minutes |
| Level of Difficulty | Easy |
Estimated Nutrition
Estimated nutrition for the whole recipe (without optional ingredients):
- Calories: 3500-4000
- Protein: 20-25 g
- Fat: 200-220 g
- Carbohydrates: 500-550 g
Ingredients
- 1 tsp salt
- 3/4 cup unsweetened cocoa powder (I use Hershey’s Special Dark for a richer flavor)
- 2 cups granulated sugar
- 2 cups all-purpose flour
- 1 tsp baking powder
- 1 cup cooking oil (vegetable or canola oil works well)
- 1 tsp vanilla extract
- 1 cup water
Step 1: Prepare Your Baking Dish and Ingredients
Begin by gathering all your ingredients to ensure you have everything on hand.
Preheat your oven to 350 degrees F (175 degrees C).
Take a 9×13-inch baking dish and grease it with baking spray to prevent sticking.
Line the bottom with parchment paper to make it easier to remove the baked product.
Step 2: Mix Dry Ingredients
In a large bowl, combine your dry ingredients: whisk together flour, sugar, cocoa powder, baking powder, and salt.
Mix these thoroughly until they are well incorporated and even in texture, which helps ensure an even bake.
Step 3: Incorporate Wet Ingredients
Into the bowl of dry ingredients, pour in your chosen liquid—either water or coffee for a richer flavor.
Add vegetable oil and vanilla extract.
Mix everything together until the batter is smooth and well-blended.
Take care to ensure no lumps remain.
Step 4: Spread and Bake the Batter
Once your batter is fully mixed, spread it evenly in the prepared baking dish.
Ensure the top is smooth to allow even baking.
Place the dish in your preheated oven.
Bake until the top is no longer shiny and the center feels just set when gently pressed, which should take about 30 minutes.
Step 5: Cool and Serve
After removing the dish from the oven, allow it to cool for at least 10 minutes.
This will make it easier to cut and serve.
Once cooled, cut into 15 squares.
Your delicious treat is ready to enjoy!

