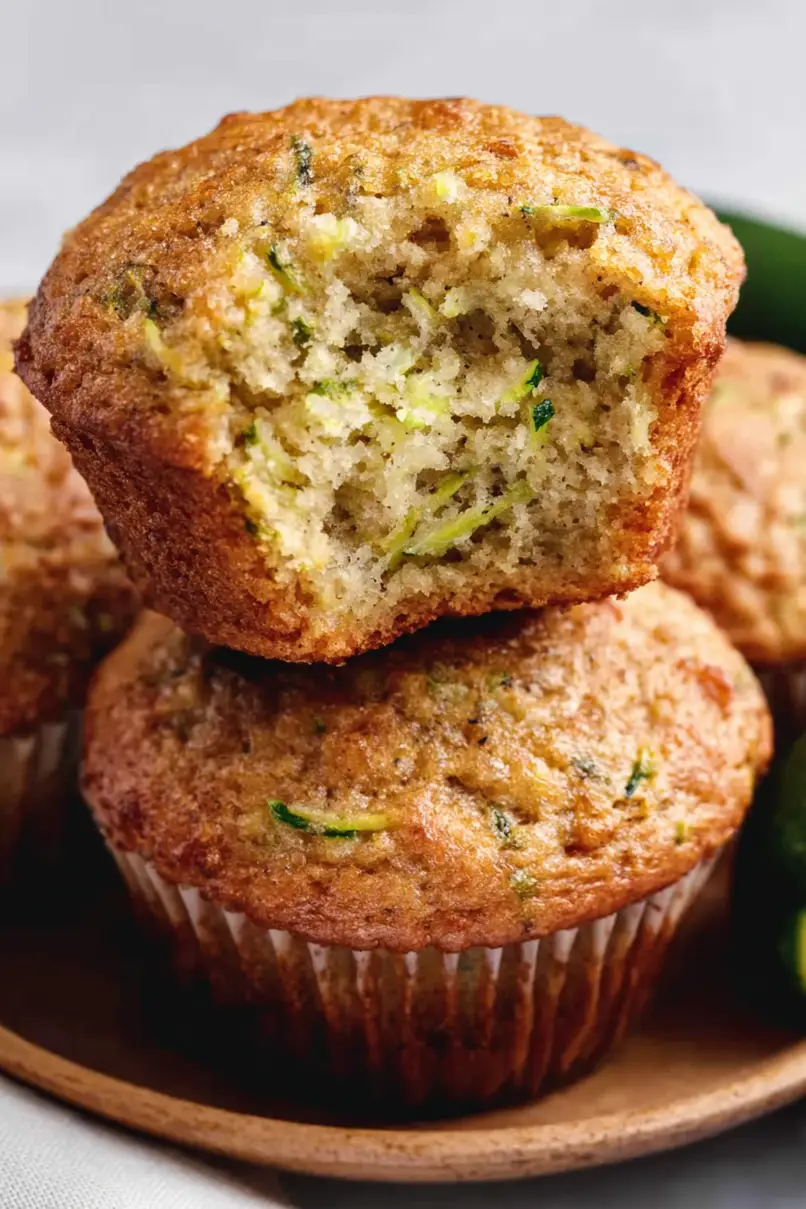
I never liked zucchini as a kid – it was that mushy green vegetable my mom would try to hide in pasta. But one summer, when our garden produced way too many zucchinis to handle, she started baking them into muffins. I was skeptical at first, but those warm, sweet muffins changed everything.
Now, whenever I have extra zucchini sitting around, these muffins are my go-to solution. They’re simple to make, and unlike my childhood veggie struggles, my kids actually ask for seconds. Plus, it’s one of those recipes where you don’t need to be a master baker to get great results – just mix, pour, and let your oven do the work.
Why You’ll Love These Zucchini Bread Muffins
- Quick breakfast option – Ready in just about 40 minutes, these muffins are perfect for busy mornings or meal prep – make a batch on Sunday for grab-and-go breakfasts all week.
- Sneaky vegetables – Each muffin packs in nutritious zucchini, but you won’t even taste it! It’s a great way to get picky eaters to eat their veggies.
- Basic pantry ingredients – You probably have most of these ingredients in your kitchen already – just grab a zucchini and you’re ready to bake.
- Freezer-friendly – These muffins freeze beautifully, so you can make a double batch and save some for later – just thaw overnight when you’re ready to enjoy them.
What Kind of Zucchini Should I Use?
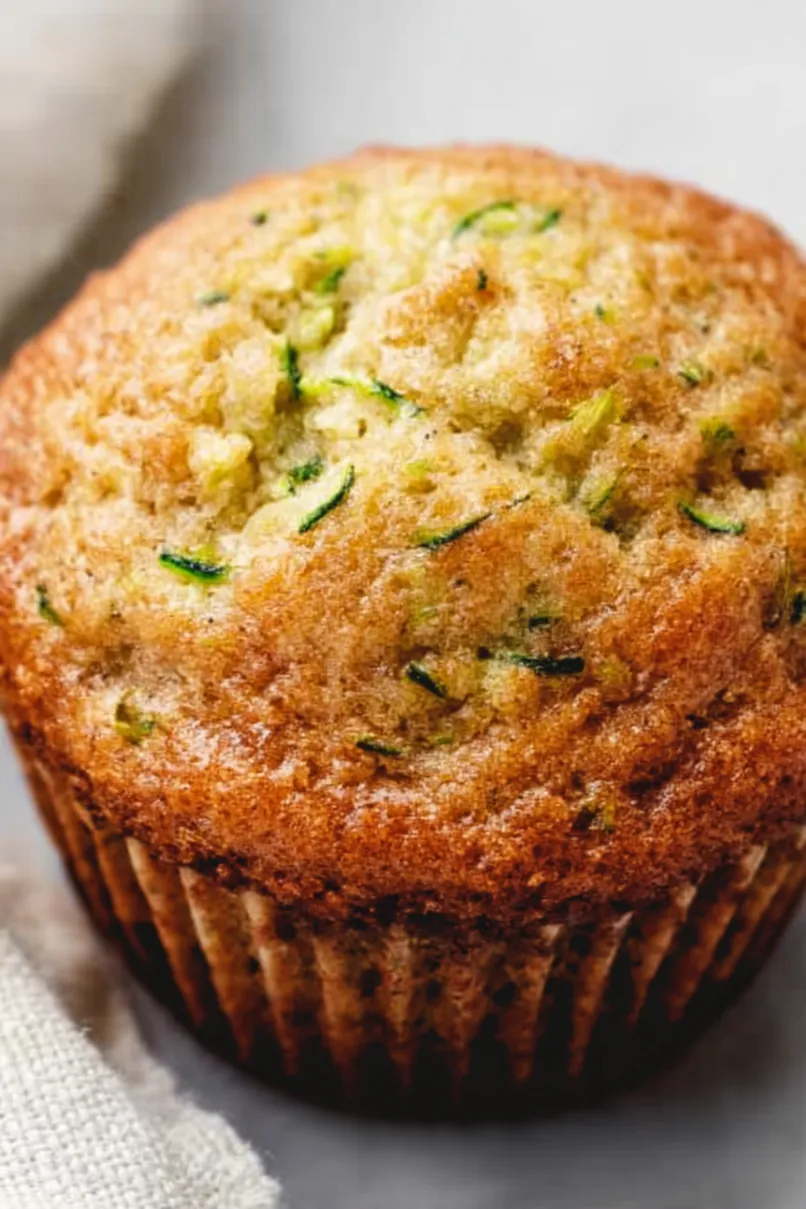
For zucchini muffins, medium-sized zucchini (about 8 inches long) are your best bet since they’re tender and have smaller seeds than the giant ones you might find in late summer. You don’t need to peel them – the dark green skin adds nice flecks of color to your muffins and contains extra nutrients. If your garden zucchini has grown to baseball bat size, you’ll want to cut it in half lengthwise and scoop out the seedy center before grating, since those large seeds can make your muffins bitter. When grating, use the standard side of your box grater rather than the fine holes – this gives your muffins the perfect texture without turning the zucchini to mush.
Options for Substitutions
These muffins are pretty adaptable – here’s what you can swap if needed:
- All-purpose flour: You can use whole wheat flour for a nuttier taste (though muffins might be denser), or try a 50/50 mix. For gluten-free needs, use a 1:1 gluten-free flour blend.
- Vegetable oil: Feel free to swap with melted coconut oil, melted butter, or applesauce (use ½ cup) – though applesauce will make them less rich and more cake-like.
- Eggs: For each egg, you can use either 1 mashed banana, ¼ cup applesauce, or a flax egg (1 tablespoon ground flax mixed with 3 tablespoons water, let sit for 5 minutes).
- Granulated sugar: Brown sugar works great here, or reduce sugar to ¾ cup and add ¼ cup honey or maple syrup (just reduce oil by 1 tablespoon if using liquid sweetener).
- Zucchini: This is the star ingredient you shouldn’t skip, but you can use yellow summer squash instead – it works exactly the same way. Just make sure to squeeze out excess moisture either way.
Watch Out for These Mistakes While Baking
The biggest mistake when making zucchini muffins is not properly draining the shredded zucchini – excess moisture can make your muffins too dense and wet, so be sure to squeeze out the liquid using a clean kitchen towel or paper towels before adding it to your batter. Another common error is overmixing the batter, which develops too much gluten and results in tough, chewy muffins – instead, fold the ingredients together just until combined, and don’t worry about a few small lumps. To ensure even baking, avoid filling your muffin cups more than ⅔ full, as overfilled cups can lead to oddly shaped muffins that spill over the edges. For the best texture, let your eggs come to room temperature before mixing (about 30 minutes on the counter), and remember to test for doneness with a toothpick in the center of a muffin – it should come out with just a few moist crumbs, not wet batter.
What to Serve With Zucchini Bread Muffins?
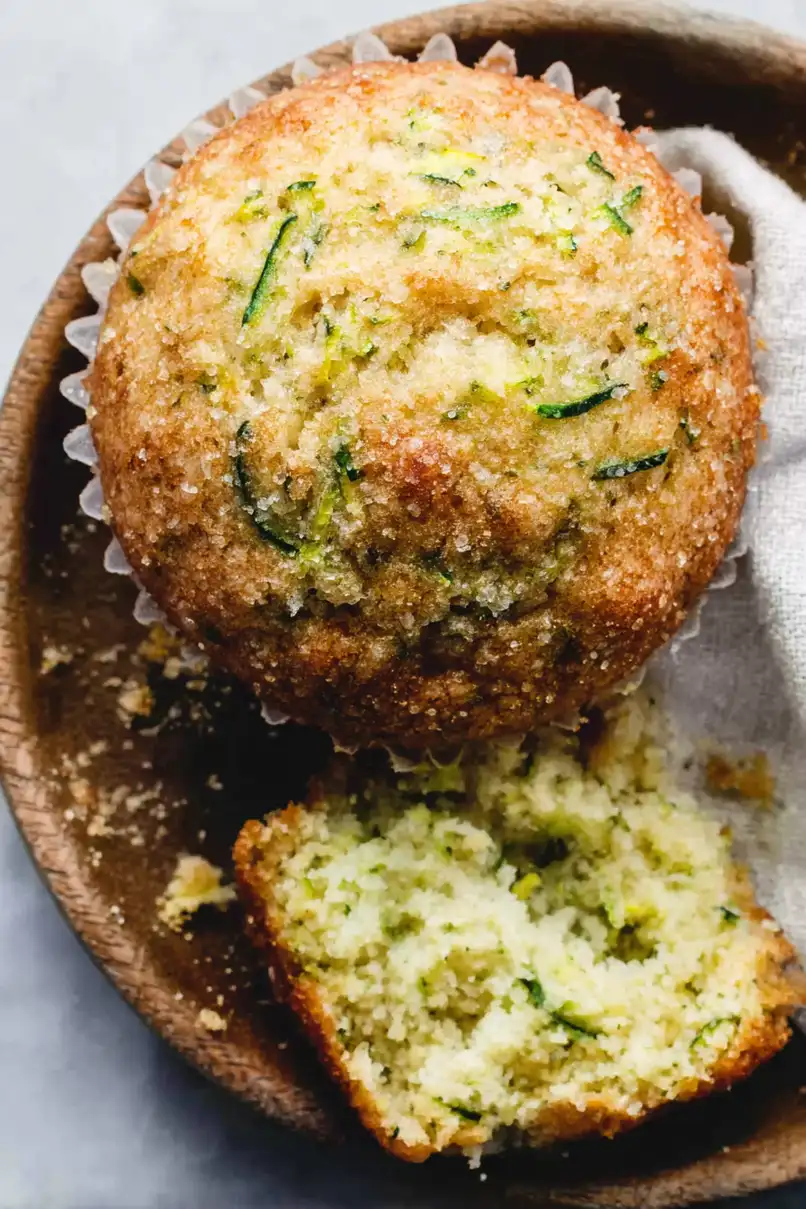
These moist zucchini muffins make a perfect breakfast or afternoon snack, and they pair wonderfully with a hot cup of coffee or tea. For breakfast, I like to spread some softened butter or cream cheese on a warm muffin and serve it alongside fresh fruit like berries or sliced peaches. If you’re serving these for brunch, they go really well with savory dishes like scrambled eggs or a simple yogurt parfait. You can also pack them in lunch boxes with string cheese and apple slices for a satisfying mid-day treat.
Storage Instructions
Counter Storage: These zucchini bread muffins stay fresh at room temperature for up to 2 days. Just pop them in an airtight container and place them on your counter. I like to line the container with a paper towel to absorb any extra moisture from the zucchini.
Refrigerate: Want them to last longer? Keep your muffins in the fridge in a sealed container for up to a week. The paper towel trick works great here too! They might get a bit firmer in the fridge, but they’ll still taste great.
Freeze: These muffins are perfect for freezing! Let them cool completely, then wrap them individually in plastic wrap and place them in a freezer bag. They’ll keep for up to 3 months. When you’re craving one, just pull it out and let it thaw at room temperature for about an hour.
Warm Up: If you like your muffins warm (who doesn’t?), just pop them in the microwave for 10-15 seconds. Or if you prefer them a bit crispy on top, split them in half and toast them lightly. They’re especially good with a pat of butter!
| Preparation Time | 15-20 minutes |
| Cooking Time | 20-22 minutes |
| Total Time | 35-42 minutes |
| Level of Difficulty | Easy |
Estimated Nutrition
Estimated nutrition for the whole recipe (without optional ingredients):
- Calories: 1200-1400
- Protein: 20-25 g
- Fat: 60-70 g
- Carbohydrates: 170-190 g
Ingredients
- 0.5 tsp baking soda
- 2 cups shredded zucchini (grated, then squeezed of excess moisture)
- 0.5 cup vegetable oil (or any other neutral oil like canola)
- 0.5 tsp baking powder (ensure it’s fresh for proper rise)
- 1 cup granulated sugar
- 1 tsp vanilla extract
- 0.5 tsp salt
- 2 large eggs (room temperature for better emulsification)
- 1 tsp ground cinnamon
- 1.5 cups all-purpose flour (I always use King Arthur all-purpose flour)
Step 1: Prepare the Oven and Muffin Tin
Preheat your oven to 350°F (175°C).
Grease a muffin tin or line it with paper liners to ensure easy removal of the muffins once baked.
Step 2: Mix Dry Ingredients
In a large bowl, whisk together the dry ingredients: flour, sugar, cinnamon, baking powder, baking soda, and salt.
Ensure these ingredients are well-combined for even distribution of flavors and leavening agents.
Step 3: Combine Wet Ingredients
In a separate bowl, whisk the eggs into the oil until well blended.
Stir in the vanilla extract.
This mixture will help add moisture to the muffins.
Step 4: Combine Wet and Dry Ingredients
Stir the wet ingredients into the dry ingredients, mixing until just combined.
The batter will be very thick and somewhat dry at this stage, which is normal.
Avoid over-mixing to ensure tender muffins.
Step 5: Incorporate the Zucchini
Gently fold the grated zucchini into the batter until it is evenly incorporated.
The moisture from the zucchini will help hydrate the thick batter, making it easier to handle.
Step 6: Fill and Bake
Spoon the batter into the prepared muffin tin, filling each well about 3/4 full.
Bake in the preheated oven for 20-22 minutes, or until a toothpick inserted into the center of a muffin comes out clean.
Allow them to cool in the pan for a few minutes before transferring them to a wire rack to cool completely.
Step 7: Storing and Serving
For storage, keep the muffins at room temperature in an airtight container for up to 5 days.
Alternatively, wrap them individually with plastic wrap and store in the refrigerator or freezer for up to 3 weeks.
Serve at room temperature or warm them in the microwave for a few seconds.
Enjoy them plain or with a slather of butter for extra flavor!
