Want to manage rainwater and beautify your yard?
A rain garden is the perfect solution.
Follow this step-by-step guide to build your own rain garden at home.
Ready to transform your space?
Let’s get started!
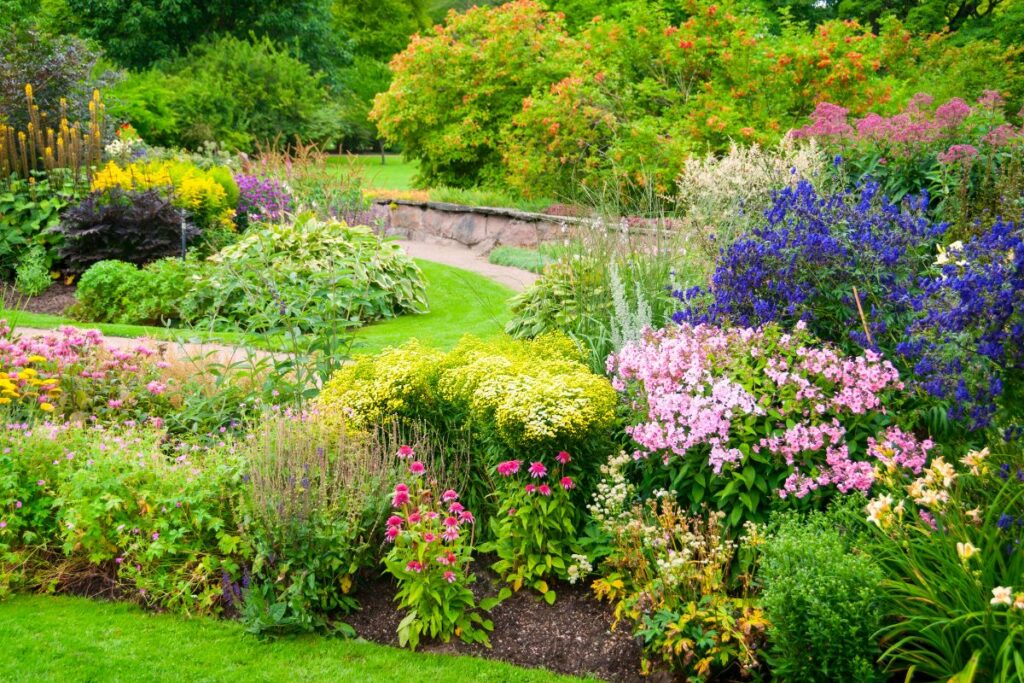
Understanding Rain Gardens
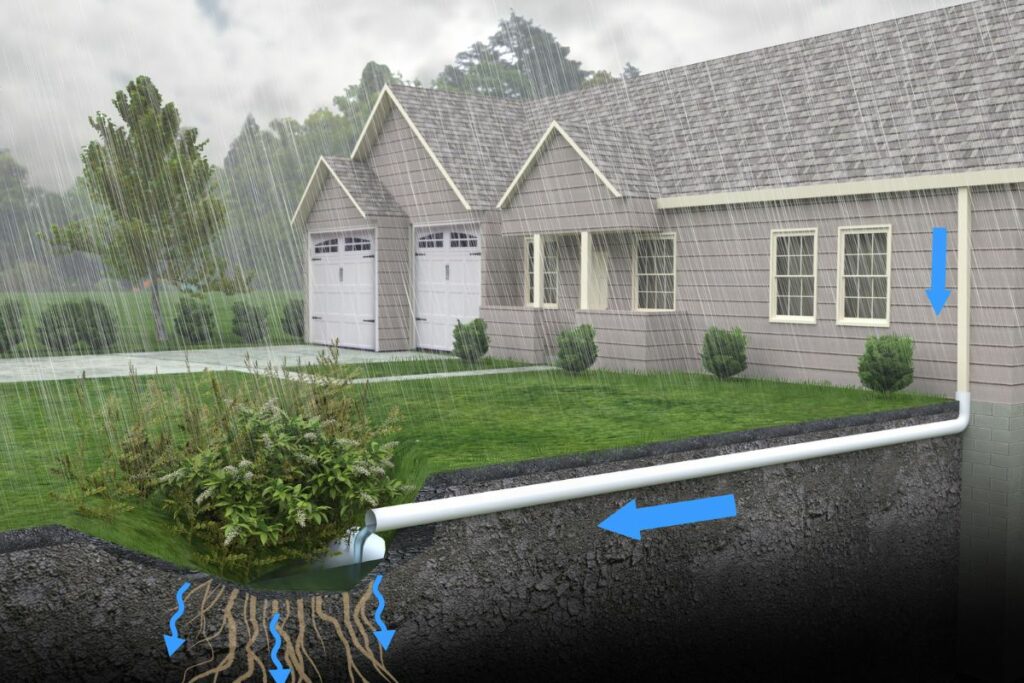
A rain garden is a purposefully shaped low area in the landscape, designed to gather and purify water from hard surfaces like roofs and driveways. It acts like an eco-friendly basin, soaking in and cleansing runoff before it can join storm sewers or enter local waterways. By doing so, it lessens both the quantity and velocity of the runoff and helps remove contaminants, safeguarding the environmental health and quality of our waters.
| Components | Functions |
|---|---|
| Land depression | Collects rainwater |
| Plants | Absorb and filter pollutants |
| Soil mixture | Aids in purification and drainage |
- Purpose: To minimize runoff impact
- Benefit: Protects waterways by filtering pollutants
Essential Items:
- Decorative Stones
- Indigenous Flora
- Gardening Mesh
- Stream Pebbles
- Polyvinyl Chloride Tubing
Essential Implements:
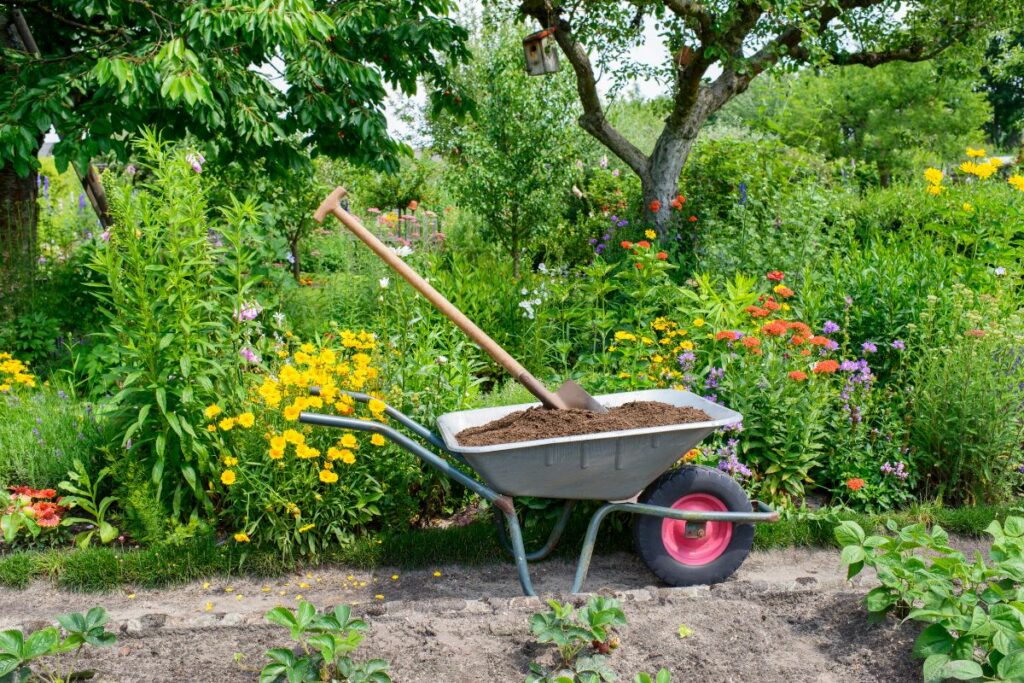
- Wheelbarrow
- Shovel
- Spirit Level
Step 1: Initial Stages of Structure Planning

Select an area in your garden that naturally collects water after rainfall or where gutter downspouts release water. Ensure this spot is at a minimum distance of 10 feet from your home to safeguard the foundation and avoid interference with underground utilities or septic systems.
When conceptualizing your rain garden’s layout, it’s essential to calculate the drainage zone size by measuring the hard surface areas, such as your roof and driveway, contributing to runoff. It is necessary to estimate the amount of runoff produced by an average rain event, understand your soil type’s absorption capabilities, and consider the local precipitation trends. Ideally, design your rain garden to manage around 10% of the total runoff, which will facilitate effective water retention and environmental conservation. Remember to adhere to any local ordinances or guidelines in place regarding rain garden construction.
Step 2: Site Preparation Steps

Clear the Plot: Begin by eradicating all unwelcome vegetation, stones, and debris from the designated area with tools like a spade and a wheelbarrow.
Basin Excavation: Shape the rain garden by hollowing out a depression using your spade. Your target depth should range from 4 to 8 inches, with a leveled bottom for even water dispersal.
Assessing Depth: The ideal depth depends on soil composition and drainage capacity. It should also match the expected water volume. Before digging, perform a percolation test to check the soil’s absorption ability.
Remember, an appropriate depth not only promotes efficient water absorption and plant health but also ensures that your rain garden blends seamlessly with the landscape and avoids waterlogging.
Step 3: Installing the Conduit

- Lay the PVC Conduit: Lead water from downspouts by positioning PVC pipes within the trench towards the garden.
- Drainage Point: Ensure the PVC’s outlet is in the garden’s deeper part to enhance drainage.
Step 4: Positioning the Weed Barrier
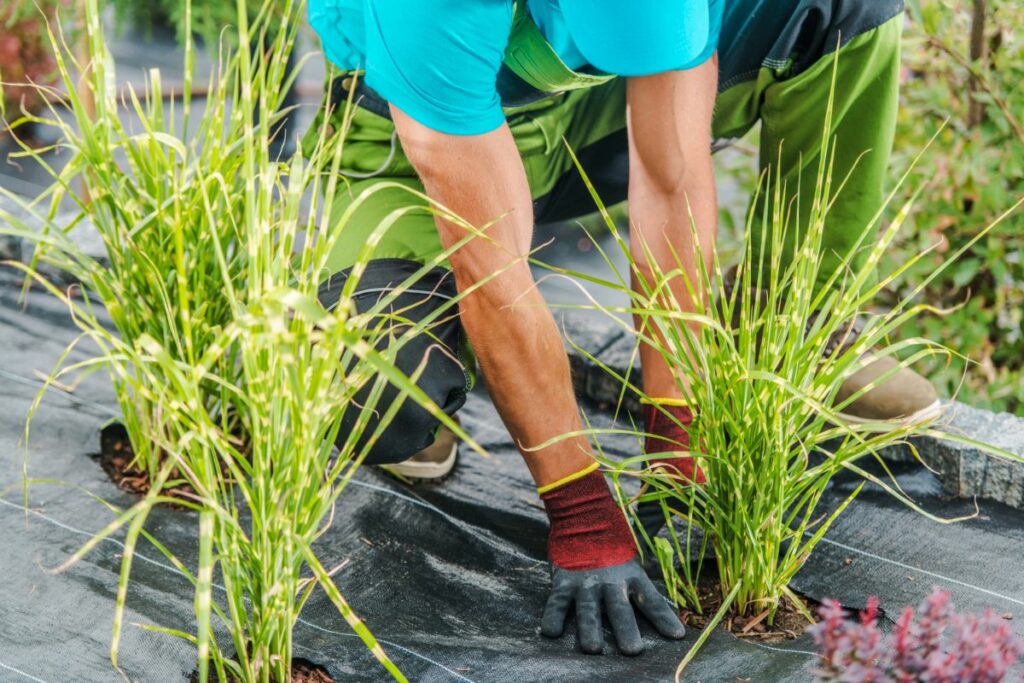
- Cut the fabric to conform to the basin boundary.
- Ensures diminished weed growth.
- Stabilizes soil to curtail erosion.
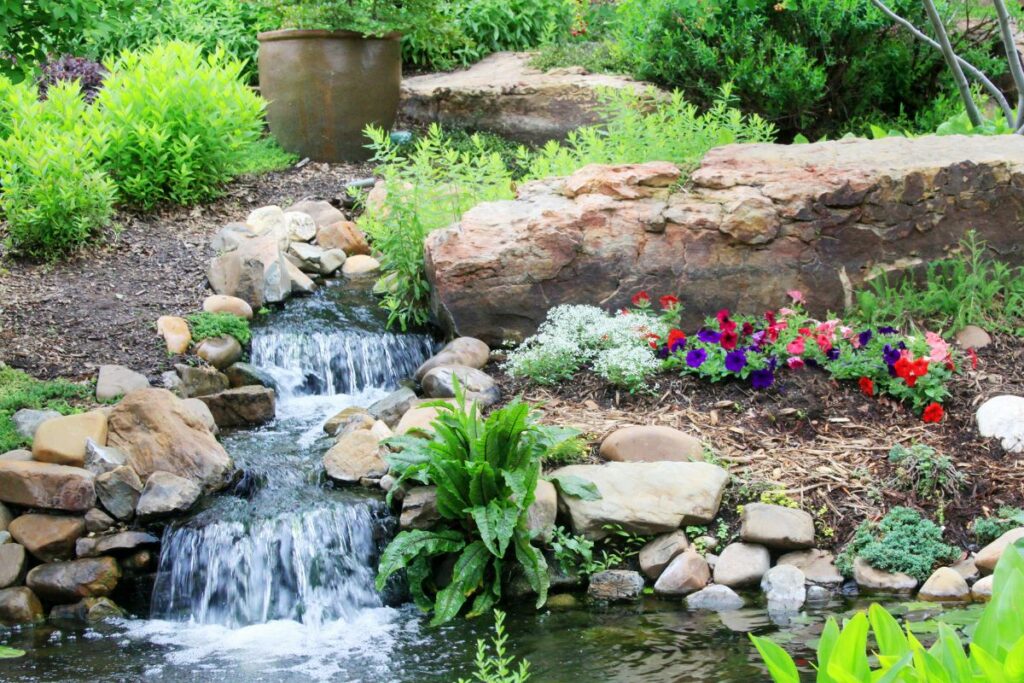
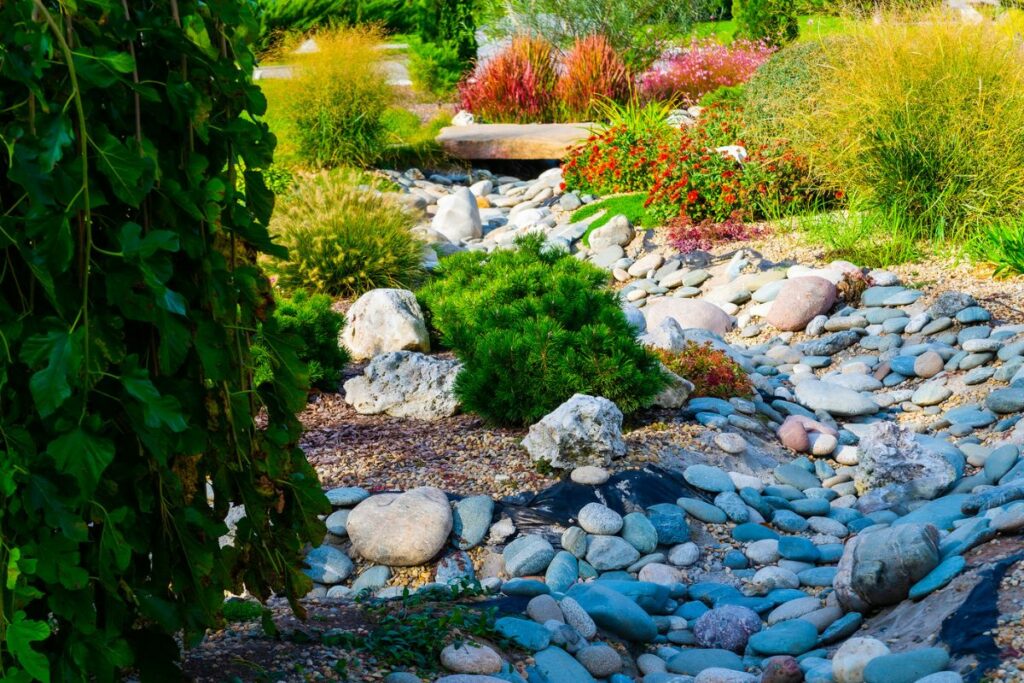
Step 5: Incorporate River Stones and Accent Boulders

- Layer with River Stones: Distribute a covering of 1.5-inch-sized river stones across the base of your rain garden to improve water flow and add to its visual charm.
- Position Decorative Boulders: Thoughtfully place various decorative boulders within your garden to introduce focal features and enhance its overall appearance.
Step 6: Choosing and Planting Region-Specific Flora
- Research plants native to your area that thrive in local climate and moisture conditions.
- Group plants based on their water needs; arrange moisture-tolerant varieties in lower areas.
Standard Plant Options:
- For Moist Areas: Aster, Iris, Sedum, Daylily
- For Drier Edges: Artemisia, Coneflower, Sedge
Planting Tips:
- Select plants that adapt to “average to moist” conditions for your rain garden’s center.
- Opt for species that prefer “average to dry” conditions along the outer margins.
- Refrain from including plants that require constant moisture, as a rain garden typically drains within a day.
Step 7: Cover and Hydrate
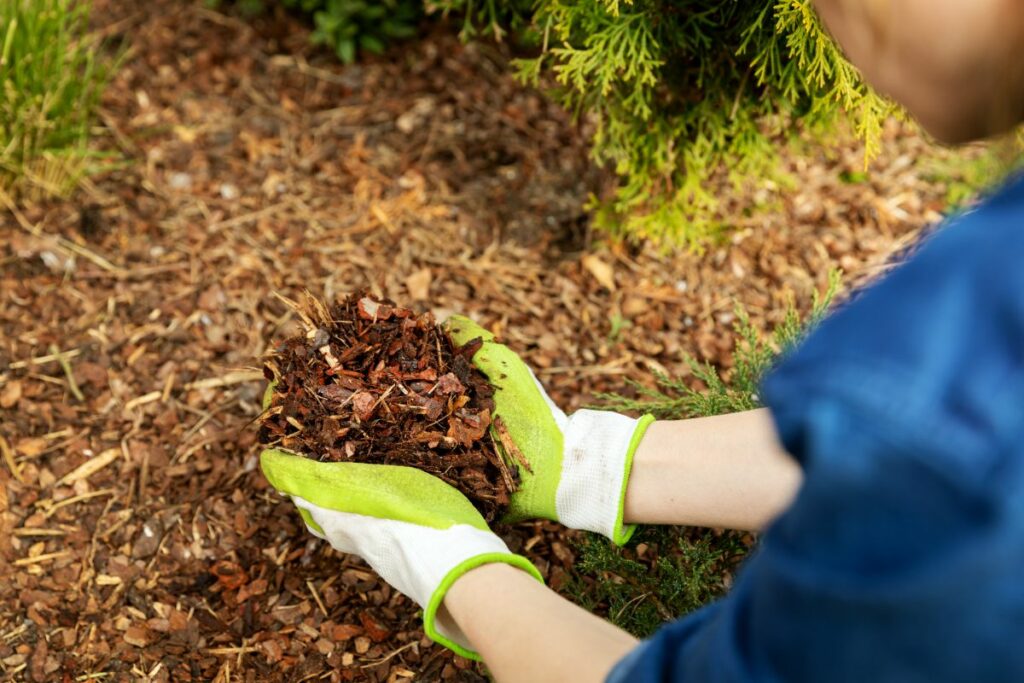
Mulch Application: Scatter an organic mulch blanket over your garden to maintain soil moisture, impede weed growth, and shield plant roots.
Irrigation Protocol: Douse your rain garden upon planting and sustain regular watering until the vegetation takes root.
Step 8: Sustaining Your Rain Garden
- Routinely eliminate weeds to promote a robust garden.
- Prune and split plants to support their growth.
- Assess rain garden performance with rainfall and modify layout or flora as required.