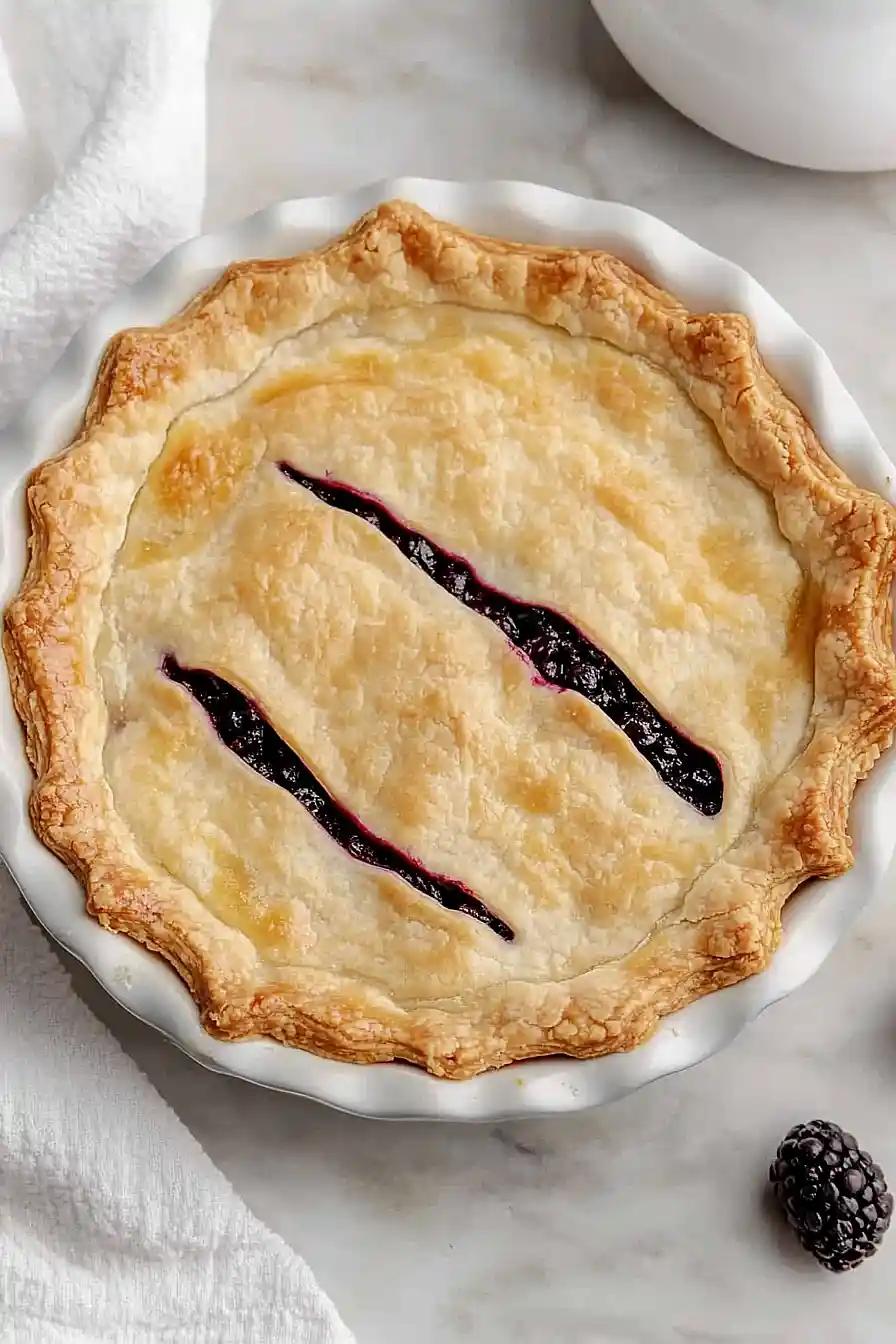
Here is my favorite black raspberry pie recipe, with a simple, buttery homemade crust and a sweet-tart filling packed with juicy black raspberries, sugar, and just a touch of lemon juice.
This black raspberry pie disappears fast at summer gatherings. I always keep an extra container of berries in the freezer so I can whip one up whenever the craving hits. There’s something special about that perfect balance of sweet and tangy in every bite.
Why You’ll Love This Black Raspberry Pie
- Simple ingredients – You only need a handful of basic pantry staples plus fresh or frozen berries to create this delicious dessert.
- Works with frozen berries – No need to wait for berry season – you can make this pie year-round using frozen black raspberries or blackberries from your freezer.
- Classic homemade taste – This traditional recipe delivers that perfect balance of sweet and tart flavors with a flaky crust that tastes just like grandma used to make.
- Perfect for any occasion – Whether it’s a family dinner, potluck, or holiday gathering, this pie always impresses and disappears quickly from the dessert table.
What Kind of Black Raspberries Should I Use?
You can use either fresh or frozen black raspberries for this pie, and both will give you great results. If you’re using frozen berries, just let them thaw partially before mixing them with the other filling ingredients – you don’t want them completely thawed and mushy. Fresh black raspberries are wonderful when they’re in season, but they can be hard to find and quite expensive, so don’t feel bad about reaching for the frozen bag. If you can’t find black raspberries at all, regular blackberries make an excellent substitute and will taste just as good in this recipe.
Options for Substitutions
This pie recipe is pretty forgiving when it comes to making a few swaps:
- Black raspberries or blackberries: You can easily swap these for regular red raspberries, blueberries, or even a mix of berries. Just keep the total amount at 5 cups. If using strawberries, slice them first and add an extra tablespoon of cornstarch since they’re juicier.
- White sugar: Feel free to use brown sugar for a deeper flavor, or reduce the sugar by ¼ cup if your berries are particularly sweet. You can also substitute with coconut sugar using the same amount.
- Cornstarch: If you’re out of cornstarch, use 6 tablespoons of all-purpose flour instead. Tapioca starch also works great – use 3 tablespoons and let the filling sit for 15 minutes before baking.
- Double pie crust: Store-bought crusts work perfectly fine, but if you only have a single crust, you can make this as an open-faced pie with a crumb topping instead of a top crust.
- Milk: The milk is just for brushing the top crust, so you can use cream, beaten egg, or even melted butter for that golden finish.
Watch Out for These Mistakes While Baking
The biggest mistake when making black raspberry pie is skipping the cornstarch or not mixing it thoroughly with the sugar, which leads to a runny filling that won’t set properly – make sure to whisk these dry ingredients together before tossing with your berries.
Another common error is not creating proper steam vents in your top crust, so cut several slits or decorative holes to prevent the crust from puffing up and the filling from bubbling over onto your oven floor.
To avoid a soggy bottom crust, try blind baking the bottom crust for 10 minutes before adding the filling, and always place your pie on the lowest oven rack so the bottom gets direct heat.
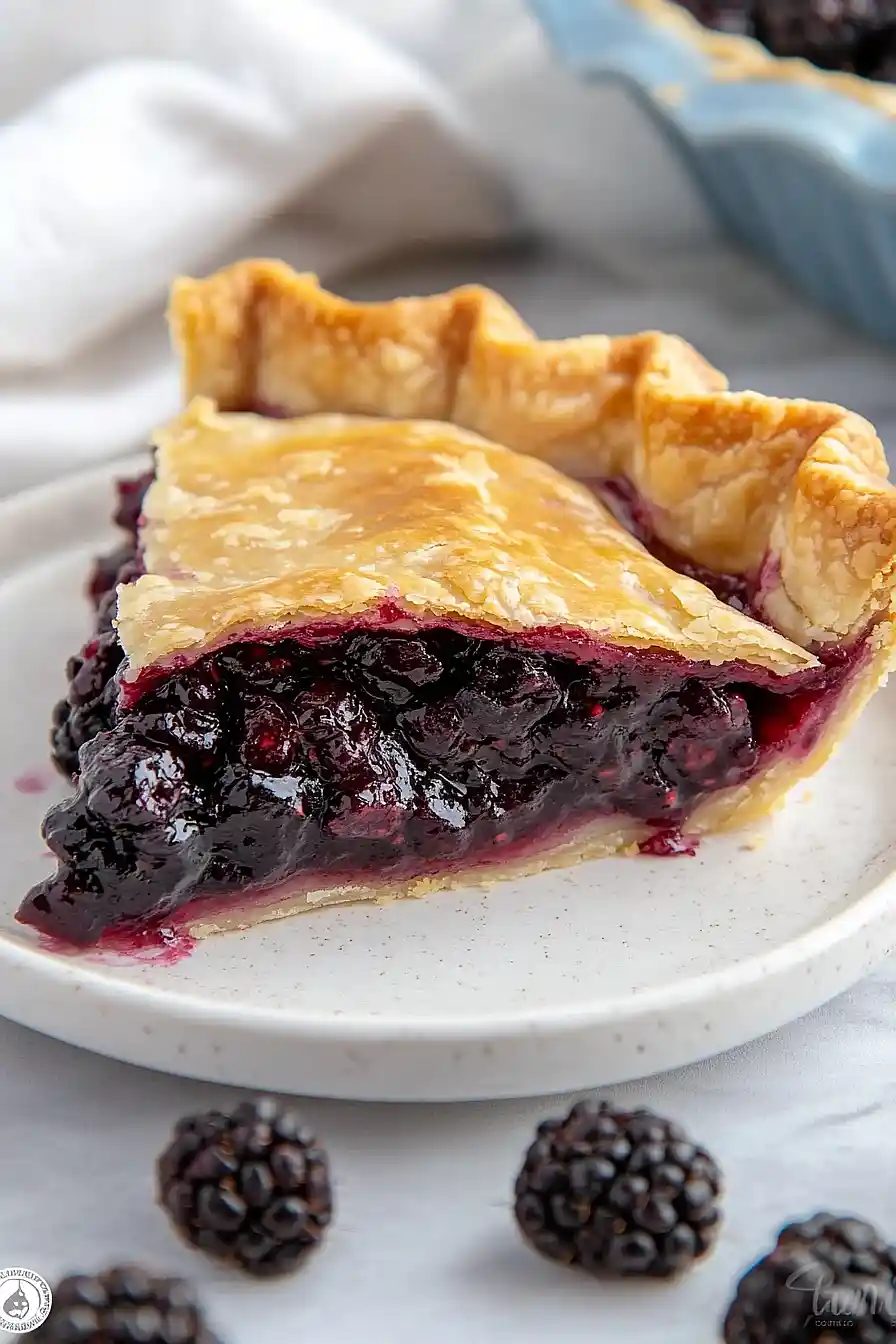
Finally, resist the urge to cut into your pie right away – let it cool for at least 3-4 hours so the filling has time to thicken up properly, otherwise you’ll end up with beautiful slices that fall apart on the plate.
What to Serve With Black Raspberry Pie?
A scoop of vanilla ice cream is my go-to pairing with black raspberry pie – the cold, creamy sweetness balances out the tart berries perfectly. Freshly whipped cream is another great option, especially if you add a touch of vanilla or a sprinkle of cinnamon to it. For something a little different, try serving it with a dollop of mascarpone or even a slice of sharp cheddar cheese, which might sound weird but actually complements the fruit flavors really well. A hot cup of coffee or black tea also makes a nice accompaniment, especially if you’re serving the pie as an after-dinner treat.
Storage Instructions
Keep Fresh: Your black raspberry pie will stay delicious covered loosely with foil or plastic wrap at room temperature for up to 2 days. After that, move it to the refrigerator where it’ll keep for another 3-4 days. The crust might soften a bit in the fridge, but the flavors will still be amazing.
Freeze: This pie freezes really well for up to 3 months! Wrap it tightly in plastic wrap, then aluminum foil to prevent freezer burn. You can freeze it whole or cut it into individual slices first – whatever works better for your family.
Serve: To enjoy frozen pie, just thaw it in the refrigerator overnight or let individual slices sit at room temperature for about 30 minutes. If you want to crisp up the crust a bit, pop it in a 350°F oven for 10-15 minutes. It tastes great cold too, especially with a scoop of vanilla ice cream!
| Preparation Time | 20-30 minutes |
| Cooking Time | 60 minutes |
| Total Time | 80-90 minutes |
| Level of Difficulty | Medium |
Estimated Nutrition
Estimated nutrition for the whole recipe (without optional ingredients):
- Calories: 2200-2400
- Protein: 15-20 g
- Fat: 80-90 g
- Carbohydrates: 350-370 g
Ingredients
For the berry filling:
- 2 tbsp butter (softened, preferably unsalted like Kerrygold)
- 1/4 cup cornstarch (to thicken the filling)
- Dash of salt
- 1 1/4 cups granulated sugar
- 5 cups black raspberries (fresh or partially thawed frozen)
For the crust and topping:
- 1 tbsp granulated sugar (for sprinkling on top)
- 1 tbsp milk (for brushing the crust)
- 1 9-inch double pie crust (refrigerated or frozen, like Pillsbury)
Step 1: Preheat the Oven
Set your oven to 350º F (175º C) to ensure it’s hot and ready for baking the pie when you’re done assembling.
Step 2: Prepare the Berry Filling
- 5 cups fresh or partially thawed frozen black raspberries or blackberries
- 1 1/4 cups granulated sugar
- 1/4 cup cornstarch
- 2 tbsp butter, softened
- dash of salt
In a large bowl, gently combine the fresh or partially thawed frozen black raspberries or blackberries with the granulated sugar, cornstarch, softened butter (cut into pieces), and a dash of salt.
Stir until the berries are evenly coated and the mixture looks glossy and well mixed.
I like to be gentle here so the berries hold their shape and don’t get too mushy.
Step 3: Fill and Assemble the Pie
- 1 9-inch double pie crust
- berry mixture from Step 2
Line a pie plate with the bottom pastry of the 9-inch double pie crust.
Spoon the prepared berry mixture (from Step 2) evenly into the crust.
Moisten the edge of the pastry with a little water to help seal it later.
Roll out the top crust and gently lay it over the berry filling.
Trim the top crust, leaving about 1/2 inch overhang.
Fold the top crust under the edge of the bottom crust to seal, then crimp and flute the edges to secure.
Make a few slits in the top crust or prick with a fork to allow steam to escape during baking.
Step 4: Glaze the Pie Crust
- 1 tbsp milk
- 1 tbsp granulated sugar
Brush the top crust evenly with milk to give it a beautiful golden color.
Sprinkle granulated sugar over the crust for an extra crunch and a sweet finish before baking.
Step 5: Bake the Pie
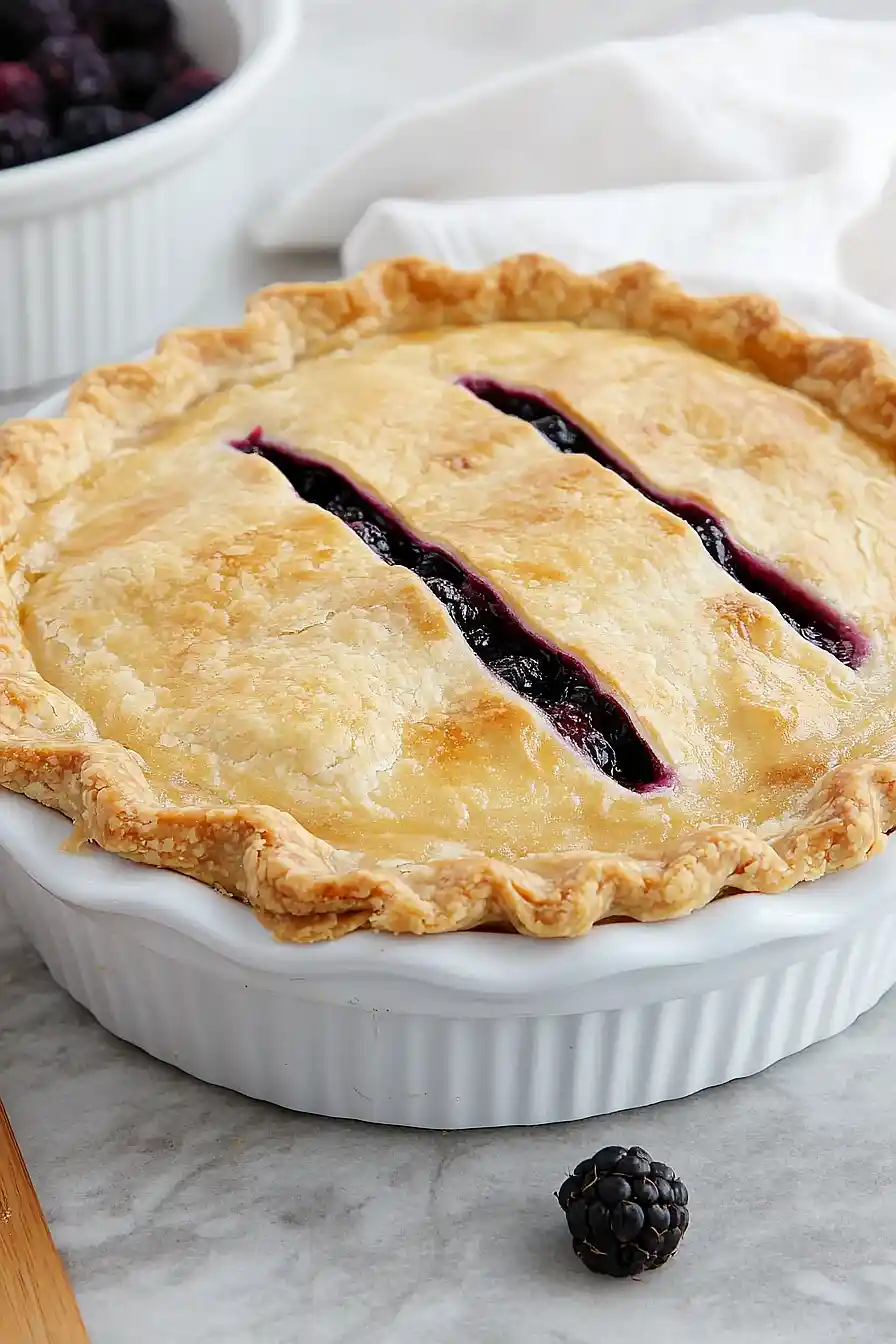
Place the assembled pie in the preheated oven and bake for about 1 hour, or until the filling is bubbling in the center and the crust turns a deep golden brown.
To prevent the edges from getting too dark, I like to check the pie halfway through and cover the edges with foil if necessary.
Step 6: Cool and Serve
Remove the pie from the oven and let it cool on a wire rack to room temperature before slicing.
This helps the filling set, making the pie easier to serve.
