Who doesn’t love nachos? In my house, they’re the go-to meal when we want something quick and satisfying. But I’ve learned that tossing chips on a plate with some cheese just doesn’t cut it anymore – not when oven-baked nachos are so easy to make.
I started making these nachos years ago when my kids would invite friends over for movie nights. Instead of serving them straight from the microwave, I discovered that layering them properly and baking them in the oven makes all the difference. The cheese melts perfectly, and every chip gets its fair share of toppings.
The best part? You can customize them however you want. Like it spicy? Add extra jalapeños. Keeping it simple? Stick to the basics with cheese and beans. Either way, these nachos always disappear faster than I can make them.
Why You’ll Love These Nachos
- Quick preparation – Ready in just 30 minutes, these nachos are perfect for last-minute gatherings or when you need a quick dinner solution.
- Customizable toppings – Everyone can build their perfect plate with their favorite toppings – from creamy avocado to spicy jalapeños, making it ideal for family dinners or casual entertaining.
- One-pan meal – Everything comes together on a single baking sheet, which means minimal cleanup and maximum flavor as all the ingredients meld together in the oven.
- Party-friendly – These nachos are perfect for game day, movie night, or any casual get-together – they’re easy to serve and always a crowd favorite.
- Budget-friendly – Using simple ingredients like ground beef, beans, and corn helps stretch your dollar while still creating a satisfying meal.
What Kind of Tortilla Chips Should I Use?
For nachos that hold up well under all those toppings, you’ll want to reach for thick, sturdy tortilla chips – those thin restaurant-style chips just won’t cut it here. Regular corn tortilla chips work better than flavored varieties since they won’t compete with your toppings, and restaurant-quality brands like Tostitos Thick and Chunky or On The Border tend to be more durable than generic options. If you’re feeling ambitious, you can even make your own by cutting corn tortillas into triangles and baking them until crispy. Just make sure whatever chips you choose are large enough to scoop up toppings and thick enough to stay crunchy even after being loaded up and baked in the oven.
Options for Substitutions
One of the great things about nachos is how easy it is to swap ingredients based on what you have or prefer:
- Minced beef: You can easily swap the beef for ground turkey, chicken, or even plant-based meat alternatives. For a vegetarian version, try using extra black beans or crumbled tempeh.
- Taco spices: No taco seasoning packet? Make your own with 1 tablespoon chili powder, 1 teaspoon each of cumin and paprika, and ½ teaspoon each of garlic powder, onion powder, and oregano.
- Black beans: Any beans work well here – try pinto beans, kidney beans, or refried beans for a different take.
- Tortilla chips: While regular tortilla chips are best for nachos, you can use different flavors like lime or blue corn chips. Just avoid thin restaurant-style chips as they break easily under toppings.
- Jalapeños: Swap these with pickled jalapeños, canned green chiles, or bell peppers if you want less heat. For more heat, try serrano peppers.
- Cheese: Any melting cheese works – try cheddar, Monterey Jack, pepper jack, or a Mexican cheese blend. Just avoid hard aged cheeses as they don’t melt as well.
- Toppings: The beauty of nachos is that all toppings are optional – use what you have and skip what you don’t. You can even add different toppings like pickled onions, different salsas, or hot sauce.
Watch Out for These Mistakes While Baking
The biggest enemy of perfect nachos is soggy chips, which happens when you pile on too many wet ingredients or when the chips aren’t arranged properly – spread your tortilla chips in a single layer on your baking sheet, slightly overlapping, to ensure each chip gets its fair share of toppings and stays crispy.
Another common mistake is using pre-shredded cheese, which often contains anti-caking agents that prevent it from melting smoothly – instead, take a few extra minutes to grate your own cheese for that perfect, gooey stretch.
Temperature control is crucial – baking at too high a temperature can burn your chips before the cheese melts, so stick to 350°F and watch carefully, usually 10-15 minutes is plenty.
Save your cold toppings (like guacamole, sour cream, and fresh tomatoes) until after baking, as they’ll become warm and runny if added before, and remember to drain your beans and pat them dry to prevent excess moisture from making your chips soggy.
What to Serve With Nachos?
Since nachos are already loaded with toppings and flavors, they pair really well with simple, fresh sides that balance out all that cheesy goodness. A light Mexican-style rice or cilantro lime rice makes a great base for any nacho spillover and helps round out the meal. I love serving a fresh green salad on the side with a zesty lime dressing – it adds a nice crisp contrast to the warm, melty nachos. For drinks, you can’t go wrong with an ice-cold Mexican beer, some margaritas, or even a batch of homemade horchata to cool things down when the jalapeños kick in!
Storage Instructions
Keep Components Separate: For the best nacho experience, store your cooked taco meat mixture in an airtight container in the fridge for up to 3 days. Keep all your fresh toppings like tomatoes, onions, and avocado separate and prep them just before serving. This way, you can build fresh nachos whenever you’re ready!
Leftover Assembly: Already assembled nachos aren’t great for storing – they tend to get soggy and the cheese becomes rubbery. Instead of storing fully assembled nachos, keep your chips in their sealed bag and other ingredients separate. When you’re ready for round two, just layer and bake fresh nachos using your stored ingredients.
Fresh Toppings: If you’ve prepped your fresh toppings, store them in separate containers in the fridge. Chopped tomatoes and onions will last 2-3 days, while guacamole should be eaten within 1-2 days (try pressing plastic wrap directly on its surface to prevent browning).
| Preparation Time | 15-20 minutes |
| Cooking Time | 10-15 minutes |
| Total Time | 25-35 minutes |
| Level of Difficulty | Easy |
Estimated Nutrition
Estimated nutrition for the whole recipe (without optional ingredients):
- Calories: 2500-2800
- Protein: 150-170 g
- Fat: 150-170 g
- Carbohydrates: 200-220 g
Ingredients
For the taco meat:
- 1 lb ground beef
- 3/4 cup water
- 1 small white onion, chopped (finely chopped for better distribution)
- 1 package taco seasoning
For the nachos:
- 3 cups shredded cheese (Monterey Jack or a Mexican blend works well)
- 1 bag tortilla chips (I prefer Tostitos Scoops for easy loading)
- 1 can black beans (drained and rinsed)
- 1 cup frozen corn kernels (defrosted before adding)
- 1 to 2 jalapeno peppers, sliced (remove seeds for less heat)
For the toppings:
- roma tomato, diced
- guacamole
- sour cream (full-fat for extra creaminess)
- red onion, finely chopped
- limes
- black olives
- fresh cilantro, chopped
- avocado chunks
- pico de gallo
Step 1: Preheat and Prepare the Baking Sheet
Preheat your oven to 425℉.
Prepare a rimmed baking sheet (12″x17″, also known as a cookie sheet) by lining it with parchment paper or foil.
If you’re using foil, lightly spray it with cooking spray to prevent sticking when you add the chips later on.
Step 2: Cook the Taco Meat
In a skillet over medium-high heat, cook and crumble the ground beef along with finely diced sweet onion.
Once the beef is browned, drain any excess fat from the pan to avoid a greasy texture.
Add the taco seasoning packet and the recommended amount of water to the skillet.
Allow the mixture to simmer for about 10 minutes, stirring occasionally, to let the flavors infuse and the taco meat thicken.
Once done, remove the skillet from the heat.
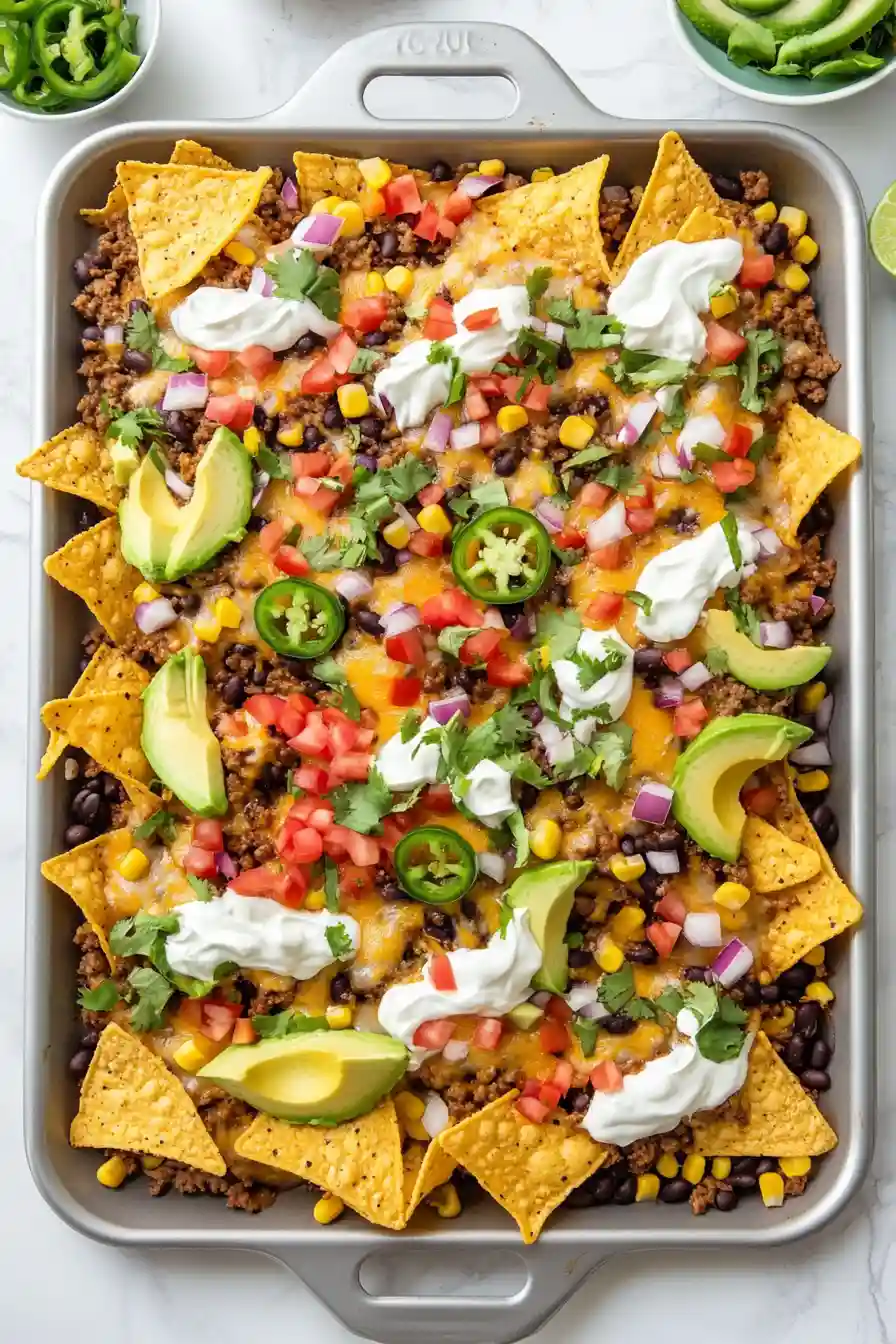
Step 3: Assemble the Nachos
Evenly spread the chips across the prepared baking sheet.
Next, sprinkle the cooked taco meat evenly over the chips.
Layer on the black beans, followed by corn and sliced jalapeños.
Lastly, top everything with shredded cheese, ensuring an even distribution for maximum cheesy goodness.
Step 4: Bake the Nachos
Place the assembled nachos in the preheated oven and bake for 10-15 minutes, or until the cheese is thoroughly melted and bubbly.
Keep an eye on them towards the end of the baking time to prevent over-browning.
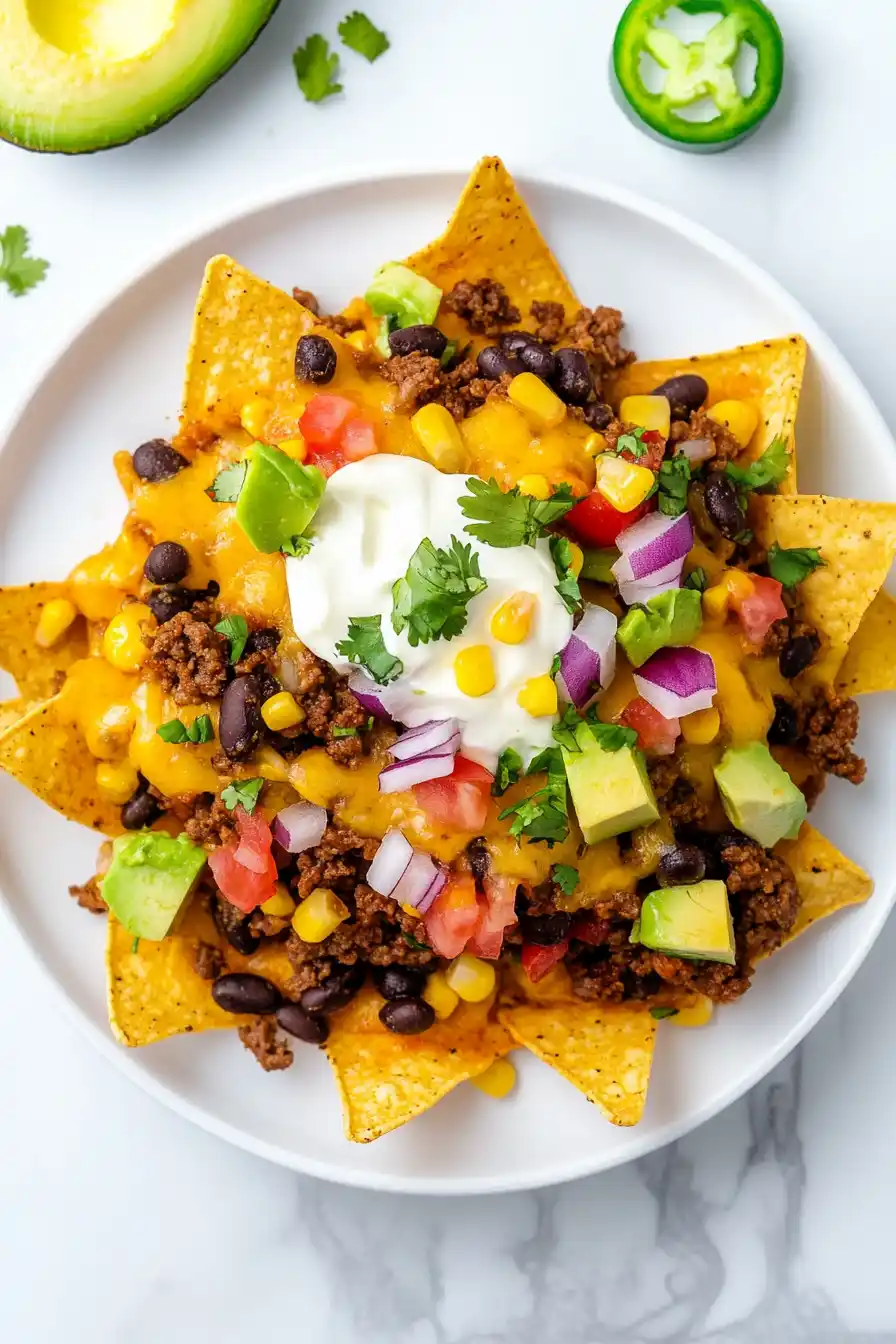
Step 5: Add Final Toppings and Serve
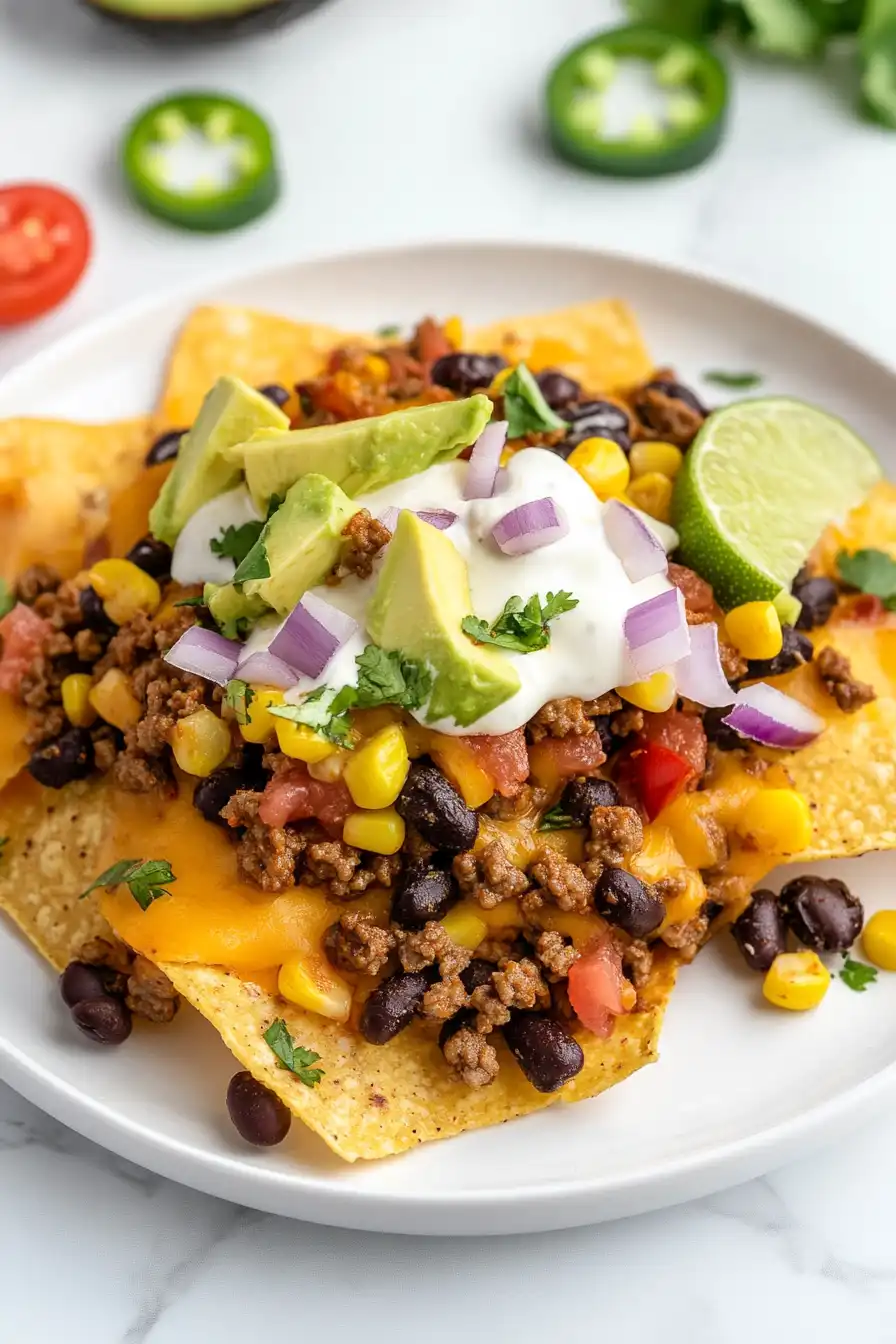
Once the nachos are out of the oven, add your favorite toppings before serving.
Consider options like guacamole, sour cream, chopped tomatoes, or fresh cilantro for added flavor and texture.
Serve immediately and enjoy your delicious homemade nachos!
