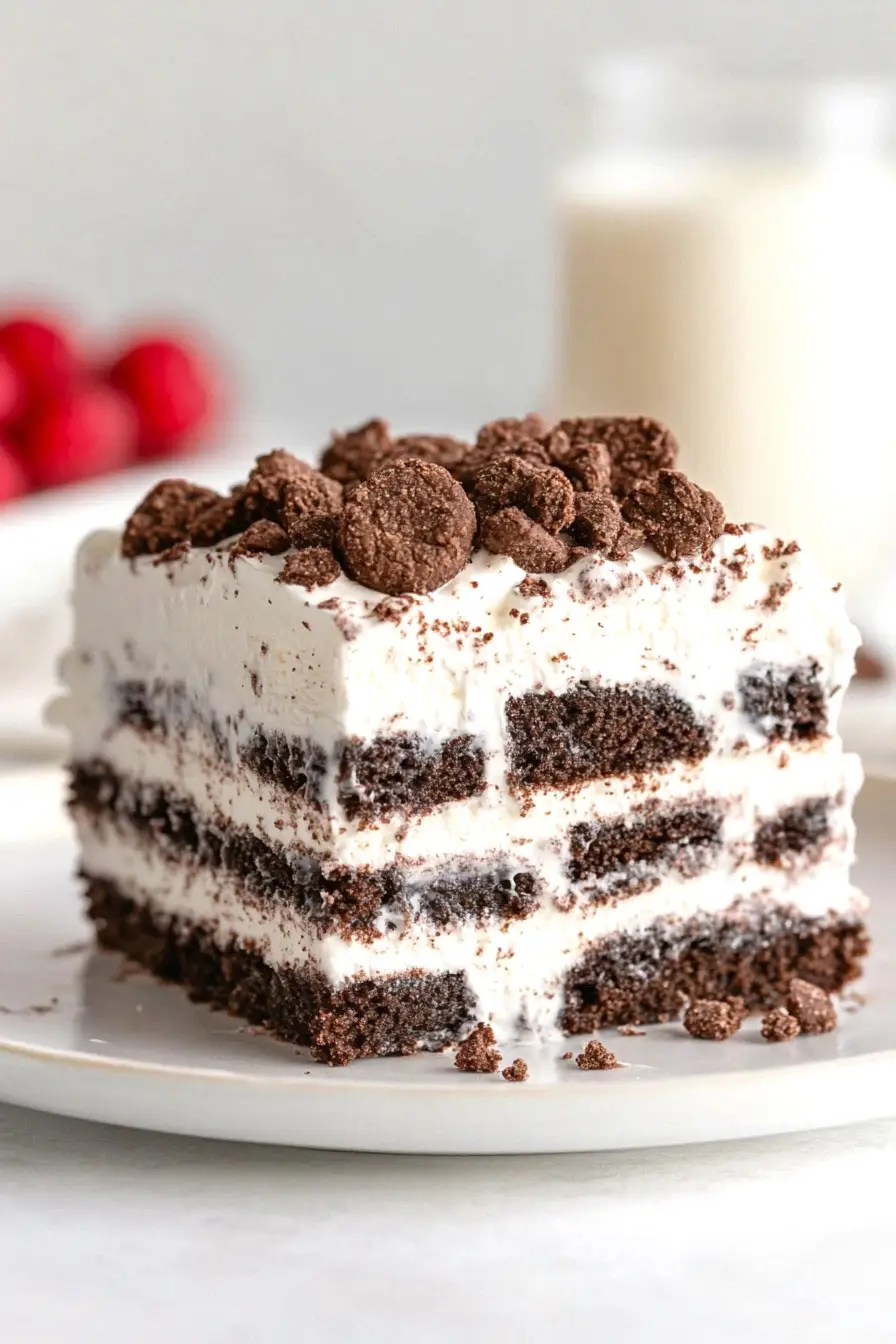
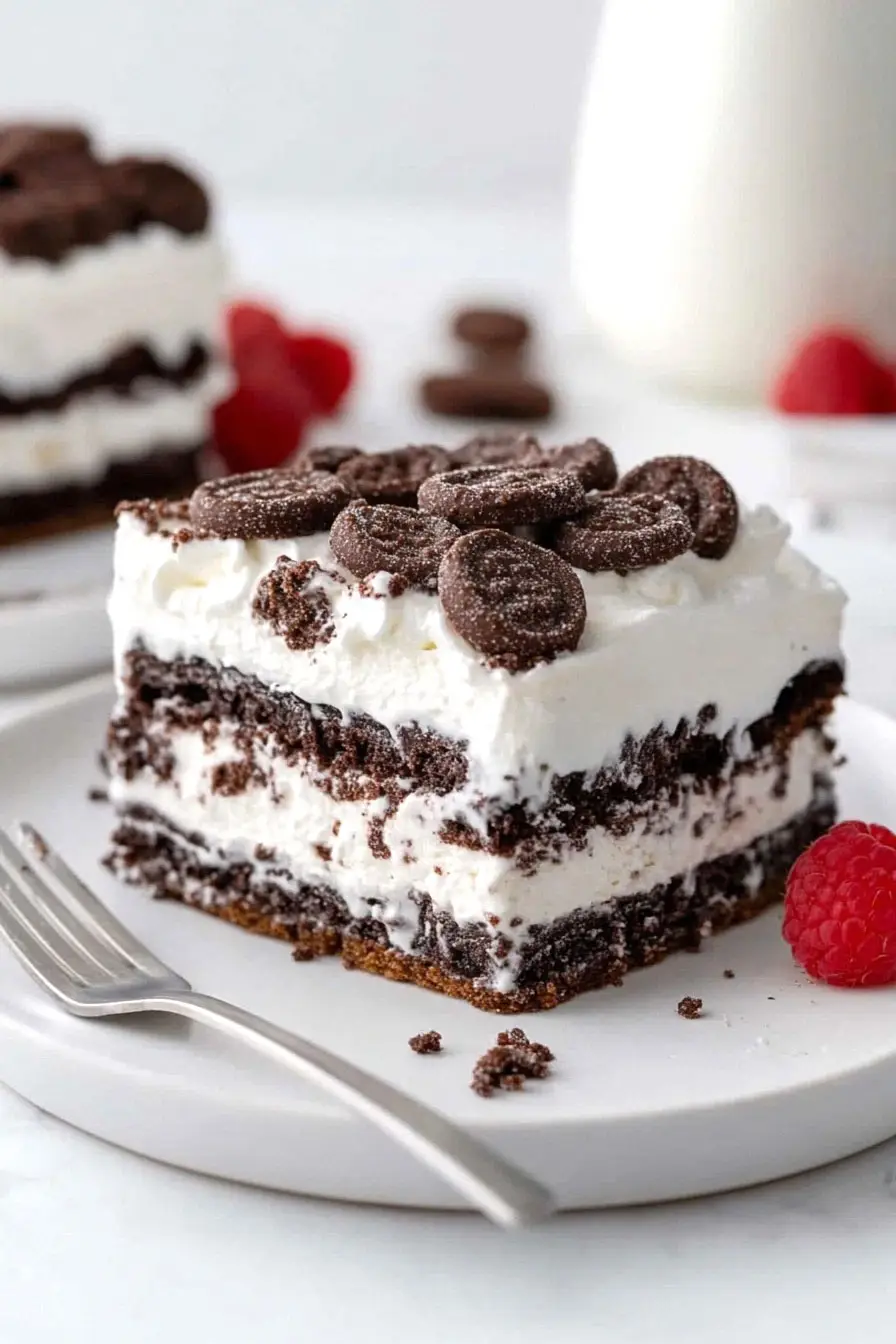
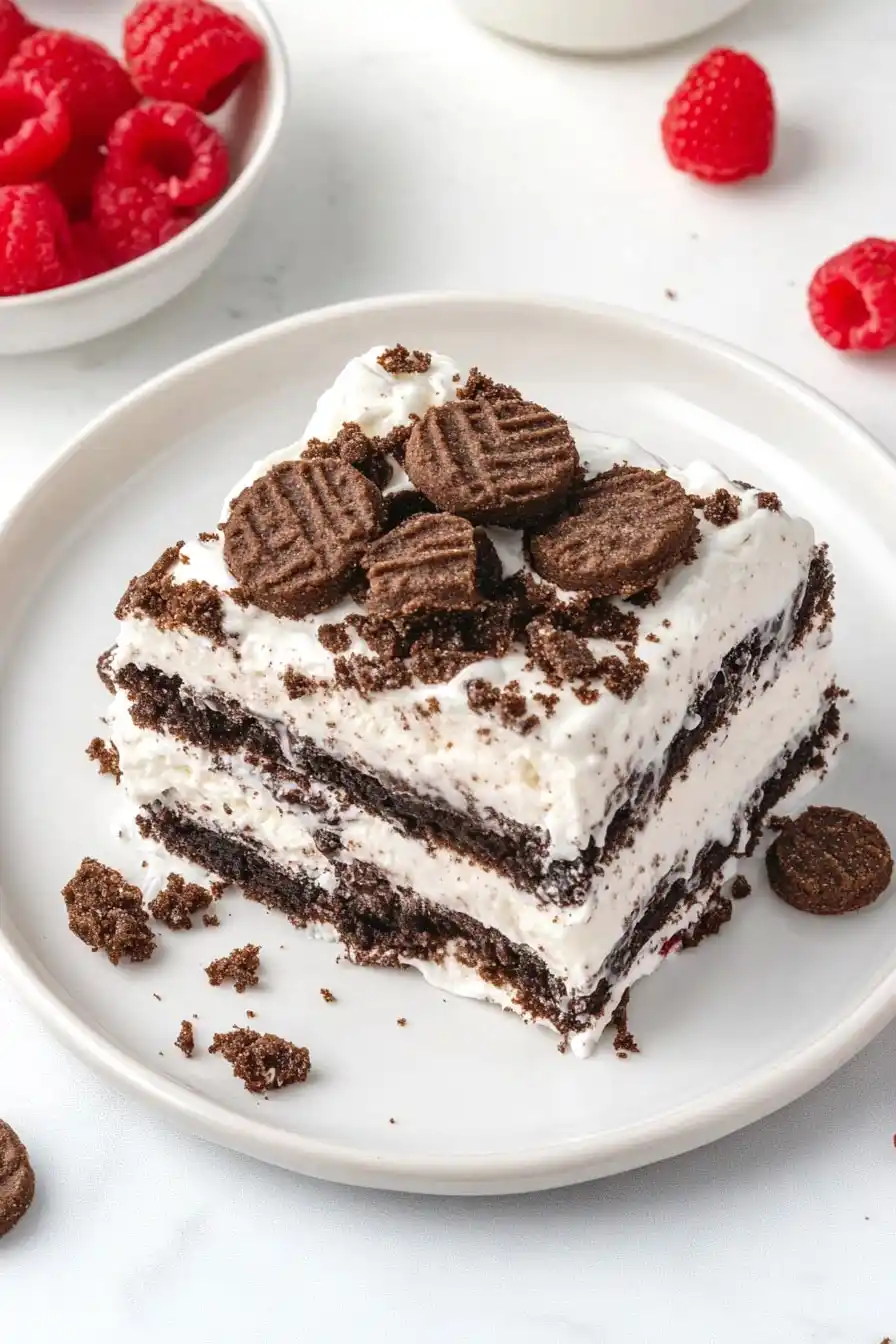
Here’s my go-to ice cream sandwich cake recipe that combines store-bought ice cream sandwiches with some simple layers of whipped topping and your favorite toppings. This dessert has become our summer tradition, and I always get asked to make it for backyard gatherings and birthday parties. The best part? It takes just minutes to put together, and you can make it ahead of time – perfect for those hot days when you don’t want to turn on the oven!
Why You’ll Love This Ice Cream Sandwich Cake
- No-bake dessert – Perfect for hot summer days when you don’t want to turn on the oven – just layer and freeze!
- Only 4 ingredients – With just ice cream sandwiches, whipped topping, Oreos, and hot fudge, this dessert keeps your shopping list short and sweet.
- Make-ahead friendly – You can prepare this cake up to 3 days before serving, making it perfect for parties and gatherings when you want to plan ahead.
- Kid-friendly preparation – Little helpers can easily join in layering the ice cream sandwiches and sprinkling the crushed Oreos – no special skills needed!
What Kind of Ice Cream Sandwiches Should I Use?
Regular rectangular ice cream sandwiches from the grocery store are perfect for this recipe – you know, the classic vanilla ice cream between two chocolate wafers. While you can find fancy artisanal ice cream sandwiches at specialty shops, stick with the standard store-bought ones here since they’re uniform in size and will create neat, even layers. Most major brands like Blue Bunny, Klondike, or store brands work equally well, just make sure they’re not too soft when you start assembling (pop them in the freezer for 15 minutes if needed). For the best results, pick sandwiches that are fresh and haven’t been sitting in your freezer too long, as this helps avoid any freezer burn taste in your finished cake.
Options for Substitutions
This easy dessert is pretty flexible and you can switch things up based on what you have at home:
- Oreo cookies: Not a fan of Oreos or don’t have them? Try using chocolate chip cookies, chocolate wafers, or even crushed Heath bars. Any crunchy chocolate cookie will work great here!
- Whipped topping: Instead of store-bought whipped topping, you can make your own by whipping 2 cups of heavy cream with 1/4 cup powdered sugar until stiff peaks form. Just make sure it’s very well whipped so it stays stable.
- Ice cream sandwiches: The classic vanilla ice cream sandwiches are traditional, but feel free to mix it up with other flavors like mint chip or neapolitan. Just keep in mind they need to be the rectangle-shaped kind to maintain the cake structure.
- Hot fudge topping: You can swap the hot fudge for caramel sauce, chocolate syrup, or even strawberry sauce. If using a thinner sauce like chocolate syrup, you might want to use a bit less to prevent the cake from getting too soft.
Watch Out for These Mistakes While Making
The biggest challenge when making an ice cream sandwich cake is timing – letting your ice cream sandwiches become too soft will make them impossible to layer neatly, so work quickly and keep them in the freezer until the exact moment you need them.
Temperature control is crucial throughout the process – the hot fudge sauce needs to be warm enough to spread but not so hot that it melts the ice cream, so let it cool for about 5 minutes after heating before applying it to your layers.
Many home cooks make the mistake of trying to serve the cake too soon – this dessert needs at least 4 hours (preferably overnight) in the freezer to set properly, and don’t forget to take it out 5-10 minutes before serving to make cutting easier.
For the cleanest cuts, dip your knife in hot water and wipe it dry between each slice, and if you’re making this in warm weather, consider working in a cool room to prevent premature melting.
What to Serve With Ice Cream Sandwich Cake?
This sweet and creamy dessert is pretty amazing on its own, but there are some fun ways to dress it up! I like to serve it with a drizzle of warm caramel sauce or some extra hot fudge on the side for people who want to make things even more decadent. Fresh berries like strawberries or raspberries add a nice pop of color and balance out all that chocolate and vanilla. If you’re hosting a party, set up a little toppings bar with chopped nuts, sprinkles, and whipped cream so everyone can customize their slice just how they like it.
Storage Instructions
Keep Frozen: This ice cream sandwich cake needs to stay in the freezer to maintain its shape and texture. Place it in an airtight container or cover the dish tightly with plastic wrap and aluminum foil. It’ll keep well for up to 1 week – though I doubt it’ll last that long!
Make Ahead: This dessert is perfect for making ahead of time! You can prepare it up to 3 days before your event. Just keep it covered in the freezer until you’re ready to serve. The flavors actually get better as they hang out together in the freezer.
Serve: When you’re ready to dig in, take the cake out of the freezer about 5-10 minutes before serving. This will help it soften just enough to make cutting easier. Use a knife dipped in hot water to get nice, clean slices.
| Preparation Time | 20-30 minutes |
| Cooking Time | 0 minutes |
| Total Time | 180-210 minutes |
| Level of Difficulty | Easy |
Estimated Nutrition
Estimated nutrition for the whole recipe (without optional ingredients):
- Calories: 3500-4000
- Protein: 40-50 g
- Fat: 160-180 g
- Carbohydrates: 500-550 g
Ingredients
For the cake:
- 14 standard ice cream sandwiches
- 8 oz thawed whipped topping (like Cool Whip, for easier spreading)
- 1 jar hot fudge topping (warm slightly for drizzling)
For the topping:
- 14 Oreo cookies (crushed into small pieces)
Step 1: Prepare the Baking Pan
Line a 9x9x3-inch baking pan with parchment paper.
This will make it easier to remove the ice cream cake once it’s set and ready to serve.
Step 2: Mix the Oreo Whipped Topping
In a medium bowl, combine about 2/3 of the chopped Oreos with the whipped topping just until combined.
Be gentle to preserve the whipped texture.
Set this mixture aside and reserve the remaining Oreos for later use.
Step 3: Assemble the First Layer
Arrange half of the ice cream sandwiches in an even layer at the bottom of the prepared baking dish.
You may need to cut a few sandwiches to fit them snugly into the dish, ensuring complete coverage.
Step 4: Add Fudge Sauce and Oreo Layer
Spread half of the fudge sauce evenly over the layer of ice cream sandwiches.
Following this, apply a layer of the Oreo whipped topping mixture over the fudge to create a uniform layer.
Step 5: Repeat Layers and Add Toppings
Repeat the layering process by adding another layer of ice cream sandwiches, followed by the remaining fudge sauce and the rest of the Oreo whipped topping.
Once the layers are complete, sprinkle the top of the cake with the reserved chopped Oreos for a decorative finish.
Step 6: Freeze and Serve
Cover the assembled cake and freeze it for at least 3 hours to allow it to set firmly.
Once frozen, remove it from the pan using the parchment paper overhang, slice, and serve.
Enjoy the refreshing treat!
