If you ask me, combining pumpkin and zucchini in a cookie is one of those happy kitchen accidents that just works.
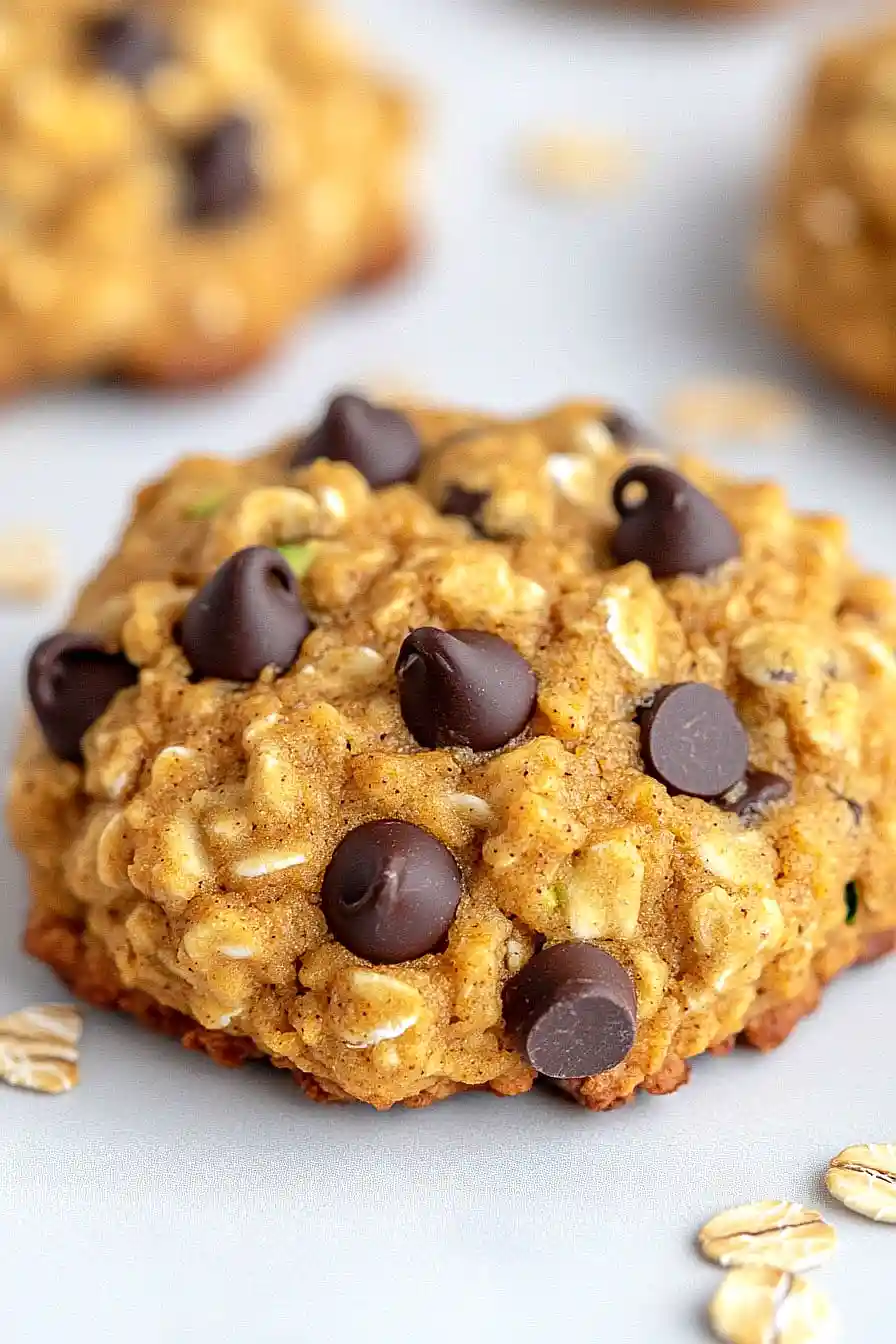
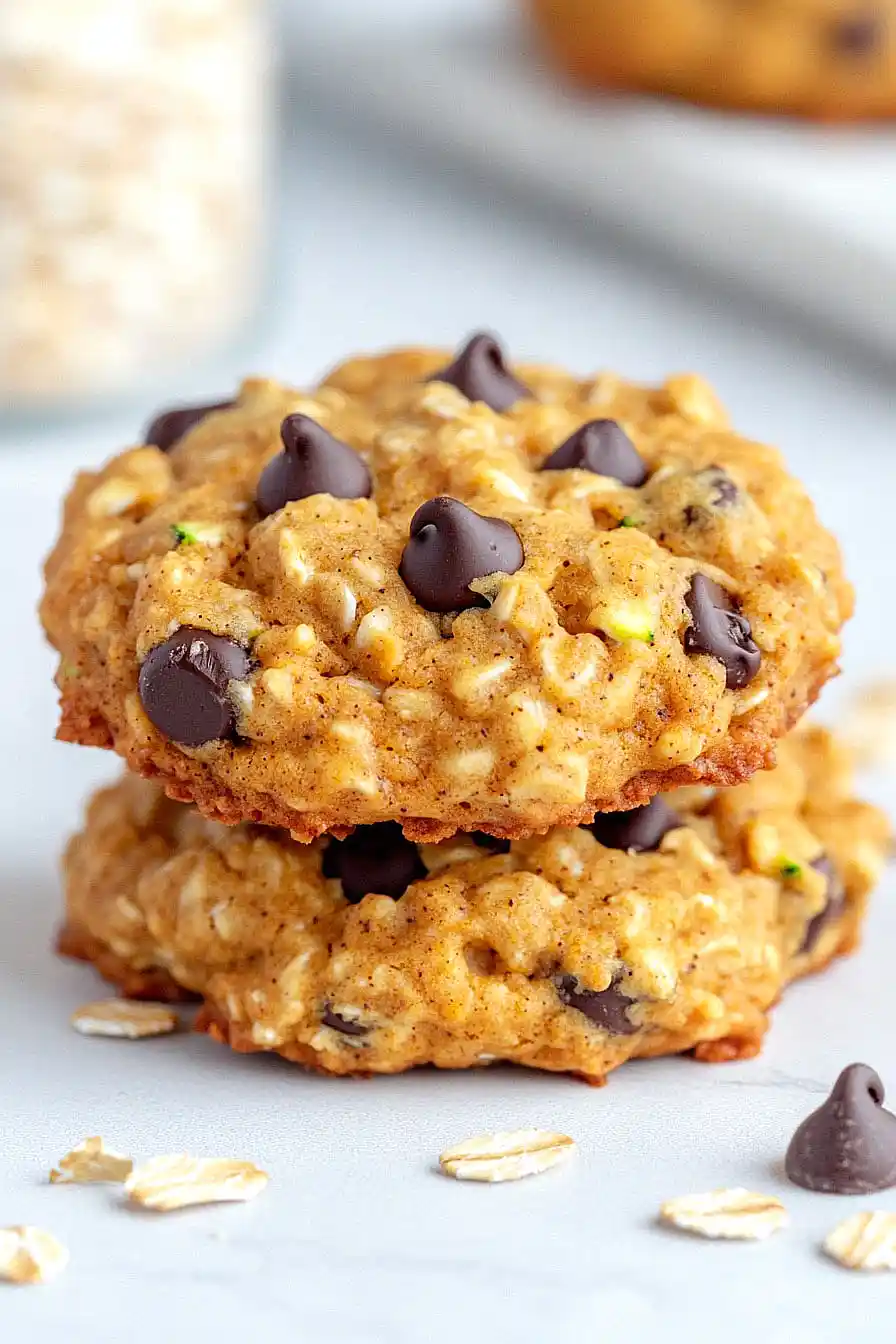
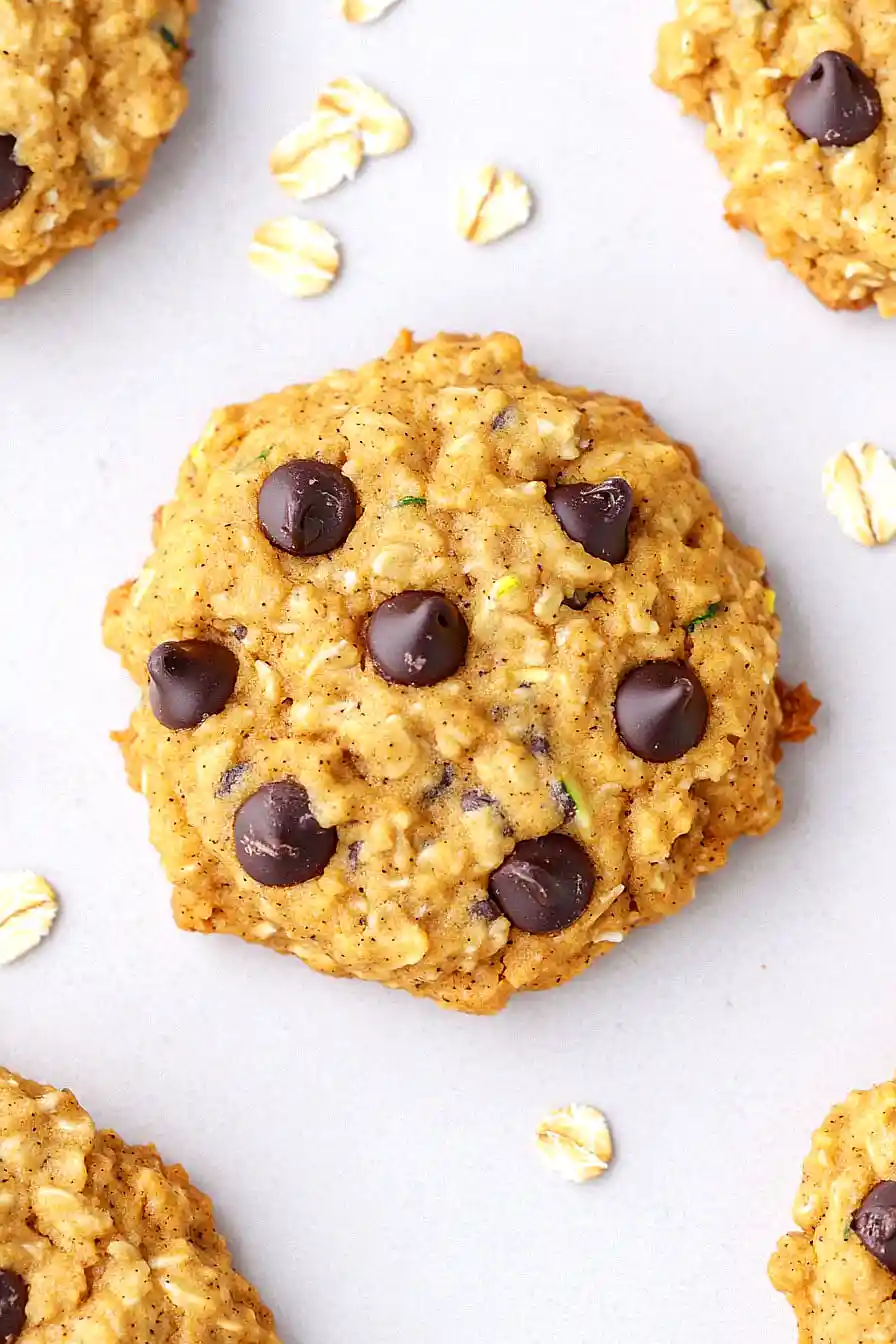
These soft, homestyle cookies bring together two garden favorites with chocolate chips for a treat that’s a little bit healthy and a little bit indulgent. The pumpkin adds moisture and a mild autumn sweetness, while the shredded zucchini practically disappears into the dough.
I love how these cookies turn out – not too sweet, with just the right amount of chocolate chips scattered throughout. The subtle warmth of pumpkin pie spices makes them feel cozy and familiar.
They’re perfect for using up extra zucchini from the garden, and they make a great after-school snack that sneaks in some vegetables without any complaints.
Why You’ll Love These Pumpkin Zucchini Cookies
- Sneaky vegetables – These cookies pack both pumpkin and zucchini, making them a clever way to add extra nutrition without anyone knowing they’re eating their veggies.
- Quick preparation – Ready in about 30 minutes, these cookies are perfect for when you need a fast but satisfying treat.
- Kid-friendly snack – The familiar flavors of chocolate chips and cinnamon make these cookies irresistible to little ones, while parents can feel good about the hidden vegetables.
- Perfect for fall baking – These cookies combine cozy fall pumpkin with summer’s leftover zucchini, making them ideal for seasonal baking when gardens are still producing and pumpkin season begins.
- Great texture – The combination of oatmeal and vegetables keeps these cookies soft and moist, while the chocolate chips add the perfect amount of sweetness.
What Kind of Pumpkin Should I Use?
For these cookies, you’ll want to use pure canned pumpkin puree, not pumpkin pie filling which contains added spices and sweeteners. While you could cook and puree your own pumpkin, canned pumpkin actually provides more consistent results since it’s specially processed to have the right moisture content for baking. Look for “100% Pure Pumpkin” on the label – popular brands like Libby’s or store brands work equally well. Since this recipe only calls for 1/2 cup, you’ll have leftover pumpkin from a standard 15-ounce can, but it freezes well in an airtight container for future baking projects. Just be sure to drain off any excess liquid that might separate in the can before measuring.
Options for Substitutions
These cookies are pretty adaptable, and here are some helpful swaps you can try:
- Canned pumpkin: You can use homemade pumpkin puree instead of canned. Just make sure to drain it well to remove excess moisture. Sweet potato puree also works great as a 1:1 replacement.
- Zucchini: Yellow summer squash works just as well as zucchini. Just remember to squeeze out the excess moisture after shredding. You could also use shredded carrots, though they’ll add a slightly different flavor.
- Butter: For a dairy-free version, use coconut oil or plant-based butter in equal amounts. Just note that the texture might be slightly different.
- Chocolate chips: Feel free to swap these with raisins, dried cranberries, chopped nuts, or any combination you like. White chocolate chips are also really good in these cookies.
- Oatmeal: Quick oats or old-fashioned oats both work here. If you need to skip the oats, replace with an extra 1 cup of flour, but know that the texture will be different.
- Flour: For a different twist, try using 1/2 cup whole wheat flour with 1 1/2 cups all-purpose flour. For gluten-free cookies, use a 1:1 gluten-free flour blend, but make sure it contains xanthan gum.
Watch Out for These Mistakes While Baking
The biggest challenge when making these cookies is managing moisture – both zucchini and pumpkin contain lots of water that can make your cookies spread too much and turn out cakey if not handled properly. To avoid this, make sure to squeeze out as much liquid as possible from your shredded zucchini using a clean kitchen towel or paper towels before adding it to the dough. Another common mistake is not properly measuring the pumpkin puree – use a measuring cup and level it off, as too much pumpkin can throw off the texture of your cookies. For the best results, chill your dough for at least 30 minutes before baking – this allows the oats to absorb some moisture and helps prevent excessive spreading. If your cookies still spread too much during baking, try adding an extra 2-3 tablespoons of flour to the dough, and remember to leave enough space between cookies on the baking sheet as they will expand.
What to Serve With Pumpkin Zucchini Chocolate Chip Cookies?
These hearty cookies are perfect for serving with a cold glass of milk or a warm cup of coffee – especially on a crisp fall afternoon! Since they’re packed with oatmeal and vegetables, they make a great after-school snack when paired with a glass of cold milk or some vanilla almond milk for a dairy-free option. For a cozy weekend treat, try serving them alongside hot apple cider or spiced chai tea, which complement the cinnamon and pumpkin flavors beautifully. If you’re putting together a dessert platter, these cookies work well next to simple vanilla ice cream or a dollop of whipped cream for those who want to make them into little cookie sandwiches.
Storage Instructions
Counter Storage: These pumpkin zucchini cookies stay fresh at room temperature for about 3-4 days. Just keep them in an airtight container with a piece of bread to help maintain their moisture. The bread trick really works – it keeps these cookies soft and chewy!
Refrigerate: Because these cookies contain zucchini, you can also pop them in the fridge in a sealed container where they’ll stay good for up to a week. Place wax paper or parchment between layers to prevent sticking.
Freeze: These cookies are perfect for freezing! Once they’re completely cool, place them in a freezer bag or container and they’ll keep for up to 3 months. I like to make a double batch and freeze half for when unexpected guests drop by or when I need a quick sweet treat.
Thaw: When you’re ready to enjoy your frozen cookies, just let them sit at room temperature for about 30 minutes. They’ll taste just as good as the day you made them!
| Preparation Time | 15-20 minutes |
| Cooking Time | 14-16 minutes |
| Total Time | 29-36 minutes |
| Level of Difficulty | Easy |
Estimated Nutrition
Estimated nutrition for the whole recipe (without optional ingredients):
- Calories: 2200-2400
- Protein: 30-40 g
- Fat: 100-120 g
- Carbohydrates: 300-320 g
Ingredients
For the wet ingredients:
- 1 cup unsalted butter (room temperature, about 70°F for proper creaming)
- 1/2 cup brown sugar (packed well for accurate measure)
- 1 large egg
- 1/2 cup granulated sugar
- 1/2 cup grated zucchini (grate finely and squeeze out excess water)
- 1/2 cup pumpkin puree (I use Libby’s pumpkin puree)
For the dry ingredients:
- 1 tsp ground cinnamon (for best flavor and aroma)
- 2 cups all-purpose flour (I always use King Arthur all-purpose flour)
- 1 1/2 cups old-fashioned oats
- 1 tsp baking soda
For the mix-ins:
- 12 oz chocolate chips (or mini chocolate morsels for better distribution)
Step 1: Preheat the Oven
Preheat your oven to 350°F (175°C) to ensure it reaches the correct temperature by the time your cookies are ready to bake.
This will help them cook evenly.
Step 2: Prepare the Dry Ingredients
- 1 tsp ground cinnamon
- 2 cups all-purpose flour
- 1 tsp baking soda
- 1 1/2 cups old-fashioned oats
In a medium bowl, whisk together the ground cinnamon, all-purpose flour, baking soda, and old-fashioned oats.
Set this mixture aside; it will be combined with the wet ingredients later.
Step 3: Mix the Wet Ingredients
- 1/2 cup canned pumpkin puree
- 1/2 cup grated zucchini
- 1 cup unsalted butter, at room temperature
- 1/2 cup packed brown sugar
- 1/2 cup granulated sugar
- 1 large egg
In a large bowl, combine the pumpkin puree, grated zucchini, unsalted butter at room temperature, packed brown sugar, granulated sugar, and the large egg.
Beat together until everything is well combined and creamy.
I find beating the butter until fluffy makes the cookies extra tender.
Step 4: Combine Wet and Dry Mixtures
- dry ingredient mixture from Step 2
- wet ingredient mixture from Step 3
Gradually fold the dry ingredient mixture from Step 2 into the wet mixture from Step 3, stirring just until fully incorporated and a dough forms.
Be careful not to overmix, as this will keep the cookies soft.
Step 5: Add Chocolate Chips
- 12 oz chocolate chips or mini chocolate morsels
Gently fold the chocolate chips into the cookie dough, making sure they’re evenly distributed.
For a little extra decadence, I like to save a handful of chips to press onto the top of each cookie before baking.
Step 6: Portion the Cookie Dough
- cookie dough with chocolate chips from Step 5
Drop rounded tablespoons of cookie dough onto a prepared baking sheet, spacing them about 2 inches apart.
If you saved some chocolate chips, place a few on top of each mound for a bakery-style finish.
Step 7: Bake and Cool the Cookies
Bake the cookies in the preheated oven for 14-16 minutes, or until they are lightly browned and set around the edges.
Remove from the oven and let the cookies cool on the baking sheet for a few minutes before transferring them to a wire rack to cool completely.
I always let the cookies cool a bit before serving, as this helps them set and develop their flavor.
