I never thought much about fermenting vegetables until I had a jar of homemade pickles at a friend’s house. They were tangy and crisp in a way that store-bought pickles just aren’t. When she told me how easy they were to make, I didn’t believe her.
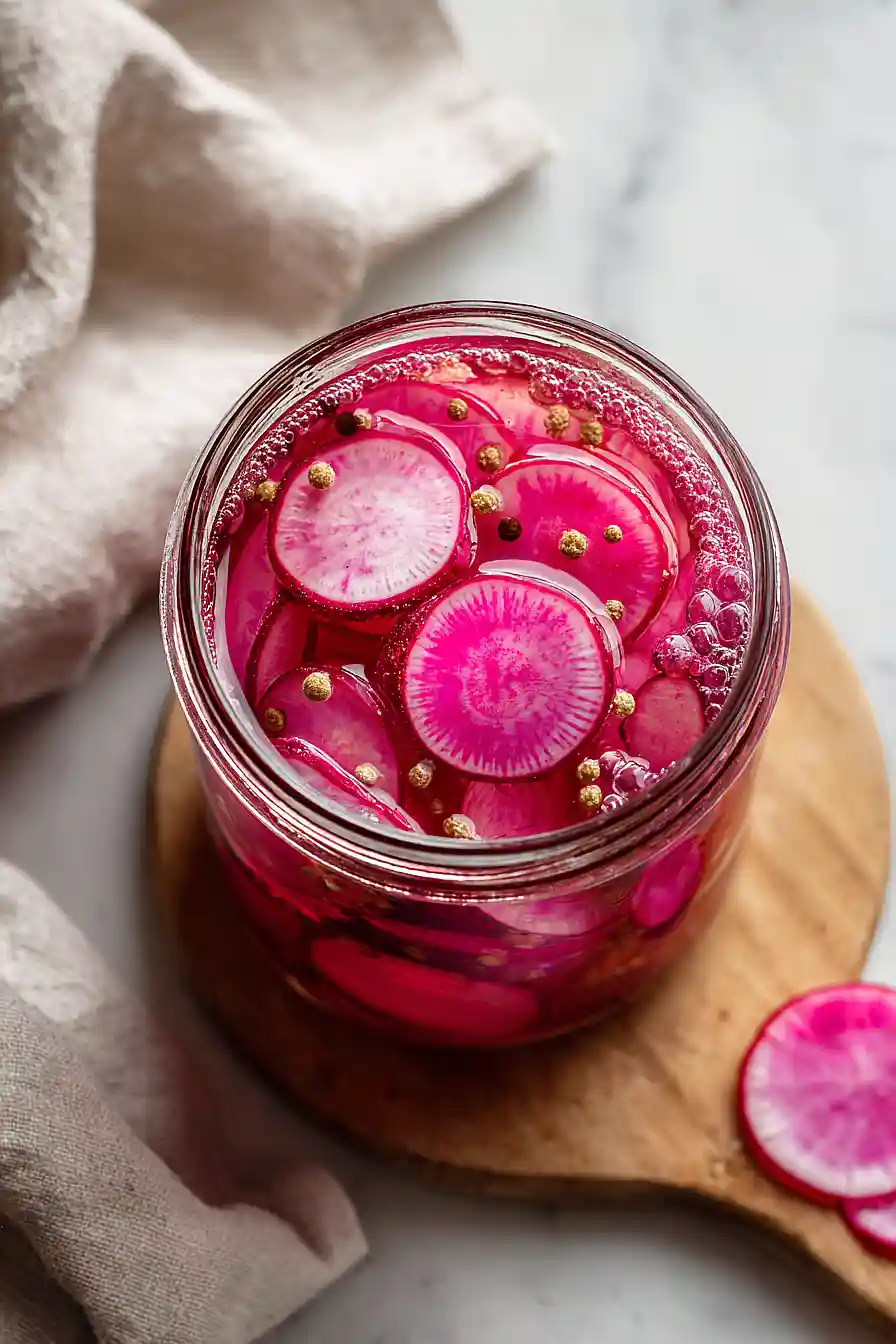
Turns out, fermented radishes are even simpler than pickles. You don’t need any fancy equipment or special skills—just some basic ingredients, a jar, and a little patience. The hardest part is waiting a few days while the good bacteria do their thing. After that, you’ve got crunchy, zingy radishes that make everything from tacos to rice bowls taste better.
Why You’ll Love These Fermented Radishes
- Minimal hands-on time – You only need about 10 minutes to prep everything, then time does all the work while the radishes ferment on your counter.
- Just 5 simple ingredients – With only radishes, salt, water, and a couple of spices, this recipe couldn’t be easier or more straightforward.
- Gut-healthy probiotics – Fermented foods are packed with beneficial bacteria that support digestion and overall health, making this a tasty way to boost your wellness.
- Budget-friendly preservation – This is a great way to use up extra radishes from your garden or farmers market haul, and they’ll keep in your fridge for months.
- Tangy, crunchy flavor – The fermentation process gives these radishes a delicious sour kick and crispy texture that’s perfect for topping salads, tacos, or grain bowls.
What Kind of Radishes Should I Use?
Pretty much any radish variety will work great for fermenting, so feel free to use whatever you can find at your local market or farmers market. Classic red radishes are the most common choice and give you that nice pop of color in the jar, but daikon, French breakfast radishes, or even watermelon radishes will all ferment beautifully. You can mix and match different types if you want to get creative with colors and flavors. Just make sure your radishes are firm and fresh without any soft spots or blemishes, as these will ferment better and give you a crunchier final product.
Options for Substitutions
Fermented radishes are pretty straightforward, but here are some swaps you can make:
- Radishes: While traditional radishes work great, you can try daikon radish, watermelon radish, or even turnips for a similar fermented result. Just keep the total volume at 6 cups.
- Peppercorns: Black peppercorns are standard, but you can experiment with pink, white, or green peppercorns for different flavor notes. You could also reduce the amount to 1 tablespoon if you prefer less spice.
- Red pepper flakes: Since these are optional anyway, feel free to skip them entirely, or swap with fresh sliced jalapeños or dried chili peppers for a different kind of heat.
- Kosher salt: This is one ingredient you shouldn’t substitute. Kosher salt or sea salt without iodine is essential for proper fermentation. Iodized table salt can interfere with the fermentation process and affect your results.
- Filtered water: If you don’t have filtered water, boiling tap water for 20 minutes works to remove chlorine. You can also let tap water sit uncovered for 24 hours to let the chlorine evaporate naturally.
Watch Out for These Mistakes While Fermenting
The biggest mistake when fermenting radishes is using chlorinated tap water straight from the faucet, which can kill the beneficial bacteria needed for fermentation – always use filtered water or boil city water for 20 minutes and let it cool completely before making your brine.
Keeping your radishes submerged under the brine is critical, as any pieces floating above the liquid can develop mold, so make sure to use proper fermentation weights or even a small ziplock bag filled with brine to keep everything below the surface.
Don’t panic if you see white foam or cloudiness during fermentation – this is completely normal – but if you spot fuzzy mold (usually green, black, or pink), simply skim it off the top and make sure your radishes stay submerged.
For the best flavor, start tasting around day 5 and remember that warmer room temperatures will speed up fermentation while cooler temps slow it down, so adjust your timeline based on your kitchen’s temperature.

What to Serve With Fermented Radishes?
Fermented radishes are one of those condiments that can brighten up just about any meal with their tangy, crunchy bite. I love adding them to tacos, grain bowls, or alongside grilled meats where they cut through the richness perfectly. They’re also great chopped up and tossed into salads, layered on sandwiches, or served as part of a charcuterie board with cheeses and crackers. If you’re a fan of Korean food, try them alongside rice dishes, stir-fries, or even mixed into fried rice for an extra punch of flavor.
Storage Instructions
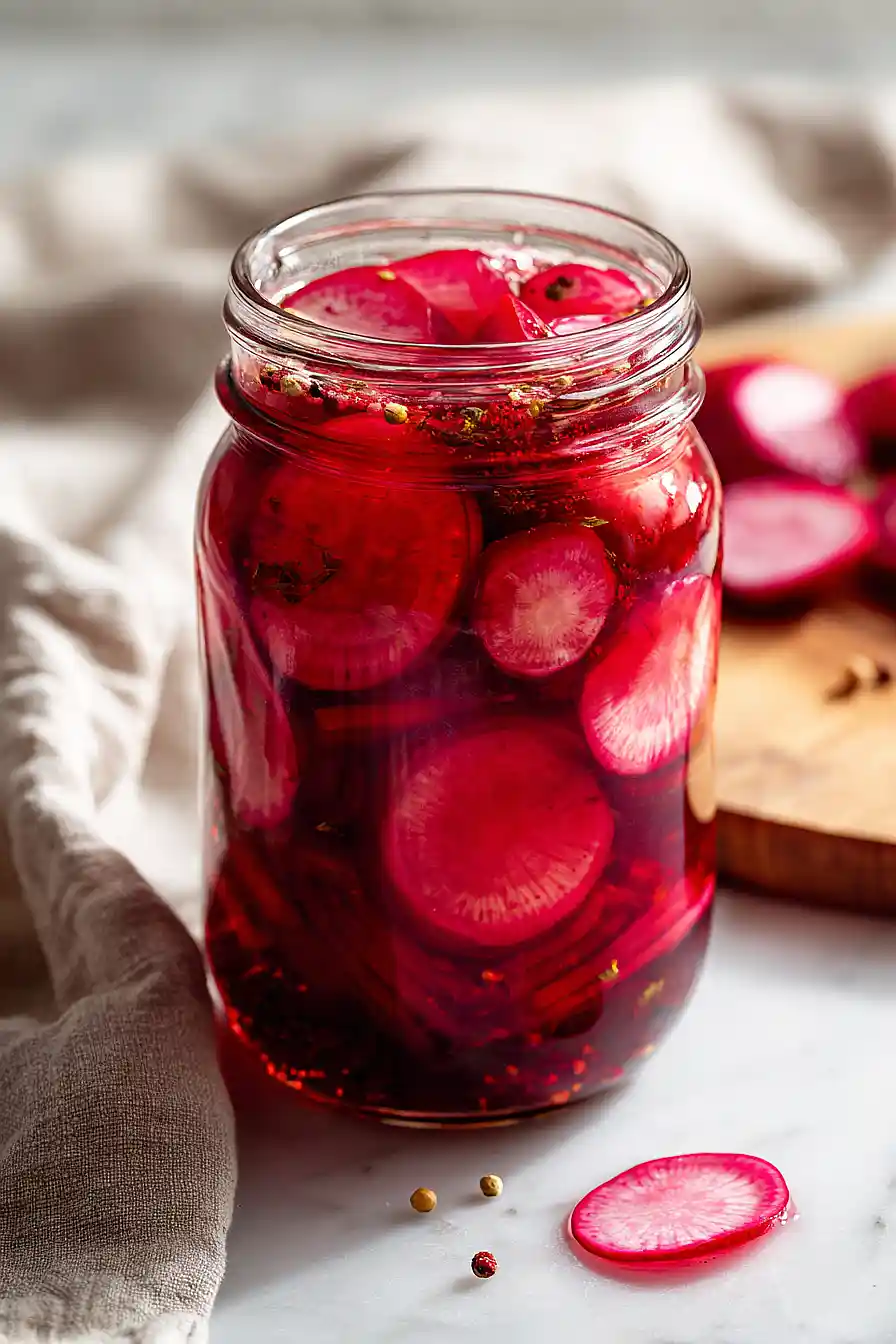
Ferment: Once you’ve got your radishes in the brine, keep the jar at room temperature out of direct sunlight for about 3-7 days to let them ferment. You’ll know they’re ready when they taste tangy and slightly sour to your liking. Just remember to burp the jar daily to release any built-up gases.
Store: After your radishes have fermented to perfection, seal them up tight and move the jar to the refrigerator. The cold slows down the fermentation process so they’ll stay at that perfect tangy flavor. They’ll keep in the fridge for several months, though they’ll continue to develop more flavor over time.
Serve: Always use a clean fork or spoon when grabbing radishes from the jar to keep everything fresh. The brine should always cover the radishes, so if it gets low, you can top it off with a little saltwater solution to keep them submerged and happy.
| Preparation Time | 15-20 minutes |
| Cooking Time | 5-10 days |
| Total Time | 5-10 days |
| Level of Difficulty | Easy |
| Servings | 12 servings |
Estimated Nutrition
Estimated nutrition for the whole recipe (without optional ingredients):
- Calories: 80-100
- Protein: 3-4 g
- Fat: 0-1 g
- Carbohydrates: 18-22 g
Ingredients
For the brine:
- 6 cups water
- 3.5 tbsp Morton Canning & Pickling salt
For the vegetables and aromatics:
- 6 cups radishes (sliced into 1/4-inch rounds for even fermentation)
- 1.5 tbsp McCormick whole black peppercorns
- 1 tsp red pepper flakes
- 3 cloves garlic, thinly sliced
- 2 sprigs fresh dill
Step 1: Prepare the Brine and Mise en Place
- 6 cups water
- 3.5 tbsp Morton Canning & Pickling salt
- 6 cups radishes, sliced into 1/4-inch rounds
- 3 cloves garlic, thinly sliced
Dissolve the salt completely in water by stirring well—this creates your brine base.
While the brine cools slightly, prepare all your ingredients: wash and slice the radishes into even 1/4-inch rounds (uniform thickness ensures even fermentation throughout the batch), thinly slice the garlic, and measure out your peppercorns and red pepper flakes.
Having everything prepped and ready before you start packing jars keeps the process smooth and ensures your radishes spend minimal time exposed to air.
Step 2: Layer Aromatics and Pack the Jars
- 1.5 tbsp McCormick whole black peppercorns
- 1 tsp red pepper flakes
- 3 cloves garlic, thinly sliced
- 2 sprigs fresh dill
- packed radish slices from Step 1
Divide the peppercorns, red pepper flakes, sliced garlic, and dill sprigs between your clean jars, distributing them evenly as your aromatic base.
This layering technique ensures every bite of radish will have contact with the flavorful spices.
Pack the radish slices tightly into each jar on top of the aromatics, leaving about 1 inch of headspace at the top—this space is crucial for the fermentation process to work properly and prevents overflow as gases are released.
Step 3: Cover with Brine and Submerge
- brine mixture from Step 1
- packed jars from Step 2
Pour the brine from Step 1 over the packed radishes until they’re completely covered, maintaining that 1-inch headspace at the top.
I find it helps to pour slowly and carefully to avoid displacing the spices.
Place a fermentation weight (or a small jar filled with water) on top to keep all the radishes submerged beneath the liquid—this prevents mold from forming on any exposed surfaces and ensures proper fermentation.
Step 4: Ferment at Room Temperature
- fermented jars from Step 3
Loosely cover the jars with a lid or cloth (don’t seal tightly yet, as fermentation produces gases that need to escape).
Leave them at room temperature, away from direct sunlight, for 5 to 10 days.
Start tasting around day 5—I prefer my fermented radishes with a crisp texture and tangy bite, so I typically pull mine around day 7, but this is really about your personal preference.
Once they reach your desired flavor and crunch, you can seal and refrigerate to slow fermentation and enjoy them over the following weeks.

Classic Fermented Radishes
Ingredients
For the brine:
- 6 cups water
- 3.5 tbsp Morton Canning & Pickling salt
For the vegetables and aromatics:
- 6 cups radishes (sliced into 1/4-inch rounds for even fermentation)
- 1.5 tbsp McCormick whole black peppercorns
- 1 tsp red pepper flakes
- 3 cloves garlic, thinly sliced
- 2 sprigs fresh dill
Instructions
- Dissolve the salt completely in water by stirring well—this creates your brine base. While the brine cools slightly, prepare all your ingredients: wash and slice the radishes into even 1/4-inch rounds (uniform thickness ensures even fermentation throughout the batch), thinly slice the garlic, and measure out your peppercorns and red pepper flakes. Having everything prepped and ready before you start packing jars keeps the process smooth and ensures your radishes spend minimal time exposed to air.
- Divide the peppercorns, red pepper flakes, sliced garlic, and dill sprigs between your clean jars, distributing them evenly as your aromatic base. This layering technique ensures every bite of radish will have contact with the flavorful spices. Pack the radish slices tightly into each jar on top of the aromatics, leaving about 1 inch of headspace at the top—this space is crucial for the fermentation process to work properly and prevents overflow as gases are released.
- Pour the brine from Step 1 over the packed radishes until they're completely covered, maintaining that 1-inch headspace at the top. I find it helps to pour slowly and carefully to avoid displacing the spices. Place a fermentation weight (or a small jar filled with water) on top to keep all the radishes submerged beneath the liquid—this prevents mold from forming on any exposed surfaces and ensures proper fermentation.
- Loosely cover the jars with a lid or cloth (don't seal tightly yet, as fermentation produces gases that need to escape). Leave them at room temperature, away from direct sunlight, for 5 to 10 days. Start tasting around day 5—I prefer my fermented radishes with a crisp texture and tangy bite, so I typically pull mine around day 7, but this is really about your personal preference. Once they reach your desired flavor and crunch, you can seal and refrigerate to slow fermentation and enjoy them over the following weeks.
