Living with diabetes doesn’t mean you have to give up on tasty breakfast options, but finding the right balance between satisfying and blood sugar-friendly can feel like solving a puzzle. Between checking glucose levels first thing in the morning and rushing to get everyone out the door on time, breakfast often becomes an afterthought.
That’s where this chia seed pudding comes in – it’s a diabetic-friendly morning meal that’s both filling and easy to prepare. You can make it the night before, customize it with your favorite low-glycemic toppings, and know you’re starting your day with something that’ll keep your blood sugar steady.

Why You’ll Love This Chia Seed Pudding
- Diabetes-friendly – With no added sugars and high fiber content from chia seeds, this pudding helps maintain steady blood sugar levels, making it perfect for anyone watching their glucose intake.
- 4-ingredient simple – You only need chia seeds, almond milk, vanilla, and optional berries to make this – ingredients that are easy to find at any grocery store.
- Prep-ahead breakfast – Just mix everything before bed, and wake up to a ready-made breakfast – no morning prep needed.
- Nutrient-packed – Chia seeds are loaded with omega-3s, fiber, and protein, while being naturally low in carbs – perfect for a healthy start to your day.
What Kind of Chia Seeds Should I Use?
You’ll find two main types of chia seeds at the store – black and white – and either one works perfectly fine for making chia pudding. The black chia seeds are more common and usually a bit cheaper, while white chia seeds are sometimes preferred for aesthetic reasons in lighter-colored dishes. Just make sure you’re buying whole chia seeds rather than ground ones, as whole seeds will give you that classic pudding texture when they gel up. When shopping, check that your chia seeds look clean and uniform in size – if you spot lots of debris or broken seeds, that’s a sign they might be lower quality or older stock.
Options for Substitutions
This diabetic-friendly chia pudding recipe is easy to customize with these simple swaps:
- Chia seeds: Chia seeds are the star here and can’t be substituted – they’re what creates the pudding-like texture. However, you can use either black or white chia seeds; they work exactly the same way.
- Almond milk: Any unsweetened non-dairy milk works great here – try coconut milk, oat milk, or soy milk. Just make sure it’s sugar-free to keep it diabetic-friendly. Regular milk works too, but may change the carb content slightly.
- Vanilla essence: You can skip vanilla or try other natural flavors like cinnamon, nutmeg, or sugar-free cocoa powder. If using vanilla bean paste, use just a tiny bit as it’s more concentrated.
- Fresh berries: Feel free to top with any low-glycemic fruits like strawberries, blackberries, or kiwi. You can also try sugar-free granola, unsweetened coconut flakes, or a few chopped nuts for crunch.
Watch Out for These Mistakes While Making
The biggest challenge when making chia seed pudding is achieving the right consistency – using too little liquid will make your pudding too thick and paste-like, while too much will leave it runny and soup-like (stick to the 1:4 ratio of chia seeds to liquid for perfect results).
Another common mistake is not stirring the mixture well enough at the beginning, which can lead to clumpy chia seeds – make sure to stir immediately after combining ingredients, then again after 5 minutes to break up any clusters that have formed.
For diabetics especially, it’s important to avoid sweetened milk alternatives or added sugars – the natural nuttiness of almond milk and vanilla essence provides enough flavor, while fresh berries can add natural sweetness without spiking blood sugar.
Remember to give your pudding at least 4 hours in the fridge (preferably overnight) to properly set – rushing this process will result in a thin, watery consistency rather than the creamy texture you’re looking for.
What to Serve With Chia Seed Pudding?
This low-carb breakfast pudding pairs really well with a variety of toppings and sides that won’t spike blood sugar. A handful of fresh berries like raspberries or blackberries adds natural sweetness and color, while still keeping things diabetes-friendly. You can also add some crunch with a sprinkle of sugar-free granola or chopped nuts like almonds or walnuts. For a more filling breakfast, serve your chia pudding alongside some scrambled eggs or a piece of whole grain toast with avocado – these protein-rich additions help keep blood sugar stable throughout the morning.
Storage Instructions
Keep Fresh: Your chia seed pudding will stay good in the fridge for up to 5 days when stored in an airtight container. The longer it sits, the thicker it gets, so you might want to add a splash of almond milk if it becomes too thick for your liking.
Make Ahead: This is a perfect meal prep recipe! You can make several portions at once and portion them into individual containers. Just remember to add any fresh fruit toppings right before serving to keep them fresh and prevent them from getting mushy.
Portion: I like to make mine in small mason jars or containers with lids. This makes it super easy to grab and go for breakfast or snacks throughout the week. If you’re adding toppings, leave a little space at the top of each container.
| Preparation Time | 10-15 minutes |
| Cooking Time | 0 minutes |
| Total Time | 3-12 hours |
| Level of Difficulty | Easy |
Estimated Nutrition
Estimated nutrition for the whole recipe (without optional ingredients):
- Calories: 180-220
- Protein: 4-6 g
- Fat: 8-12 g
- Carbohydrates: 25-30 g
Ingredients
- 1/4 tsp vanilla extract (Look for pure vanilla extract, not imitation for best flavor)
- 1 cup unsweetened almond milk (I use Califia Farms for its creamy texture)
- fresh berries for topping
- 2 1/2 tbsp chia seeds
Step 1: Combine Ingredients in a Jar
In a 1 cup volume glass Mason jar or any other airtight container, add 2 ½ tablespoons of whole chia seeds, 1 cup of unsweetened plain almond milk, and ¼ teaspoon of vanilla extract.
These ingredients will come together to form a delicious chia seed pudding.
Step 2: Shake and Settle
Tighten the lid of your jar securely and shake well to combine all the ingredients.
This helps ensure there are no clumps, and the chia seeds are evenly distributed in the milk.
Allow the mixture to sit for about 4 to 5 minutes, giving the chia seeds time to start gelling slightly.
Step 3: Final Shake for Clump-Free Consistency
After waiting 5 minutes, give the jar another good shake, vigorously for at least 10 seconds.
This shaking step is crucial to break up any clumps that might have started to form, ensuring a smooth consistency for your pudding.
Step 4: Refrigerate and Set
Place the jar in the refrigerator to let the chia seed pudding set.
It needs to chill overnight or for at least 3 hours to allow the chia seeds to fully gel and the flavors to meld together.
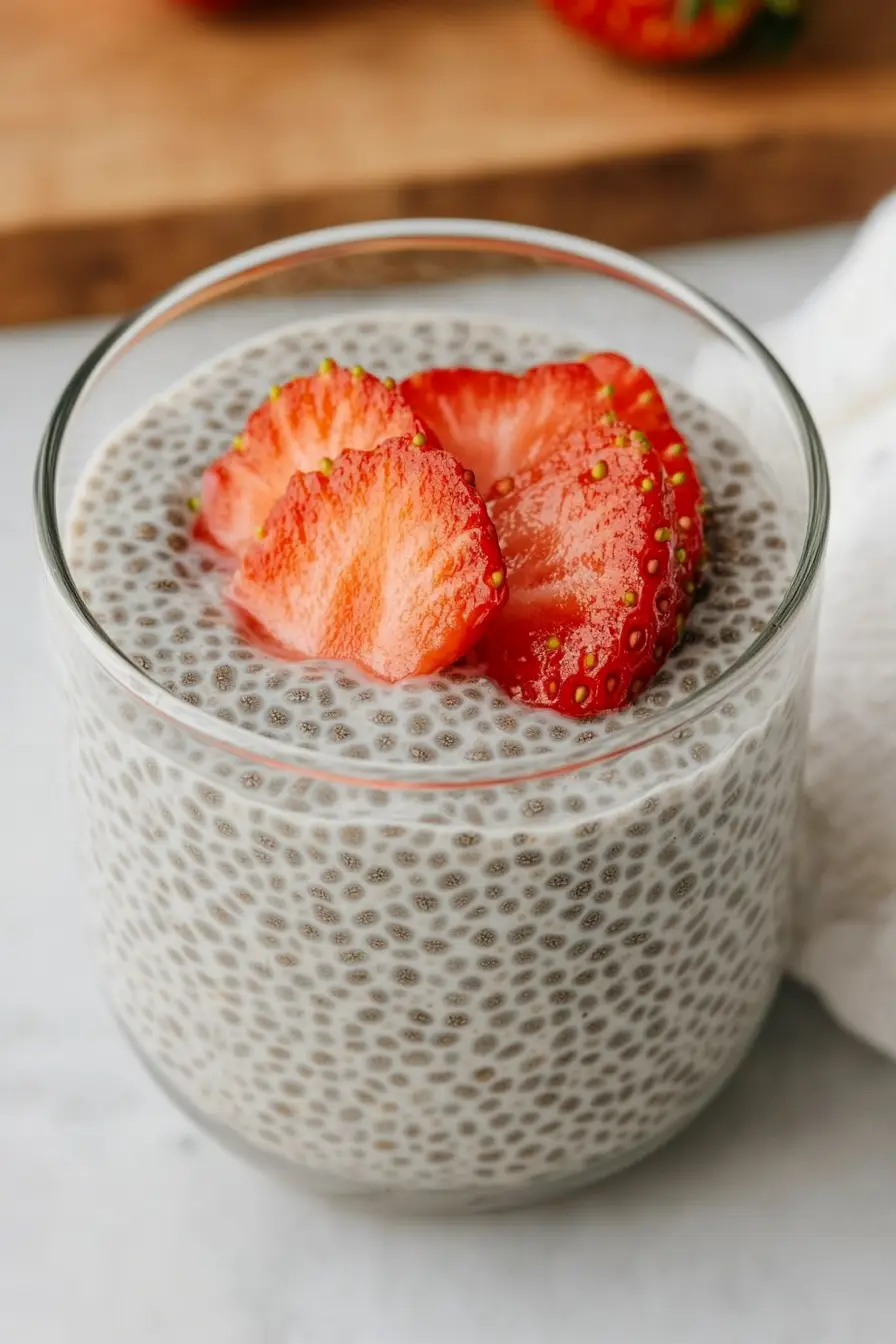
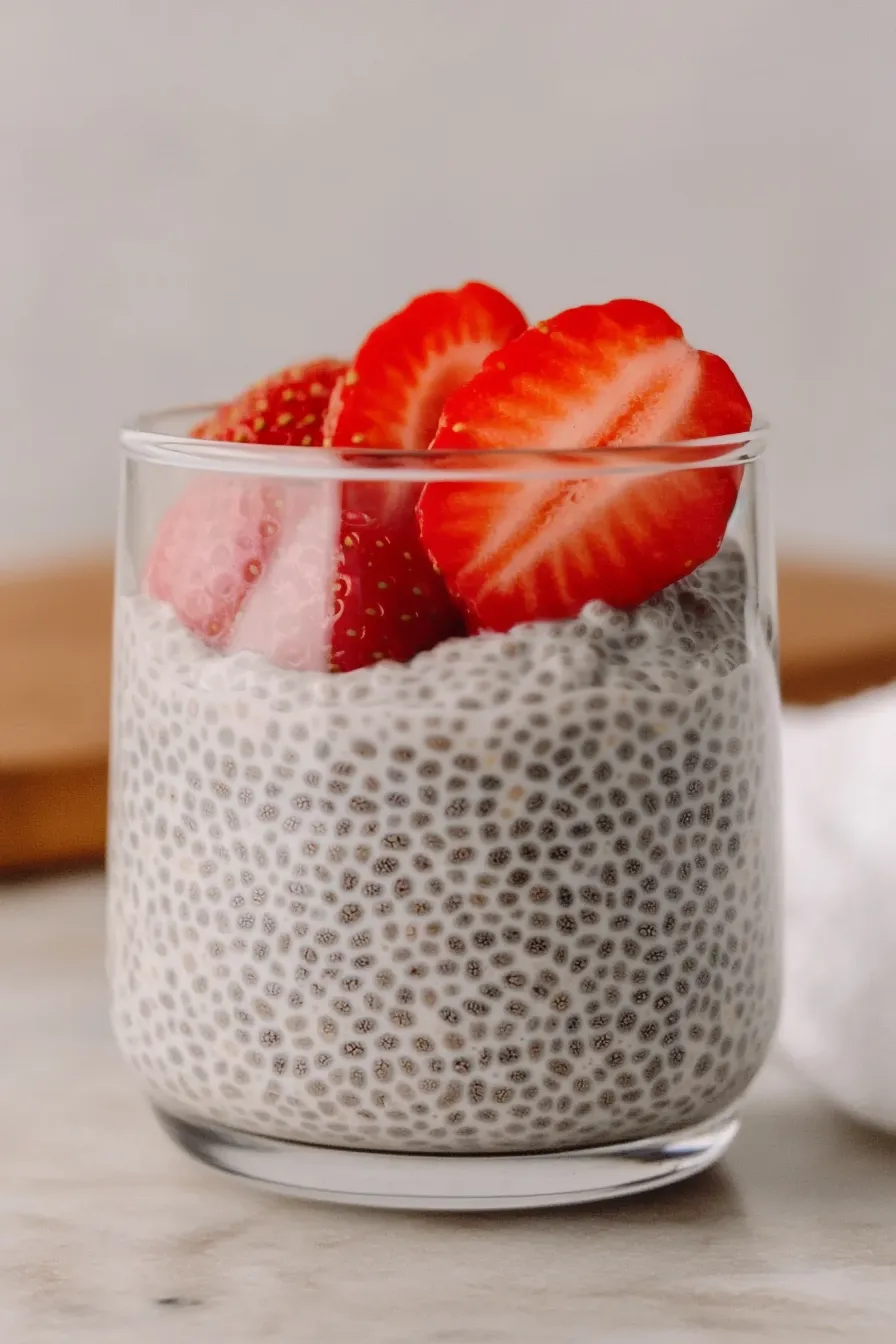
Step 5: Serve and Enjoy
Once the pudding is set and chilled, serve it directly from the jar.
Top with fresh berries if desired for added flavor and texture.
Enjoy your creamy, nutritious chia seed pudding!
