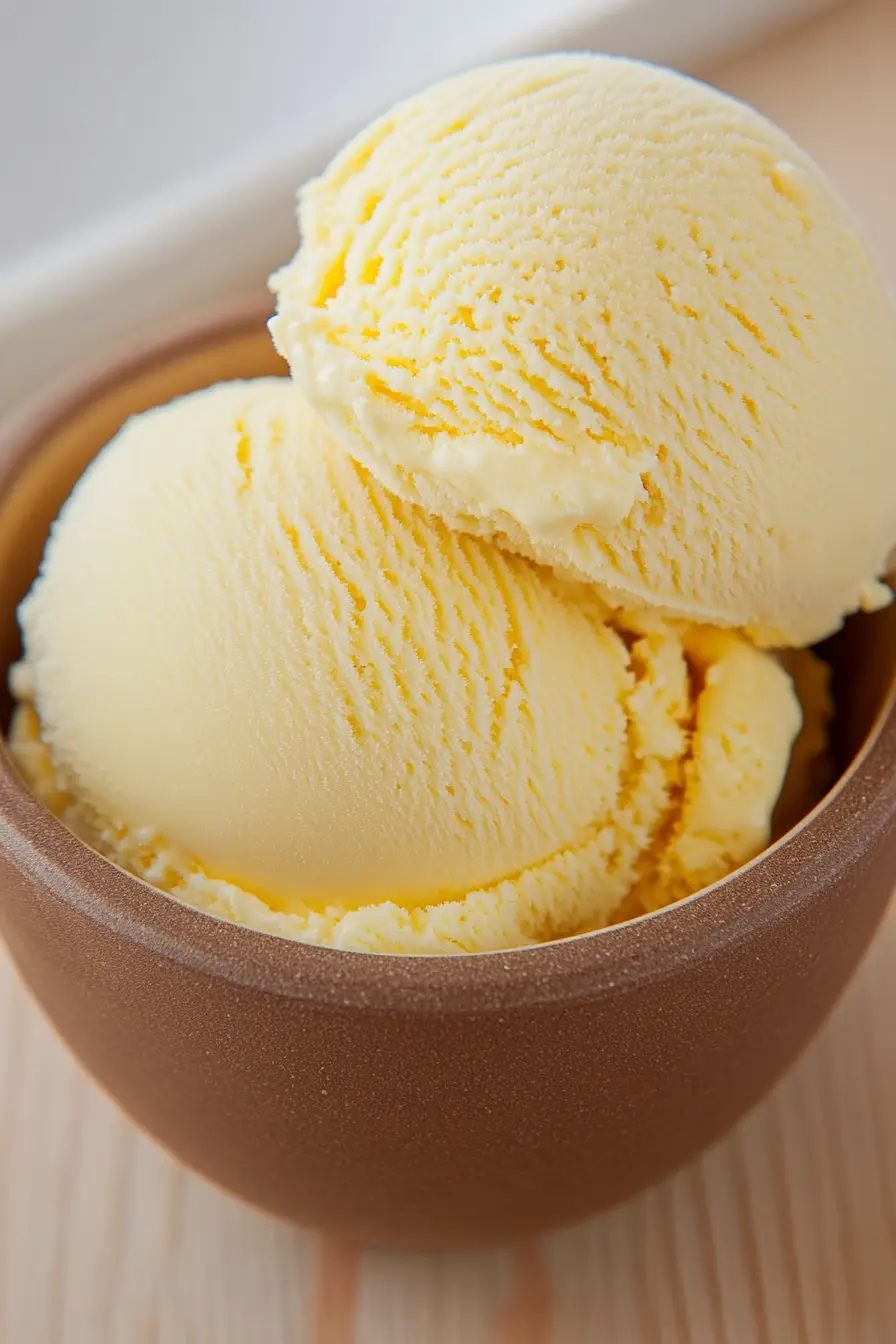
I never thought I’d be making ice cream with corn until I tried it at a local ice cream shop last summer. Growing up, corn was always a side dish at dinner – you know, steamed with a pat of butter. My kids thought I was playing a joke when I told them what flavor we were making.
But here’s the thing about corn ice cream – it’s actually not weird at all. The natural sweetness of fresh corn gives the ice cream this subtle, comforting flavor that reminds me of warm summer nights. And unlike some fancy ice cream recipes that need special equipment or hard-to-find ingredients, this one’s pretty straightforward.

Why You’ll Love This Corn Ice Cream
- Unique flavor profile – This isn’t your typical vanilla or chocolate ice cream – the sweet corn creates a naturally sweet, creamy taste that’s both surprising and delicious.
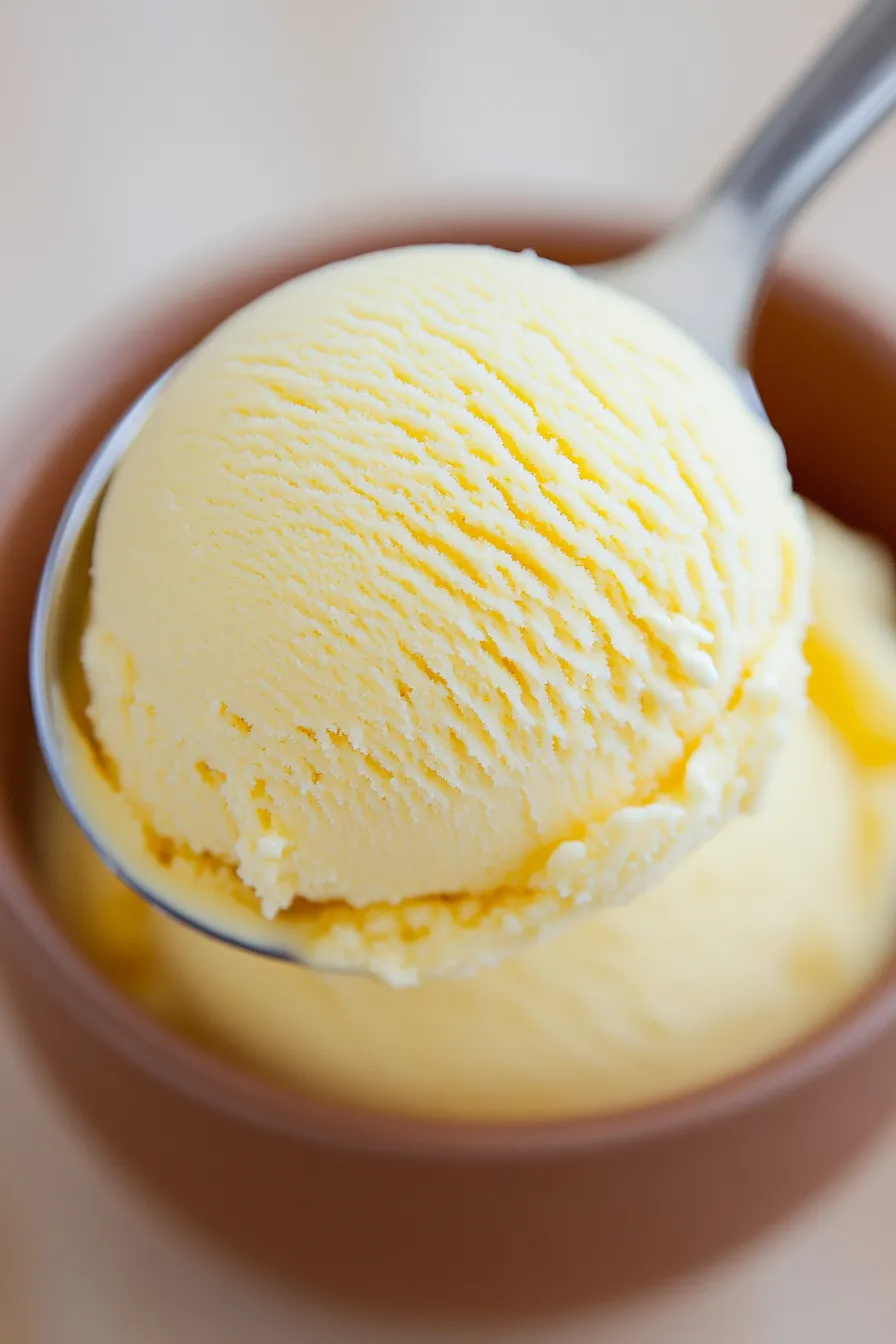
- Rich and creamy texture – The combination of heavy cream, Mexican crema, and egg yolks creates an incredibly smooth, luxurious ice cream that melts perfectly on your tongue.
- Make-ahead friendly – You can prepare this ice cream days in advance and keep it frozen until you’re ready to serve, making it perfect for summer gatherings.
- Both fresh and canned corn options – Using both fresh and canned corn means you can make this treat year-round, not just during corn season.
What Kind of Corn Should I Use?
This recipe gives you flexibility by using both fresh and canned corn, which is great news for making this ice cream year-round. When fresh corn is in season (typically late summer), look for ears with bright green husks and golden silk – the kernels should be plump and release a milky liquid when pierced. For the canned corn, any standard sweet corn variety will work just fine, though I prefer to use whole kernel rather than creamed corn for better texture control. If fresh corn isn’t in season, you can actually skip the fresh cob and just use two cans of sweet corn instead – the ice cream will still turn out delicious.
Options for Substitutions
Here are some helpful substitutions if you need to switch things up in this corn ice cream recipe:
- Mexican crema: If you can’t find Mexican crema, use sour cream or crème fraîche. Full-fat Greek yogurt can work too, but it might add a slight tanginess to the final product.
- Fresh corn: While fresh corn adds great texture, you can skip it and just use canned corn if fresh isn’t available. Just make sure to drain it well.
- Heavy cream: For the heavy cream, you can use half-and-half, but your ice cream won’t be quite as rich. Don’t substitute milk here, as you need some fat content for proper texture.
- Egg yolks: The egg yolks are pretty important for creating that smooth, creamy texture. If you need an egg-free version, you’ll want to use a commercial ice cream stabilizer or 2 tablespoons of cornstarch instead, but the texture won’t be quite the same.
- Vanilla essence: Feel free to use vanilla extract, vanilla bean paste, or even scrape a real vanilla bean. Each will work fine, just adjust the amount to taste.
- Granulated sugar: You can swap in light brown sugar for a subtle caramel note, but stick to the same amount. Liquid sweeteners like honey or maple syrup might affect the texture, so it’s best to avoid those.
Watch Out for These Mistakes While Making
The biggest challenge when making corn ice cream is preventing ice crystals from forming, which can make your dessert grainy instead of creamy – be sure to properly heat your milk mixture to at least 170°F (77°C) to help the sugar dissolve completely and create a smoother texture.
When tempering the egg yolks, add the hot milk mixture very slowly while whisking constantly, as rushing this step can result in scrambled eggs instead of a silky custard base – if you do spot any small cooked bits, simply strain the mixture through a fine-mesh sieve.
To get the most corn flavor, don’t skip the step of steeping the corn cobs in the warm milk mixture after cutting off the kernels, and remember to chill your base completely (preferably overnight) before churning – a warm base will never achieve the right consistency in your ice cream maker.
For the creamiest results, store your churned ice cream in a shallow, wide container rather than a deep one, and place plastic wrap directly on the surface to prevent freezer burn.
What to Serve With Corn Ice Cream?
This sweet and creamy corn ice cream pairs wonderfully with warm, cinnamon-dusted churros or a slice of warm apple pie – the contrast between hot and cold is just perfect! Since corn ice cream has a subtle sweetness, it works really well with caramel sauce or a drizzle of honey on top. I love serving it alongside other Mexican desserts like sopapillas or bunuelos for a fun dessert spread. You can also keep things simple by topping your scoop with some crushed corn cookies or a sprinkle of sea salt to bring out the natural corn flavor.
Storage Instructions
Keep Cold: Your corn ice cream needs to stay in the freezer at 0°F (-18°C) or below. Put it in an airtight container with a piece of plastic wrap pressed directly on the surface of the ice cream to prevent ice crystals from forming. It’ll stay fresh and creamy for up to 2 weeks.
Long-term Storage: For longer storage, wrap the container tightly with aluminum foil after covering with plastic wrap. This double protection helps prevent freezer burn and keeps your ice cream tasting fresh for up to 1 month.
Serving Tips: Take the ice cream out of the freezer about 5-10 minutes before serving to soften slightly – this makes scooping easier and brings out the sweet corn flavor. If it gets too soft, just pop it back in the freezer for 30 minutes to firm up.
| Preparation Time | 15-20 minutes |
| Cooking Time | 10-15 minutes |
| Total Time | 4 hours 25 minutes – 4 hours 35 minutes |
| Level of Difficulty | Medium |
Estimated Nutrition
Estimated nutrition for the whole recipe (without optional ingredients):
- Calories: 2400-2600
- Protein: 40-50 g
- Fat: 150-160 g
- Carbohydrates: 250-260 g
Ingredients
For the corn:
- 1 can sweet corn (drained well, about 15 oz)
- 1 fresh corn cob (kernels cut off)
For the ice cream base:
- 1 cup granulated sugar
- 1 1/2 tsp vanilla extract (I use Nielsen-Massey vanilla)
- 1 tsp salt
- 8 fl oz heavy cream (provides a creamy texture)
- 24 fl oz milk (whole milk for richness)
- 6 large egg yolks
- 8 fl oz Mexican crema (or sour cream, for a tangy note)
Step 1: Prepare the Corn and Simmer the Ingredients
Start by cutting the corn off the cob, but be sure to keep the cob itself as it will be used in the cooking process.
Add the corn kernels and the reserved cob to a pot along with all other ingredients, except the egg yolks.
Mix everything together over medium-low heat and bring the mixture to a gentle simmer.
Allow the flavors to meld together as the mixture heats through.
Step 2: Temper the Egg Yolks
In a separate bowl, add about 1/4 cup of the hot mixture to the egg yolks.
Quickly whisk them together to prevent the yolks from cooking into lumps.
This step, called tempering, gradually raises the temperature of the egg yolks to prevent them from curdling when added back to the pot.
Step 3: Thicken the Mixture
Slowly stir the tempered egg yolk mixture back into the pot with the rest of the ingredients.
Continue cooking over medium-low heat while stirring constantly, until the mixture has thickened, which should take about 5 minutes.
Remove the pot from the heat once thickened.
Step 4: Blend and Strain the Mixture
Transfer the thickened mixture to a blender or use an immersion blender to blend until smooth.
Once blended, push the mixture through a sieve into a large bowl to remove any solids and achieve a smooth consistency.
Step 5: Cool and Chill the Mixture
Allow the sieved mixture to cool completely.
Stir it occasionally to help release steam and prevent a film from forming on top.
Once the mixture is cool, cover it with plastic wrap and place it in the refrigerator for at least 4 hours to chill thoroughly.
Step 6: Churn and Freeze the Ice Cream
After chilling, pour the cold mixture into your ice cream machine.
Follow the specific directions provided by your machine’s manufacturer.
For the 2 Qt Cuisinart Ice Cream Maker, the mixture usually finishes churning in about 20 minutes.
You can enjoy the ice cream immediately if you prefer a soft-serve texture.
For a firmer, classic ice cream texture, transfer it to a different container—something large and shallow works best—and store it in the freezer for several hours.
Remember not to store the ice cream in the ice cream maker’s drum.
