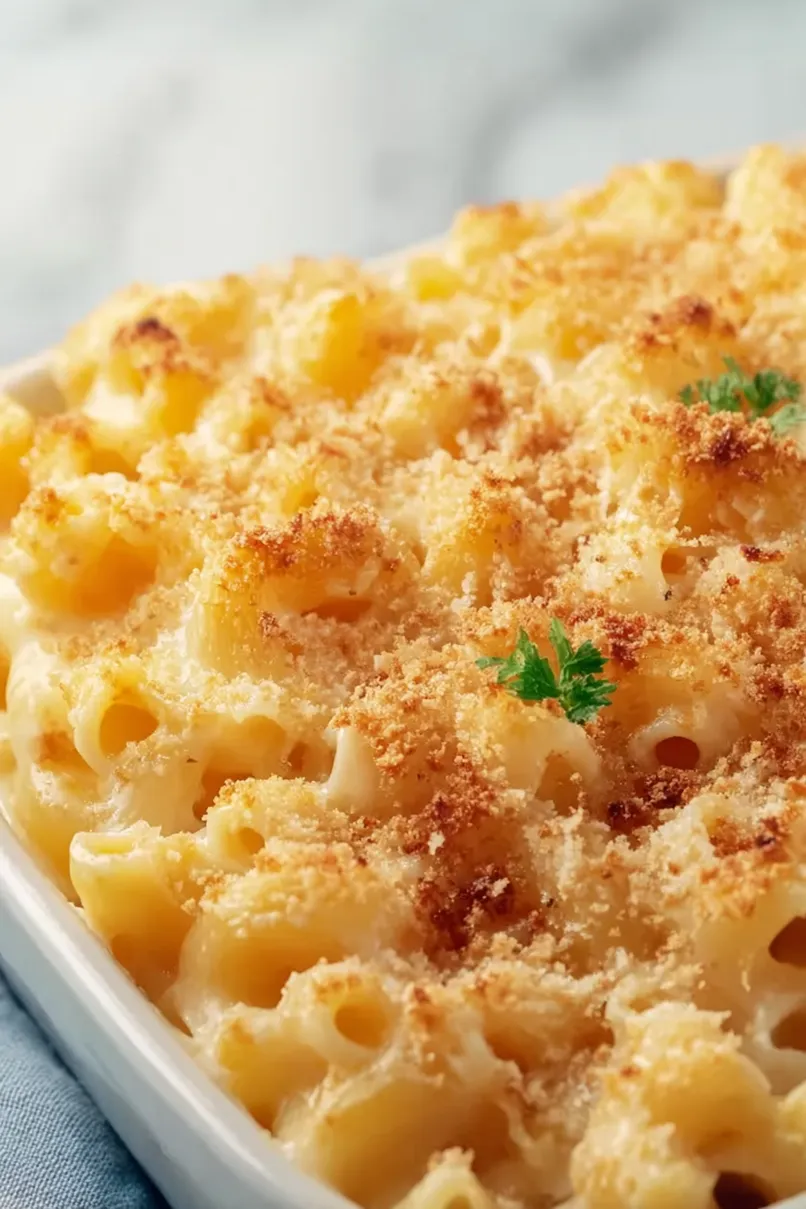
Here is my go-to low FODMAP mac and cheese recipe, made with lactose-free milk, gluten-free pasta, and carefully selected cheeses that won’t upset sensitive stomachs. The result is creamy, comforting, and just as satisfying as traditional mac and cheese.
This dish has become a regular at our dinner table since we started following a low FODMAP diet. I often make a double batch because everyone loves having the leftovers for lunch the next day. Who doesn’t want mac and cheese two days in a row?
Why You’ll Love This Mac and Cheese
- FODMAP-friendly comfort food – Finally, a mac and cheese that won’t upset sensitive stomachs! Made with lactose-free milk and gluten-free pasta, this version lets you enjoy this classic comfort dish without worry.
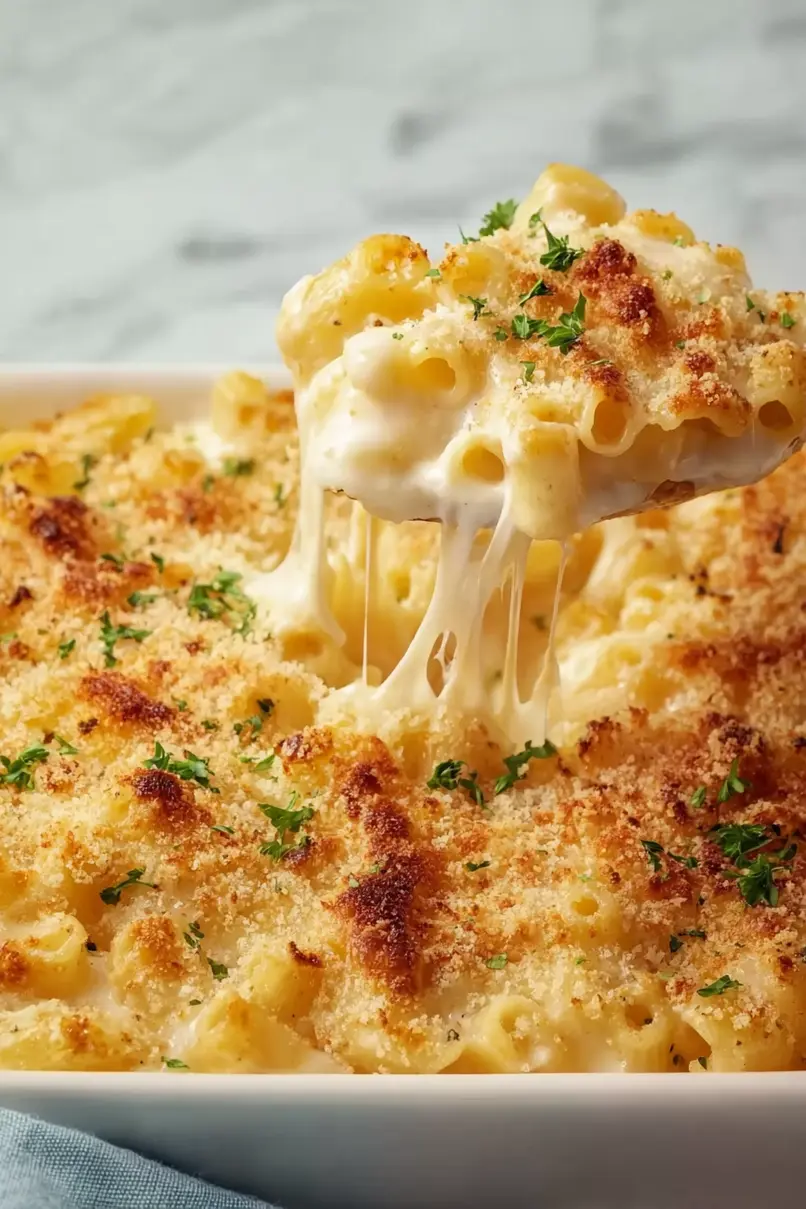
- Rich and creamy texture – The combination of Gruyere, Cheddar, and Parmesan creates a perfectly cheesy sauce that’s just as satisfying as traditional mac and cheese.
- Crispy topping – The gluten-free breadcrumb topping with paprika adds a delicious crunch and extra flavor dimension that makes this dish extra special.
- Simple ingredients – You’ll find most of these ingredients in any grocery store’s gluten-free section, making this an accessible recipe for those with dietary restrictions.
What Kind of Cheese Should I Use?
For this mac and cheese recipe, we’re working with a trio of cheeses that each bring something special to the dish. Gruyere melts beautifully and adds a slightly nutty flavor, while sharp cheddar brings that classic mac and cheese taste we all know and love. If you can’t find Gruyere, you could swap it out for Swiss cheese, which has similar melting properties. When shopping for cheddar, go for a sharp or medium variety that’s been aged – it’ll pack more flavor punch than mild cheddar, so you can use less while still getting great taste. Just remember to check that your cheese is naturally low in lactose (aged cheeses typically are) to keep this dish FODMAP-friendly.
Options for Substitutions
Following a low FODMAP diet doesn’t mean you can’t enjoy mac and cheese! Here are some helpful substitutions:
- Gluten-free pasta: Any gluten-free pasta shape works here – try penne, shells, or fusilli if you can’t find elbows. Just make sure to check the ingredients to confirm they’re made from safe ingredients like rice, corn, or quinoa.
- Cheese varieties: Both Gruyere and Cheddar are naturally low in lactose. You can swap them for other aged hard cheeses like Asiago, Manchego, or extra sharp Cheddar. Just avoid fresh soft cheeses.
- Lactose-free milk: If you can’t find lactose-free milk, you can use almond milk or rice milk. The sauce might be slightly less creamy, so you may want to add an extra tablespoon of butter.
- Gluten-free breadcrumbs: No gluten-free breadcrumbs? Make your own by crushing gluten-free crackers or cornflakes. You can also skip the topping altogether.
- Gluten-free flour: Rice flour or cornstarch work well as alternatives. If using cornstarch, use half the amount called for in the recipe.
Watch Out for These Mistakes While Cooking
The biggest challenge with gluten-free mac and cheese is preventing the pasta from becoming mushy – cook it 1-2 minutes less than the package directions suggest since it will continue cooking in the sauce. Another common mistake is rushing the roux (butter and flour mixture) – take your time and cook it for at least 2-3 minutes to avoid a raw flour taste, stirring constantly until it smells slightly nutty. When making the cheese sauce, remove the pan from heat before adding the cheese to prevent it from becoming grainy or separating – the residual heat will be enough to melt the cheese smoothly. For the crunchiest top layer, make sure your breadcrumbs are completely dry before mixing with the Parmesan, and broil for the final 2-3 minutes while watching carefully to achieve that perfect golden-brown crust without burning.
What to Serve With Low FODMAP Mac and Cheese?
When serving this tummy-friendly mac and cheese, I like to keep the sides simple and gut-friendly too. A side of steamed carrots, green beans, or roasted zucchini adds nice color to the plate and helps balance out the richness of the cheese sauce. For some extra protein, you could add some grilled chicken breast or pan-seared salmon on the side. If you’re craving something fresh, try a simple green salad with FODMAP-friendly veggies like cucumber, tomatoes, and lettuce dressed with a light vinaigrette – just skip the onions and garlic in the dressing to keep it low FODMAP.
Storage Instructions
Keep Fresh: This mac and cheese stays good in the fridge for up to 4 days when kept in an airtight container. The pasta might absorb some of the sauce as it sits, but it’s still super tasty! It’s perfect for making ahead and having ready-to-go portions for busy weekday lunches.
Freeze: If you want to save some for later, portion the mac and cheese into freezer-safe containers and pop them in the freezer for up to 3 months. Just skip the breadcrumb topping if you’re planning to freeze it – you can add fresh crispy topping when you reheat it later.
Reheat: When you’re ready to eat, warm it up in the microwave, stirring every minute until hot throughout. For better results, reheat in the oven at 350°F (175°C) for about 20 minutes. If it seems a bit dry, stir in a splash of lactose-free milk to bring back the creamy texture.
| Preparation Time | 15-20 minutes |
| Cooking Time | 25-30 minutes |
| Total Time | 40-50 minutes |
| Level of Difficulty | Medium |
Estimated Nutrition
Estimated nutrition for the whole recipe (without optional ingredients):
- Calories: 1500-1700
- Protein: 50-60 g
- Fat: 90-100 g
- Carbohydrates: 150-160 g
Ingredients
For the mac and cheese:
- 1 2/3 cups lactose-free milk
- 40 g cheddar cheese
- 1/4 cup butter (unsalted, like Kerrygold for richer flavor)
- pepper to taste (freshly ground for better aroma)
- 1/4 cup gluten-free flour (Bob’s Red Mill 1-to-1 Baking Flour works well)
- 250 g gluten-free elbow pasta
- salt to taste
- 40 g gruyere cheese (freshly grated for best texture)
For the topping:
- 100 g parmesan cheese (grated)
- 150 g gluten-free breadcrumbs
- 1 tsp paprika
- 20 g butter (melted and cooled)
Step 1: Preheat Oven and Cook Macaroni
Preheat your oven to 180°C (350°F).
While the oven is heating, bring a large pot of lightly salted water to a boil.
Add elbow macaroni to the boiling water, stirring occasionally.
Cook until the macaroni is al dente, about 8 minutes.
Once cooked, drain the macaroni and set aside.
Step 2: Prepare Cheese Sauce
In a medium saucepan, melt the butter over medium heat.
Stir in the flour, salt, and pepper, blending until the mixture is smooth, about 5 minutes.
Gradually add milk to the butter-flour mixture, continuously stirring to maintain a smooth texture.
Allow it to heat until the mixture is smooth and bubbling, around 5 minutes.
Add half of the Cheddar cheese and all the Gruyere cheese to the mixture, stirring until the cheese is completely melted, about 4 minutes.
Step 3: Combine Macaroni and Cheese Sauce
Fold the cooked macaroni into the cheese sauce, ensuring each piece is well-coated with the creamy mixture.
Make sure the macaroni is thoroughly covered in the sauce for full flavor.
Step 4: Assemble the Mac and Cheese
Divide the macaroni and cheese mixture by pouring half into a baking dish.
Top with the remaining shredded Cheddar cheese.
Then, add the rest of the mac and cheese mixture on top, ensuring it’s evenly distributed in the dish.
Step 5: Prepare Topping and Bake
In a small bowl, mix together the gluten-free breadcrumbs, Parmesan cheese, melted butter, and paprika.
Sprinkle this breadcrumb mixture over the top of the mac and cheese in the baking dish.
Place the dish in the preheated oven and bake until the top is bubbly and golden brown, about 20 minutes.
Step 6: Serve
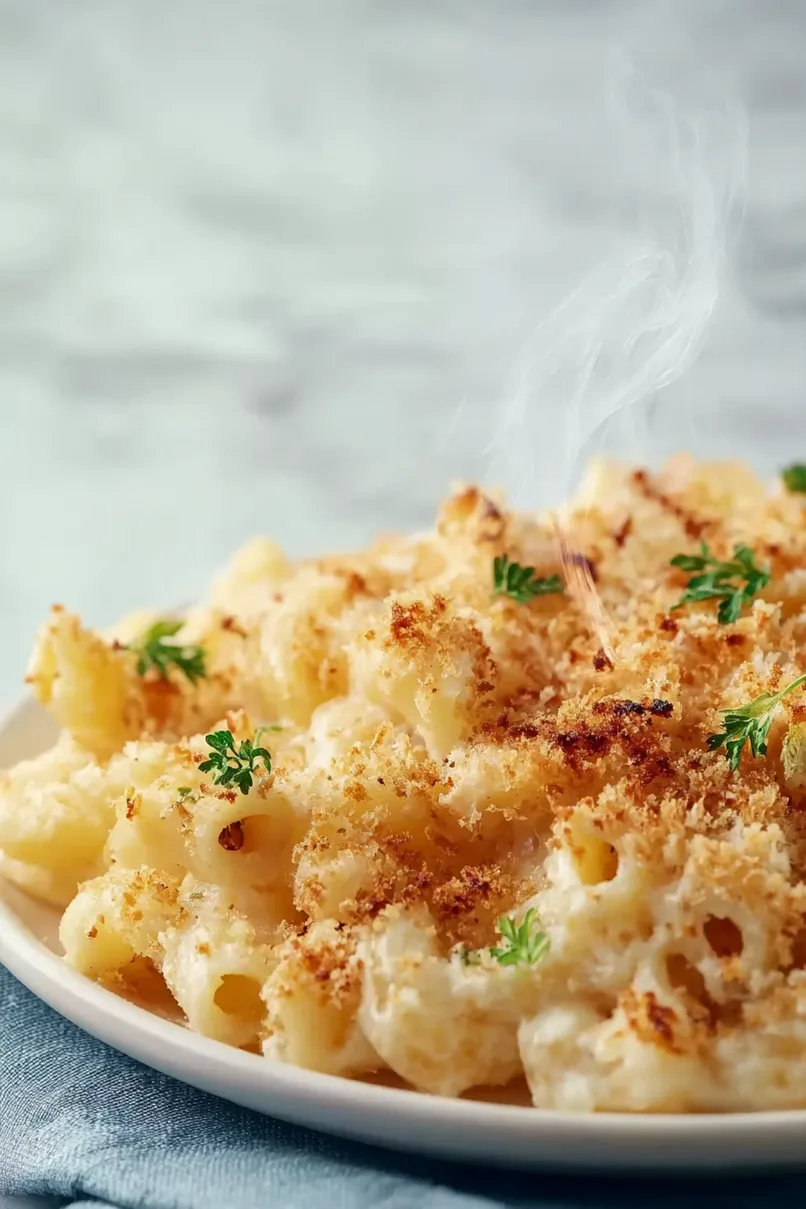
Once baked to a golden perfection, remove from the oven and serve immediately while hot.
Enjoy your delicious, homemade mac and cheese fresh from the oven!
