There’s something special about cheesecake that makes everyone smile. I’ve been making them for years, and my raspberry version has become a family favorite. My kids always peek through the oven window while it’s baking, waiting to see that perfectly smooth top develop its signature golden color.
What I love most about this raspberry cheesecake recipe is how simple it really is. Sure, some people think cheesecakes are tricky to make, but I promise you don’t need any fancy techniques or special equipment. Just a few basic ingredients, a springform pan, and a little patience. The fresh raspberries add just the right amount of tartness to balance out the rich, creamy filling.
I’ve served this at birthday parties, holiday gatherings, and even random Tuesday nights when we need something sweet. Trust me – once you try making it yourself, you’ll wonder why you ever thought cheesecake was complicated.

Why You’ll Love This Cheesecake
- No-bake recipe – Skip turning on the oven – this cheesecake sets in the fridge, making it perfect for warm summer days when you don’t want to heat up the kitchen.
- Make-ahead friendly – You can prepare this dessert a day or two before serving, which makes it great for planning ahead for parties or special occasions.
- Foolproof preparation – Without the worry of water baths or cracking tops like traditional cheesecakes, this recipe is incredibly forgiving and perfect for beginners.
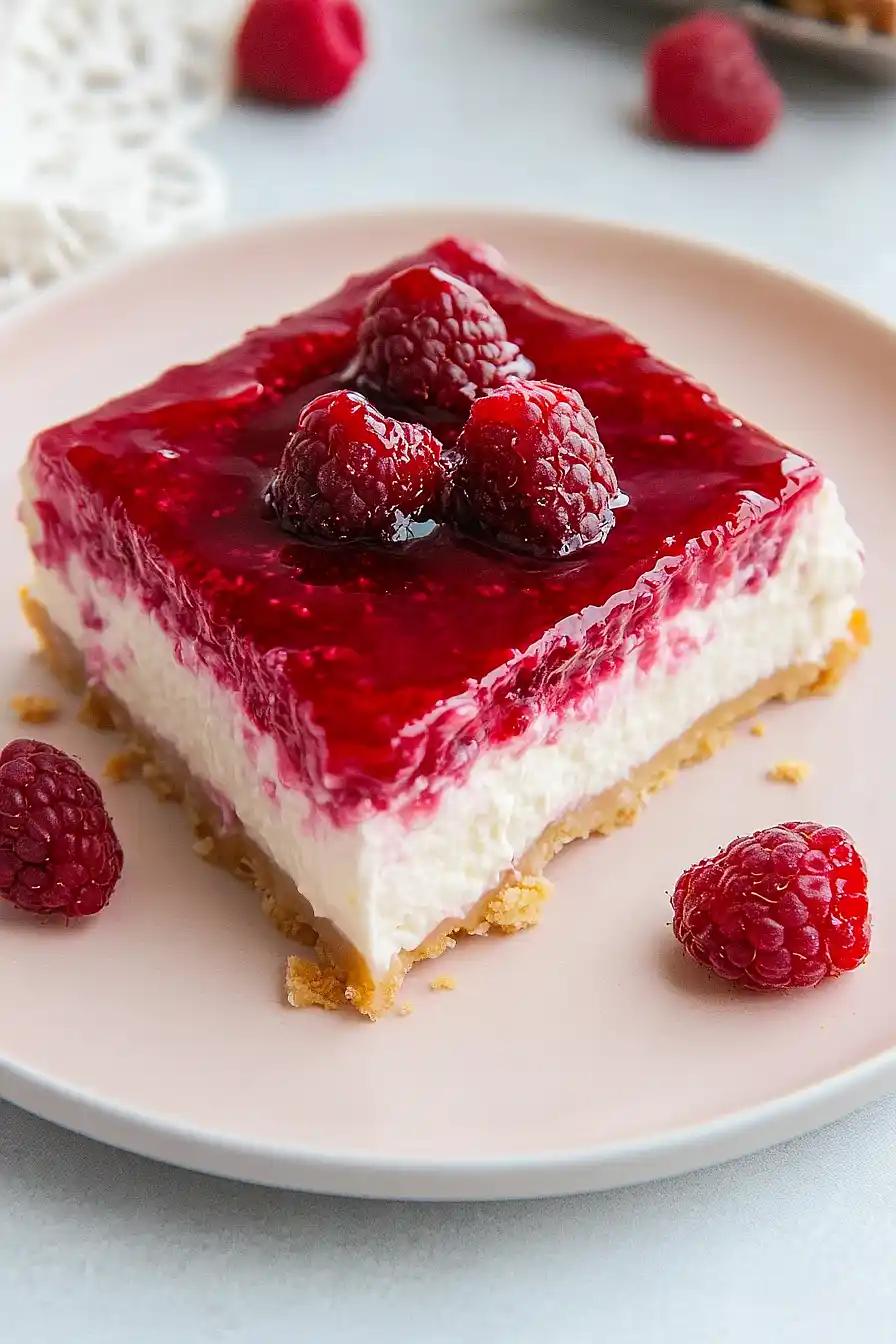
- Fresh raspberry topping – The homemade raspberry sauce adds the perfect balance of sweet-tart flavor and makes this dessert look like it came from a fancy bakery.
What Kind of Cream Cheese Should I Use?
For cheesecake, regular full-fat cream cheese is your best bet – it creates the richest, creamiest texture and helps your cake hold its shape. While reduced-fat cream cheese might be tempting, it can lead to a less stable structure and isn’t worth the compromise. The most important thing is to make sure your cream cheese is completely softened to room temperature before you start mixing – cold cream cheese will leave you with lumps that are nearly impossible to smooth out. If you’re in a hurry, you can cut the cream cheese into cubes to help it warm up faster, but avoid microwaving it as this can affect the texture of your cheesecake.
Options for Substitutions
This cheesecake recipe has several ingredients that you can swap out if needed:
- Graham cracker crumbs: Don’t have graham crackers? You can use crushed digestive biscuits, vanilla wafers, or even Oreo cookies (just remove the cream filling first). Just keep the same measurements for a sturdy crust.
- Cream cheese: For the filling, you need to stick with full-fat cream cheese – it’s essential for the right texture. Light cream cheese won’t set properly and could make your cheesecake too runny.
- Cool Whip: You can definitely use homemade whipped cream instead of Cool Whip (as mentioned in the recipe). Just whip 2 cups of heavy cream with 1/4 cup powdered sugar until stiff peaks form.
- Raspberries: Feel free to swap raspberries with strawberries, blackberries, or a mix of berries. Just keep the same measurements and cooking method for the topping.
- Cornstarch: You can use arrowroot powder instead of cornstarch for thickening the berry topping – use the same amount. Regular flour works too, but double the quantity.
- Lemon juice: If you’re out of lemon juice, lime juice works just as well, or you can skip it altogether – it just adds a bit of brightness to the berry topping.
Watch Out for These Mistakes While Baking
The biggest challenge when making cheesecake is dealing with cream cheese that isn’t properly softened – cold cream cheese will leave lumps in your filling, so make sure to let it sit at room temperature for at least 2 hours before starting. Another common mistake is overmixing the filling, which incorporates too much air and can lead to cracks – mix only until the ingredients are just combined and smooth. When preparing the raspberry topping, avoid crushing all the berries while cooking; leaving some whole gives the topping a better texture and more appealing look. For the perfect graham cracker crust, press it firmly and evenly into the pan using the bottom of a measuring cup – a loose crust will crumble when serving. Finally, make sure your Cool Whip is completely thawed in the refrigerator before folding it into the cream cheese mixture to prevent a lumpy texture.

What to Serve With Raspberry Cheesecake?
This creamy raspberry cheesecake is pretty satisfying on its own, but there are some simple ways to make it even more special! A dollop of fresh whipped cream on the side adds an extra touch of richness, while a scoop of vanilla ice cream creates a nice temperature contrast with the cool cheesecake. For a morning or afternoon treat, serve it alongside a hot cup of coffee or tea – the slight bitterness of these drinks pairs really nicely with the sweet, creamy dessert. If you want to dress it up a bit more, you can add some fresh raspberries or a drizzle of dark chocolate sauce on the plate.
Storage Instructions
Keep Fresh: Your raspberry cheesecake will stay perfect in the fridge for up to 5 days when stored in an airtight container. The graham cracker crust might soften slightly over time, but the taste will still be amazing. I like to place it in the back of the fridge where it’s coldest.
Freeze: This cheesecake freezes really well! Wrap it tightly in plastic wrap, then aluminum foil, and pop it in the freezer for up to 3 months. You can freeze it whole or in individual slices – I often do slices so I can grab just what I need when the craving hits.
Thaw: When you’re ready to enjoy your frozen cheesecake, transfer it to the fridge and let it thaw overnight. The raspberry topping might release a bit of liquid as it thaws, but just blot it gently with a paper towel if needed. For the best texture, let it sit at room temperature for about 30 minutes before serving.
| Preparation Time | 20-30 minutes |
| Cooking Time | 10-15 minutes |
| Total Time | 360-390 minutes |
| Level of Difficulty | Medium |
Estimated Nutrition
Estimated nutrition for the whole recipe (without optional ingredients):
- Calories: 2500-2700
- Protein: 20-25 g
- Fat: 150-160 g
- Carbohydrates: 300-320 g
Ingredients
For the crust:
- 1 1/2 cups graham cracker crumbs (finely crushed for an even crust)
- 1/4 cup sugar
- 1/2 cup butter (melted and cooled slightly)
For the cream cheese layer:
- 16 oz whipped topping (or 4 cups fresh whipped cream for a richer flavor)
- 11 oz cream cheese (softened to room temperature)
- 1 tsp vanilla extract (I use Madagascar vanilla)
- 1 1/2 cups confectioners’ sugar (sifted to prevent lumps)
- 3 tbsp milk
For the raspberry filling:
- 2 cups raspberries (fresh or frozen, thawed)
- 1/2 cup water
- 1/2 cup sugar
- 1 tsp lemon juice
- 2 tbsp cornstarch
Step 1: Prepare the Raspberry Filling
Start by making the raspberry filling in a heavy, medium-sized saucepan.
Whisk together the cornstarch and sugar until no cornstarch lumps remain.
Add the water, raspberries, and lemon juice to the pan.
Cook over medium heat, stirring frequently, until the mixture thickens.
Once thickened, remove from heat and allow to cool completely.
Set aside for later use.
Step 2: Make the Crust
Prepare the crust by stirring together melted butter, graham cracker crumbs, and sugar until well combined.
Press the mixture evenly into the bottom of a 9 x 13 inch baking dish, ensuring it covers the entire base of the dish uniformly.
Step 3: Prepare the Cream Cheese Layer
In a large bowl, beat together powdered sugar, cream cheese, milk, and vanilla extract until the mixture is smooth and creamy.
Gently fold in the Cool Whip or whipped cream until well incorporated.
Carefully spread this cream cheese mixture over the prepared crust, being cautious not to break the crust.
Step 4: Add the Raspberry Filling
Once the cream cheese layer is evenly spread, carefully add the cooled raspberry filling on top.
Spread it gently to cover the entire surface.
This layer should be added with care to maintain the integrity of the dessert layers below.
Step 5: Chill and Serve
Chill the assembled dessert in the refrigerator for at least 6 hours to allow the layers to set properly.
Once chilled, the dessert is ready to be served.
Store any leftovers in the refrigerator, and for optimal freshness, consume within a few days.
