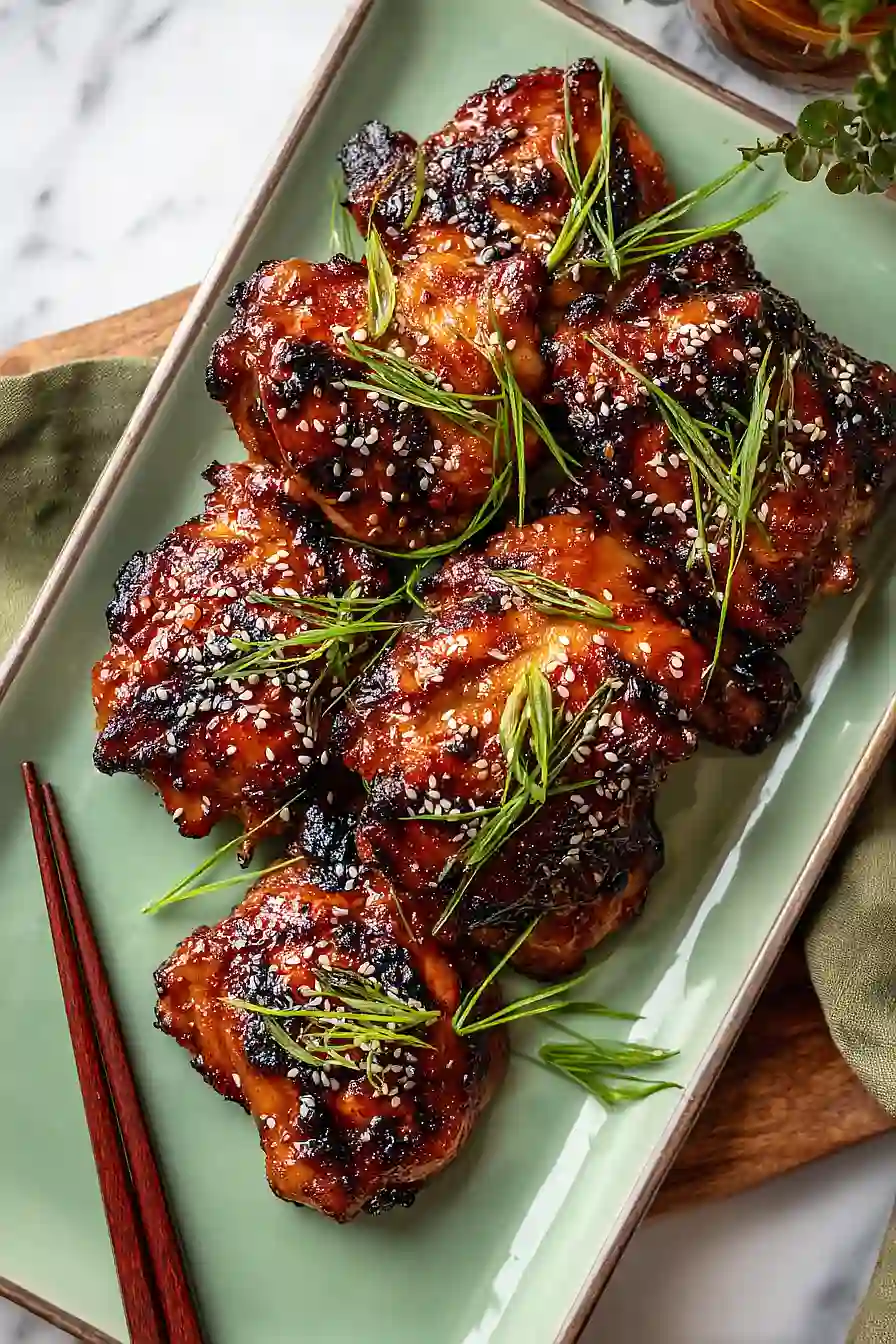
I’m always looking for weeknight dinners that taste like I spent hours in the kitchen but actually come together in less than thirty minutes. That’s exactly what these Japanese BBQ chicken thighs deliver. The sauce is sweet, a little spicy, and packed with garlic and ginger. It’s the kind of meal that makes my kids ask for seconds before they’ve finished their firsts.
The secret is cutting the chicken into bite-sized pieces so everything cooks evenly and gets coated in that sticky sauce. I love using Bachan’s Japanese BBQ sauce as my base because it has that authentic flavor without me having to track down a dozen ingredients. A few additions like soy sauce, sriracha, and toasted sesame oil take it from good to really good.
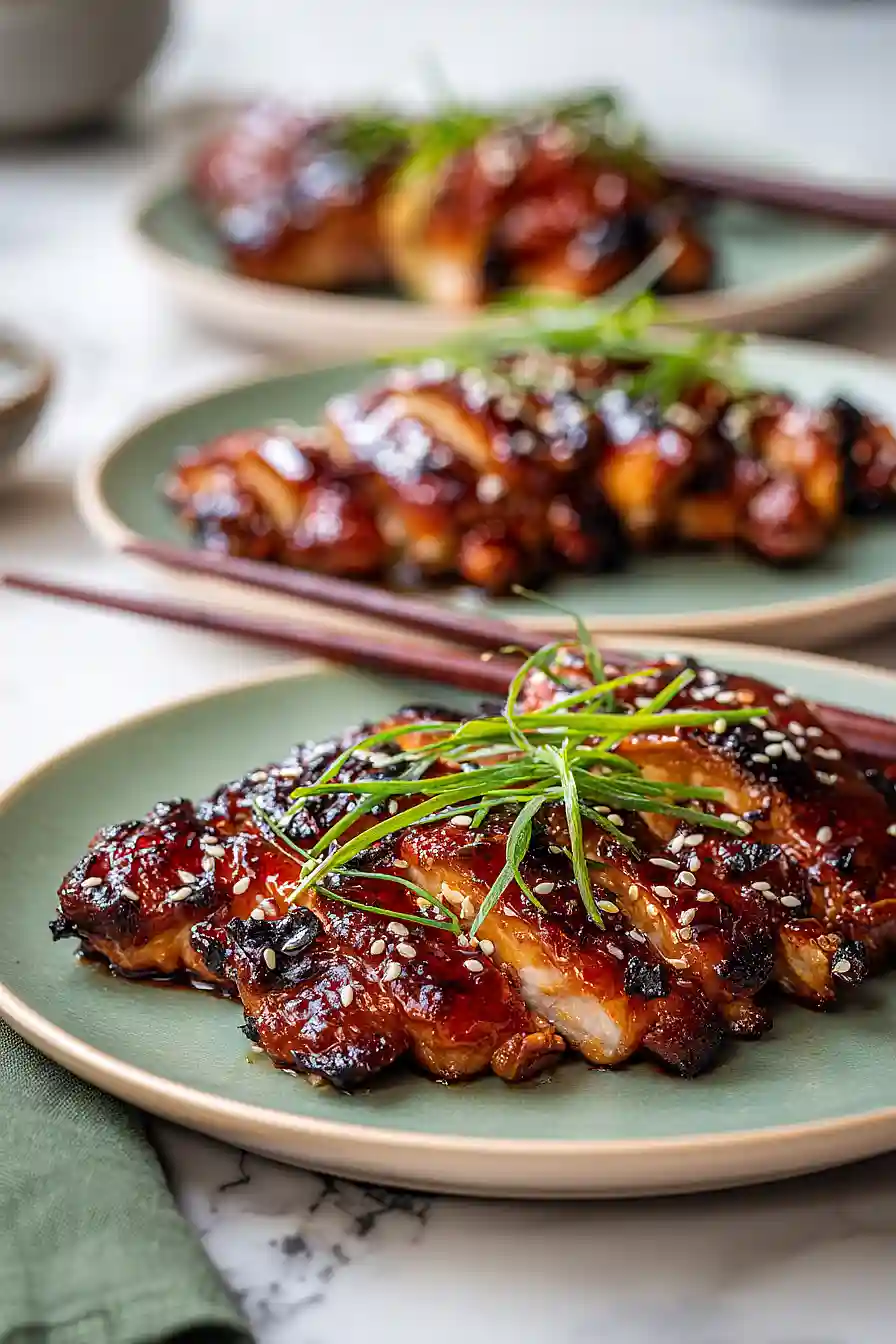
Serve it over rice, drizzle some yum yum sauce on top, and sprinkle with sesame seeds and green onions. It’s a dinner that feels special enough for guests but easy enough for a Tuesday night.
Why You’ll Love This Japanese BBQ Chicken
- Ready in under 30 minutes – This recipe comes together quickly, making it perfect for busy weeknights when you need dinner on the table fast.
- Bold, savory flavors – The combination of Japanese BBQ sauce, soy sauce, garlic, and ginger creates a delicious sweet and tangy glaze that makes every bite satisfying.
- Simple ingredient list – You only need a handful of pantry staples and chicken thighs to pull this meal together.
- Juicy, tender chicken thighs – Chicken thighs stay moist and flavorful, so you don’t have to worry about dry meat.
- Customizable heat level – Adjust the sriracha to your preference, whether you like it mild or want to kick up the spice.
What Kind of Chicken Thighs Should I Use?
For this recipe, boneless, skinless chicken thighs are your best bet since they cook evenly and soak up all that delicious Japanese BBQ sauce. That said, if you prefer bone-in, skin-on thighs, they’ll work too – just keep in mind you’ll need to adjust your cooking time since they take longer to cook through. Fresh chicken thighs are ideal, but if you’re working with frozen ones, make sure to thaw them completely in the fridge overnight before marinating. When shopping, look for thighs that are roughly the same size so they cook at the same rate, and avoid any packages with excess liquid or an off smell.

Options for Substitutions
This recipe is pretty forgiving when it comes to swaps, so here are some options:
- Chicken thighs: You can use chicken breasts instead, but keep in mind they’ll cook faster and can dry out more easily. Reduce your cooking time by about 5-7 minutes and check for doneness earlier.
- Japanese BBQ sauce: If you can’t find Japanese BBQ sauce (yakitori sauce), you can make a quick substitute by mixing 2 tablespoons regular BBQ sauce with 1 tablespoon teriyaki sauce, or use teriyaki sauce on its own for a similar sweet-savory flavor.
- Sriracha: Any hot sauce works here – try sambal oelek for a more traditional Asian flavor, or skip it entirely if you prefer less heat.
- Fresh ginger: In a pinch, use 1/2 teaspoon of ground ginger instead of fresh. Just add it with the other seasonings rather than mincing it with the garlic.
- Fresh garlic: You can substitute with 1 1/2 teaspoons of garlic powder if needed, though fresh garlic does give better flavor in this recipe.
Watch Out for These Mistakes While Grilling
The biggest mistake when grilling chicken thighs is placing them on a grill that’s too hot, which chars the outside while leaving the inside undercooked – medium heat is your friend here, giving the marinade time to caramelize without burning.
Since the Japanese BBQ sauce contains sugar, it can burn quickly, so avoid basting with extra sauce until the last few minutes of cooking, or save it for serving instead.
Don’t skip checking the internal temperature with an instant-read thermometer in the thickest part of the thigh – while dark meat is more forgiving than breast meat, you still want to hit that 165°F mark for food safety.
Finally, let the chicken rest for 5 minutes after grilling, which allows the juices to redistribute throughout the meat and keeps each bite moist and flavorful.
What to Serve With Japanese BBQ Chicken Thighs?
These chicken thighs are packed with bold, savory flavors that pair perfectly with simple sides that won’t compete for attention. I love serving them over a big bowl of steamed white rice or fried rice, which soaks up all that delicious sauce. A side of stir-fried vegetables like broccoli, snap peas, or bok choy adds some freshness and crunch to balance out the rich chicken. If you want something a bit different, try making a quick cucumber salad with rice vinegar and sesame seeds, or serve the chicken alongside some edamame and pickled ginger for a complete meal.
Storage Instructions
Store: Keep your leftover Japanese BBQ chicken thighs in an airtight container in the fridge for up to 4 days. They actually taste even better the next day once all those flavors have had time to soak in! I like to slice them up and toss them over a quick rice bowl or salad for easy lunches.
Freeze: These chicken thighs freeze really well for up to 3 months. Let them cool completely, then store in a freezer-safe container or bag. I usually freeze them in portions so I can grab just what I need for a quick dinner later.
Reheat: Warm them up in the microwave for about 2 minutes, or heat them in a skillet over medium heat for a few minutes until heated through. If you want to crisp up the skin again, pop them under the broiler for a minute or two.
| Preparation Time | 10-15 minutes |
| Cooking Time | 10-15 minutes |
| Total Time | 20-30 minutes |
| Level of Difficulty | Easy |
| Servings | 4 servings |
Estimated Nutrition
Estimated nutrition for the whole recipe (without optional ingredients):
- Calories: 1100-1300
- Protein: 110-130 g
- Fat: 70-85 g
- Carbohydrates: 15-25 g
Ingredients
For the marinade and chicken:
- 2 lb chicken thighs (cut into 1-inch bite-sized pieces for even cooking)
- 4 tbsp Japanese BBQ sauce (I always use Bachan’s Original for authentic flavor)
- 1.5 tbsp soy sauce (I prefer Kikkoman Less Sodium)
- 1 tbsp sriracha
- 6 garlic cloves (freshly minced to release natural oils)
- 1/2 tbsp ginger
- 1/2 tsp toasted sesame oil
- 1/4 tsp red chili flakes
- salt
- pepper
For serving (optional):
- sesame seeds (toasted for a deeper nutty aroma)
- green onions
- Japanese BBQ sauce
- yum yum sauce (Terry Ho’s is the best choice for this dish)
Step 1: Prepare the Marinade and Marinate the Chicken
- 2 lb chicken thighs
- 1.5 tbsp soy sauce
- 1 tbsp sriracha
- 6 garlic cloves
- 1/2 tbsp ginger
- 1/2 tsp toasted sesame oil
- 1/4 tsp red chili flakes
- salt
- pepper
In a bowl or resealable bag, combine the soy sauce, sriracha, freshly minced garlic, ginger, toasted sesame oil, red chili flakes, salt, and pepper.
Add the cut chicken thighs and toss to coat evenly, ensuring every piece is well covered with the marinade.
I always let the chicken marinate for at least 2-3 hours in the refrigerator—this gives the flavors time to penetrate the meat and keeps it incredibly juicy during grilling.
You can marinate up to 8 hours for even deeper flavor development.
Step 2: Prepare Your Grill and Mise en Place
- sesame seeds
- green onions
- Japanese BBQ sauce
- yum yum sauce
While the chicken marinates (or about 15 minutes before you’re ready to grill), preheat your grill to medium heat (around 375-400°F).
This gives you time to prepare your garnishes and sauces.
Mince the green onions and place them in a small bowl.
Toast the sesame seeds in a dry skillet over medium heat for 2-3 minutes, shaking occasionally, until fragrant and golden—this deepens their nutty aroma.
Have the Japanese BBQ sauce and yum yum sauce ready for serving.
Step 3: Grill the Chicken and Build Caramelization
- marinated chicken from Step 1
- 4 tbsp Japanese BBQ sauce
Remove the marinated chicken from the refrigerator and transfer to the preheated grill.
Grill for 10-12 minutes total, flipping pieces every 2-3 minutes to ensure even cooking and prevent burning.
I like to add the 4 tablespoons of Japanese BBQ sauce during the last 2 minutes of grilling, brushing it onto the chicken pieces as they cook—this creates a beautiful caramelized glaze and locks in authentic flavor.
The chicken is ready when it reaches an internal temperature of 165°F.
The frequent flipping ensures the bite-sized pieces cook evenly without drying out.
Step 4: Plate and Garnish
- grilled chicken from Step 3
- toasted sesame seeds from Step 2
- minced green onions from Step 2
- Japanese BBQ sauce
- yum yum sauce
Transfer the grilled chicken to a serving platter.
Generously sprinkle the toasted sesame seeds over the top and scatter the minced green onions.
Serve with both the Japanese BBQ sauce and yum yum sauce on the side for dipping or drizzling, allowing guests to customize their sauce ratio.
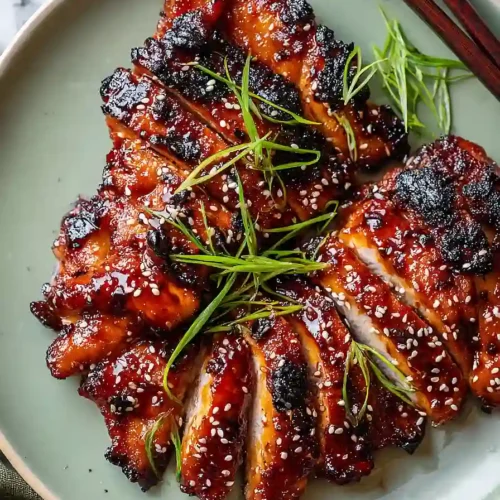
Crispy Japanese BBQ Chicken Thighs
Ingredients
For the marinade and chicken::
- 2 lb chicken thighs (cut into 1-inch bite-sized pieces for even cooking)
- 4 tbsp Japanese BBQ sauce (I always use Bachan's Original for authentic flavor)
- 1.5 tbsp soy sauce (I prefer Kikkoman Less Sodium)
- 1 tbsp sriracha
- 6 garlic cloves (freshly minced to release natural oils)
- 1/2 tbsp ginger
- 1/2 tsp toasted sesame oil
- 1/4 tsp red chili flakes
- salt
- pepper
For serving (optional):
- sesame seeds (toasted for a deeper nutty aroma)
- green onions
- Japanese BBQ sauce
- yum yum sauce (Terry Ho's is the best choice for this dish)
Instructions
- In a bowl or resealable bag, combine the soy sauce, sriracha, freshly minced garlic, ginger, toasted sesame oil, red chili flakes, salt, and pepper. Add the cut chicken thighs and toss to coat evenly, ensuring every piece is well covered with the marinade. I always let the chicken marinate for at least 2-3 hours in the refrigerator—this gives the flavors time to penetrate the meat and keeps it incredibly juicy during grilling. You can marinate up to 8 hours for even deeper flavor development.
- While the chicken marinates (or about 15 minutes before you're ready to grill), preheat your grill to medium heat (around 375-400°F). This gives you time to prepare your garnishes and sauces. Mince the green onions and place them in a small bowl. Toast the sesame seeds in a dry skillet over medium heat for 2-3 minutes, shaking occasionally, until fragrant and golden—this deepens their nutty aroma. Have the Japanese BBQ sauce and yum yum sauce ready for serving.
- Remove the marinated chicken from the refrigerator and transfer to the preheated grill. Grill for 10-12 minutes total, flipping pieces every 2-3 minutes to ensure even cooking and prevent burning. I like to add the 4 tablespoons of Japanese BBQ sauce during the last 2 minutes of grilling, brushing it onto the chicken pieces as they cook—this creates a beautiful caramelized glaze and locks in authentic flavor. The chicken is ready when it reaches an internal temperature of 165°F. The frequent flipping ensures the bite-sized pieces cook evenly without drying out.
- Transfer the grilled chicken to a serving platter. Generously sprinkle the toasted sesame seeds over the top and scatter the minced green onions. Serve with both the Japanese BBQ sauce and yum yum sauce on the side for dipping or drizzling, allowing guests to customize their sauce ratio.
