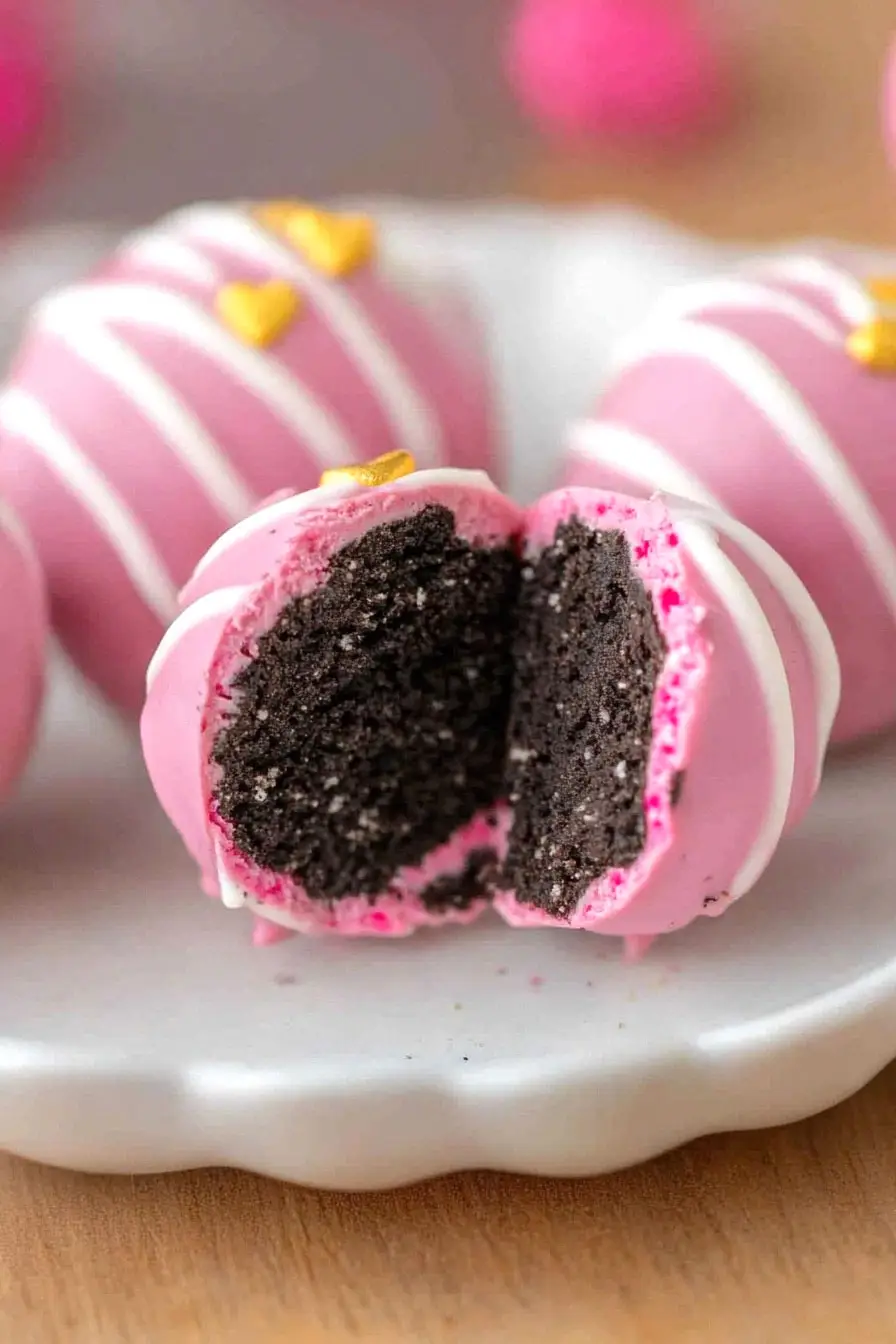
Here are my favorite Valentine’s Day Oreo truffles, made with just three simple ingredients – cream cheese, crushed Oreos, and melted chocolate coating. They’re easy to make and don’t require any baking at all.
These little treats have become my go-to dessert for Valentine’s Day parties and gift-giving. I usually make a double batch because they disappear so quickly! And let’s be honest – who doesn’t love the combo of Oreos and chocolate?
Why You’ll Love These Oreo Truffles
- No-bake dessert – These truffles don’t require any oven time – just mix, chill, and dip! Perfect for when you want to make something special without turning on the oven.
- Only 5 ingredients – With just Oreos, cream cheese, candy coating, and sprinkles, you can create these impressive-looking treats using items that are easy to find at any grocery store.
- Make-ahead friendly – You can prepare these truffles up to a week in advance and store them in the fridge, making them perfect for planning ahead for Valentine’s Day or special occasions.
- Kid-friendly activity – Rolling the balls and decorating with sprinkles is a fun activity that kids can help with – just supervise the candy coating part!
What Kind of Oreos Should I Use?
Regular classic Oreos are perfect for this recipe, but don’t feel limited to just the original variety. Double Stuf Oreos will work just as well, though they might make your mixture slightly creamier due to the extra filling. If you want to switch things up, you could try different Oreo flavors like Golden Oreos, Mint, or even seasonal Valentine’s Day Oreos – just keep in mind that different flavors will change the final taste of your truffles. When selecting your cookies, make sure they’re fresh and crisp for the best results. You’ll want to crush them into very fine crumbs for the smoothest truffle texture, which you can do either in a food processor or by placing them in a sealed plastic bag and crushing them with a rolling pin.
Options for Substitutions
While these truffles are pretty straightforward, here are some helpful swaps if you need them:
- Oreo cookies: Regular Oreos work best here, but you can try other sandwich cookies like Golden Oreos or even Newman-O’s. Just keep in mind that using different cookies will change the final color and taste.
- Cream cheese: Full-fat cream cheese gives the best texture, but you can use reduced-fat cream cheese if needed. Just avoid fat-free versions as they won’t set properly. Make sure it’s completely softened before mixing.
- Candy coating: Candy melts are ideal, but you can use white chocolate chips mixed with 1 teaspoon of coconut oil or shortening per cup of chips. For pink coating, use white chocolate and add oil-based food coloring (water-based colors will make the chocolate seize up).
- Valentine’s sprinkles: Any sprinkles work here! Try nonpareils, jimmies, or even crushed nuts. You could also use colored sugar or leave them plain with just the drizzle.
Watch Out for These Mistakes While Making
The biggest challenge when making Oreo truffles is getting the right consistency – if your cream cheese isn’t properly softened, you’ll end up with lumpy truffles that are hard to shape and dip. For perfect results, let your cream cheese sit at room temperature for at least 30 minutes before mixing, and crush your Oreos into super-fine crumbs using a food processor. Another common mistake is rushing the chilling process – these truffles need at least 2 hours in the freezer before dipping, otherwise they’ll fall apart in the warm candy coating. When it comes to coating, make sure your candy melts aren’t overheated (use 30-second microwave intervals and stir between each) and add a teaspoon of coconut oil or shortening to thin it out for smoother dipping. Let each layer of coating set completely before adding drizzles or sprinkles to avoid a messy finish.
What to Serve With Oreo Truffles?
These sweet little Oreo truffles are perfect for setting up a dessert table or candy buffet! They pair really nicely with a hot cup of coffee or cold glass of milk, which helps balance out their richness. If you’re hosting a Valentine’s Day party, try serving them alongside other bite-sized treats like chocolate-covered strawberries or heart-shaped sugar cookies. For a fun dessert board, you can arrange the truffles with some fresh berries, chocolate-covered pretzels, and pink macarons to create a pretty Valentine’s Day spread that everyone will love.
Storage Instructions
Keep Fresh: These sweet Oreo truffles need to stay cool to maintain their shape and coating. Pop them in an airtight container and keep them in the fridge for up to 2 weeks. I like to place them in a single layer, or if stacking is needed, put a piece of wax paper between layers to prevent them from sticking together.
Freeze: Want to make these ahead? These truffles freeze really well! Place them in a freezer-safe container, separated by layers of wax paper, and they’ll keep for up to 3 months. They’re perfect for making in advance for special occasions or when you want to have a sweet treat on hand.
Serve: When you’re ready to enjoy frozen truffles, just transfer them to the fridge and let them thaw overnight. For refrigerated truffles, take them out about 15 minutes before serving to take the chill off – they taste even better when they’re slightly closer to room temperature!
| Preparation Time | 20-30 minutes |
| Cooking Time | 30-60 minutes |
| Total Time | 50-90 minutes |
| Level of Difficulty | Easy |
Estimated Nutrition
Estimated nutrition for the whole recipe (without optional ingredients):
- Calories: 2500-2800
- Protein: 20-25 g
- Fat: 120-140 g
- Carbohydrates: 340-360 g
Ingredients
For the truffles:
- 36 Oreo cookies (finely crushed in a food processor)
- 8 oz cream cheese (softened, full-fat preferred for best texture)
For the coating:
- 16 oz pink or white candy melts (I like Wilton Candy Melts for ease of melting)
For the decoration:
- Valentine’s Day sprinkles
- 2 oz white candy melts
Step 1: Prepare the Baking Sheet
Start by lining a baking sheet with parchment paper or wax paper.
This will prevent the Oreo truffles from sticking and make cleanup easier.
Step 2: Crush Oreos and Mix with Cream Cheese
Use a food processor to crush the Oreos until fine crumbs form.
Add in chopped up room temperature cream cheese and pulse the mixture until it transforms into a cookie dough consistency.
The cream cheese should be well incorporated with the Oreos.
Step 3: Form the Cookie Dough Balls
Using a small cookie scooper, scoop equally sized portions of the cookie dough, then roll each between the palms of your hands until smooth.
Place the finished balls onto the prepared baking sheet.
Repeat this process until all the dough is used.
Once done, freeze the cookie dough balls for 30-60 minutes to firm up.
Step 4: Coat the Truffles with Candy Melts
Melt the candy melts in separate bowls using a microwave.
With a fork or a chocolate dipping fork, dip each cookie dough ball into the melted candy melts.
Roll to coat evenly, then tap the fork on the side of the bowl to remove excess chocolate.
Set each coated truffle back onto the baking sheet.
Allow the coated truffles to set slightly before moving to the next step.
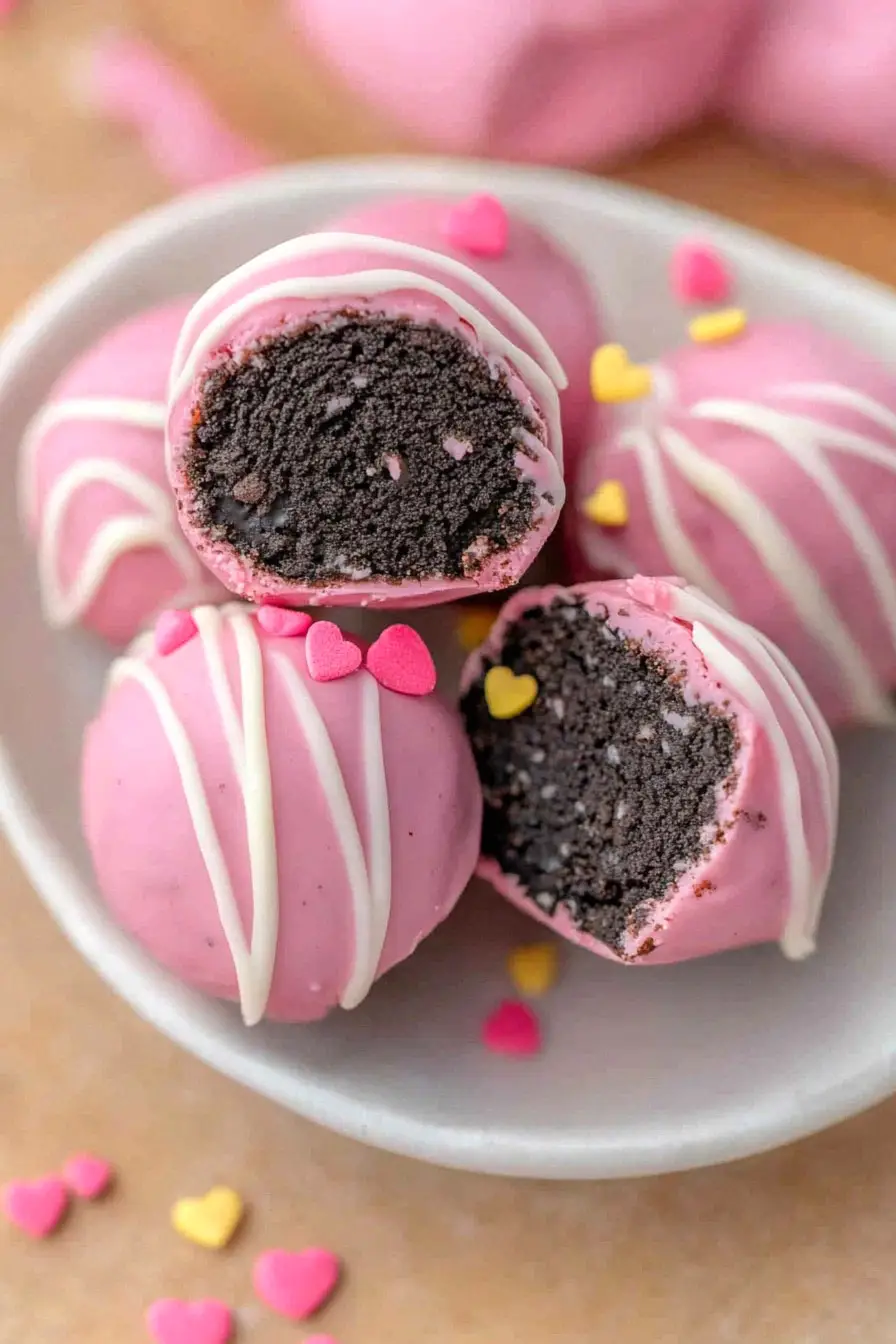
Step 5: Decorate the Truffles
Drizzle some melted white chocolate candy melts over the top of each truffle for a decorative touch.
Add sprinkles immediately after drizzling while the chocolate is still wet to ensure they stick.
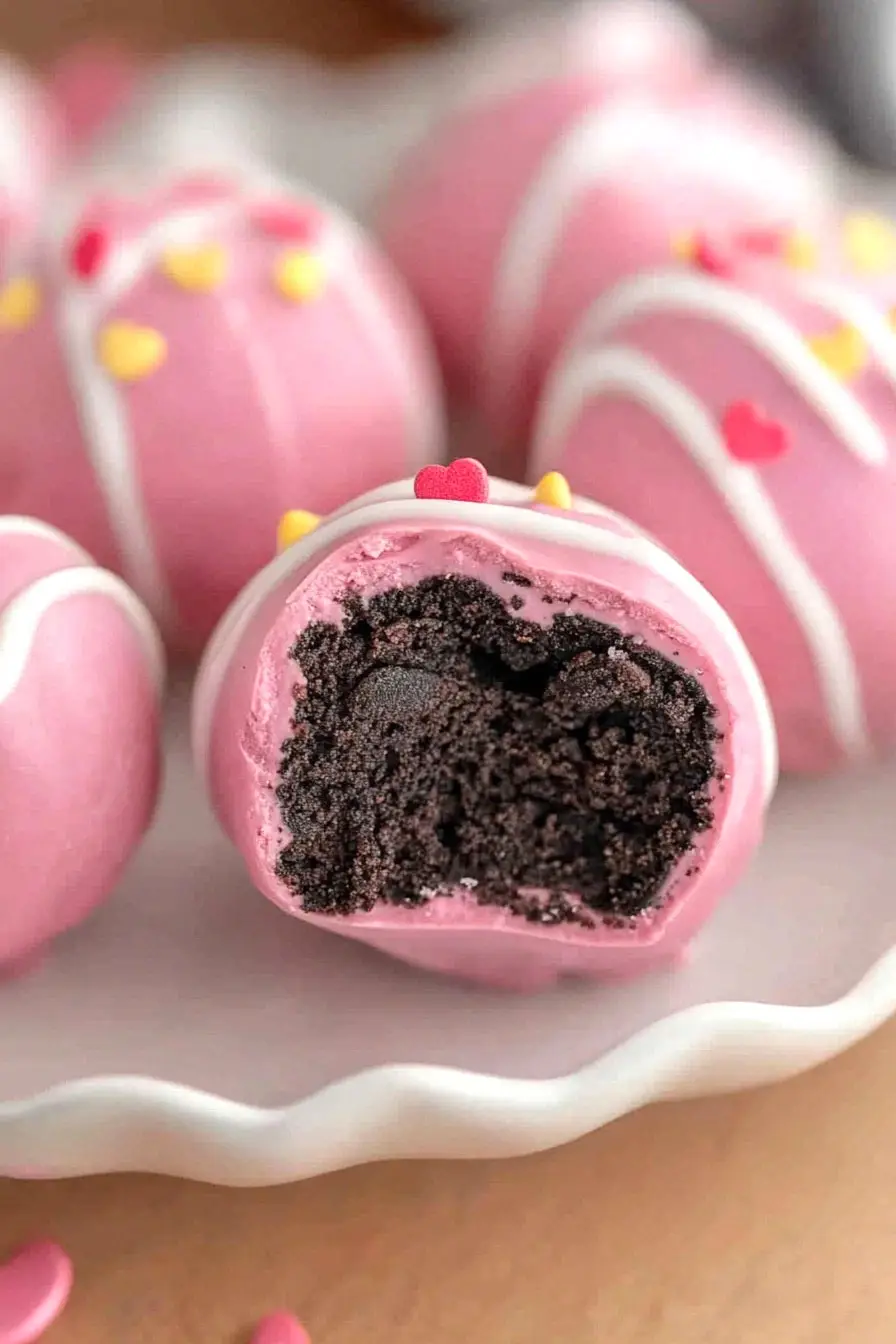
Step 6: Set and Serve
Place the finished Oreo truffles in the fridge and let them set for about 30-60 minutes before serving.
This will ensure the chocolate coating hardens and adds a delightful crunch.
Once set, they are ready to enjoy!
