There’s something so comforting about making homemade bread, but sometimes I just don’t have the patience for all that kneading and waiting around. That’s where this Bisquick loaf bread comes in handy. I started making it years ago when my kids were little and time was tight, but I still wanted that fresh-baked bread smell filling up the kitchen.
It’s become my go-to recipe on busy weeknights or lazy Sunday mornings when I want fresh bread without the fuss. The best part? You probably already have all the ingredients in your pantry. No fancy flour blends or complicated steps – just simple ingredients that come together to make a warm, satisfying loaf of bread that’s perfect for sandwiches, toast, or just enjoying with a pat of butter.
Why You’ll Love This Bisquick Bread
- 5-ingredient simplicity – With just a handful of basic pantry staples, you can whip up a fresh loaf of bread without any complicated ingredients or special equipment.
- No-yeast recipe – Skip the waiting time for dough to rise – this quick bread goes straight into the oven after mixing, making it perfect for last-minute baking.
- Beginner-friendly – If you’re new to bread making, this foolproof recipe is perfect since it uses Bisquick as the base, eliminating any guesswork with flour and leavening agents.
- Customizable recipe – You can make it plain or add walnuts – and it’s easy to experiment with other mix-ins like dried fruits or different nuts to make it your own.
What Kind of Baking Mix Should I Use?
While Bisquick is the most well-known baking mix for this recipe, you can actually use any all-purpose baking mix you find at your grocery store. Store brands work just as well as the name brand, and you might save a few dollars in the process. Just make sure you’re choosing a basic baking mix that contains flour, shortening, salt, and leavening agents – not a complete pancake or muffin mix that already has sugar and other ingredients added. If you’re feeling ambitious, you can even make your own baking mix at home by combining flour, baking powder, salt, and cold butter or shortening. The key is to check that your baking mix isn’t too old, as the leavening agents can lose their effectiveness over time.
Options for Substitutions
This simple bread recipe can be adapted with several substitutions if needed:
- Baking mix: If you’re out of Bisquick, you can make your own by mixing 3 cups all-purpose flour, 1½ tablespoons baking powder, ½ teaspoon salt, and ½ cup cold butter (cut in until crumbly).
- Sugar: Regular white sugar can be swapped with brown sugar for a deeper flavor, or honey (use ⅓ cup instead of ½ cup). If using honey, reduce the milk by 2 tablespoons.
- Egg: For an egg substitute, try ¼ cup of mashed banana, ¼ cup of applesauce, or a flax egg (1 tablespoon ground flaxseed mixed with 3 tablespoons water, let sit for 5 minutes).
- Milk: Any type of milk works here – whole, 2%, almond, soy, or oat milk. For buttermilk flavor, use 1¼ cups regular milk mixed with 1 tablespoon lemon juice, let stand 5 minutes before using.
- Walnuts: Since these are optional, you can skip them or swap with pecans, almonds, or even sunflower seeds. You could also try raisins, dried cranberries, or chocolate chips for a different twist.
Watch Out for These Mistakes While Baking
The biggest challenge when making Bisquick loaf bread is overmixing the batter – stir just until the ingredients are combined, as excessive mixing will lead to a tough, dense loaf instead of a tender one.
Temperature matters significantly here – using cold milk and eggs straight from the fridge can affect how well your bread rises, so let these ingredients come to room temperature for about 30 minutes before starting.
Another common mistake is opening the oven door too frequently while baking, which causes heat loss and uneven rising – resist the urge to peek and rely on your timer instead, testing for doneness with a toothpick inserted in the center at the end of baking time.
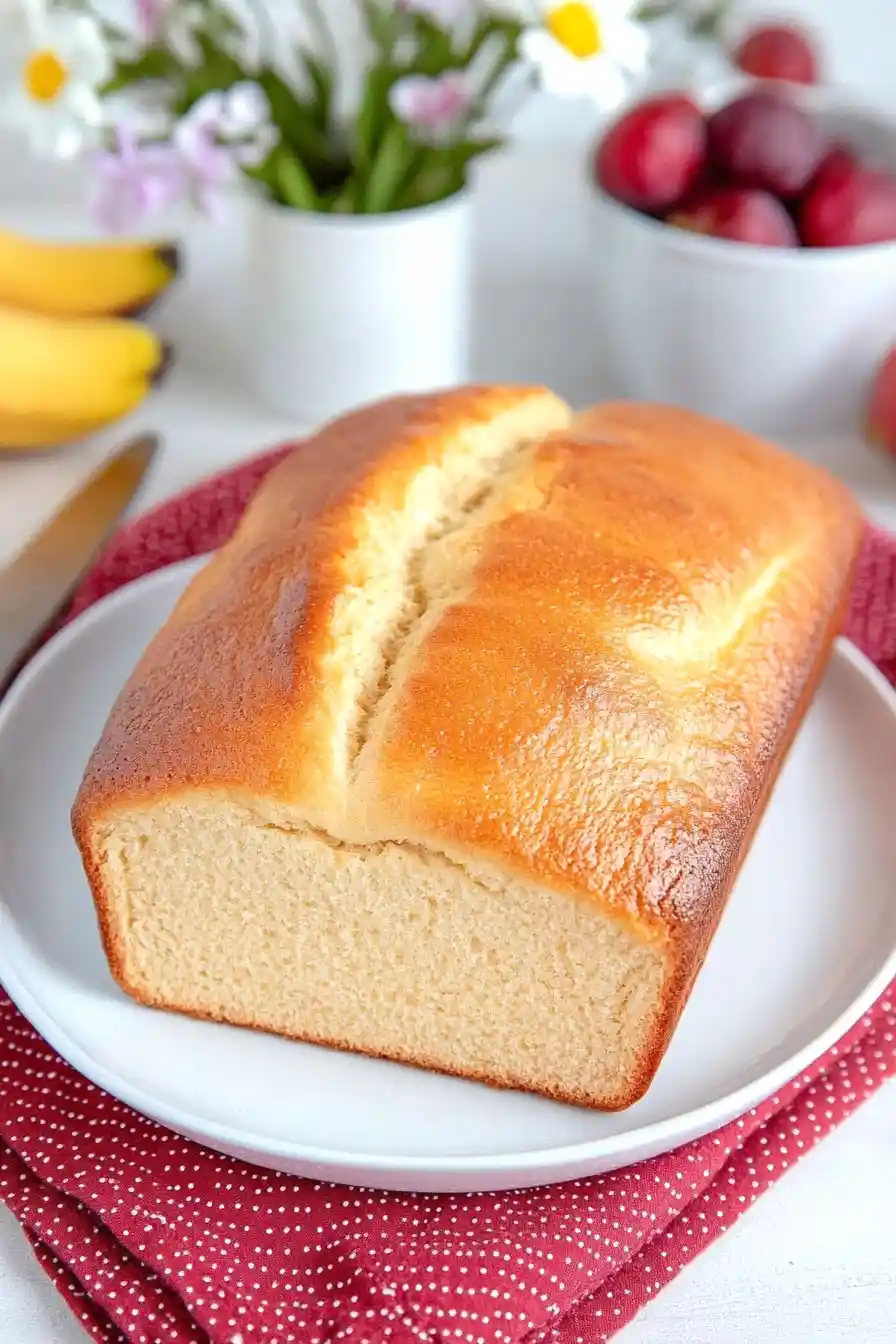
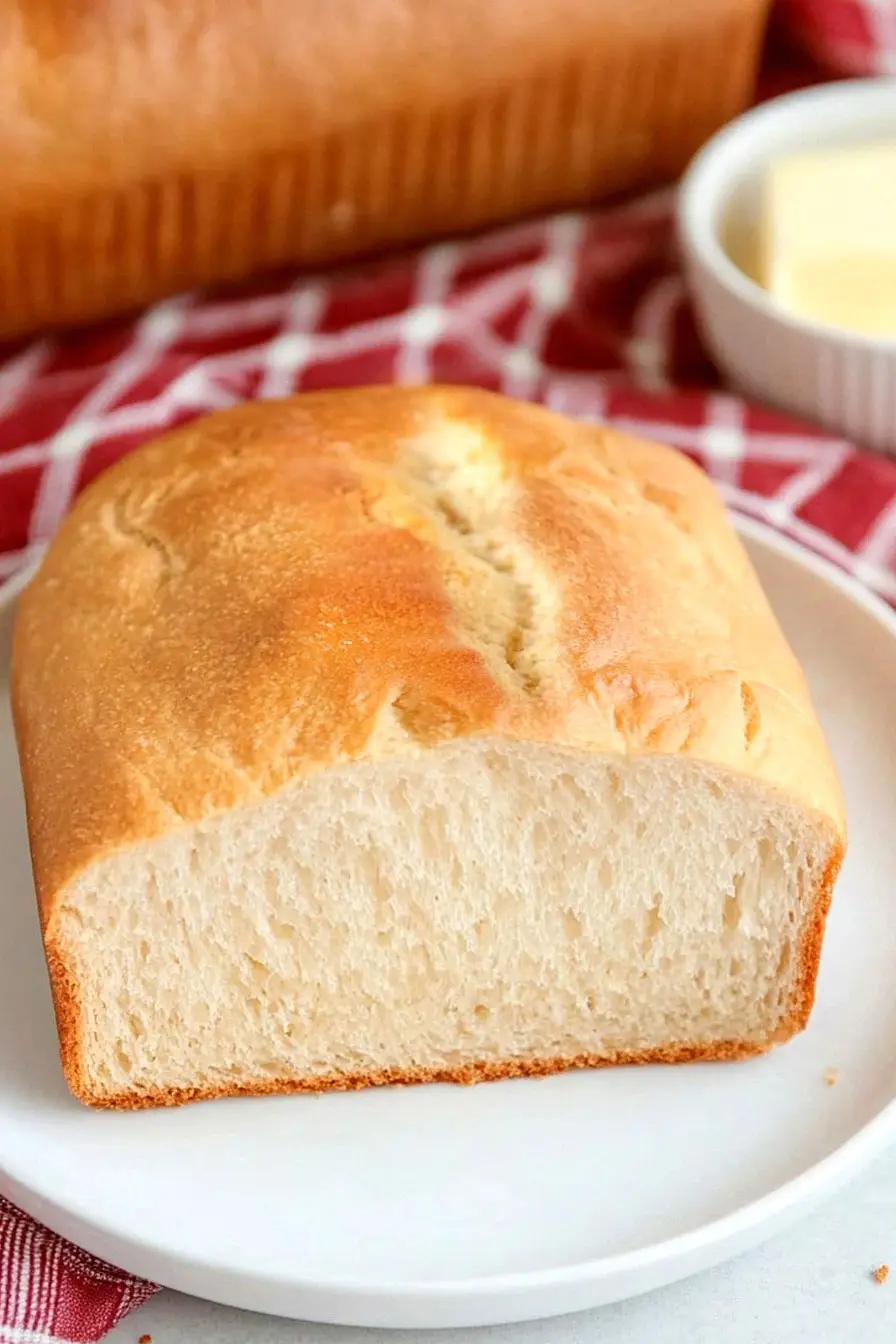
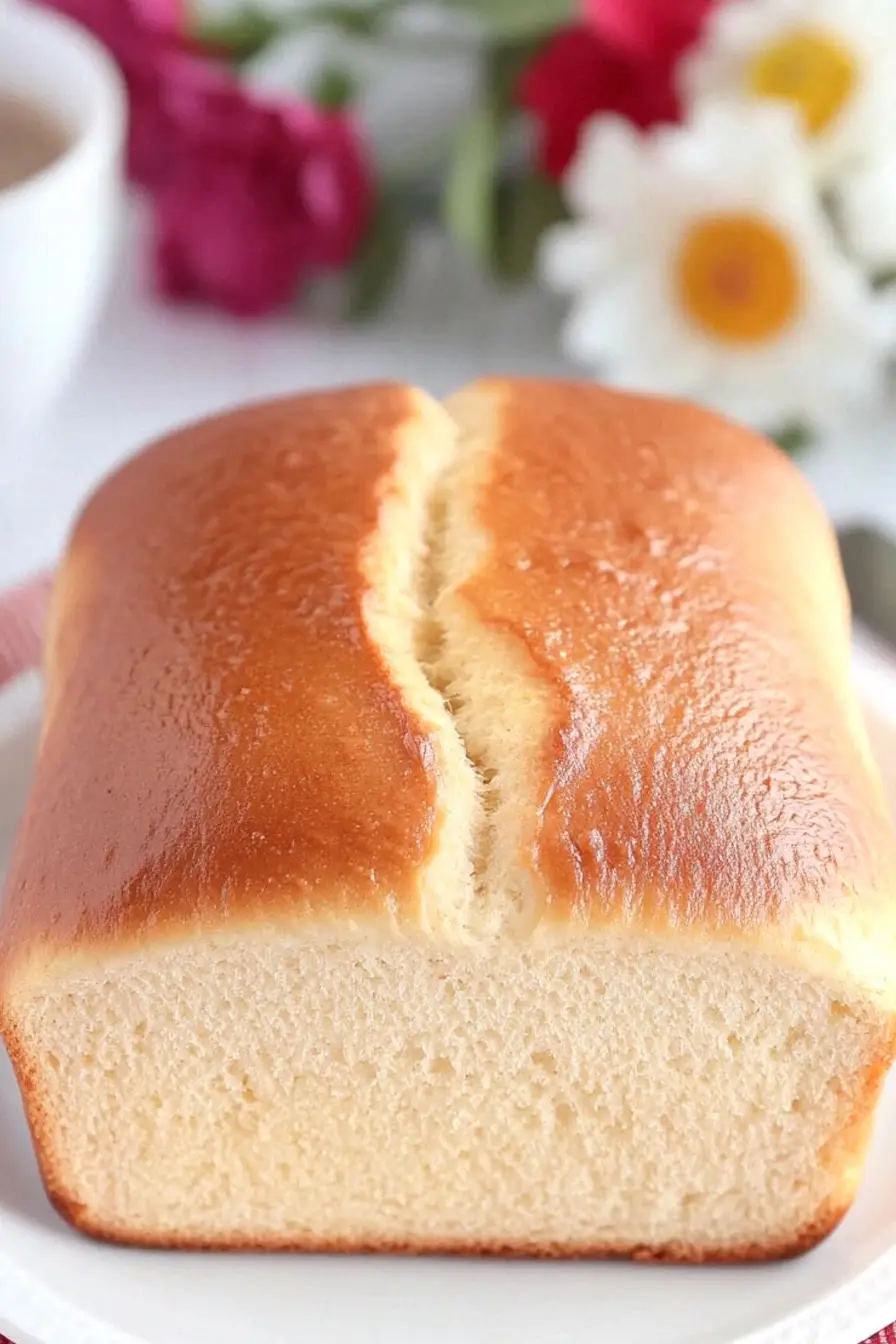
For the best texture, let the bread cool in the pan for 10 minutes before removing it to a wire rack, and wait until it’s completely cool before slicing to prevent the loaf from becoming gummy or falling apart.
What to Serve With Bisquick Bread?
This simple homemade bread is perfect for breakfast or as a side for soups and stews. Since it’s a basic quick bread, it’s great slathered with butter and honey while it’s still warm from the oven, or spread with your favorite jam for breakfast. For lunch, try serving it alongside a bowl of chicken noodle soup or chili – the bread is perfect for soaking up all those tasty liquids. You can also toast slices and top them with cream cheese and a sprinkle of cinnamon sugar for a cozy afternoon snack.
Storage Instructions
Keep Fresh: Once your Bisquick loaf has cooled completely, wrap it tightly in plastic wrap or place it in an airtight container. It’ll stay fresh at room temperature for up to 3 days. If you’ve added walnuts, the oils in the nuts might make the bread spoil a bit faster, so keep an eye on it.
Freeze: This bread freezes really well! Wrap the completely cooled loaf in plastic wrap, then aluminum foil, and pop it in the freezer for up to 3 months. You can also slice it before freezing and take out just what you need – perfect for quick breakfasts!
Refresh: To bring back that fresh-baked taste, pop a slice in the toaster or warm it in the oven at 350°F for a few minutes. If you’re thawing a whole frozen loaf, let it sit at room temperature for about 3 hours or overnight in the fridge.
| Preparation Time | 10-15 minutes |
| Cooking Time | 45-50 minutes |
| Total Time | 55-65 minutes |
| Level of Difficulty | Easy |
Estimated Nutrition
Estimated nutrition for the whole recipe (without optional ingredients):
- Calories: 1300-1500
- Protein: 20-25 g
- Fat: 30-40 g
- Carbohydrates: 230-250 g
Ingredients
- 1/2 cup granulated sugar
- 1 large egg
- 1 1/2 cups finely chopped walnuts (adds a pleasant crunch and nutty flavor)
- 1 1/4 cups milk (whole milk for richness)
- 3 cups baking mix (such as Bisquick Original Pancake and Baking Mix)
Step 1: Preheat the Oven
Begin by preheating your oven to 350°F.
Preparing your oven in advance ensures it reaches the correct temperature by the time you’re ready to bake.
Step 2: Combine and Mix Ingredients
In a large mixing bowl, combine the first four ingredients required for your loaf.
Once all your ingredients are in the bowl, beat the mixture vigorously for 30 seconds.
This step is crucial to ensure your ingredients are perfectly blended, providing a smooth batter.
Step 3: Add Nuts (Optional)
If you wish to include nuts in your loaf, now is the time to stir them into the batter.
Gently fold them in until they are evenly distributed throughout the mixture.
Step 4: Prepare the Loaf Pan and Bake
Pour the batter into a greased loaf pan, spreading it evenly.
Place the pan in the preheated oven and bake for 45 to 50 minutes.
Keep an eye on the loaf towards the end of the baking time, as oven temperatures can vary slightly.
Step 5: Cool and Slice
Once the loaf is baked to perfection, remove it from the oven and allow it to cool in the pan.
Cooling your loaf is important as it helps to set the structure, making it easier to slice without crumbling.
Once cooled, slice it as desired and enjoy!
