Growing up, my mom’s pudding always came from those little boxes with the powder inside. Mix with milk, wait a few minutes, and there you had it – instant pudding. The few times I tried making pudding from scratch, it turned lumpy and weird.
Turns out I was making the same mistake lots of people do – rushing the process and cranking up the heat too high. Real homemade pudding, especially this egg yolk vanilla version, needs gentle heat and a bit of patience. But trust me, once you get the hang of it, you’ll never want to go back to the boxed stuff again.
Why You’ll Love This Vanilla Pudding
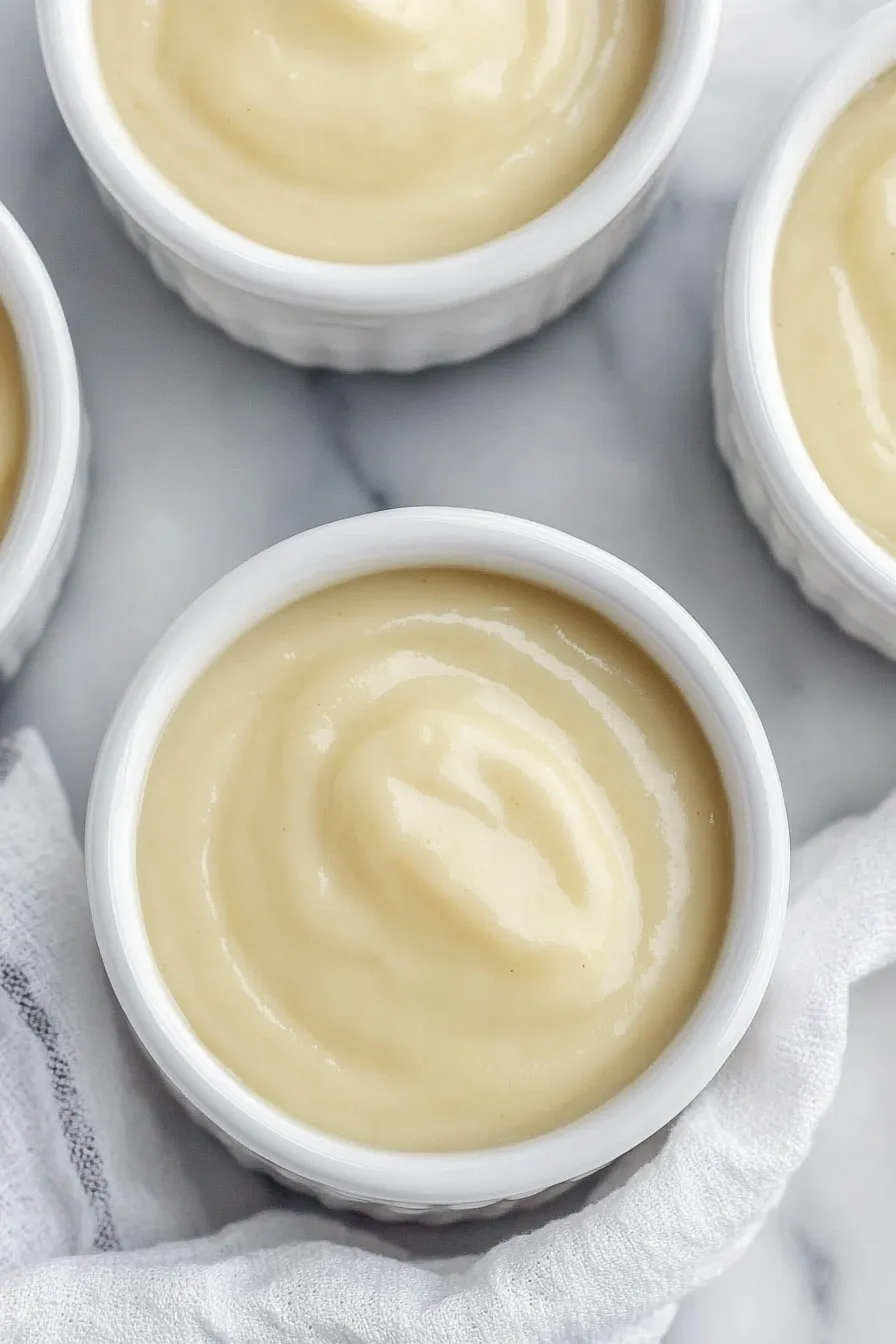
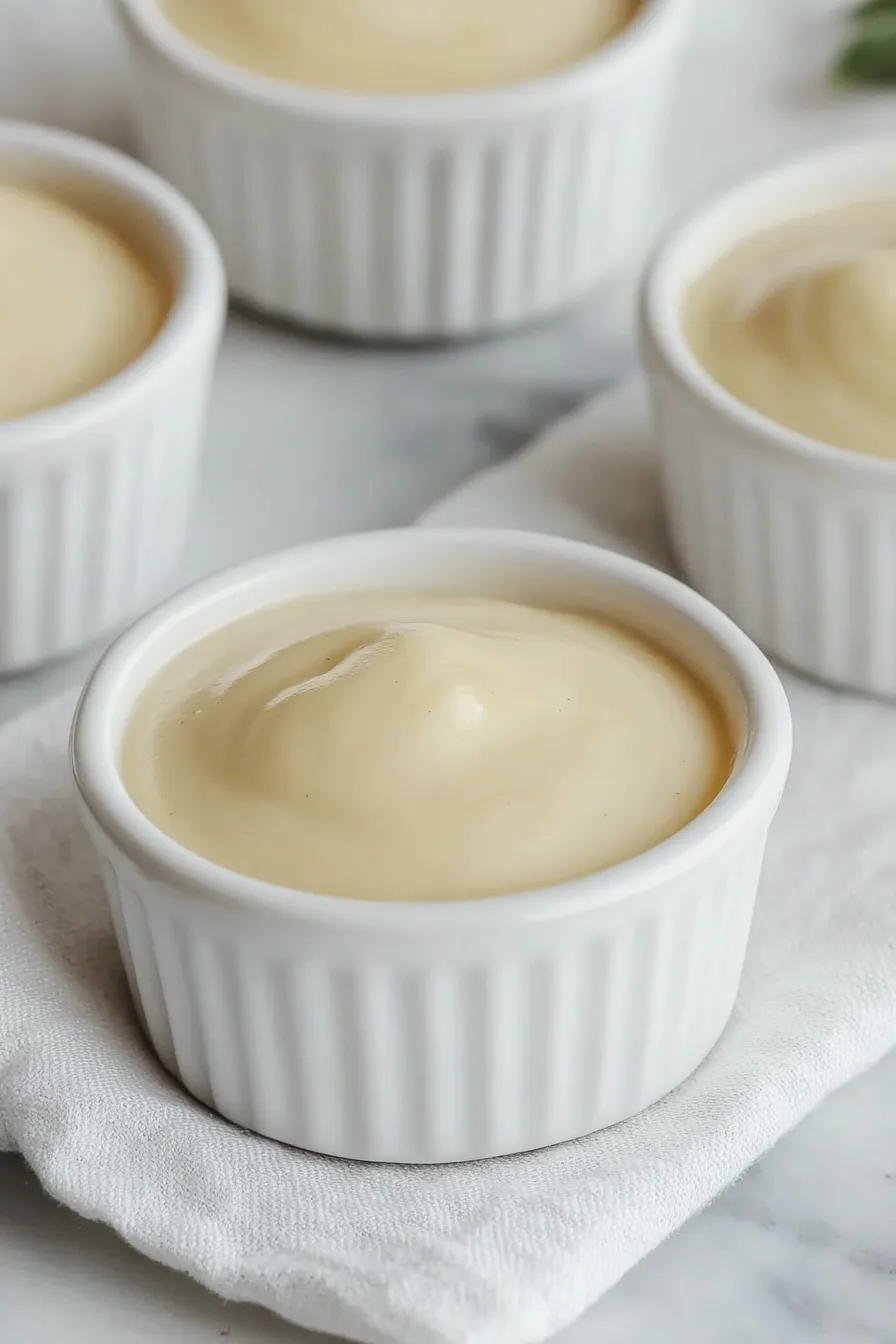
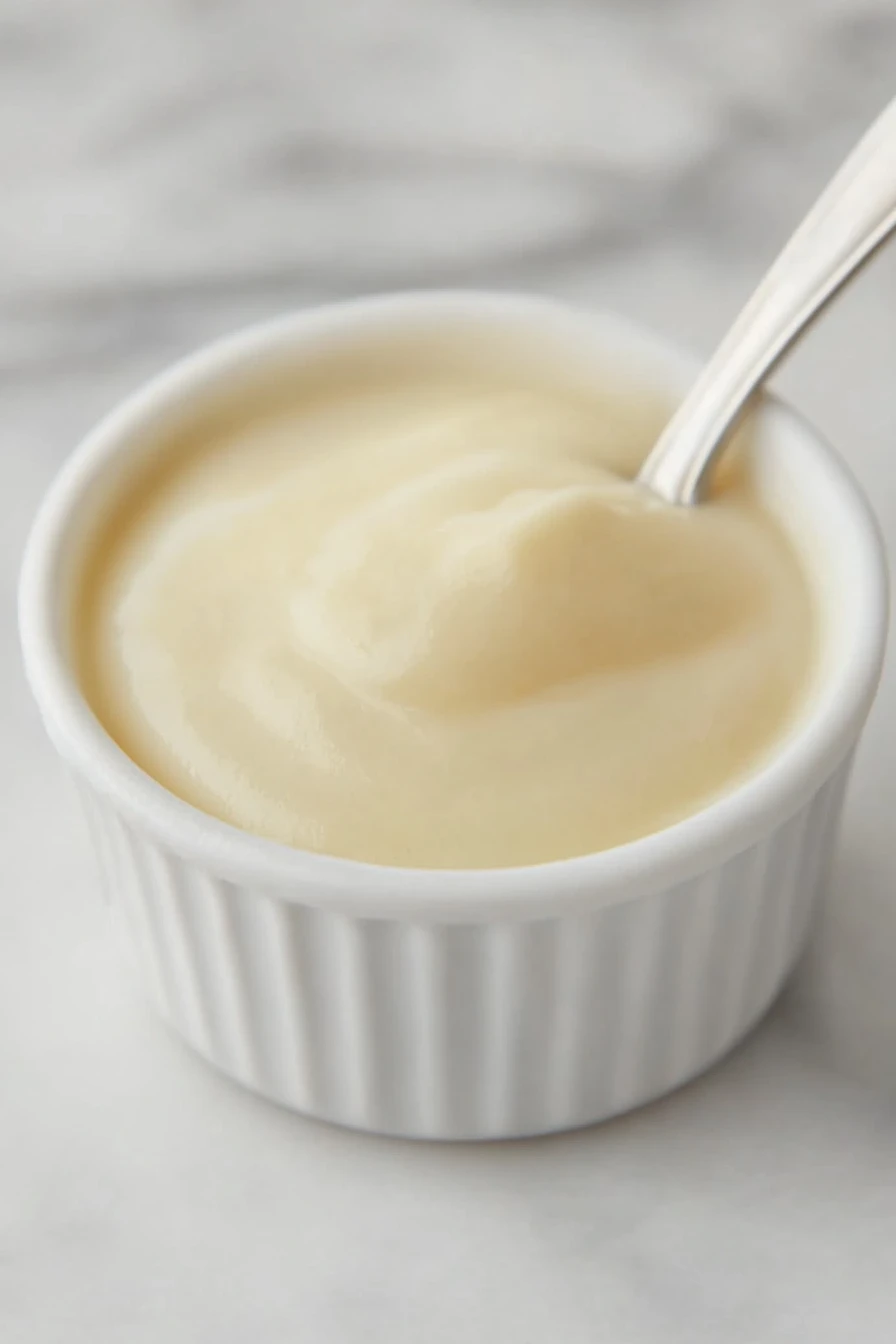
- Rich and creamy texture – Made with egg yolks and full-fat milk, this pudding has a silky-smooth consistency that’s so much better than store-bought versions.
- Quick preparation – You can whip up this homemade pudding in just about 30 minutes, making it perfect for when you’re craving something sweet without spending hours in the kitchen.
- Basic pantry ingredients – You probably already have most of these ingredients in your kitchen – no special trips to the store needed!
- Make-ahead friendly – This pudding can be made in advance and stored in the fridge, perfect for busy schedules or when you’re planning ahead for dessert.
- Customizable base – While delicious on its own, you can easily add toppings or mix-ins like fresh fruit, whipped cream, or cookies to make it your own.
What Kind of Egg Yolks Should I Use?
For making pudding, fresh eggs are your best bet since they’ll give you the richest flavor and smoothest texture. Regular large chicken eggs from the grocery store work perfectly fine – there’s no need to seek out specialty eggs unless you want to. When separating your eggs, make sure they’re cold from the fridge since this makes it easier to separate the yolks from the whites without breaking them. Just let the separated yolks sit at room temperature for about 30 minutes before using them in your pudding, as this helps them blend more smoothly with the other ingredients. If you happen to get any bits of shell or white in your yolks, you can easily remove them with the edge of your broken eggshell.
Options for Substitutions
Let’s talk about what you can swap in this pudding recipe, though keep in mind some ingredients are key to getting that perfect creamy texture:
- Full-fat milk: You can use 2% milk, but the pudding won’t be as rich. For an extra creamy version, replace 2 cups of milk with heavy cream. Plant-based milks like full-fat coconut milk work too, but the texture might be slightly different.
- Egg yolks: These are essential for the classic custard texture and can’t really be substituted. They’re what makes this pudding special, so I wouldn’t skip them!
- Cornstarch: You can swap this with arrowroot powder (use the same amount) or potato starch. If using flour instead, you’ll need to double the amount (12 tablespoons).
- Vanilla essence: Feel free to use vanilla bean paste (same amount) or one whole vanilla bean, split and scraped. In a pinch, vanilla powder works too – use 1 teaspoon.
- Butter: You can use margarine or coconut oil as alternatives, though butter gives the best flavor and silky finish.
- Granulated sugar: Regular white sugar works best, but you can try coconut sugar or raw sugar – just know they’ll change the color of your pudding slightly.
Watch Out for These Mistakes While Cooking
The biggest challenge when making vanilla pudding is preventing those dreaded lumps – always whisk your cornstarch and sugar together before adding any liquid, and strain the mixture through a fine-mesh sieve if you notice any small lumps forming. A common mistake is rushing the cooking process by using high heat, which can lead to scorched milk and curdled eggs – instead, maintain a medium-low temperature and stir constantly, especially as the pudding begins to thicken. To avoid the egg yolks from scrambling, you’ll need to temper them by slowly adding about 1 cup of the hot milk mixture while whisking continuously, before returning the entire mixture to the pot. For the smoothest, creamiest texture, don’t skip the final step of straining the finished pudding through a fine-mesh sieve, and press plastic wrap directly onto the surface while cooling to prevent a skin from forming.
What to Serve With Vanilla Pudding?
This creamy vanilla pudding is super flexible when it comes to toppings and accompaniments! Fresh berries like strawberries, raspberries, or blueberries add a nice pop of color and natural sweetness that balances the rich pudding perfectly. If you’re feeling nostalgic, try crumbling some vanilla wafers or graham crackers on top for that old-school banana pudding vibe. You can also keep things simple with a light dusting of cinnamon or cocoa powder, or add a dollop of whipped cream and a sprinkle of chocolate shavings for a more dressed-up dessert.
Storage Instructions
Cool Down: Let your pudding cool at room temperature for about 30 minutes, then cover the surface directly with plastic wrap (this prevents that pesky skin from forming on top). Pop it in the fridge until it’s completely chilled, usually about 2 hours.
Keep Fresh: Your homemade pudding will stay good in the fridge for up to 4 days. Keep it in an airtight container or in individual serving bowls covered with plastic wrap. The plastic wrap should touch the surface of the pudding to prevent a skin from forming.
Make Ahead: This pudding is perfect for making ahead! You can prepare it a day or two before serving – just give it a good stir before dishing it up. If it seems a bit firm, let it sit at room temperature for 10 minutes and stir to smooth it out.
| Preparation Time | 10-15 minutes |
| Cooking Time | 15-20 minutes |
| Total Time | 25-35 minutes |
| Level of Difficulty | Medium |
Estimated Nutrition
Estimated nutrition for the whole recipe (without optional ingredients):
- Calories: 2600-2800
- Protein: 50-60 g
- Fat: 100-120 g
- Carbohydrates: 350-370 g
Ingredients
- 6 cups whole milk (for a richer, creamier pudding)
- 8 egg yolks (from large eggs)
- 3 tsp vanilla extract (I use Nielsen-Massey brand for best flavor)
- 6 tbsp cornstarch
- 2 tbsp butter
- 1 1/2 cups granulated sugar
Step 1: Prepare the Base Mixture
In a heavy saucepan or an enameled 5-quart Dutch oven, combine the sugar and cornstarch.
Gradually whisk in the milk, ensuring a smooth mixture.
Place over medium heat and continue stirring until the mixture thickens and becomes bubbly.
Once it reaches this consistency, cook for 2 additional minutes while stirring continuously to prevent it from sticking or burning.
Step 2: Temper the Egg Yolks
Remove the thickened milk mixture from the heat momentarily.
Gradually stir one cup of this hot mixture into the egg yolks to temper them.
This will slowly bring the temperature of the egg yolks up and prevent them from scrambling.
Once the egg yolks are well incorporated and hot, return them to the saucepan with the rest of the milk mixture, whisking to fully combine.
Step 3: Cook the Pudding
Place the saucepan back on the stove and bring the mixture to a gentle boil.
Reduce the heat and continue to cook, stirring frequently, for an additional 2 minutes.
This ensures the pudding reaches the desired thickness and creaminess.
Step 4: Finish the Pudding
Remove the saucepan from the heat and stir in the butter and vanilla.
Stir until both are fully melted and integrated into the pudding, providing a rich flavor and silky texture.
Pour the finished pudding into a serving bowl or divide it into two-quart mason jars for storage.
Step 5: Cool and Store
Allow the pudding to cool to room temperature before placing it in the refrigerator to chill.
Store in the refrigerator until ready to serve, enjoying it as a delicious dessert or treat anytime.
