If you ask me, paleo chili is a total game-changer.
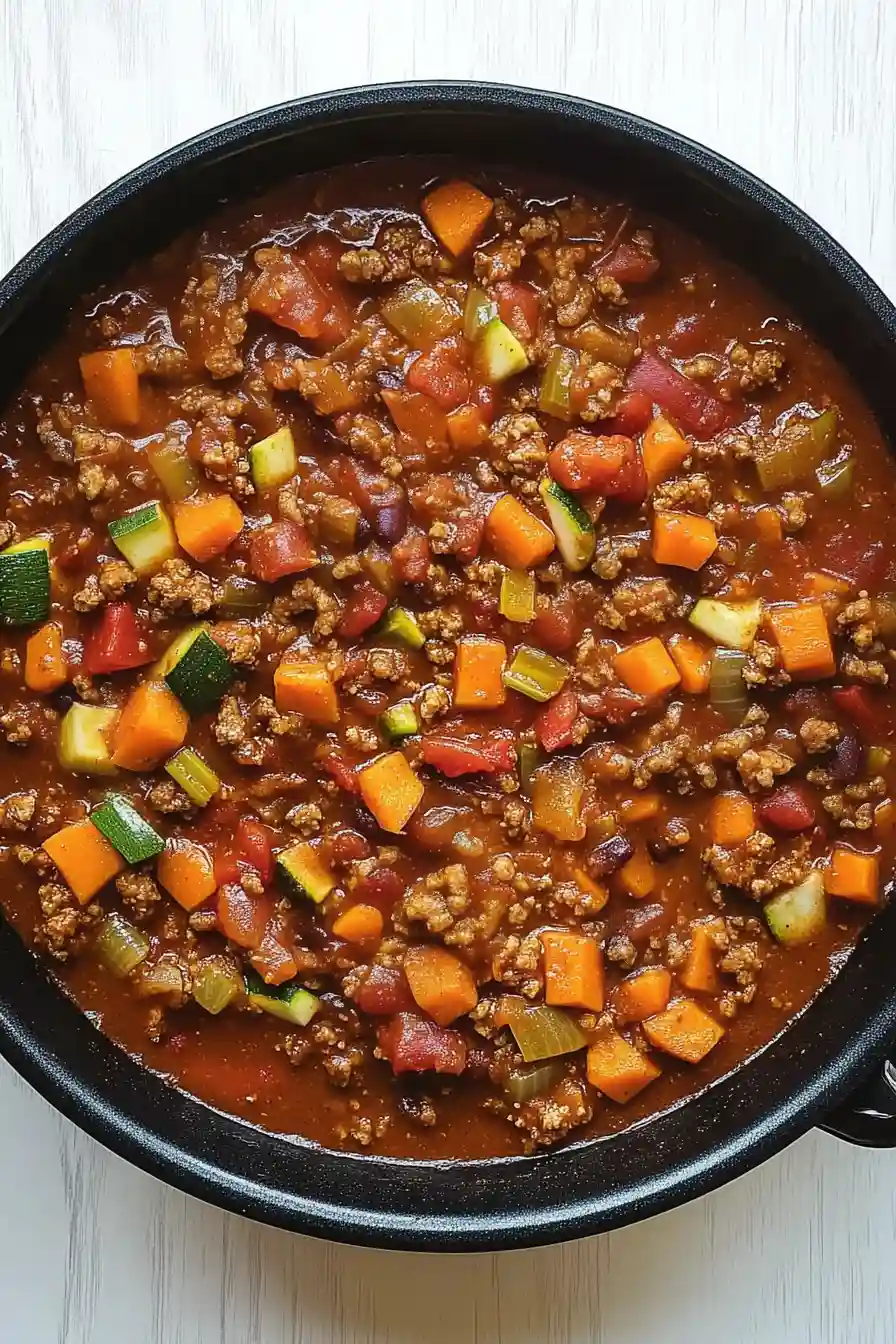
This hearty, comforting bowl brings together all the classic chili flavors you love, just without the beans and other ingredients that don’t fit the paleo lifestyle. Ground beef and fresh vegetables simmer together with warm spices and rich tomatoes.
It’s loaded with tender meat and chunky vegetables, all swimming in a thick, savory sauce that’ll make you forget you’re eating healthy. A sprinkle of fresh cilantro and diced avocado on top makes everything come together.
It’s a filling dish that keeps you satisfied for hours, perfect for those chilly evenings when you need something warm and nourishing.
Why You’ll Love This Paleo Chili
- Diet-friendly – This chili fits perfectly into paleo, whole30, and gluten-free eating plans, making it a great option if you’re watching what you eat.
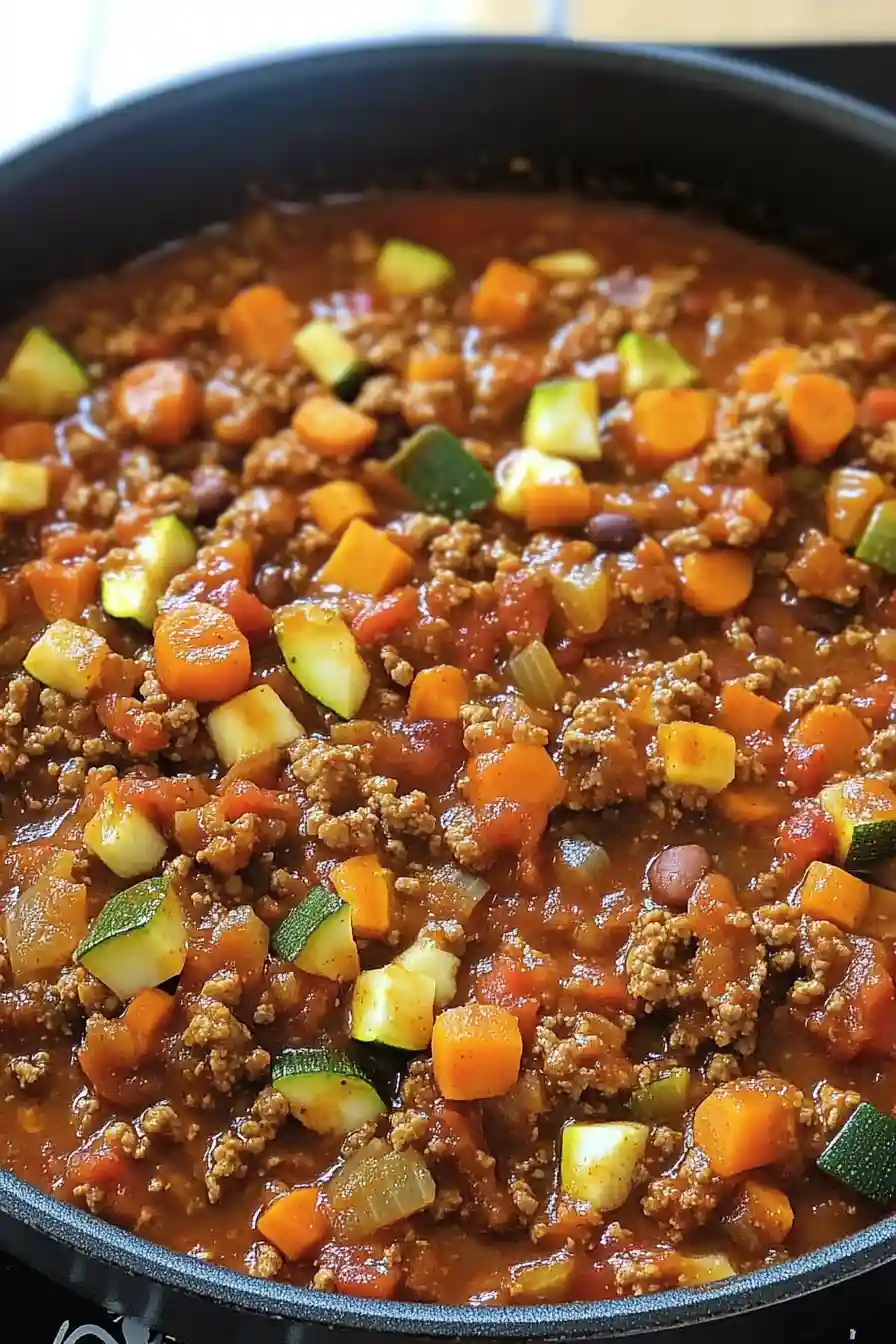
- Veggie-packed – With zucchini, carrots, celery, and onions, you’re getting plenty of vegetables in each bowl – perfect for sneaking more nutrients into your meal.
- One-pot meal – Everything cooks in a single pot, which means less cleanup and more time to enjoy your evening.
- Make-ahead friendly – This chili actually tastes better the next day, making it perfect for meal prep or busy weeknight dinners.
- Easy to customize – You can adjust the spice level to your taste and even swap in different vegetables based on what you have in your fridge.
What Kind of Ground Beef Should I Use?
For chili, you’ll want to think about the fat content of your ground beef since it affects both flavor and texture. An 80/20 mix (meaning 80% lean meat to 20% fat) is ideal for chili – it has enough fat to keep the meat juicy and flavorful, but not so much that your chili becomes greasy. If you prefer leaner meat, 85/15 will work too, though you might notice the meat isn’t quite as tender. When shopping, look for beef that’s bright red in color and avoid any packages with excessive liquid at the bottom. For the best results, try to get freshly ground beef from your butcher counter rather than pre-packaged options.
Options for Substitutions
This paleo chili is pretty flexible and you can make several swaps while keeping it paleo-friendly:
- Ground beef: You can easily swap the ground beef with ground turkey, chicken, bison, or even ground pork. If using turkey or chicken, add an extra tablespoon of oil since these meats are leaner.
- Zucchini: Not a fan of zucchini? Try yellow squash, butternut squash, or sweet potatoes instead. Just note that sweet potatoes will need a bit more cooking time to become tender.
- Oil: Any paleo-approved oil works here – try avocado oil, coconut oil, or even ghee if you tolerate it.
- Tomato products: Fresh tomatoes can replace canned – use about 4 cups chopped fresh tomatoes instead of canned. You’ll need to cook them down a bit longer to get the right consistency.
- Chili powder: If you’re out of chili powder, you can make your own by mixing paprika, ground cumin, cayenne, and oregano. Start with 1 tablespoon paprika and 1 teaspoon each of the others.
- Celery: If you’re not a celery fan or don’t have any, you can skip it or add some bell peppers instead for that extra crunch.
Watch Out for These Mistakes While Cooking
The biggest mistake when making paleo chili is adding all the vegetables at once, which can lead to some being overcooked while others remain undercooked – instead, add the carrots and celery first, followed by onions, and save the zucchini for the last 15-20 minutes of cooking to maintain the perfect texture. A common error is cooking the ground beef with the vegetables from the start; for better flavor, brown the meat separately first, allowing it to develop a nice crust before combining it with other ingredients. To avoid a watery chili, don’t skip the step of draining excess fat after browning the beef, and remember to let the chili simmer uncovered for the last 20 minutes if it needs thickening. For the best flavor development, resist the urge to serve immediately – letting the chili rest for 10-15 minutes after cooking allows the flavors to meld together beautifully.
What to Serve With Paleo Chili?
Since this paleo chili skips the traditional beans and grains, there are lots of tasty ways to round out your meal while keeping things grain-free. Try serving it over a bed of cauliflower rice or spiralized zucchini noodles to add some extra vegetables to your bowl. For toppings, I love adding diced avocado, fresh cilantro, chopped raw onions, or a squeeze of lime – these fresh elements really complement the rich, hearty chili. If you’re not strictly paleo, a dollop of Greek yogurt makes a great substitute for sour cream and adds some extra protein to your meal.
Storage Instructions
Keep Fresh: This paleo chili is perfect for meal prep! Pop it in an airtight container and keep it in the fridge for up to 5 days. The flavors actually get better after a day or two as everything mingles together, making it taste even more amazing.
Freeze: Got leftovers? This chili freezes like a dream! Let it cool completely, then portion it into freezer-safe containers or bags. It’ll stay good in the freezer for up to 3 months. I like to freeze it in individual portions for easy grab-and-go meals.
Reheat: When you’re ready to enjoy your chili again, warm it up on the stovetop over medium-low heat, stirring occasionally. If it’s frozen, thaw overnight in the fridge first. You can also microwave it in 1-minute intervals, giving it a good stir between each round. Add a splash of water if it seems too thick.
| Preparation Time | 15-20 minutes |
| Cooking Time | 40-50 minutes |
| Total Time | 55-70 minutes |
| Level of Difficulty | Medium |
Estimated Nutrition
Estimated nutrition for the whole recipe (without optional ingredients):
- Calories: 1200-1400
- Protein: 90-100 g
- Fat: 70-80 g
- Carbohydrates: 80-90 g
Ingredients
- 2 tbsp oil (avocado oil or other high-smoke point oil)
- 0.5 cup chopped celery
- 15 oz tomato puree (I use Muir Glen organic tomato puree for rich flavor)
- 1 tsp salt
- 1.5 lb ground beef
- 2 tbsp chili powder
- 15 oz diced tomatoes
- 1.5 cups diced carrots (peeled and diced for smoother texture)
- 4 cups diced zucchini
- 0.25 tsp cayenne pepper
- 1 tsp ground cumin
- 1 tsp oregano
- 2 cloves garlic (freshly minced for best flavor)
- 1.5 cups diced onion
Step 1: Prepare Ingredients
Chop all the vegetables in advance to save time.
You’ll need onions, celery, carrots, and zucchinis for this recipe.
Having them ready will ensure a smooth cooking process.
Step 2: Cook the Ground Beef
In a large skillet, brown 1 ½ pounds of ground beef over medium-high heat until it is thoroughly cooked and browned.
Once browned, add 2 cloves of chopped garlic to the skillet with the beef and cook for an additional minute.
Transfer the cooked beef to a large bowl.
You may choose to drain off excess fat but retain some for additional flavor, especially if you’re using grass-fed lean beef.
Step 3: Sauté the Vegetables
In the same skillet, add 2 tablespoons of oil.
Then, add the chopped onions, celery, carrots, along with the seasonings: 2 tablespoons of chili powder, 1 teaspoon of ground cumin, 1 teaspoon of oregano, 1 teaspoon of salt, and ¼ teaspoon of cayenne pepper if you like some heat.
Cook the mixture over medium-high heat until the onions become translucent and the vegetables have softened.
Step 4: Add and Cook Zucchinis
Add 4 cups of diced zucchinis to the skillet and cook for an additional 2 minutes, stirring well to ensure the zucchinis are evenly distributed with the other vegetables and seasoning.
Step 5: Combine and Simmer the Chili
Return the cooked beef to the skillet with the vegetables.
Then, add 1 can (15 ounces) of tomato puree or tomato sauce and 1 can (15 ounces) of diced tomatoes.
Stir the mixture thoroughly and bring everything to a boil, stirring frequently to prevent sticking.
Once boiling, reduce the heat to a simmer and let the chili cook for 20 minutes.
Stir occasionally to make sure it is evenly cooking and the flavors meld together.
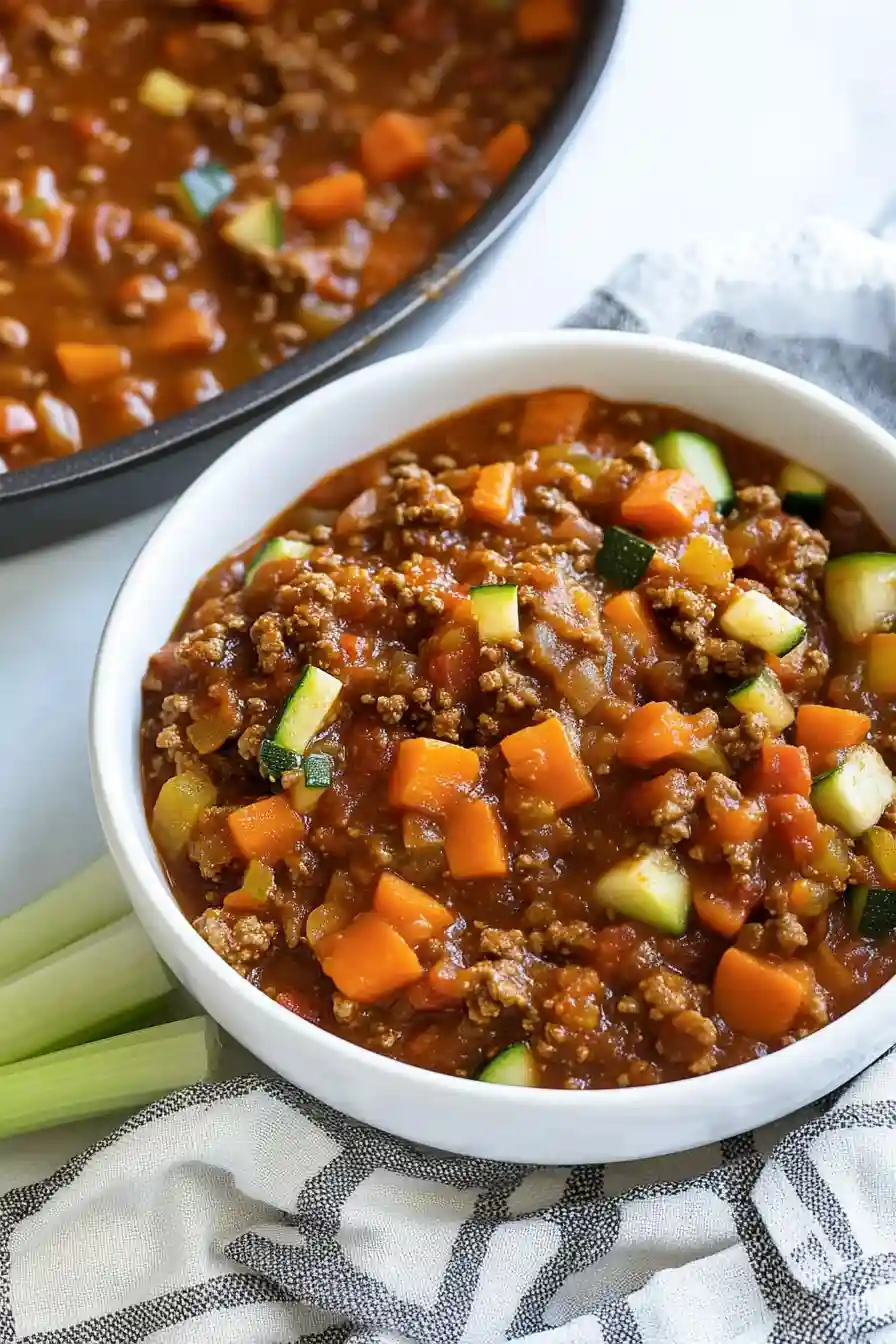
Step 6: Finalize and Serve
After simmering, your hearty and flavorful chili is ready to serve.
Taste and adjust seasoning if necessary before serving hot for a comforting meal.
Enjoy!
