If you ask me, pineapple cake filling is one of those recipes that can make any basic cake feel special.
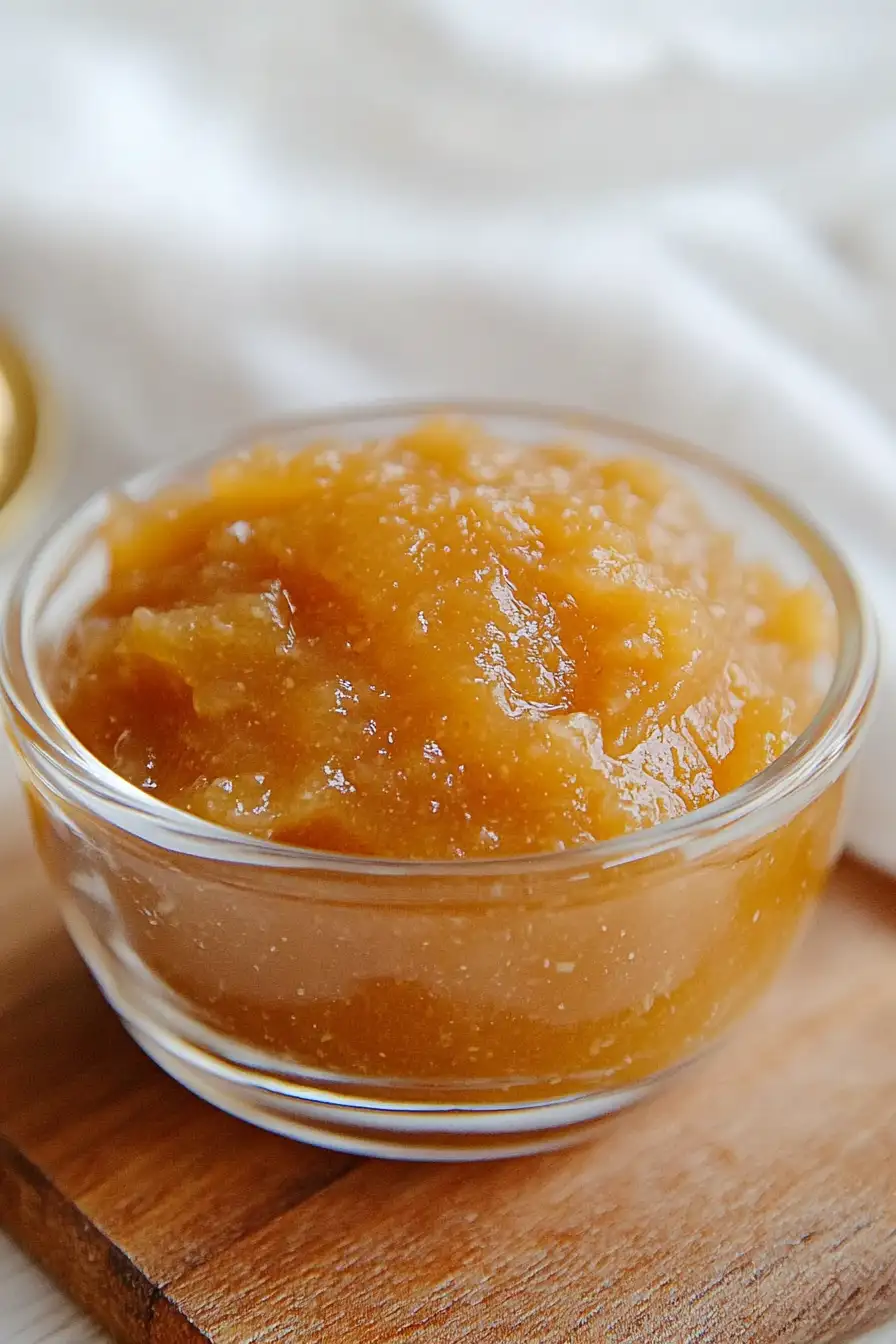
This sweet and tangy filling brings a taste of the tropics right into your kitchen. Fresh pineapple chunks mixed with just the right amount of sugar create a filling that’s not too heavy, not too light.
It’s cooked down slowly with a touch of vanilla and butter until it reaches that perfect spreadable consistency. A hint of lemon juice keeps the sweetness in check and brings out the pineapple’s natural flavor.
It’s a reliable filling that works well in layer cakes, and honestly, it’s good enough to eat by the spoonful when nobody’s looking.
Why You’ll Love This Pineapple Cake Filling
- Quick preparation – This filling comes together in just 35-50 minutes, making it perfect for when you need a cake filling without spending hours in the kitchen.
- Flexible ingredients – You can use either fresh or canned pineapple with equally good results, so you can make it year-round regardless of fresh pineapple availability.
- Simple ingredients – With just 5 basic ingredients that you can easily find at any grocery store, this recipe keeps things wonderfully simple.
- Make-ahead friendly – You can prepare this filling in advance and store it in the fridge, making your cake assembly process much smoother when you’re ready to bake.
What Kind of Pineapple Should I Use?
You’ve got two great options when it comes to making pineapple cake filling – fresh or canned pineapple, and both will give you tasty results. Fresh pineapple gives you a brighter flavor and lets you control the sweetness level, but you’ll need to make sure it’s fully ripe (look for one that’s golden-yellow and smells sweet at the base). If you’re going the canned route, pick pineapple chunks or crushed pineapple packed in juice rather than syrup – it’ll give you a cleaner, more natural taste. Just remember that if you’re using fresh pineapple, you’ll need to core it and remove the tough outer skin, while canned pineapple comes ready to use, making it a convenient time-saver.
Options for Substitutions
This filling recipe comes with two versions (fresh and canned) and offers some room for adjustments:
- Fresh pineapple: If you can’t find fresh pineapple, canned pineapple works perfectly fine – that’s why there’s a second version of the recipe! Just make sure to drain and save the juice.
- Brown sugar: You can swap brown sugar with white sugar, though you’ll miss some of that caramel-like taste. Coconut sugar is another good option, but it might make the filling a bit darker.
- Lemon juice: Lime juice works just as well here, or you can use apple cider vinegar in a pinch – just use half the amount since it’s stronger.
- Cornstarch: All-purpose flour can work as a thickener (use 1 tablespoon instead of 1/2 tablespoon cornstarch), or try arrowroot powder in the same amount as cornstarch for a clear, glossy finish.
- Water/Pineapple juice: If using canned pineapple and don’t have enough juice, you can top it up with water or apple juice to reach the required amount.
Watch Out for These Mistakes While Cooking
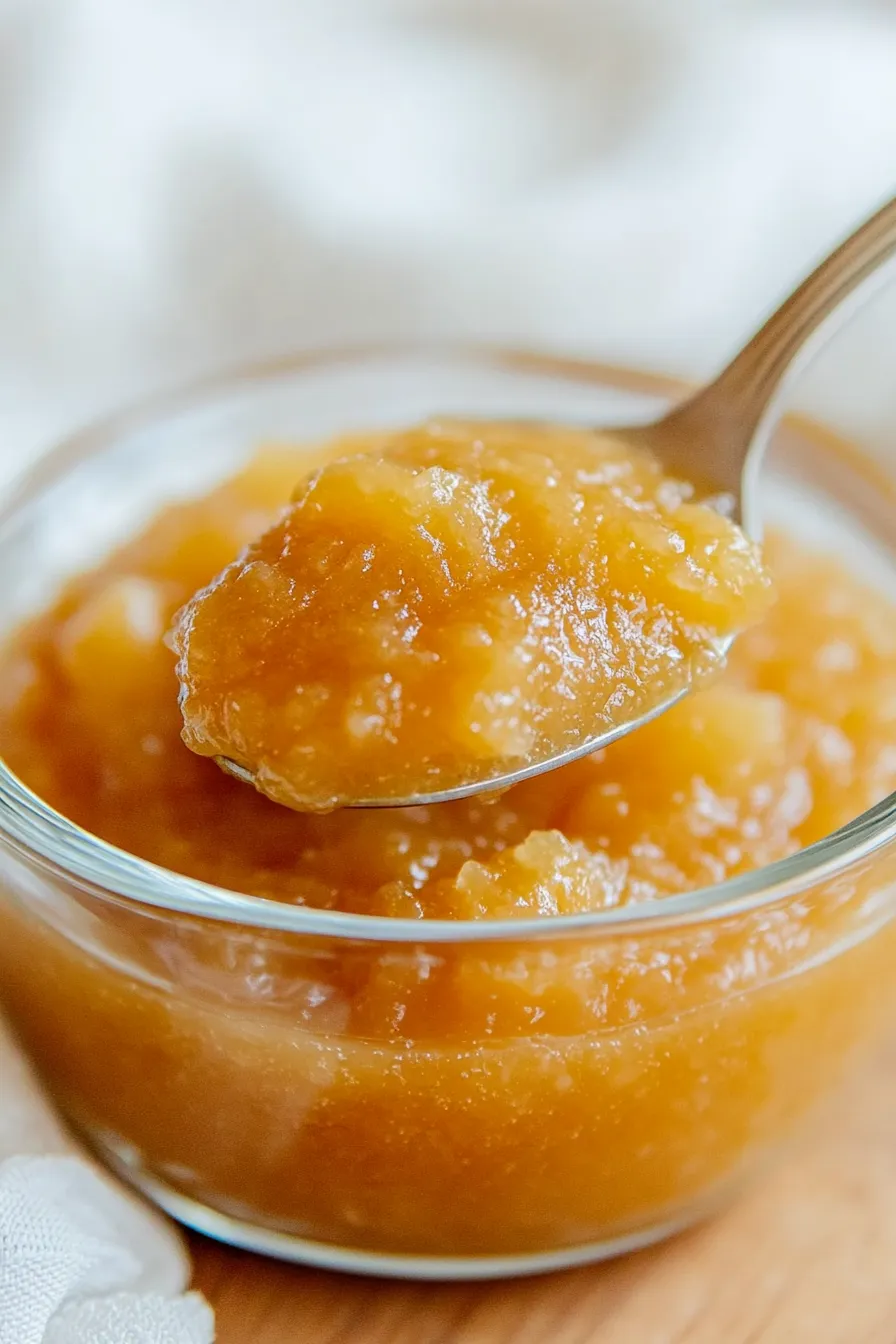
The biggest challenge when making pineapple cake filling is getting the right consistency – cooking it too quickly on high heat can lead to a runny filling that won’t hold its shape, so maintain a medium-low heat and stir frequently. A common mistake is not cooking the mixture long enough after adding the cornstarch slurry – make sure to cook it for at least 2-3 minutes until it becomes thick and glossy, or you’ll end up with a grainy texture and raw cornstarch taste. If you’re using fresh pineapple, avoid skipping the cooking time suggested in the recipe, as raw pineapple contains enzymes that can break down your cake structure – proper cooking deactivates these enzymes. For the best results, let your filling cool completely before using it in your cake, as it will continue to thicken as it cools, making it easier to spread and preventing it from soaking into your cake layers.
What to Serve With Pineapple Cake Filling?
This sweet and tangy pineapple filling pairs wonderfully with a variety of cake flavors – vanilla, coconut, or yellow cake are all great choices! The tropical filling works really well as a layer between white cake tiers, especially when paired with cream cheese or vanilla buttercream frosting. If you’re looking to create a complete tropical dessert experience, try serving cake slices with a scoop of coconut ice cream or a dollop of whipped cream on the side. For an extra special touch, you could garnish each plate with some toasted coconut flakes or a fresh pineapple wedge.
Storage Instructions
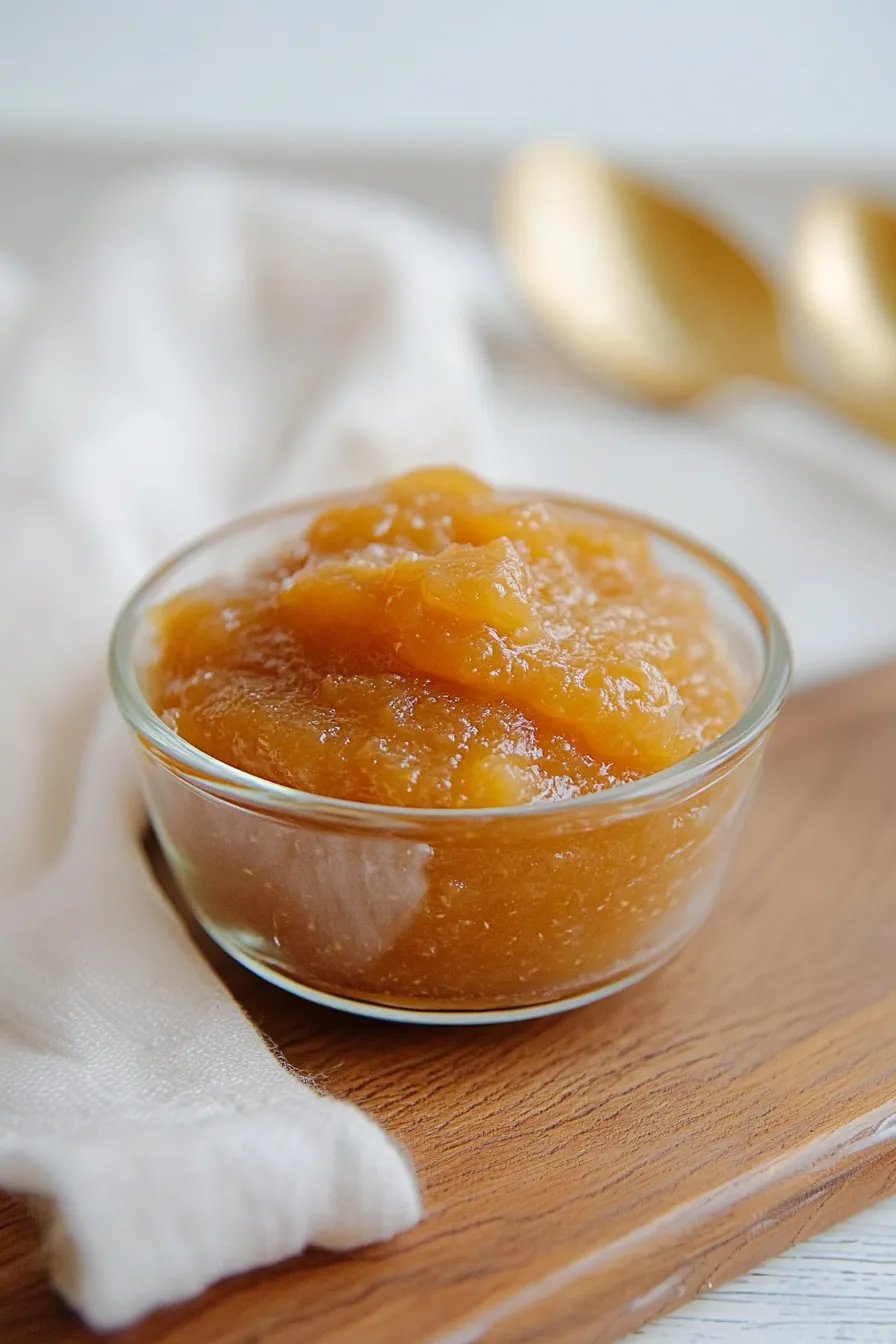
Keep Fresh: Let your pineapple cake filling cool completely before storing it in an airtight container in the fridge. It’ll stay good for up to 1 week, which makes it perfect for preparing ahead when you’re planning to bake a special cake. The filling might thicken a bit in the fridge, but that’s totally normal!
Freeze: This filling is great for freezing! Pour it into freezer-safe containers or heavy-duty freezer bags, leaving a little space for expansion. It’ll keep well for up to 3 months in the freezer. I like to freeze it in smaller portions so I can thaw just what I need for each cake.
Use Later: When you’re ready to use your frozen filling, thaw it overnight in the fridge. If it seems a bit watery after thawing, you can give it a quick simmer on the stove to thicken it back up. Just remember to let it cool completely before using it in your cake!
| Preparation Time | 15-20 minutes |
| Cooking Time | 20-30 minutes |
| Total Time | 35-50 minutes |
| Level of Difficulty | Medium |
Estimated Nutrition
Estimated nutrition for the whole recipe (without optional ingredients):
- Calories: 600-700
- Protein: 2-4 g
- Fat: 0-2 g
- Carbohydrates: 150-160 g
Ingredients
For the fresh pineapple filling:
- 3.5 oz brown sugar (packed well)
- 1/4 cup water
- 2 tsp lemon juice (freshly squeezed for best flavor)
- 9.7 oz fresh pineapple (peeled and diced into small, even pieces)
- 1/2 tbsp cornstarch
For the canned pineapple filling:
- 1/4 cup juice from canned pineapple
- 9.7 oz canned pineapple (drained well, I use Dole crushed pineapple)
- 1/2 tbsp cornstarch
- 2 tsp lemon juice
- 3.5 oz brown sugar (light or dark, packed)
Step 1: Prepare the Fresh Pineapple Filling
Start by peeling and cutting a fresh pineapple into cubes.
Place the cubes in a food processor, add water, and blend until smooth.
Transfer the pineapple puree into a medium-sized pot.
Add lemon juice and sugar.
Cook the mixture on medium-low heat, stirring constantly.
When it begins to simmer, reduce the heat to low.
Quickly mix in the cornstarch (pre-mixed with water) until thoroughly combined.
Continue to cook until the filling thickens further.
Remove from heat and allow it to cool completely.
If not using immediately, store the filling in the refrigerator.
Step 2: Prepare the Canned Fruit Filling
Begin by draining the canned fruits.
Place them in a food processor along with the specified syrup.
Blend until smooth.
Transfer the processed fruit mixture into a medium-sized pan.
Add lemon juice and sugar.
Turn on the heat to medium-low and cook until the mixture starts to simmer.
Lower the heat to low, stirring constantly.
Add the pre-mixed cornstarch and water quickly and thoroughly.
Continue to cook over low heat until you reach the desired consistency for the filling.
Remove from heat and let it cool completely.
Store in the refrigerator if not using immediately.
Step 3: Store and Use the Fillings
Once cooled entirely, ensure both types of pineapple fillings are stored in the refrigerator if not used right away.
This will keep them fresh and ready for whenever you decide to incorporate them into your desired recipes.
