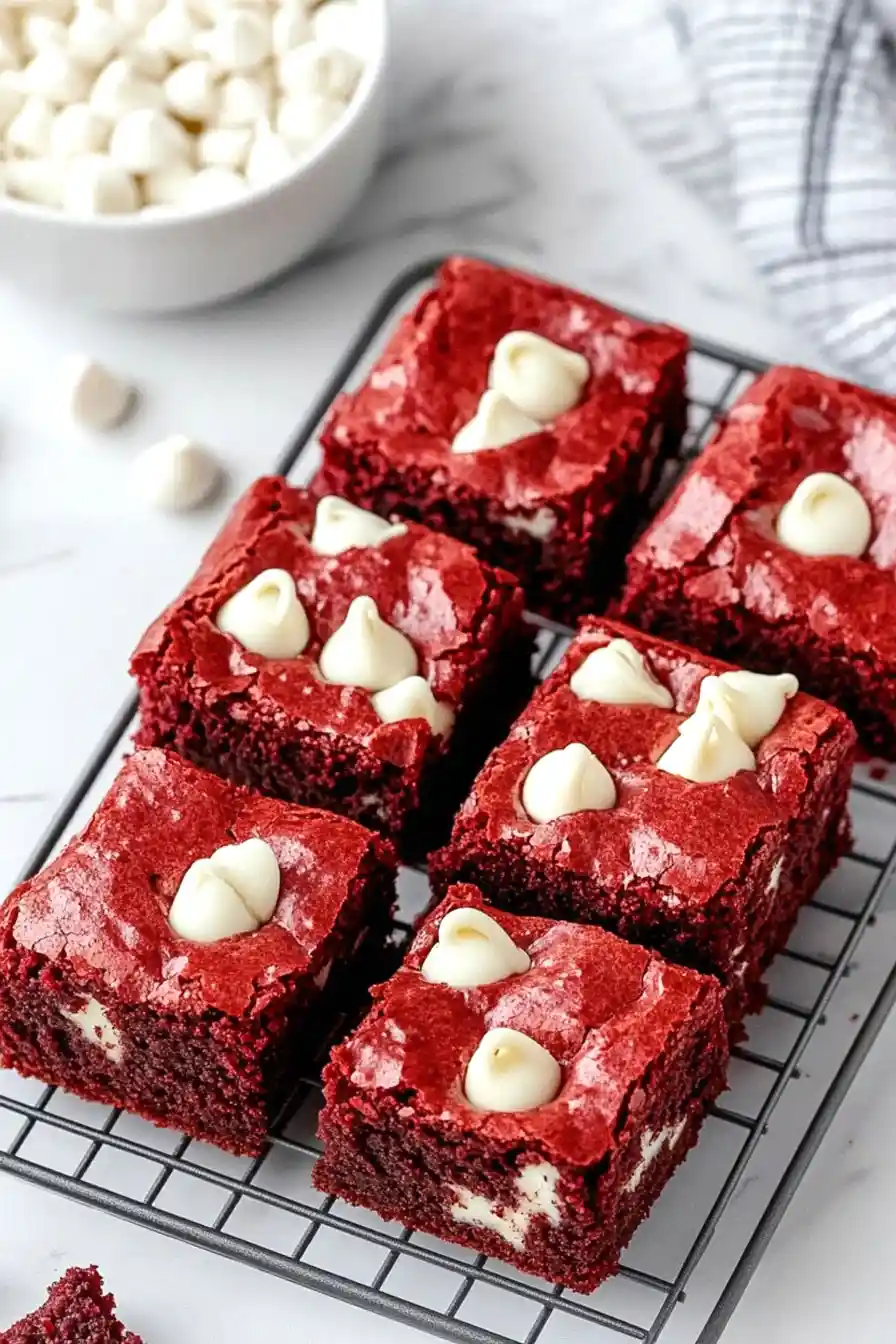
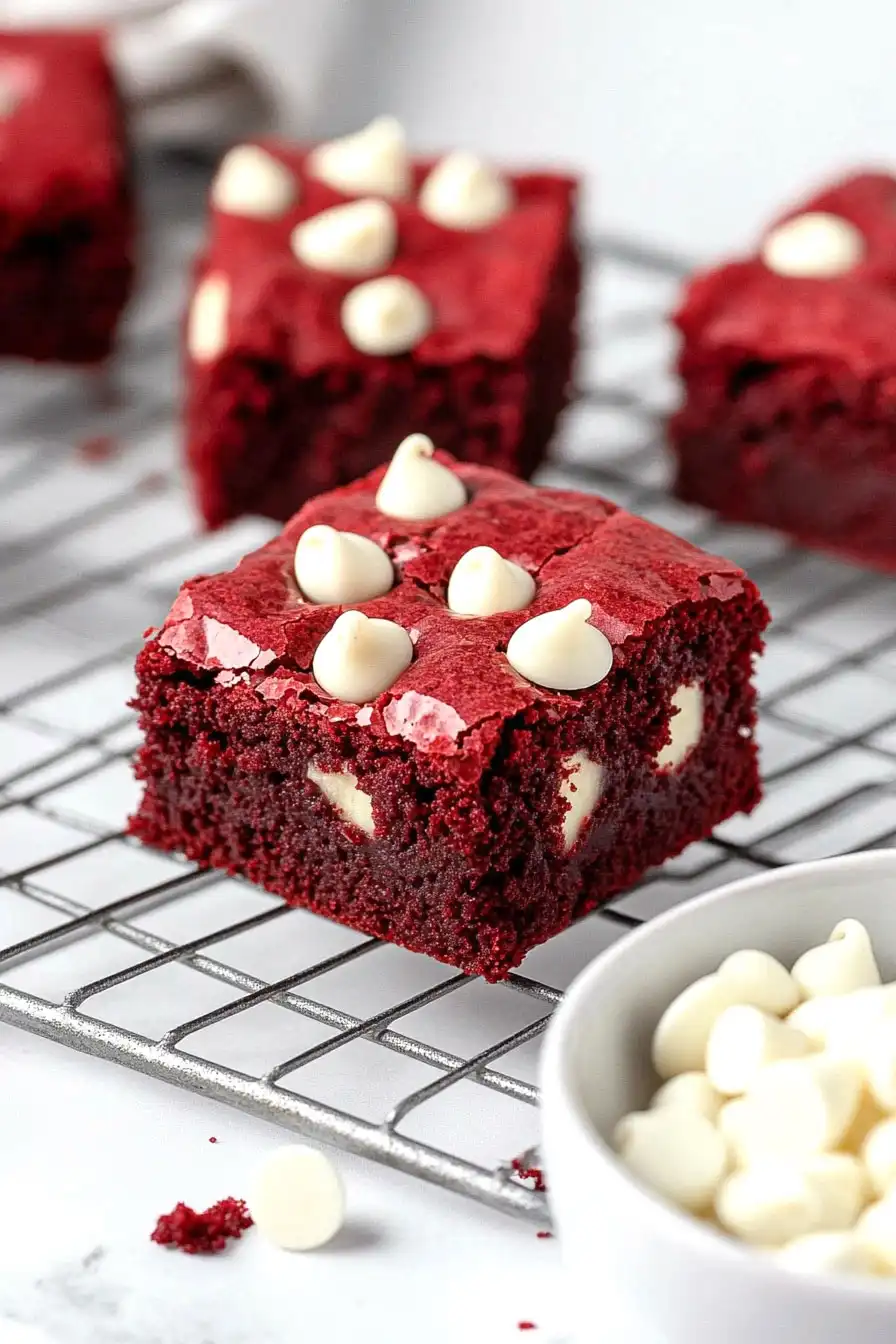
Here’s my go-to recipe for red velvet cake mix brownies, combining the rich taste of red velvet with the fudgy texture of classic brownies. They’re simple to make and turn out wonderfully chewy every time.
These brownies have become a regular treat in our house, especially when the kids have friends over. I usually make a double batch because they disappear so quickly – and let’s be honest, there’s nothing wrong with having a brownie with your morning coffee the next day!
Why You’ll Love These Red Velvet Brownies
- 4-ingredient recipe – With just a box of cake mix, eggs, oil, and optional white chocolate chips, you can whip these up even when your pantry is nearly empty.
- Quick preparation – These brownies come together in just 5 minutes of prep time – perfect for last-minute dessert cravings or unexpected guests.
- Foolproof results – Starting with a cake mix means these brownies turn out perfect every time, even if you’re not an experienced baker.
- Budget-friendly treat – Using cake mix as your base makes these brownies much more affordable than buying fancy ingredients or pre-made treats from the bakery.
What Kind of Cake Mix Should I Use?
Red velvet cake mix is available from several major brands like Duncan Hines, Betty Crocker, and Pillsbury – and honestly, any of them will work great for these brownies. The main difference you might notice between brands is the intensity of the red color, with some being deeper red while others have a slightly brighter hue. Most red velvet cake mixes come with a small packet of cocoa powder mixed in, which gives these brownies that classic subtle chocolate flavor red velvet is known for. Just make sure you’re grabbing a standard 15.25 oz box, as this recipe is specifically measured for that size – if you end up with a different size box, you’ll need to adjust the other ingredients accordingly.
Options for Substitutions
These brownies are super easy to customize with some simple swaps:
- Red velvet cake mix: While red velvet gives these brownies their signature color and taste, you can experiment with other cake mix flavors like chocolate, dark chocolate, or even devil’s food cake for a different spin. The texture will stay the same!
- Coconut oil: Don’t have coconut oil? Any vegetable oil works perfectly fine. You can even use melted butter in equal amounts, though it might make the brownies slightly more dense.
- White chocolate chips: Feel free to swap these with milk chocolate chips, dark chocolate chips, or even chopped nuts. You could also try peanut butter chips or mint chips for a fun twist. Or skip them altogether – the brownies will still be great!
- Eggs: The eggs are pretty important for structure here, but if you need to make these vegan, you can try using 2 flax eggs (2 tablespoons ground flaxseed mixed with 6 tablespoons water, let sit for 5 minutes until thickened).
Watch Out for These Mistakes While Baking
The biggest mistake when making cake mix brownies is over-mixing the batter – stir just until the ingredients are combined, as excessive mixing will lead to tough, dense brownies instead of that perfect fudgy texture.
Temperature control is crucial here – using oil that’s too hot can start cooking the eggs and create lumps, so let melted coconut oil cool for a few minutes before combining it with other ingredients.
Many bakers make the error of overbaking these brownies – they should come out slightly underdone (a few moist crumbs on your toothpick test) since they’ll continue cooking from residual heat after you take them out of the oven.
For extra insurance against sticking, line your pan with parchment paper instead of just greasing it, and let the brownies cool completely before cutting – this will give you clean, sharp edges instead of messy, crumbly ones.

What to Serve With Red Velvet Brownies?
These rich red velvet brownies are perfect with a cold glass of milk or a hot cup of coffee – you really can’t go wrong either way! For a dessert that feels extra special, try serving them slightly warm with a scoop of vanilla ice cream on top, letting it melt just a bit into the brownie. If you’re bringing these to a party or gathering, I like to pair them with some fresh berries on the side – strawberries and raspberries work especially well with the red velvet flavor. You could also drizzle some warm cream cheese frosting over the top if you’re feeling fancy!
Storage Instructions
Keep Fresh: These red velvet brownies stay moist and yummy when kept in an airtight container at room temperature. They’ll be good for up to 5 days – if they last that long! I like to place a piece of parchment paper between layers to prevent them from sticking together.
Freeze: Want to save some for later? These brownies freeze really well! Cut them into squares, wrap them individually in plastic wrap, and store in a freezer bag for up to 3 months. It’s super handy when you need a quick sweet treat!
Thaw: When you’re craving a brownie from the freezer, just pull out what you need and let it thaw on the counter for about an hour. If you’re in a hurry, 15-20 seconds in the microwave will do the trick – they’ll taste just as good as the day you made them!
| Preparation Time | 10-15 minutes |
| Cooking Time | 18-22 minutes |
| Total Time | 28-37 minutes |
| Level of Difficulty | Easy |
Estimated Nutrition
Estimated nutrition for the whole recipe (without optional ingredients):
- Calories: 1200-1400
- Protein: 10-15 g
- Fat: 60-70 g
- Carbohydrates: 170-190 g
Ingredients
- 3/4 cup white chocolate chips (I use Ghirardelli white chocolate chips for their creamy texture)
- 1 box red velvet cake mix
- 1/2 cup melted coconut oil (I use Carrington Farms organic coconut oil, makes these extra fudgy)
- 2 large eggs (room temperature)
Step 1: Prepare the Baking Pan
Preheat your oven to 350°F (175°C).
Line an 8×8 or 9×9-inch baking pan with parchment paper, leaving some parchment hanging over the edges of the pan.
This will help you easily lift the brownies out of the pan once they’re baked and cooled.
Step 2: Mix the Batter
In a large mixing bowl, add the red velvet cake mix, eggs, and oil.
Stir thoroughly until all ingredients are well incorporated and the batter becomes thick, starting to pull cleanly away from the edges of the bowl.
If you’re using white chocolate chips, gently fold them into the batter with a rubber spatula.
Step 3: Transfer and Prepare for Baking
Transfer the thick batter into the prepared baking pan.
Use a spatula to spread it evenly across the pan.
If desired, gently press additional white chocolate chips onto the top of the batter to enhance the brownies’ appearance and texture.
Step 4: Bake the Brownies
Bake in the preheated oven for 18-22 minutes.
Test for doneness by inserting a toothpick into the center of the brownies; it should come out with moist crumbs but not wet batter.
Be cautious not to overbake as the brownies will continue to cook slightly while cooling.
Step 5: Cool and Serve
Allow the brownies to cool completely in the pan before lifting them out using the parchment overhang.
Once cooled, slice the brownies into desired portions and serve.
Enjoy your delicious red velvet brownies!
