Making homemade jam can feel like a daunting task, especially when you’re juggling work, family, and trying to make the most of seasonal produce. Many of us remember our grandmothers spending entire weekends in the kitchen, carefully preparing and canning countless jars of preserves, but who has that kind of time these days?
That’s why this rhubarb jam recipe has become my go-to favorite: it’s straightforward, doesn’t require fancy equipment, and takes just a couple of hours from start to finish. Plus, it’s a perfect way to preserve that fresh, tart rhubarb flavor that we can only get during those few precious weeks of spring.
Why You’ll Love This Rhubarb Jam
- Homemade preserves – Making your own jam lets you control exactly what goes into it – no artificial preservatives or mystery ingredients, just pure fruit and natural sweeteners.
- Perfect balance of flavors – The tart rhubarb pairs beautifully with sweet strawberries, while vanilla adds a subtle warmth that you won’t find in store-bought versions.
- Long-lasting – When properly canned, this jam stays fresh for up to a year, letting you enjoy spring rhubarb well into winter.
- Gift-worthy – A jar of homemade jam makes a thoughtful holiday or housewarming gift that friends and family will actually use.
What Kind of Rhubarb Should I Use?
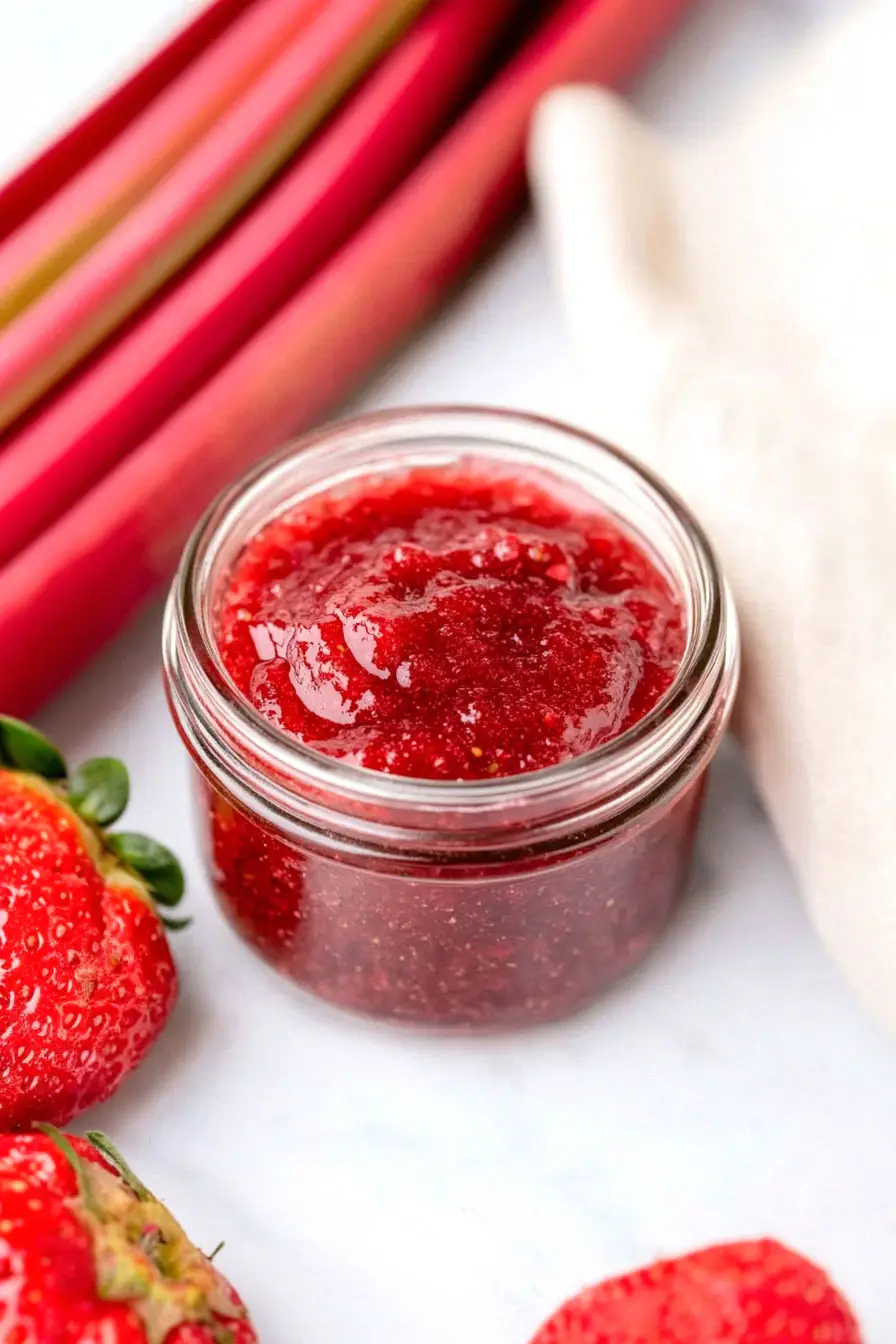
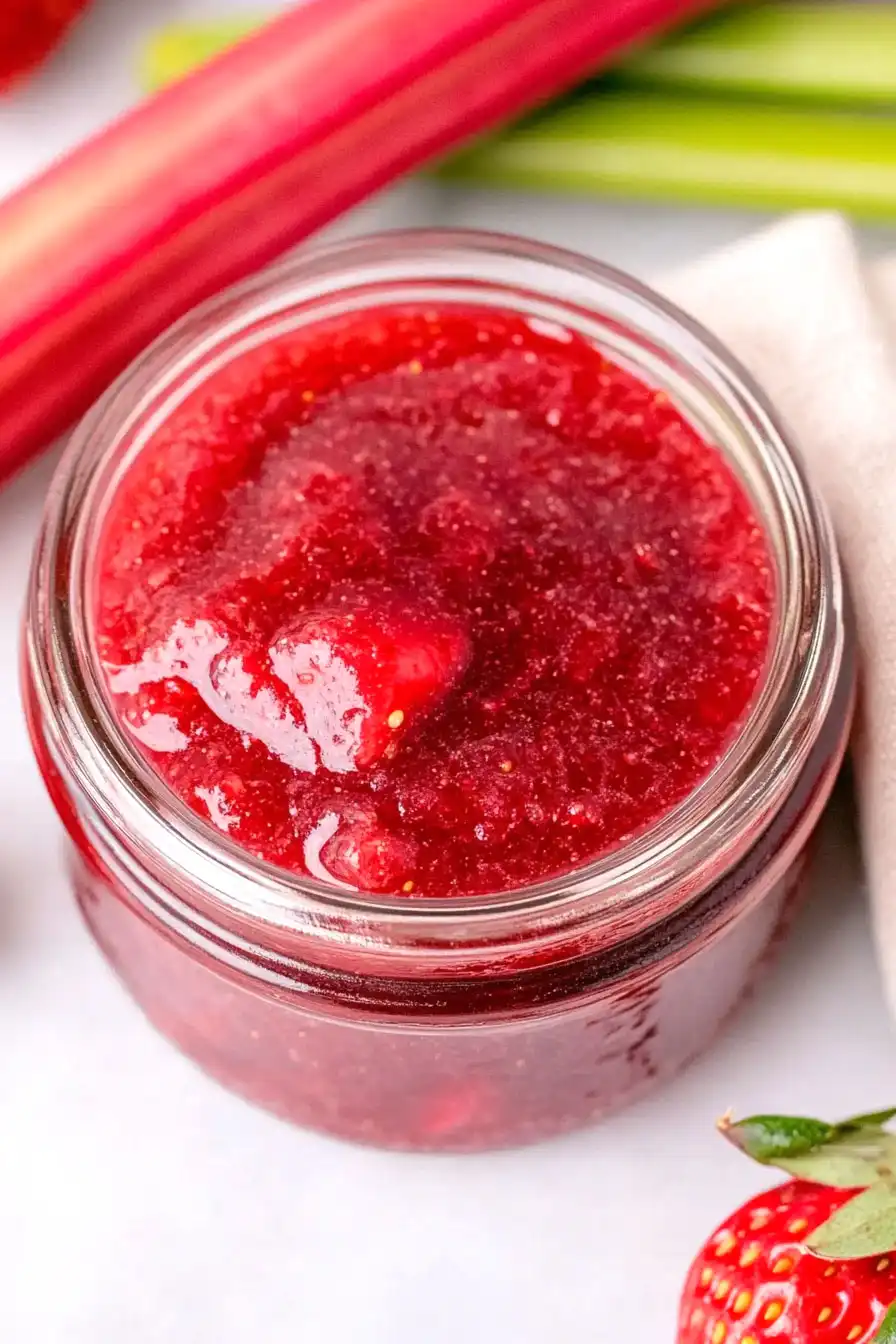
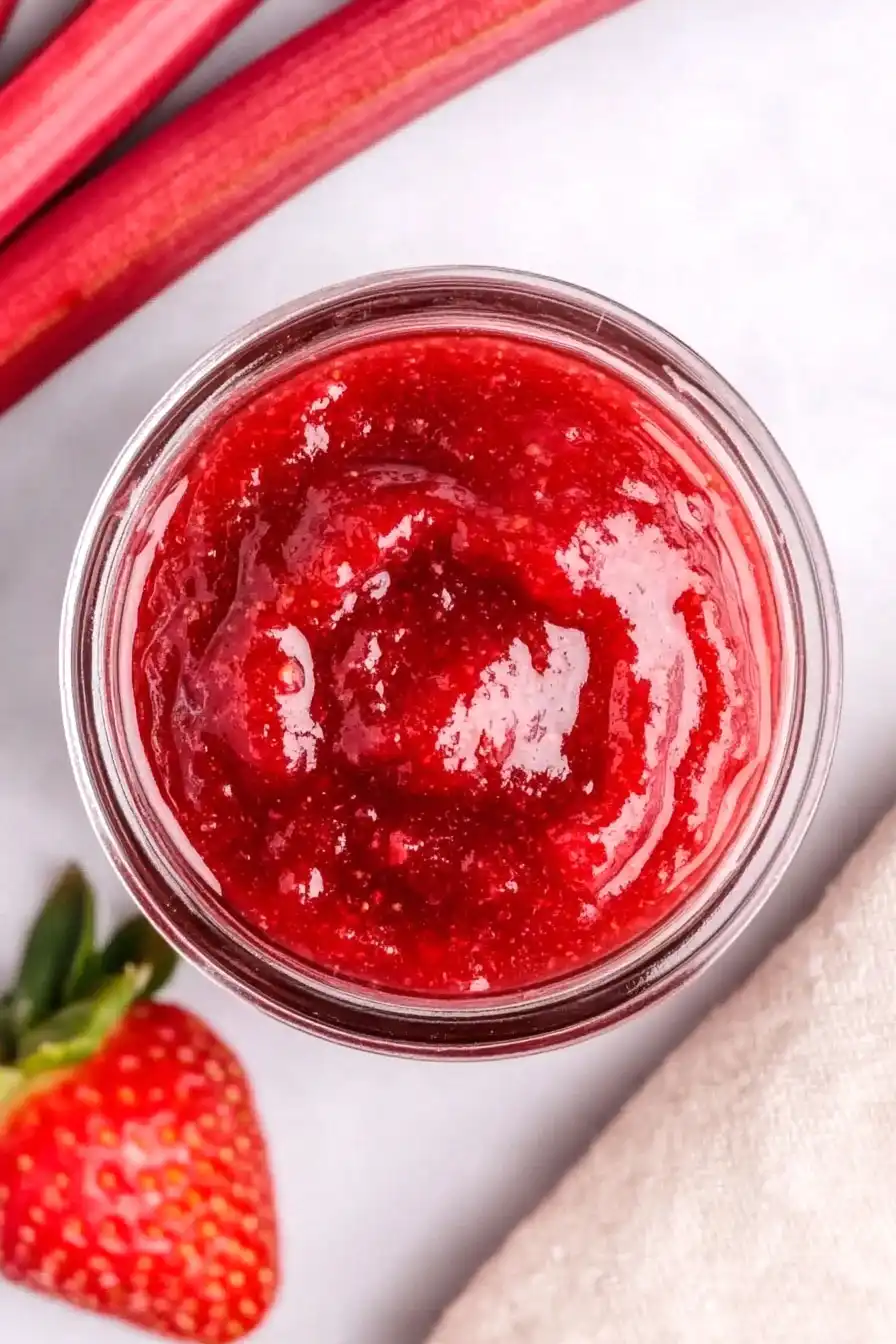
For jam making, both green and red rhubarb stalks will work perfectly fine – the color difference doesn’t affect the taste or texture of your final product. Look for stalks that are firm and crisp, with no soft spots or blemishes, and try to choose ones that are about 1 to 2 inches thick. Fresh spring rhubarb tends to be more tender and less stringy than late-season rhubarb, though both will cook down nicely into jam. If you’re using frozen rhubarb, just thaw it completely and drain off any excess liquid before measuring and using it in your recipe.
Options for Substitutions
While jam making requires some specific ingredients to ensure proper setting and safe preservation, here are the substitutions you can make:
- White sugar: Don’t substitute the amount of sugar – it’s crucial for proper preservation and setting. However, you can use cane sugar instead of white sugar with the same measurements.
- Lemon juice: Fresh lemon juice can replace bottled juice, but make sure it’s from regular lemons (not Meyer lemons) to maintain the right acidity for safe canning. You’ll need about 2-3 medium lemons.
- Vanilla bean pod: If vanilla beans are hard to find or too expensive, use 2 teaspoons of pure vanilla extract instead. Add it at the end of cooking for the best flavor.
- Strawberries: You can make plain rhubarb jam by replacing strawberries with an equal amount of extra rhubarb. The taste will be more tart, so you might want to add an extra 1/4 cup of sugar.
- Rhubarb: Fresh or frozen rhubarb both work well – no need to thaw frozen pieces before using. Just make sure to keep the same weight measurement.
Watch Out for These Mistakes While Cooking
The biggest mistake when making rhubarb jam is not testing for proper gel set – to avoid runny jam, place a small plate in the freezer before you start, then drop a spoonful of hot jam on the cold plate and run your finger through it; if it wrinkles and stays separated, your jam is ready. Another common error is not preparing your canning jars properly – they must be completely clean and sterilized in boiling water for at least 10 minutes to prevent contamination and ensure proper sealing. When cooking the jam, resist the urge to stir constantly as this can break down the fruit too much and prevent proper thickening – instead, stir occasionally and gently to prevent sticking. For the best texture and flavor, make sure to cook your rhubarb until it’s completely broken down but stop before it becomes mushy, and always check that your jar lids have properly sealed after cooling (they shouldn’t flex when pressed in the center).
What to Serve With Rhubarb Jam?
This sweet-tart rhubarb jam is super versatile and works great spread on all your breakfast favorites. The most obvious (and delicious!) way to enjoy it is on warm, buttered toast or English muffins, but don’t stop there. Try spreading it on freshly baked scones, stirring it into plain yogurt, or using it as a filling between layers of vanilla cake. For a quick appetizer that’ll impress your friends, spread some on a block of cream cheese and serve it with crackers – the tangy cream cheese pairs perfectly with the sweet-tart jam!
Storage Instructions
Shelf Storage: When properly canned and sealed, your rhubarb jam will keep on the pantry shelf for up to 18 months. Just make sure to store the jars in a cool, dark place. Once you’ve opened a jar, it needs to go in the fridge.
Refrigerate: After opening a jar of this jam, keep it in the fridge where it’ll stay good for about 3-4 weeks. The sugar acts as a natural preservative, but refrigeration helps maintain the best flavor and prevents any unwanted mold growth.
Check Seals: Before storing your canned jam, always check that the lids have properly sealed by pressing the center of each lid – it shouldn’t flex up and down. If any jars haven’t sealed properly, just pop them in the fridge and use them first within 3-4 weeks.
| Preparation Time | 720-1440 minutes |
| Cooking Time | 30-40 minutes |
| Total Time | 750-1480 minutes |
| Level of Difficulty | Medium |
Estimated Nutrition
Estimated nutrition for the whole recipe (without optional ingredients):
- Calories: 3000-3500
- Protein: 6-8 g
- Fat: 0-2 g
- Carbohydrates: 750-800 g
Ingredients
- 2 lb rhubarb (cut into 1/2-inch pieces for even cooking)
- 1 vanilla bean pod (scraped seeds only, discard pod)
- 2 1/2 cups white sugar (granulated sugar, for sweetness and setting)
- 1/4 tsp fine salt
- 1 lb strawberries (fresh, 1/4-inch pieces)
- 3 tbsp lemon juice (freshly squeezed for best flavor and pectin activation)
Step 1: Macerate the Fruit
In a large glass bowl, combine rhubarb, strawberries, and sugar.
Stir thoroughly to ensure everything is well mixed.
Cover the bowl with plastic wrap and refrigerate for at least 12 hours, up to 24 hours.
This process allows the fruit to macerate, releasing all of its juices for a flavorful jam.
Step 2: Prepare for Canning
Once the fruit is ready, remove it from the refrigerator and add seeds from a vanilla bean to the mixture.
Prepare your jars by washing them in soapy water.
Place the jars in your water bath canner, using the wire rack, and bring to a simmer as you make the jam to keep the jars hot.
Place a small plate in the freezer, as you’ll use this plate to test the jam’s set later on.
Step 3: Cook the Jam
Transfer the macerated rhubarb mixture to a large, heavy-bottomed pot—such as a 5.5-quart Dutch oven.
Add lemon juice and a pinch of salt.
Bring the mixture to a boil over medium-high heat, stirring occasionally.
As the mixture starts boiling, it will foam.
Continue to stir every few minutes, monitoring the heat while the jam cooks down and thickens.
Around the 22 to 25-minute mark, the jam will further thicken.
Use a thermometer if desired, aiming for about 212°F, or test the jam’s readiness using your cold plate from the freezer.
Step 4: Test the Jam’s Consistency
To test, spoon a bit of jam onto the cold plate and tilt it vertically.
You’re looking for a slow descent of the jam.
Alternatively, allow the spoonful of jam on the plate to sit for 30 seconds, then push with your spoon or finger.
If it doesn’t flood back together and just creeps back, it has set.
If not, continue cooking the jam.
Step 5: Can the Jam
Once the jam has thickened to your liking, carefully remove each warm jar from the water and place it on a kitchen towel.
Fill each jar with hot jam, leaving a 1/4-inch headspace at the top.
Secure the lids on the jars until they are finger-tight.
Step 6: Process the Jars
Place the filled jars back into the water bath canner and cover with the lid.
Bring the water to a boil, processing the jars for 10 minutes.
Turn off the heat and let the jars sit in the canner for an additional 5 minutes before removing them.
Allow the jars to cool fully on a kitchen towel on the counter, ensuring they seal properly.
Store your jam in a cool, dark place for up to one year.
Enjoy the fruits of your labor all year round!
