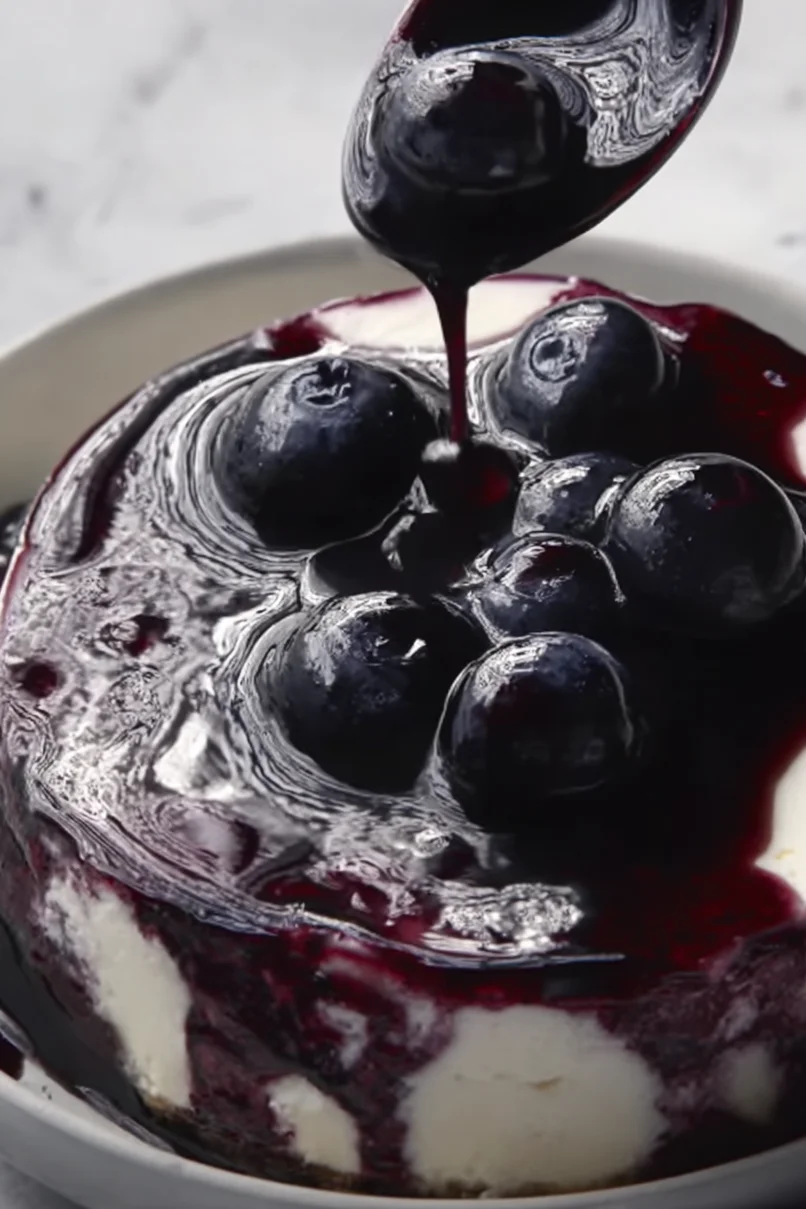
Everyone loves a good cheesecake, but let’s be honest – it’s even better with a sweet topping. Whenever I make cheesecake for family gatherings or just weekend desserts, I always reach for my favorite blueberry topping recipe. It’s so simple to make, and I love how the berries cook down into this perfect sauce that’s not too sweet and not too tart.
I started making this topping years ago when I realized store-bought versions just weren’t cutting it. Sometimes they’d be too runny, other times too thick, and they always had that slightly artificial taste. Now I can whip this up while my cheesecake is cooling, and the whole kitchen fills with that wonderful berry smell.
Whether you’re dressing up a plain New York-style cheesecake or adding something special to your no-bake version, this blueberry topping is exactly what you need. The best part? You can make it ahead and keep it in the fridge, so it’s ready whenever your cheesecake is.
Why You’ll Love This Blueberry Topping
- Quick and easy – This topping comes together in just 15 minutes with minimal effort – perfect when you need a last-minute dessert upgrade.
- Just 5 ingredients – You only need a handful of basic ingredients that are easy to find at any grocery store.
- Make-ahead friendly – You can prepare this sauce up to 5 days in advance and store it in the fridge, making dessert prep totally stress-free.
- Versatile topping – While it’s perfect for cheesecake, this sauce works great on pancakes, waffles, ice cream, or even stirred into yogurt.
What Kind of Blueberries Should I Use?
Fresh blueberries are ideal for this topping, but frozen ones will work in a pinch – just don’t thaw them before cooking. When shopping for fresh blueberries, look for ones that are deep blue-purple with a silvery frost-like coating (this is natural and good!). The berries should be firm and dry, not soft or moldy. If you’re using fresh berries, give them a gentle rinse just before using and pick through them to remove any stems or squished ones. During peak season (June through August), you might find different varieties at your local market – both highbush and wild blueberries will work great, though wild ones tend to be smaller and have a more intense flavor.
Options for Substitutions
This simple blueberry topping can be adapted with several easy swaps:
- Fresh blueberries: If fresh blueberries aren’t in season, frozen ones work just as well – no need to thaw them first. You can also try this recipe with other berries like blackberries or raspberries, or even a mix!
- Lemon: Out of lemons? Try using lime juice, or even orange juice for a different citrus kick. Use about 2 tablespoons of juice whichever citrus you choose.
- White sugar: Regular white sugar works best here, but you can use brown sugar for a deeper flavor. Honey or maple syrup can work too – start with 3 tablespoons since they’re sweeter than regular sugar.
- Cornstarch: If you’re out of cornstarch, try using 2 tablespoons of all-purpose flour or 2 tablespoons of arrowroot powder. Just mix with cold water before adding to make sure it doesn’t clump.
Watch Out for These Mistakes While Cooking
The biggest mistake when making blueberry topping is cooking it at too high a temperature, which can cause the berries to burst too quickly and turn your sauce into a runny mess – keep the heat at medium-low and let it simmer gently.
Getting the right thickness can be tricky, so avoid adding your cornstarch directly to the hot mixture which will create lumps – instead, make a slurry by mixing it with a bit of cold water first, then slowly stir it into your simmering berries.
Many cooks forget that the sauce will continue to thicken as it cools, so take it off the heat when it’s slightly thinner than your desired final consistency, and remember to add the lemon juice at the very end to keep the bright flavor fresh.
To ensure the best texture, gently stir the mixture occasionally rather than constantly stirring, which can break down the berries too much and make your topping look more like jam than a sauce.
What to Serve With Blueberry Cheesecake Topping?
This sweet and tangy blueberry topping is perfect for more than just cheesecake! Spoon it warm over vanilla ice cream for an easy dessert, or add it to your morning pancakes and waffles for a fancy breakfast treat. You can also serve it alongside pound cake or angel food cake for a simple but tasty dessert. If you’re hosting brunch, try setting up a little topping bar with this blueberry sauce, whipped cream, and some chopped nuts so everyone can customize their own plate.
Storage Instructions
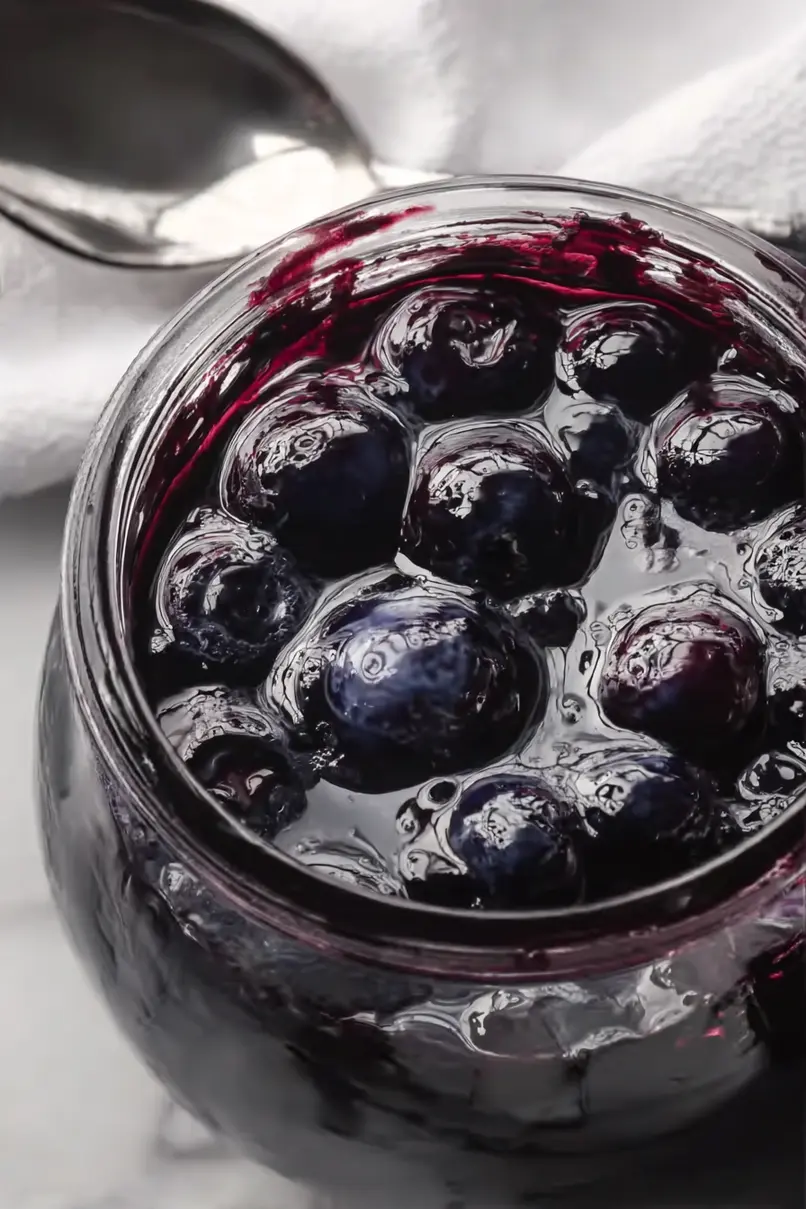
Keep Fresh: This blueberry topping stays good in an airtight container in the fridge for up to 5 days. It thickens up a bit more as it cools, which is totally normal. You can spoon it over your cheesecake right before serving, or keep it on the side so everyone can add their own.
Freeze: Want to save some for later? Let the topping cool completely, then pop it in a freezer-safe container. It’ll keep well for up to 3 months. This is super handy when blueberries are in season and you want to stock up!
Thaw & Use: When you’re ready to use your frozen topping, just move it to the fridge the night before. Give it a gentle stir once it’s thawed – if it seems a bit too thick, you can thin it out with a splash of water. The flavor will be just as good as when you first made it!
| Preparation Time | 5-10 minutes |
| Cooking Time | 5-10 minutes |
| Total Time | 10-20 minutes |
| Level of Difficulty | Easy |
Estimated Nutrition
Estimated nutrition for the whole recipe (without optional ingredients):
- Calories: 300-350
- Protein: 2-4 g
- Fat: 0-1 g
- Carbohydrates: 75-85 g
Ingredients
- 1/4 cup water
- 1 tbsp corn starch (mixed with 1 tbsp cold water)
- 1 lemon (preferably organic, zest and juice used)
- 1/4 cup white sugar (granulated sugar works best)
- 12 oz fresh blueberries
Step 1: Combine Ingredients in Saucepan
Start by placing a saucepan over medium heat.
Add your blueberries, granulated sugar, water, and cornstarch to the pan.
Zest the lemon directly into the pan for added flavor, then slice the lemon in half and juice it into the mixture.
Stir everything together thoroughly to ensure that all the ingredients are well combined.
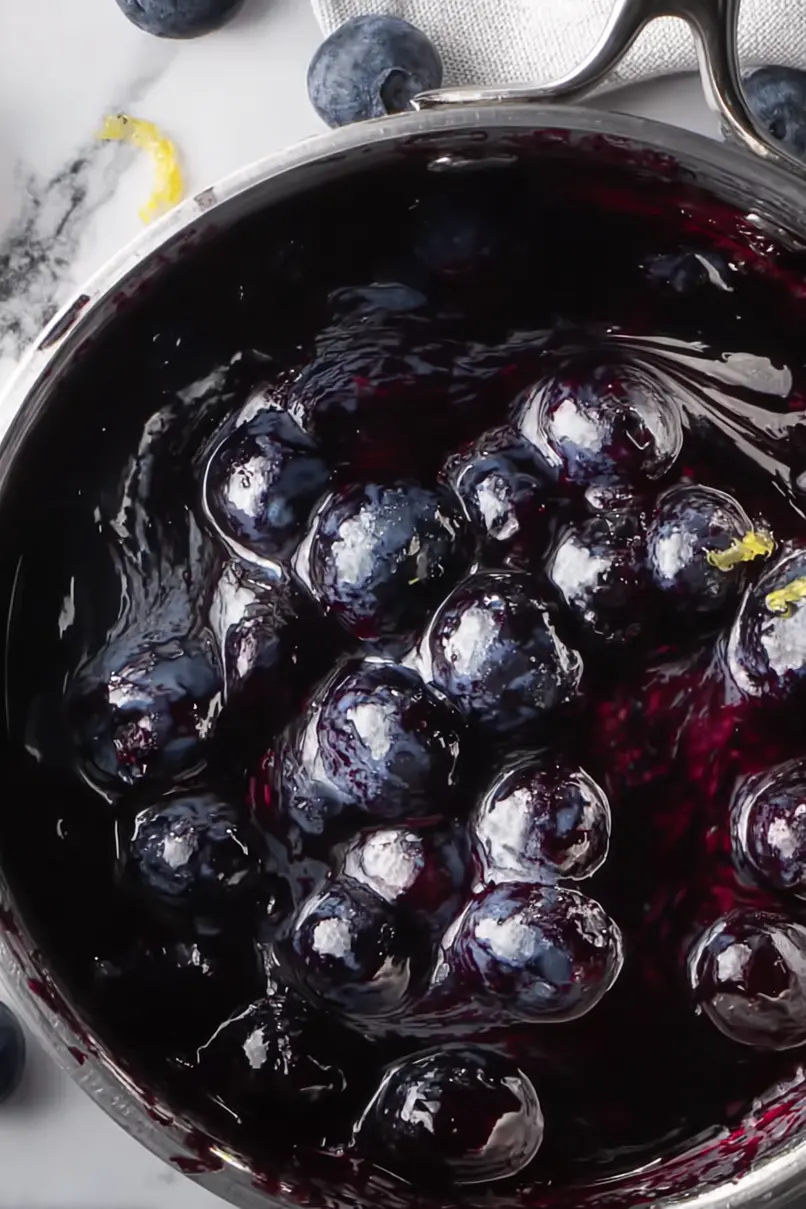
Step 2: Cook the Blueberry Sauce
Bring the mixture to a gentle simmer.
Once it reaches a simmer, reduce the heat to medium-low.
Allow the sauce to cook for about 5-6 minutes, stirring occasionally.
Continue cooking until the sauce thickens to your desired consistency and appears glossy.
This process will help to meld the flavors and thicken the sauce properly.
Step 3: Cool and Serve the Sauce
Once the sauce has thickened, remove it from the heat.
Allow it to cool slightly before serving.
If you’re planning to store the sauce, transfer it to a container once it has cooled enough to handle safely.
Enjoy this bright, flavorful sauce served warm or chilled over desserts, pancakes, waffles, or anything else you love!
