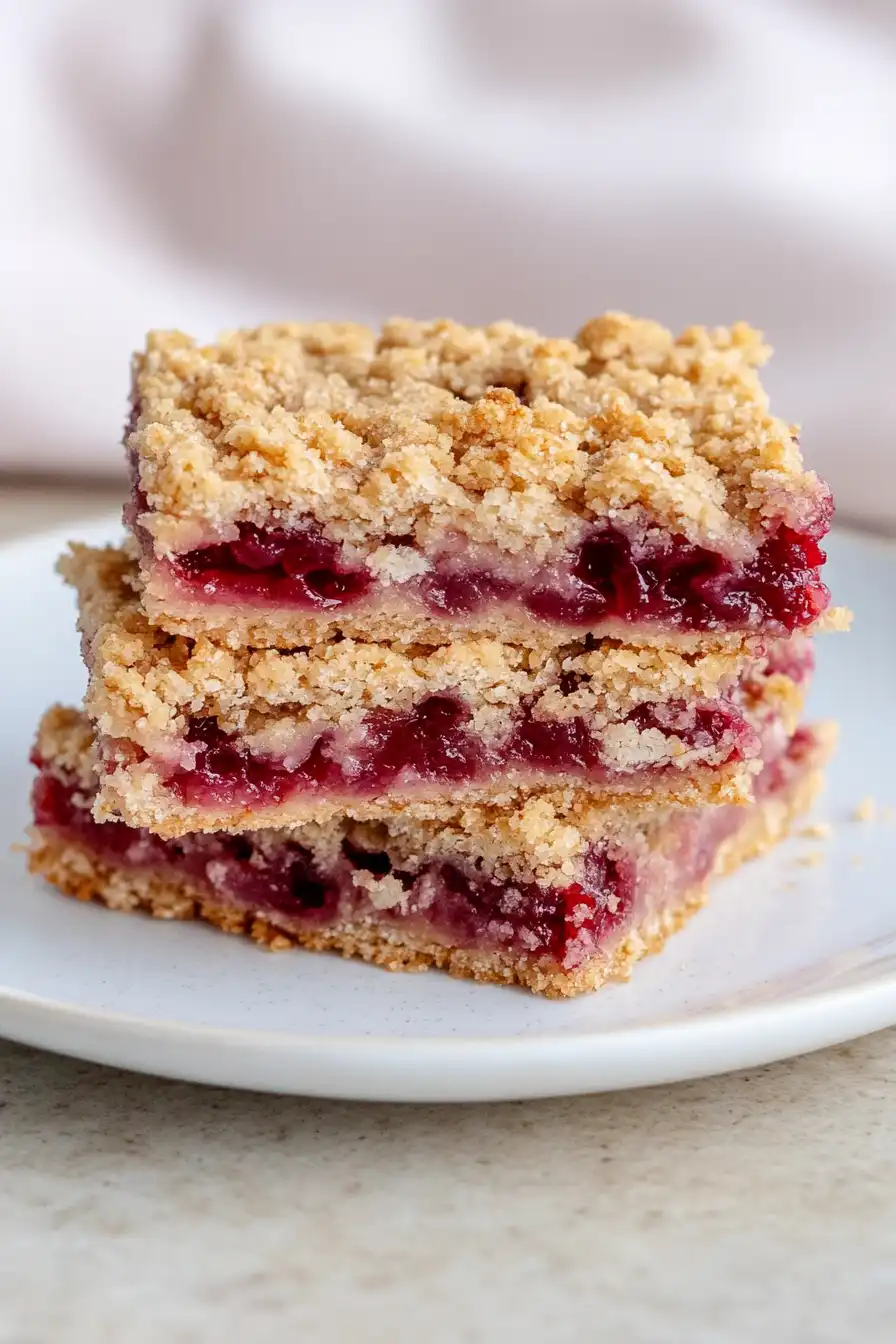
Growing up, my mom’s cherry jam bars were a staple at every bake sale and holiday gathering. I always thought they were some complicated recipe that required special skills or fancy ingredients. It wasn’t until I was going through her recipe box last year that I realized how wrong I was.
Turns out, these sweet and buttery treats are actually one of the easiest desserts you can make. With just a few basic pantry ingredients and a jar of cherry jam, you can create the same bars that made everyone at our neighborhood potlucks ask for the recipe. Trust me, if you can spread jam on toast, you can make these bars.
Why You’ll Love These Cherry Jam Bars
- Quick prep time – These bars come together in under an hour, making them perfect for last-minute desserts or when you’re craving something sweet without spending hours in the kitchen.
- Simple ingredients – You probably have most of these pantry staples on hand already – just grab some cherry preserves and you’re ready to bake!
- No fancy equipment needed – All you need is a bowl and basic baking tools – no stand mixer or special equipment required.
- Perfect make-ahead treat – These bars stay fresh for several days and are great for lunch boxes, picnics, or afternoon snacks with coffee or tea.
What Kind of Cherry Preserves Should I Use?
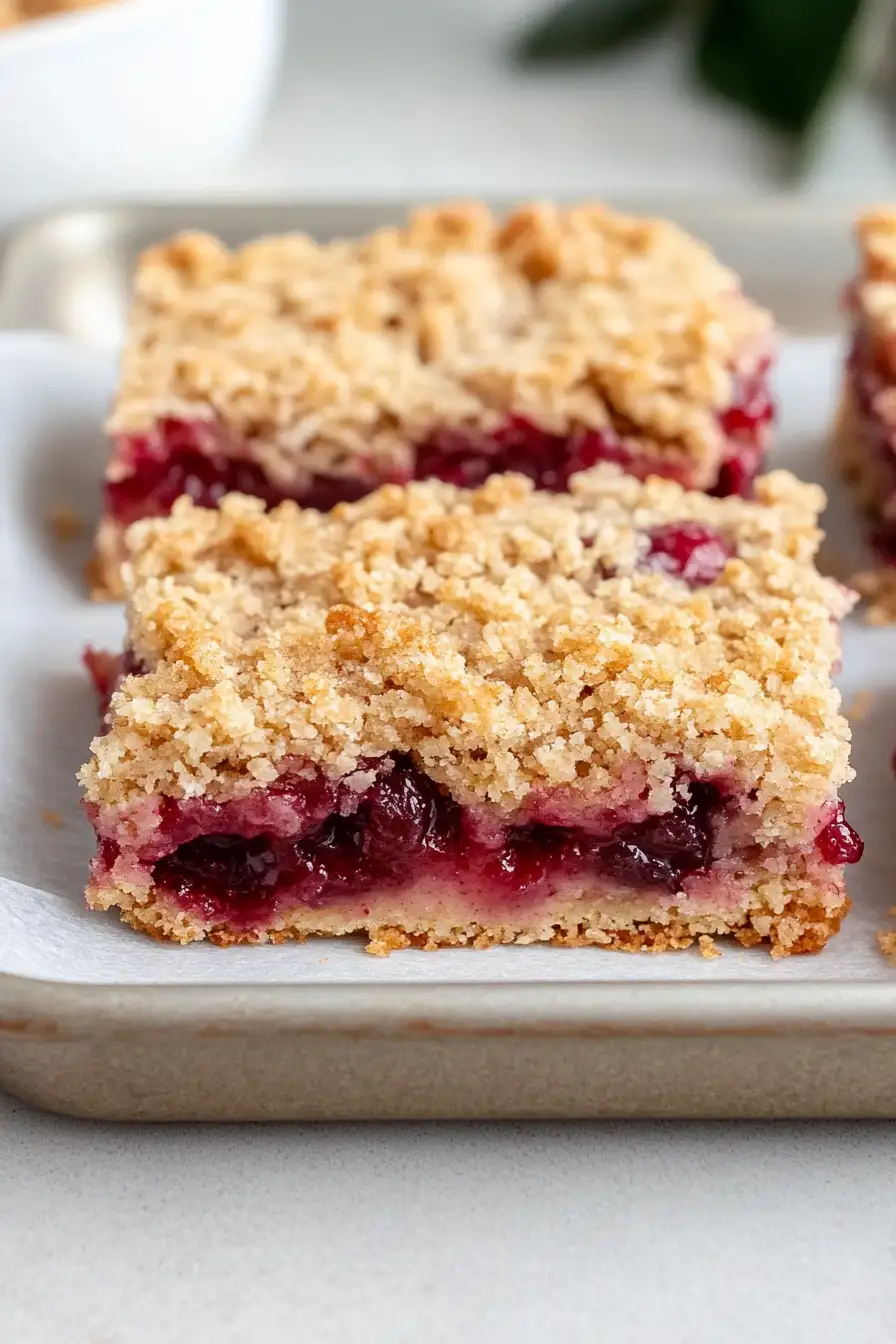
For these jam bars, you’ll want to use a good quality cherry preserve rather than a jelly – preserves contain chunks of real fruit which add great texture and a more authentic cherry flavor to your bars. Regular cherry preserves from the grocery store work perfectly fine, but if you can find sour cherry preserves (sometimes labeled as Morello cherry), they’ll give your bars a wonderful sweet-tart balance that’s really special. Just make sure whatever preserve you choose isn’t too runny, as this could make your bars soggy. If your preserves seem very loose, you can cook them down for a few minutes in a small saucepan before using them in the recipe.
Options for Substitutions
These cherry jam bars are pretty adaptable – here’s what you can swap if needed:
- Unsalted butter: You can use salted butter – just reduce the added salt by 1/4 teaspoon. Plant-based butter also works, though the texture might be slightly different.
- Cherry preserves: Any fruit preserves or jam will work here! Try raspberry, strawberry, or apricot preserves. Just make sure to use thick preserves rather than runny jelly for the best results.
- Almond flavoring: Vanilla extract makes a great substitute. You could also use orange or lemon extract for a citrusy twist.
- Rolled oats: Quick oats can work in a pinch, but the texture won’t be quite as nice. Don’t use instant oats – they’ll get too mushy.
- Sliced almonds: Feel free to swap with chopped walnuts, pecans, or even sunflower seeds if you need a nut-free option. You can also leave them out completely.
- Light brown sugar: Dark brown sugar works fine, or use white sugar plus 1 teaspoon of molasses. Plain white sugar works too, though you’ll lose some of that caramel note.
Watch Out for These Mistakes While Baking
The biggest challenge when making cherry jam bars is achieving the right consistency of the crust – overmixing the butter and dry ingredients can lead to tough, dense bars instead of a tender, crumbly texture, so mix just until the mixture resembles coarse crumbs.
Temperature matters significantly here – using butter that’s too soft or melted will make your crust greasy and prevent it from holding together properly, so stick to room temperature butter that’s still slightly firm to the touch.
When spreading the cherry preserves, leave a small border around the edges to prevent the jam from bubbling over and sticking to your pan during baking, and make sure to press the top crumb layer gently into the jam rather than packing it down too firmly.
For clean, neat squares, allow the bars to cool completely (at least 2 hours) before cutting – trying to slice them while warm will result in messy, broken pieces and jam oozing everywhere.
What to Serve With Cherry Jam Bars?
These sweet and fruity cherry jam bars are perfect for afternoon tea or as a dessert, and they pair wonderfully with a few simple accompaniments. A scoop of vanilla ice cream on the side adds a cool, creamy contrast to the jammy bars, while a dollop of fresh whipped cream makes them feel extra special. For a cozy afternoon treat, serve them alongside your favorite hot beverage – I love them with a cup of black tea or coffee to balance out the sweetness. If you’re putting these out for dessert, try adding some fresh cherries on the side when they’re in season for a pretty presentation.
Storage Instructions
Counter Storage: These cherry jam bars stay fresh at room temperature for up to 3 days when kept in an airtight container. I like to place pieces of parchment paper between layers to prevent them from sticking together. They’re perfect for packing in lunch boxes or having ready for an afternoon treat!
Refrigerate: Pop these bars in the fridge in a sealed container, and they’ll stay good for up to a week. The jam filling might get a bit firmer when chilled, but that doesn’t affect the taste one bit. Just let them sit at room temperature for about 15 minutes before eating if you prefer them softer.
Freeze: These bars are great for freezing! Cut them into squares, place parchment paper between layers, and store in a freezer-safe container for up to 3 months. When you’re craving one, just take it out and let it thaw on the counter for about an hour.
| Preparation Time | 10-15 minutes |
| Cooking Time | 25-35 minutes |
| Total Time | 35-50 minutes |
| Level of Difficulty | Easy |
Estimated Nutrition
Estimated nutrition for the whole recipe (without optional ingredients):
- Calories: 1200-1400
- Protein: 15-20 g
- Fat: 60-70 g
- Carbohydrates: 160-180 g
Ingredients
For the crust:
- 1/2 cup light brown sugar
- 1/4 cup sliced almonds
- 3/4 cup all-purpose flour
- 1/4 tsp almond flavoring
- 7 tbsp unsalted butter
- 1/2 tsp baking powder
- 1/2 cup rolled oats
- 1/2 tsp salt
For the filling:
- 3/4 cup plus 2 tbsp cherry preserves
Step 1: Prepare the Baking Equipment
Position the oven rack in the center and preheat the oven to 350°F (175°C).
Prepare an 8-inch square baking pan by coating it with nonstick spray to prevent sticking.
Step 2: Melt the Butter and Combine Wet Ingredients
Melt 7 tablespoons of unsalted butter in a large microwave-safe bowl.
If melting on the stovetop, transfer the melted butter to a large mixing bowl afterward.
Whisk in ½ cup of firmly packed light brown sugar and ¼ teaspoon of almond extract until the mixture is smooth and well combined.
Step 3: Combine Dry Ingredients and Create Crust Mixture
Stir in ¾ cup of all-purpose flour, ½ cup of old-fashioned rolled oats, ¼ cup of sliced almonds, ½ teaspoon of baking powder, and ½ teaspoon of salt to the wet mixture.
Mix until all the ingredients are uniformly combined and come together to form a dough-like consistency.
Step 4: Assemble the Base and Jam Layer
Press a little over half of the crust mixture evenly into the bottom of the prepared baking pan.
Spread ¾ cup plus 2 tablespoons of cherry jam over the crust, ensuring it’s evenly distributed using the back of a spoon or a small offset spatula.
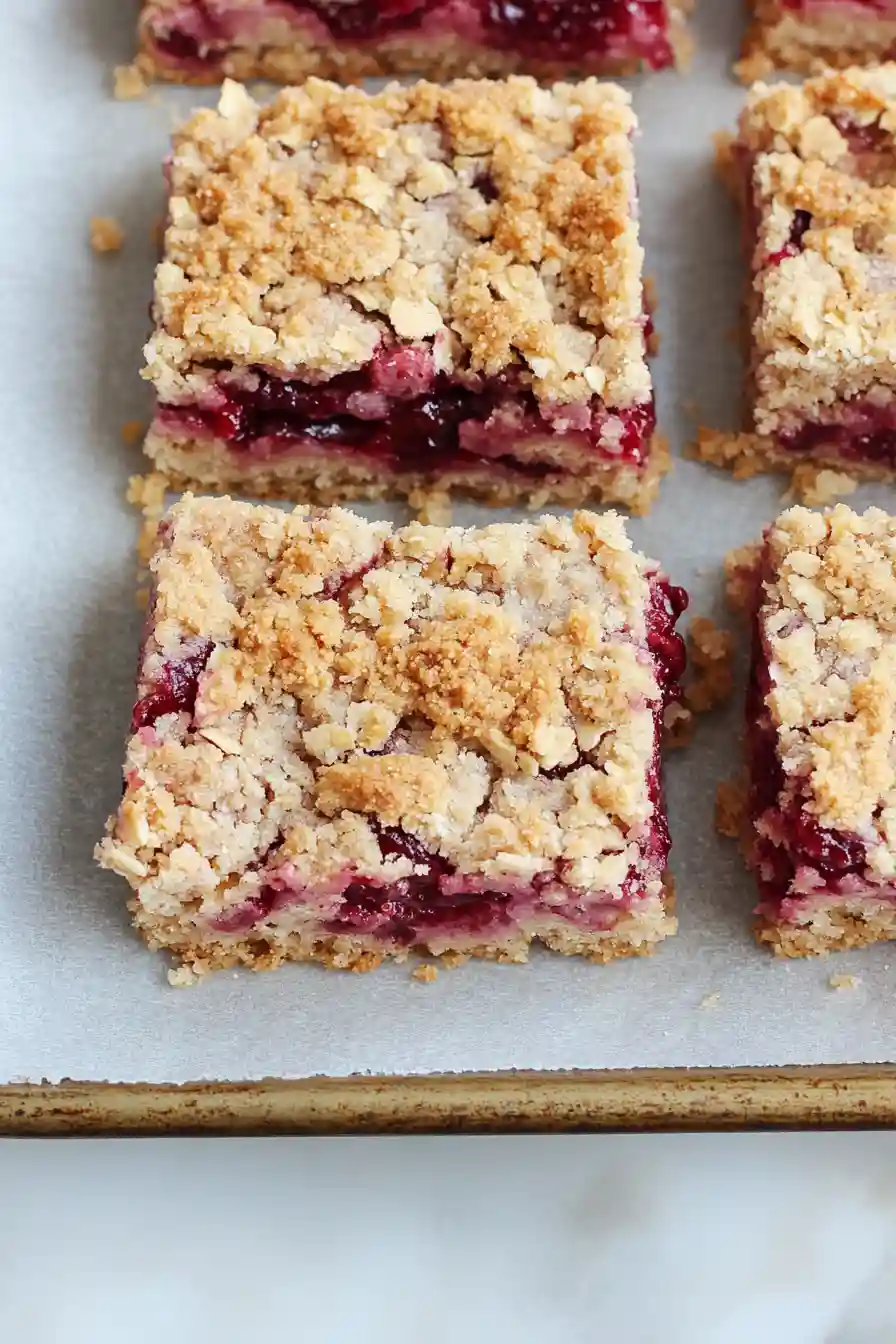
Step 5: Add Crumble Topping
Crumble the remaining crust mixture over the jam layer.
Use your fingers to gently press the crumbles into place as evenly as possible, allowing some of the jam to peek through for a rustic look.
Step 6: Bake the Bars
Bake the assembled bars in the preheated oven for about 25 to 35 minutes, or until the crust begins to turn a light golden brown.
Once baked, remove the pan from the oven and let it cool before cutting into bars to serve.
Enjoy your delicious cherry crumble bars!
