I didn’t taste my first homemade cherry pie until I was in college. Growing up, we only had the store-bought ones that came in those thin aluminum tins. My roommate’s mom made one from scratch during parents’ weekend, and I couldn’t believe the difference.
That’s because a real cherry pie needs fresh cherries and a proper homemade crust – two things those store versions just can’t match. While some folks think making pie from scratch is tricky, it’s actually pretty straightforward once you know the basic steps. And trust me, the extra effort is worth every bite.

Why You’ll Love This Cherry Pie
- Made from scratch – Using fresh cherries and a homemade crust creates a pie that’s leagues better than anything you can buy at the store – you can really taste the difference!
- Perfect balance of flavors – The combination of vanilla and almond extracts brings out the natural sweetness of the cherries, while the lemon juice adds just the right amount of brightness.
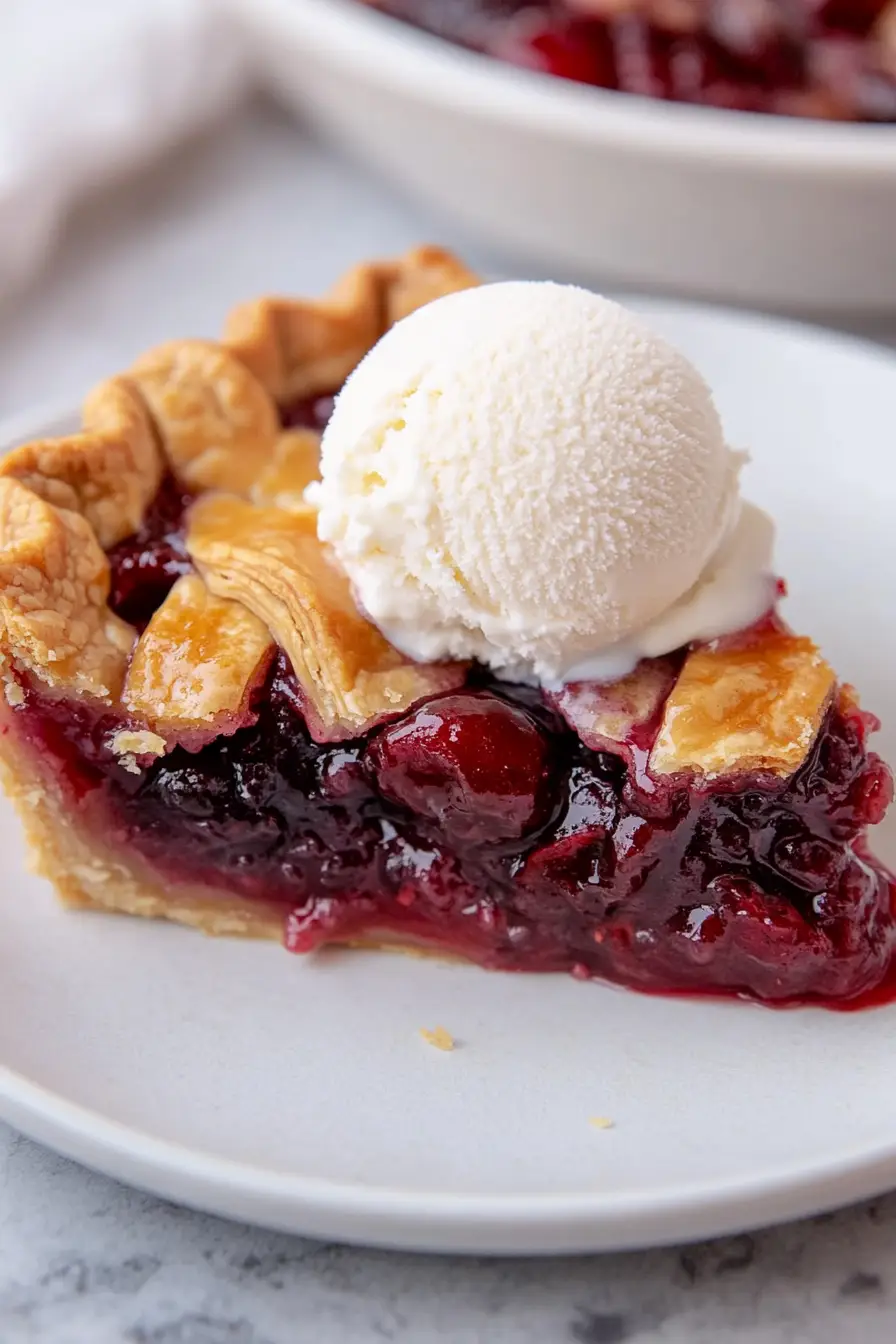
- Classic comfort dessert – This recipe creates that traditional, homey cherry pie you remember from childhood – complete with a flaky, golden-brown crust and sweet-tart filling.
- Make-ahead friendly – You can prepare the pie dough ahead of time and keep it in the fridge, making the actual assembly much quicker when you’re ready to bake.
What Kind of Cherries Should I Use?
For pie making, sweet cherries like Bing or dark cherries are the most common choice, though you can also use tart cherries like Montmorency if you prefer a more tangy flavor. Fresh cherries are ideal when they’re in season (usually summer months), but you can also use frozen cherries – just make sure to thaw and drain them well before using to avoid excess liquid in your pie. When selecting fresh cherries, look for firm, plump fruits with shiny skin and green stems still attached – avoid any that are soft, bruised, or have brown spots. If you’re using fresh cherries, you’ll want to pit them first, which you can do with a cherry pitter tool or by carefully cutting them in half and removing the pit with your fingers.
Options for Substitutions
Making a cherry pie but missing some ingredients? Here are some helpful swaps you can try:
- Fresh cherries: If fresh cherries aren’t in season, frozen cherries work great – just thaw and drain them first. You can also use canned cherries, but drain them well and reduce the sugar by 2-3 tablespoons since they’re usually pre-sweetened.
- Cornstarch: All-purpose flour can work as a thickener – use 1/2 cup instead of 1/4 cup cornstarch. Instant tapioca is another good option – use 1/3 cup and grind it finely first.
- Almond essence: You can skip it if you don’t have it, or use an extra 1/2 teaspoon of vanilla instead. Some bakers like to add a drop of rose water for a similar fancy touch.
- Egg wash: Heavy cream or plain milk will work for brushing the top crust. You’ll still get a nice golden color, though it might not be quite as shiny as with egg wash.
- Coarse sugar: Regular granulated sugar works fine for the topping, or you can skip it altogether. The pie will still taste great!
- Homemade pie crust: While homemade is lovely, store-bought pie crust can save time and works well too. Just let it come to room temperature before using.
Watch Out for These Mistakes While Baking
The biggest challenge when making cherry pie is dealing with a soggy bottom crust – to prevent this, try blind baking your bottom crust for about 10 minutes before adding the filling, and make sure to cut enough vents in the top crust to let steam escape. A common mistake is not thickening the filling properly, which can lead to a runny pie – be sure to let your cherry mixture sit with the cornstarch for at least 15 minutes before filling the crust, allowing the cornstarch to fully absorb the fruit juices. Another crucial tip is to let the pie cool completely (at least 4 hours) before cutting into it, as the filling needs time to set – rushing this step will result in a messy, liquid center that spills everywhere. For the best results, brush your top crust with egg wash before baking and place a baking sheet under your pie to catch any potential overflow, saving your oven from a sticky mess.
What to Serve With Cherry Pie?
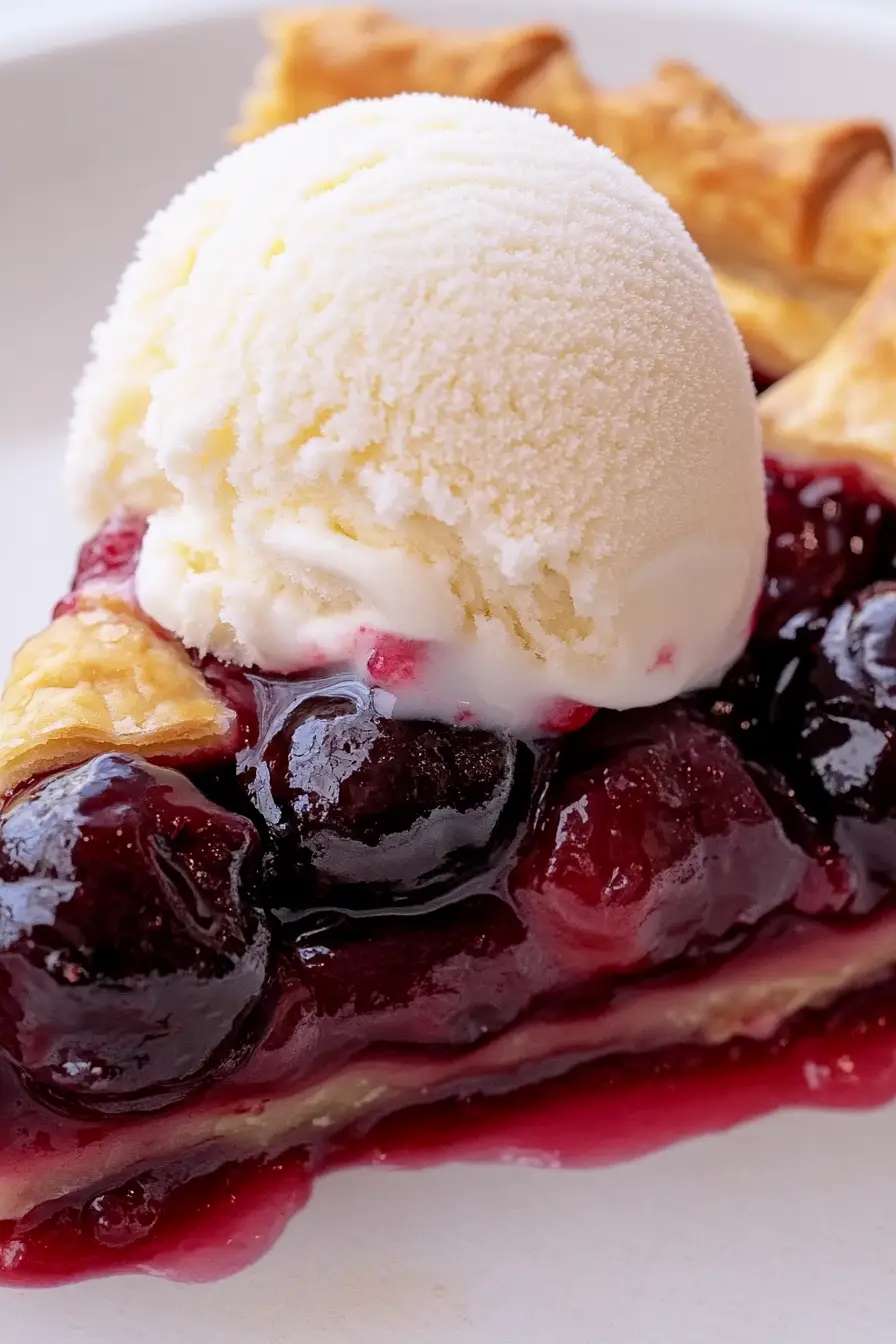
A slice of cherry pie practically begs for a scoop of vanilla ice cream – it’s a classic combo that just works! The cold, creamy ice cream creates the perfect contrast with the warm, sweet pie filling. If you’re not in the mood for ice cream, try topping your slice with fresh whipped cream or a dollop of mascarpone cheese. For a morning treat, serve your cherry pie with a hot cup of coffee or, for dessert, pair it with a small glass of port wine which really brings out the cherry flavor.
Storage Instructions
Counter Storage: Your freshly baked cherry pie can hang out on the counter at room temperature for up to 2 days. Just cover it loosely with foil or pop it in a pie keeper if you have one. The crust stays crispier this way than if you refrigerate it right away.
Refrigerate: If you want your pie to last longer, keep it in the fridge for up to 5 days. Cover it well with plastic wrap or aluminum foil to prevent it from drying out or picking up other flavors from the fridge. The filling might get a bit firmer when chilled, but it’s still delicious!
Freeze: This pie freezes really well for up to 4 months! Let it cool completely, then wrap it tightly in plastic wrap and aluminum foil. When you’re ready to eat it, thaw it overnight in the fridge. You can warm individual slices in the oven at 350°F for about 10 minutes to get that fresh-baked taste back.
| Preparation Time | 30-60 minutes |
| Cooking Time | 50-60 minutes |
| Total Time | 80-120 minutes |
| Level of Difficulty | Medium |
Estimated Nutrition
Estimated nutrition for the whole recipe (without optional ingredients):
- Calories: 1200-1400
- Protein: 15-20 g
- Fat: 50-60 g
- Carbohydrates: 180-200 g
Ingredients
For the pie crust:
- 1 all-butter pie pastry (for 2 crusts, fresh or frozen)
- 1 large egg (beaten with 1 tbsp milk for an egg wash)
- coarse sugar (for sprinkling on top)
For the filling:
- 1 tbsp lemon juice
- 1/4 cup cornstarch (to thicken the filling)
- 1 tsp vanilla extract (I use Watkins Pure Vanilla Extract)
- 2/3 cup white sugar
- 1/4 tsp almond extract (enhances cherry flavor)
- 4 1/2 cups fresh cherries (pitted and halved)
- 1 tbsp unsalted butter (cut into small pieces)
Step 1: Prepare the Cherry Pie Filling
In a large bowl, mix together the cherries, sugar, cornstarch, lemon juice, vanilla extract, and almond extract until they are thoroughly combined.
Cover this filling mixture and place it in the refrigerator while you work on the pie crust, or let it chill for up to 24 hours to allow the flavors to meld.
Step 2: Roll Out the Bottom Pie Crust
On a floured work surface, roll out one of the discs of chilled dough (keeping the other disc in the refrigerator).
Rotate the dough a quarter turn after every few rolls until you have rolled it out to a 12-inch diameter circle.
Gently place the rolled-out dough into a 9-inch pie dish, smoothing it in with your fingers to ensure it fits snugly.
Use a slotted spoon to transfer and evenly spread the cherry filling into the crust, setting aside the juice for the next step.
Refrigerate the pie, uncovered, as you proceed to reduce the juices.
Step 3: Reduce the Cherry Juice
Pour the leftover few tablespoons of juice into a small saucepan.
Place over low heat, cooking and stirring for 3-4 minutes until the juice thickens slightly.
Once reduced, let it cool for 5 minutes, then pour it over the cherry filling in the pie crust.
Gently toss the mixture to combine—remember, it doesn’t need to be perfect.
The reduction will firm up due to the cold cherries, but will melt again during baking.
Dot pieces of butter on top of the cherry filling.
Step 4: Prepare the Lattice Top
Preheat your oven to 400°F (204°C).
Remove the remaining disc of chilled pie dough from the refrigerator and roll it out to a 12-inch diameter circle.
Using a pastry wheel, sharp knife, or pizza cutter, cut the dough into strips (four strips 2 inches wide and two strips 1 inch wide).
Create a lattice pattern over the cherry pie by threading the strips over and under each other.
Press the ends of the strips into the bottom crust to seal them.
Trim any excess dough and flute or crimp the edges with a fork.
Step 5: Brush and Bake the Pie
Lightly brush the top crust with egg wash and sprinkle with coarse sugar if desired.
Place the prepared pie on a large baking sheet for stability and bake for 20 minutes.
Without removing the pie, reduce the oven temperature to 375°F (190°C) and continue baking for an additional 30-40 minutes.
Aim for the top crust to turn golden brown and for the filling juices to bubble through the lattice or at the edges for at least 5 minutes.
After the initial 20 minutes, consider using a pie crust shield to protect the edges from over-browning too quickly.
Step 6: Cool and Serve
Once the pie is baked, remove it from the oven and allow it to cool on a cooling rack for at least 3-4 hours before slicing.
This cooling period ensures that the filling sets and doesn’t become too runny when served.
Store any leftovers tightly covered in the refrigerator for up to 5 days for future enjoyment.
