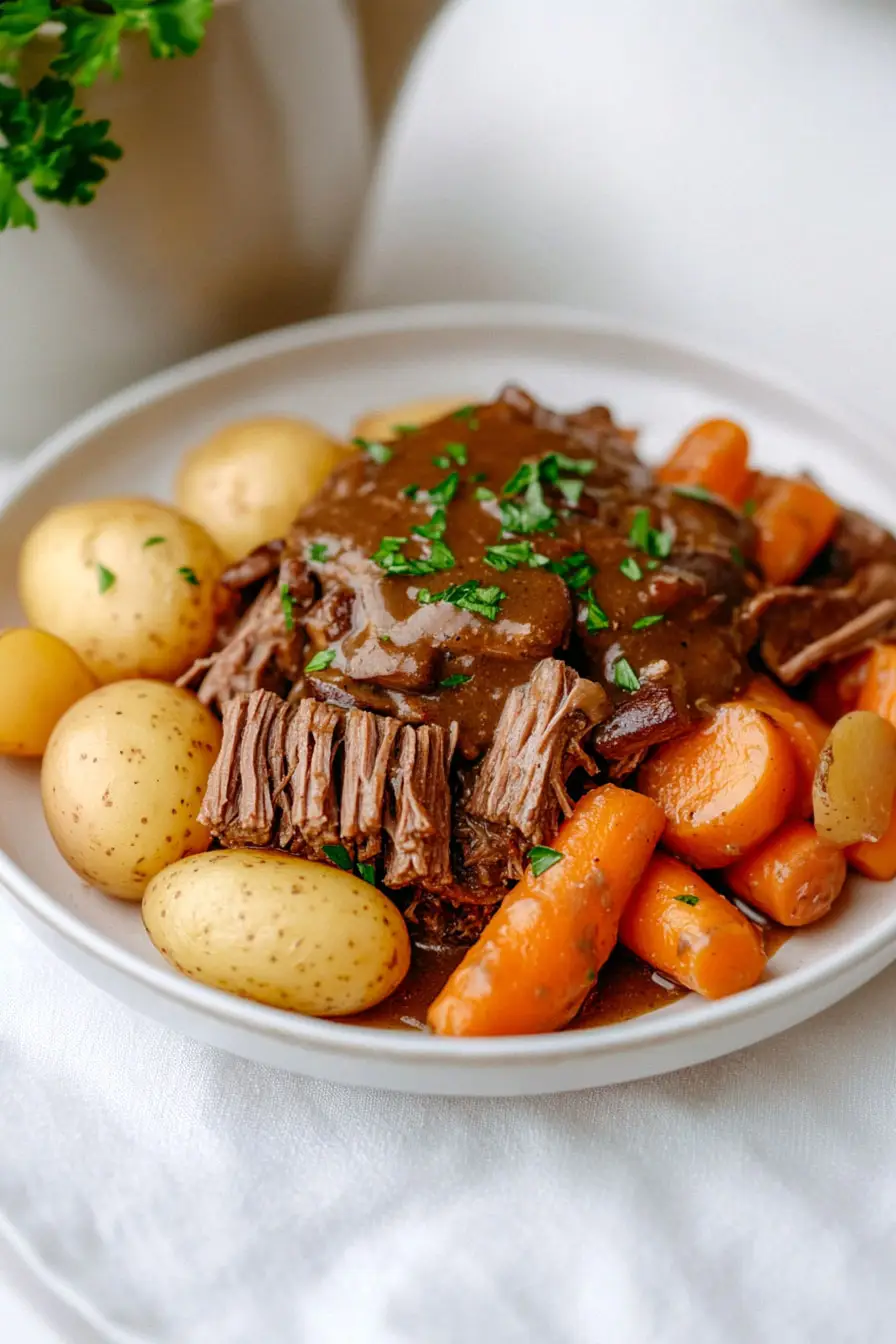
There’s something so comforting about a good pot roast. Growing up, the smell of beef and vegetables cooking all day was a sure sign that Sunday dinner would be special. But when I had to switch to gluten-free cooking, I worried I’d never get that same rich flavor in my pot roast again. After some trial and error in my kitchen, I figured out that going gluten-free doesn’t mean giving up this classic comfort food.
This pot roast recipe has become my go-to when I’m craving a hearty, home-cooked meal. It’s perfect for those chilly weekends when you want something warm and filling but don’t want to spend hours actively cooking. I usually prep everything in the morning, let it cook low and slow all day, and by dinner time, the meat is so tender it practically falls apart.
The best part? Nobody at my table can tell it’s gluten-free. Even my picky eaters clean their plates when I serve this, and isn’t that what every home cook wants to see?
Why You’ll Love This Pot Roast
- Naturally gluten-free – Perfect for those with celiac disease or gluten sensitivity, this pot roast is made without any wheat-containing ingredients while delivering all the classic comfort food flavor.
- One-pot meal – Everything cooks together in a single pot, meaning less cleanup and more time to enjoy with your family.
- Make-ahead friendly – This pot roast actually tastes better the next day, making it perfect for meal prep or when you’re planning to host guests.
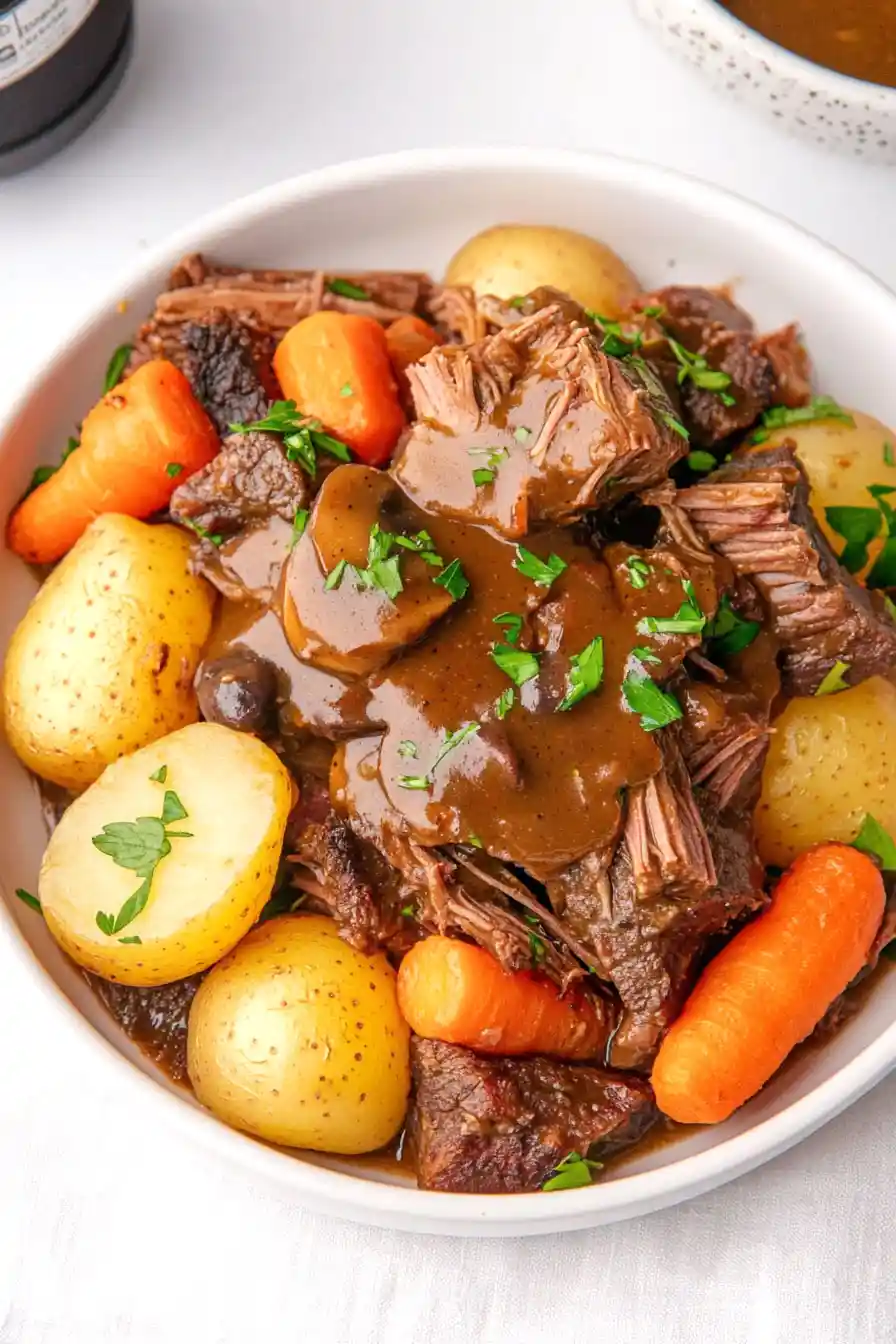
- Rich flavor development – The combination of red wine, dried porcini mushrooms, and fresh herbs creates deep, satisfying flavors that make this dish taste like it came from a restaurant.
- Complete meal – With tender meat, potatoes, and vegetables all cooking together, you’ve got your protein, starches, and vegetables covered in one dish.
What Kind of Chuck Roast Should I Use?
For the best pot roast, look for a well-marbled chuck roast with visible streaks of fat running through the meat. The standard supermarket options you’ll typically find are labeled as “chuck roast,” “shoulder roast,” “chuck shoulder pot roast,” or “chuck seven-bone pot roast” – any of these will work great for this recipe. When shopping, aim for a piece that’s evenly shaped (this helps it cook uniformly) and has a bright red color with white fat marbling. For the most tender results, pick a roast that’s between 3-5 pounds, as anything much larger or smaller might not cook quite as well in the typical pot roast timing.
Options for Substitutions
This pot roast recipe is pretty adaptable – here are some helpful swaps if you need them:
- Chuck roast: While chuck roast gives the best results, you can use other tough cuts like brisket, bottom round, or rump roast. Just keep in mind these cuts might need different cooking times to get tender.
- Red wine: Not using wine? Simply replace it with extra beef broth and add 2 tablespoons of balsamic vinegar to get that same rich flavor.
- Porcini mushrooms: If you can’t find dried porcini, you can use other dried mushrooms like shiitake. Or skip them altogether and add 8 ounces of fresh button mushrooms halfway through cooking.
- Yukon Gold potatoes: Red potatoes work great too. If using russet potatoes, cut them into larger chunks since they tend to break down more easily.
- Fresh herbs: While fresh herbs are great, dried ones work fine too. Just remember the conversion: use 1/3 of the amount when switching from fresh to dried herbs.
- Worcestershire sauce: For a gluten-free option, make sure to use gluten-free Worcestershire sauce, or substitute with coconut aminos or gluten-free tamari for that savory taste.
Watch Out for These Mistakes While Cooking
The biggest mistake when making pot roast is rushing the cooking process – this tough cut of meat needs low and slow cooking (at least 3-4 hours) to break down the connective tissue and become fork-tender. Another common error is not searing the meat properly before braising; taking an extra 10-15 minutes to get a deep brown crust on all sides will add incredible flavor to your final dish. The liquid level is crucial too – adding too much stock can lead to a soupy result instead of a rich, concentrated sauce, so make sure the liquid only comes about halfway up the sides of the meat. For the most flavorful results, avoid lifting the lid during cooking as this lets precious moisture and heat escape, and remember to let your pot roast rest for 15-20 minutes after cooking so the juices can redistribute throughout the meat.
What to Serve With Pot Roast?
This hearty pot roast already comes with potatoes and carrots, but there are some simple sides that can make the meal even better! A fresh green salad with a light vinaigrette helps balance out the richness of the meat and adds a nice crisp contrast to the tender roast. If you’re looking to soak up all that delicious gravy, try some gluten-free dinner rolls or crusty gluten-free bread on the side. For extra veggies, steamed green beans or roasted Brussels sprouts work really well with the savory flavors of the roast.
Storage Instructions
Keep Fresh: Your pot roast will stay good in the fridge for up to 4 days when stored in an airtight container. The flavors actually get better after a day or two as everything mingles together! Just make sure to keep the meat and vegetables stored with their juices to prevent them from drying out.
Freeze: This pot roast is perfect for freezing! Let it cool completely, then transfer to freezer-safe containers or bags with the cooking liquid. It’ll keep well for up to 3 months. I like to portion it out before freezing so I can thaw just what I need for a meal.
Reheat: To warm up your pot roast, place it in a covered dish with its juices and heat in the oven at 325°F for about 20-30 minutes, or until heated through. You can also use the microwave for smaller portions – just heat in short intervals, stirring occasionally. Add a splash of broth if needed to keep everything moist.
| Preparation Time | 15-25 minutes |
| Cooking Time | 180-480 minutes |
| Total Time | 195-505 minutes |
| Level of Difficulty | Medium |
Estimated Nutrition
Estimated nutrition for the whole recipe (without optional ingredients):
- Calories: 2800-3200
- Protein: 220-240 g
- Fat: 150-180 g
- Carbohydrates: 200-220 g
Ingredients
For the pot roast:
- 1 sprig fresh rosemary
- 1 to 2 cups beef stock (I like College Inn beef broth)
- 2 sprigs fresh thyme
- 1 celery stalk, chopped
- 2 tsp Worcestershire sauce
- 2 bay leaves
- 4 garlic cloves, crushed (freshly crushed for best flavor)
- 4 lb boneless chuck roast (preferably well-marbled for tenderness)
- 1 cup red wine (a dry red like Cabernet Sauvignon works well)
- 3 carrots, chopped
- 1 yellow onion, chopped
- 0.5 oz dried porcini mushrooms (rehydrated and chopped)
For the additional vegetables:
- 1 lb carrots, cut into 2-inch segments
- 2 lb small Yukon gold potatoes, whole
Step 1: Sear the Beef
Begin by patting the beef dry with paper towels to ensure a good sear.
Season it generously with salt and pepper.
Heat 2 tablespoons of olive oil in a large dutch oven or heavy-bottomed pan over medium-high heat.
Add the seasoned beef and cook until it’s browned on all sides, about 10-15 minutes.
Once browned, remove the beef from the pot and place it in the slow-cooker.
Step 2: Cook the Vegetables
In the same dutch oven, add the onions, carrots, and celery.
Cook these vegetables until they become tender, which should take about 6-8 minutes.
Next, add the garlic, rosemary, and thyme, cooking for an additional 30 seconds to release their flavors.
Step 3: Deglaze the Pan with Wine
Pour the wine into the dutch oven and use a spoon or spatula to scrape up all the flavorful browned bits stuck to the bottom of the pan.
Allow the wine to cook and reduce for 3-4 minutes, then pour this wine and vegetable mixture over the beef in the slow-cooker.
Step 4: Set Up the Slow-Cooker
Add the porcini mushrooms, Worcestershire sauce, bay leaves, and 1 cup of beef broth to the slow-cooker with the beef and vegetable mixture.
Set the slow-cooker to cook on low for 6-8 hours or on high for 3-4 hours until the roast is tender.
If you’re using additional potatoes and carrots, add them on top of the meat during the last 2 hours of cooking.
Step 5: Finish and Make the Gravy
Once the roast is done cooking, carefully remove the meat (and potatoes/carrots) from the slow-cooker and place it on a serving platter, tenting it with foil to keep warm.
Discard the rosemary sprigs, thyme sprigs, and bay leaves from the cooker.
Skim as much fat as possible from the surface of the remaining liquid.
Pour the liquid and all the vegetables into a blender and blend until smooth to create the gravy.
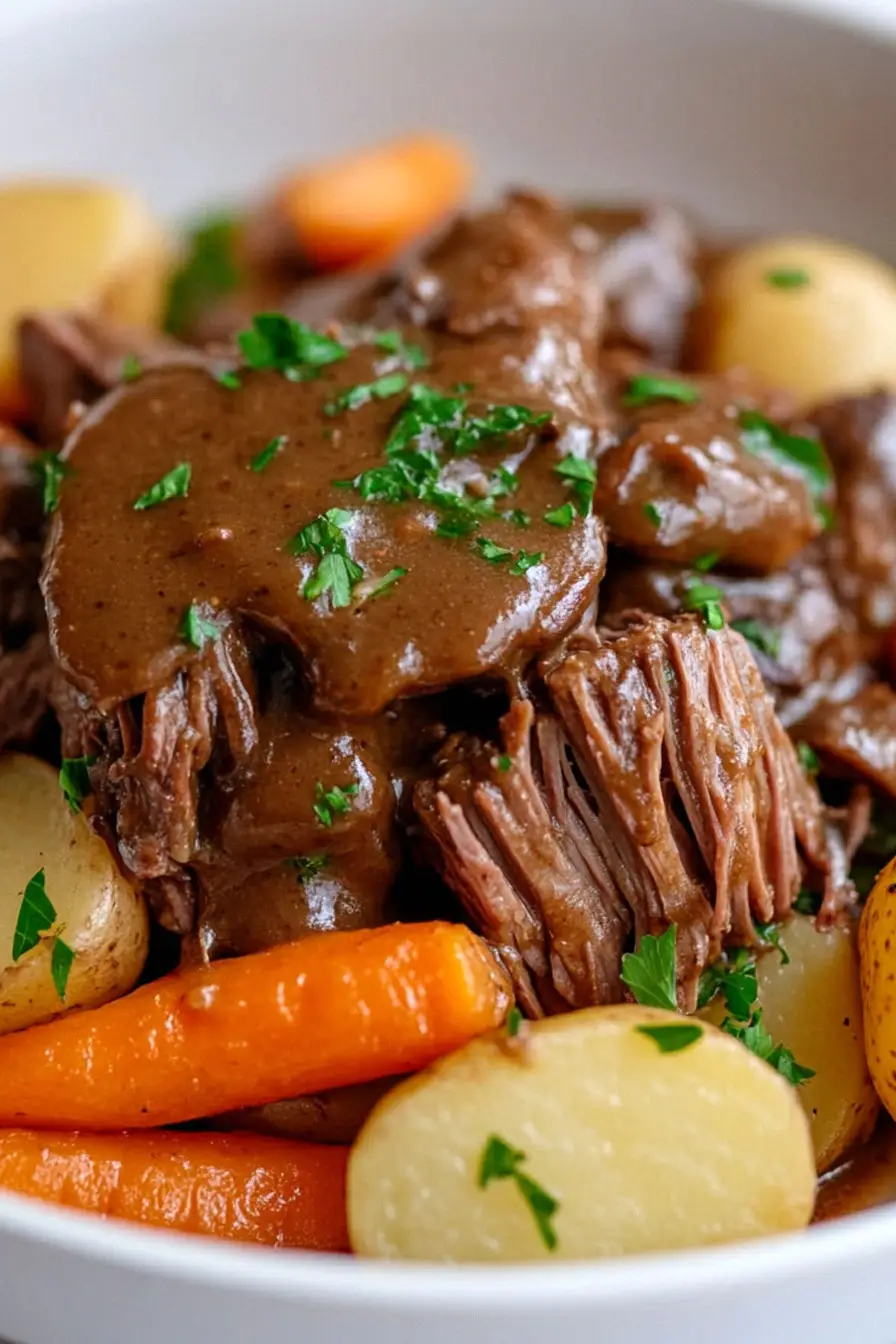
Step 6: Serve the Roast
Slice or shred the meat as desired and pour some of the prepared gravy over it.
Serve immediately, passing the remaining gravy for extra flavor.
Enjoy your hearty, flavorful roast!
