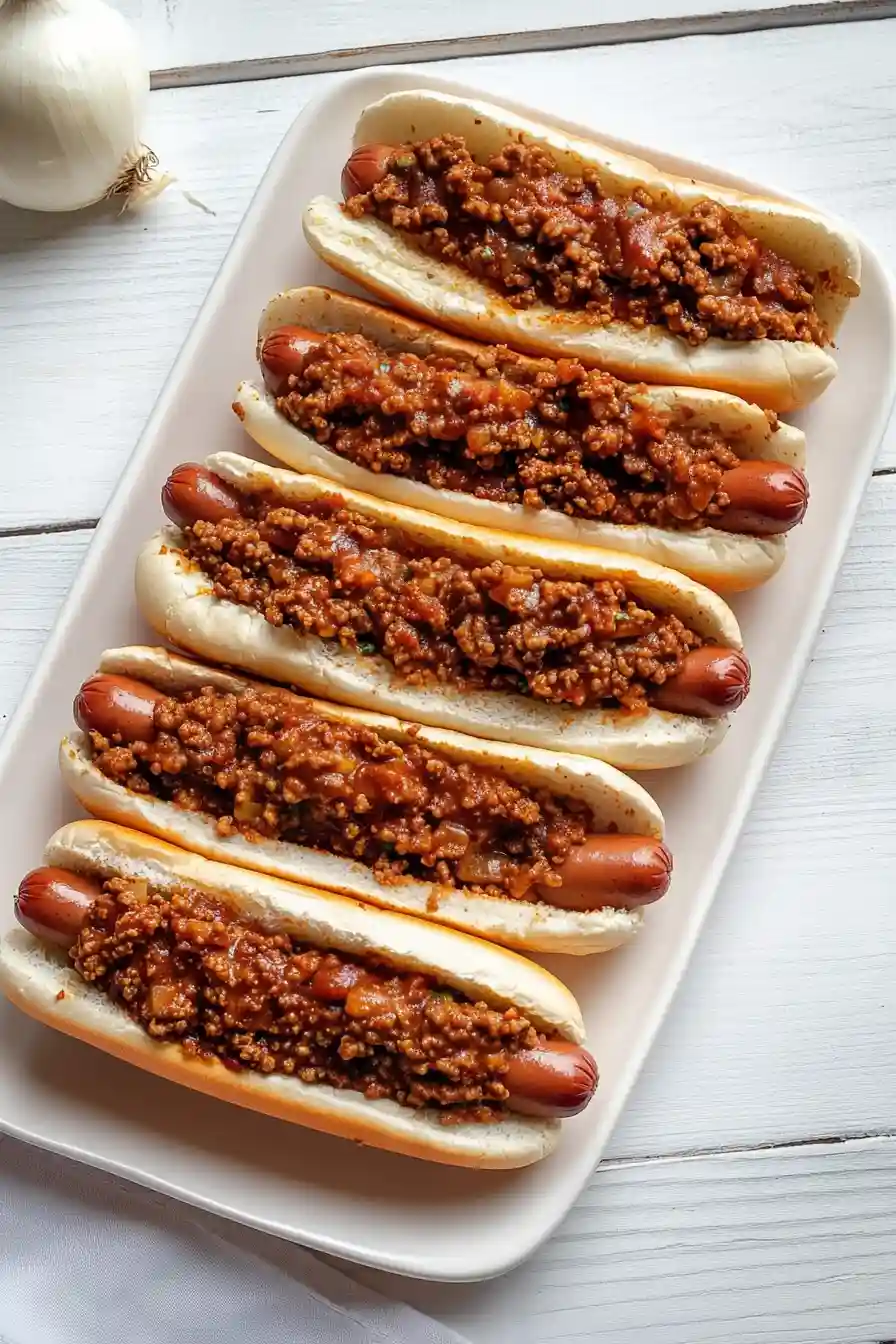
Growing up, hot dog chili always came from a can in our house. Mom would heat it up, pour it over our hot dogs, and that was that. When I tried making it from scratch at a friend’s house in high school, I couldn’t believe the difference.
The thing is, homemade hot dog chili isn’t complicated at all – it just needs the right mix of seasonings and a bit of patience. While the canned stuff works in a pinch, this simple recipe has become my go-to for cookouts and quick family dinners. My kids actually cheer when they smell it simmering on the stove.
Why You’ll Love This Hot Dog Chili
- Double meat goodness – The combination of crispy bacon and ground beef creates an incredibly rich and satisfying chili that’s perfect for topping hot dogs.
- Make-ahead friendly – This chili actually tastes even better the next day, making it perfect for cookouts, game days, or whenever you need to prep ahead.
- No beans or chunks – Unlike traditional chili, this smooth, meaty sauce is specifically designed for hot dogs – it won’t fall off your bun or make a mess while eating.
- Classic flavor profile – The blend of chili powder, cumin, and paprika gives you that authentic hot dog stand taste that everyone knows and loves.
- Crowd-pleasing recipe – This recipe makes enough to serve a group, perfect for backyard barbecues or family gatherings.
What Kind of Ground Beef Should I Use?
For hot dog chili, you’ll want to strike the right balance with your ground beef choice. While you might be tempted to go for the leanest option, an 80/20 ground beef (meaning 80% lean meat to 20% fat) actually works best for this recipe. The fat helps develop better flavor and keeps the chili from becoming too dry or crumbly. If you’re buying from the butcher counter, ask them to grind it fresh – but standard packaged ground beef from the meat case works fine too. Just avoid using extra lean ground beef (90/10 or leaner), as it can make your chili taste less rich and potentially too dry.
Options for Substitutions
This hot dog chili recipe can be tweaked in several ways to match what you have in your kitchen:
- Bacon: If you’re out of bacon, you can use diced salt pork or even skip it altogether – just add 2-3 tablespoons of oil to cook the beef. The chili will still taste good, though it won’t have that smoky flavor.
- Ground beef: Ground turkey or chicken can work here, but keep in mind the flavor will be lighter. If using turkey or chicken, add an extra tablespoon of chili powder to boost the flavor.
- Tomato sauce and puree: No tomato sauce? Use crushed tomatoes or pasta sauce instead. If using pasta sauce, reduce the added seasonings since it’s already flavored.
- Flour: For thickening, you can use cornstarch instead (1 tablespoon mixed with cold water), or even instant mashed potato flakes (2 tablespoons).
- Sugar: You can skip the sugar or replace it with a tiny pinch of grated carrot to balance the acidity. Honey or maple syrup work too – just use half the amount.
- Fresh garlic: If you’re out of fresh garlic, use 1/2 teaspoon of garlic powder or 1 teaspoon of pre-minced garlic from a jar.
Watch Out for These Mistakes While Cooking
The biggest mistake when making hot dog chili is cooking the ground beef at too high a temperature, which can lead to tough, chunky meat instead of the fine, smooth texture that’s perfect for hot dogs – keep the heat at medium and break up the meat constantly while it cooks. Another common error is skipping the flour step, but this ingredient is crucial as it helps thicken the chili and keeps it from sliding off your hot dog. The third key mistake is rushing the cooking time – this chili needs at least 20-25 minutes of simmering to develop its rich flavor and achieve the right consistency, so resist the urge to serve it too soon. For the best results, make sure to drain excess fat after cooking the bacon and beef (but leave about 2 tablespoons for flavor), and taste-test before serving since the saltiness of bacon can vary significantly.
What to Serve With Hot Dog Chili?
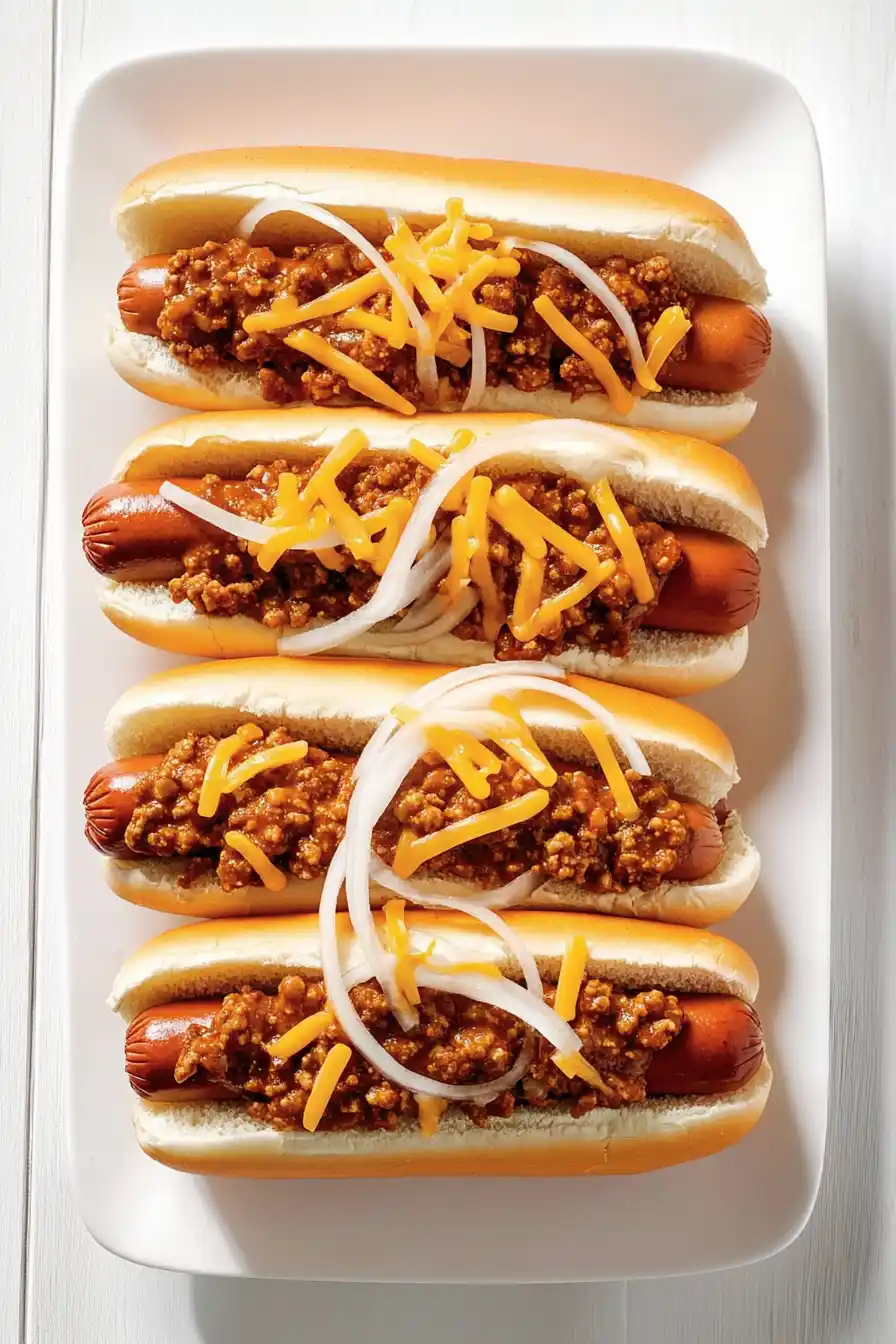
This hearty hot dog chili is perfect for creating the ultimate chili dog spread at your next cookout or game day gathering! The obvious pairing is with grilled hot dogs and soft buns, but don’t forget to set out bowls of diced onions, shredded cheddar cheese, and pickled jalapeños so everyone can customize their dogs. On the side, a cold and creamy coleslaw or potato salad provides a nice contrast to the rich, meaty chili. For something to munch on while the dogs are grilling, put out a bowl of corn chips – they’re great for scooping up any extra chili too!
Storage Instructions
Keep Fresh: This hot dog chili is perfect for making ahead! Pop it in an airtight container and keep it in the fridge for up to 4 days. The flavors actually get even better after a day or two as everything mingles together.
Freeze: Got leftovers? This chili freezes like a dream! Let it cool completely, then portion it into freezer-safe containers or bags. It’ll stay good in the freezer for up to 3 months. I like to freeze it in smaller portions – perfect for when you’re craving a chili dog or two!
Reheat: When you’re ready to enjoy your chili again, warm it up in a saucepan over medium-low heat, stirring occasionally. You can also microwave it in 30-second bursts, giving it a good stir between each. If it seems a bit thick after storage, just add a splash of water while reheating to get the right consistency.
| Preparation Time | 10-15 minutes |
| Cooking Time | 30-40 minutes |
| Total Time | 40-55 minutes |
| Level of Difficulty | Medium |
Estimated Nutrition
Estimated nutrition for the whole recipe (without optional ingredients):
- Calories: 2800-3200
- Protein: 180-200 g
- Fat: 220-240 g
- Carbohydrates: 80-100 g
Ingredients
- 2 tbsp tomato puree
- 2 cloves garlic (freshly minced for best flavor)
- 1 medium yellow onion (diced into 1/2-inch pieces)
- 1/2 tbsp sugar
- 1 tsp paprika
- 1 1/2 tbsp chili powder (I prefer McCormick chili powder)
- 1/2 tsp ground black pepper
- 1 tsp fine sea salt
- 1 lb bacon (cut into 1/4-inch strips)
- 2 tbsp plain flour
- 2 lb lean ground beef
- 12 fl oz tomato sauce (such as Muir Glen)
- 1 tsp cumin powder
Step 1: Cook the Bacon
Heat a large Dutch oven over medium-high heat.
Once it’s hot, add the bacon and cook for 7-8 minutes, or until the bacon is almost well done.
Once cooked, remove the bacon from the pot, leaving the drippings behind to enhance the flavor of the chili.
Step 2: Cook the Ground Beef and Onions
Reduce the heat to medium and add the ground beef to the pot.
Break up the beef as it cooks, then add the diced onions.
Cook until the ground beef is no longer pink, about 8 minutes.
During this time, continue to break the beef into small, crumbly pieces.
When the beef is cooked thoroughly, drain and discard any excess grease.
Step 3: Add Seasonings and Flour
With the beef still in the pot, add garlic, chili powder, ground cumin, paprika, salt, and pepper.
Mix these ingredients with the ground beef and let it saute for about 2 minutes until the spices become aromatic.
Next, stir in the flour, ensuring the beef is well coated.
Step 4: Add Tomatoes and Simmer
Pour in the tomato sauce and tomato paste, stirring to combine.
Increase the heat to medium-high until the mixture begins to bubble.
Once it starts bubbling, turn the heat down to low and cover the pot.
Let the chili simmer for 10 minutes to develop its flavors.
Step 5: Finalize the Chili
After 10 minutes, stir the cooked bacon pieces back into the chili.
Add in the sugar and stir again.
Cover the pot and let the chili simmer for another 10-15 minutes, or until it thickens to your desired consistency.
Step 6: Serve and Enjoy
Your chili is now ready to serve!
Enjoy it on hot dogs, a baked potato, or chili fries for a delicious and hearty meal.
