If you ask me, keto chili in the crock pot is a total game-changer.
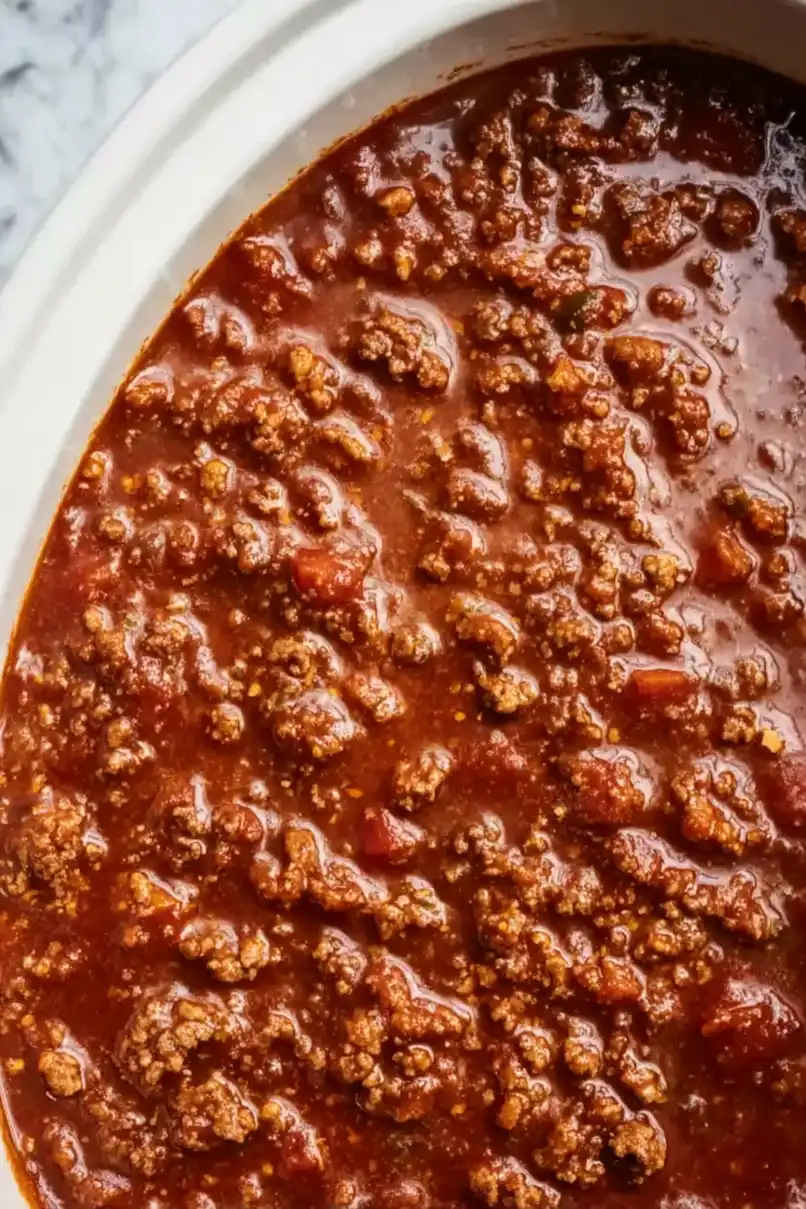
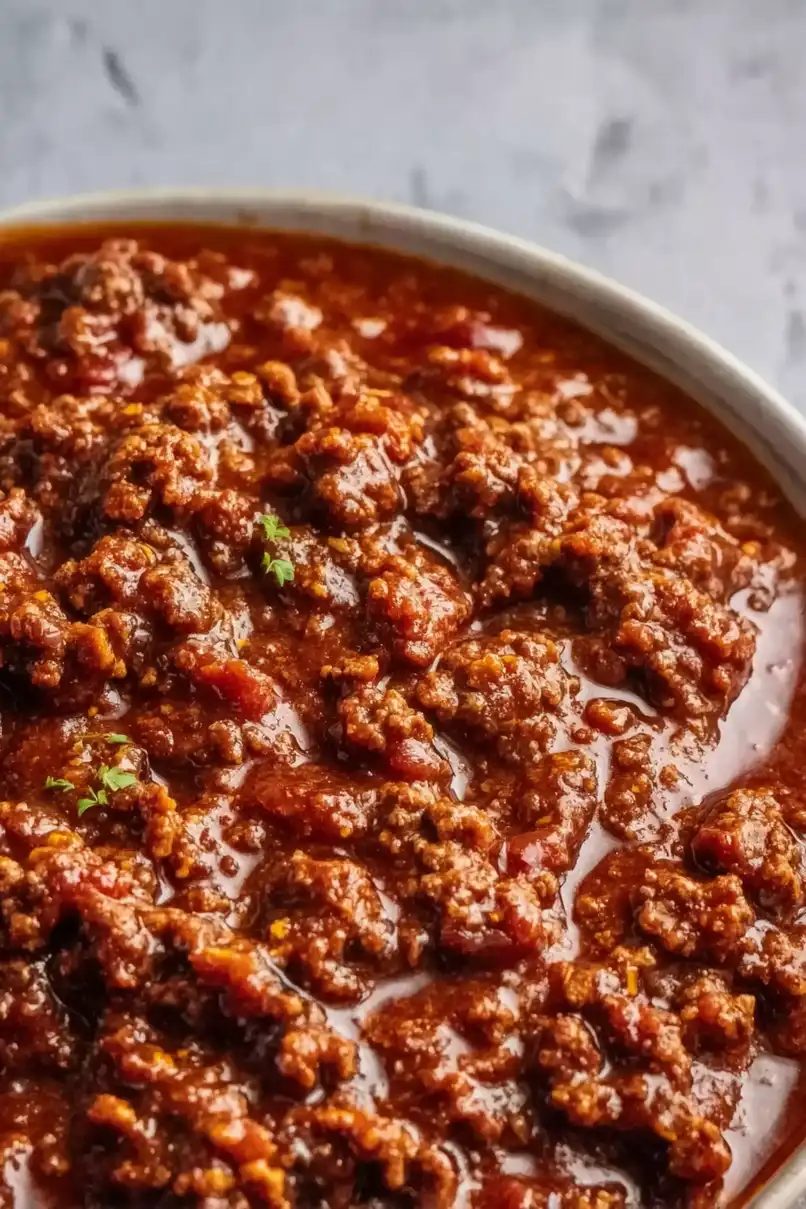
This hearty, low-carb version of everyone’s favorite comfort food comes together with minimal effort and maximum flavor. Ground beef and fresh vegetables simmer in a rich, tomato-based sauce that’s seasoned just right.
The slow cooker does all the heavy lifting while you go about your day, filling your home with those familiar, cozy chili aromas. A sprinkle of cheese and a dollop of sour cream on top make every bowl feel special.
It’s a filling, family-friendly meal that keeps you on track with your keto goals while delivering all the comfort of traditional chili.
Why You’ll Love This Keto Chili
- Keto-friendly comfort food – This low-carb chili skips the beans but keeps all the rich, hearty flavors you crave, making it perfect for anyone following a keto diet.
- Set-and-forget convenience – Once you’ve browned the meat and added the ingredients, your slow cooker does all the work – perfect for busy weekdays or lazy weekends.
- Rich flavor development – The long cooking time allows the spices and seasonings to blend perfectly, creating a deep, satisfying taste that’s even better the next day.
- Makes great leftovers – This big batch recipe is perfect for meal prep and actually tastes better after a day or two in the fridge.
- Simple ingredients – You’ll find most of these ingredients in your pantry already, and there’s no fancy shopping required.
What Kind of Ground Beef Should I Use?
For a rich and flavorful keto chili, the type of ground beef you choose really matters. While you can use any percentage of lean-to-fat ratio, an 80/20 ground beef tends to give the best flavor and keeps the chili moist throughout the long cooking time. If you go with a leaner blend like 90/10, your chili might end up a bit drier, though it’ll still taste good. When shopping, look for beef that’s bright red in color and hasn’t started turning brown – this means it’s fresh. And here’s a pro tip: if you can find it, choose ground chuck over standard ground beef, as it has a deeper, more complex flavor that works really well in chili.
Options for Substitutions
This keto chili recipe is pretty flexible and allows for several ingredient swaps to match your preferences:
- Minced beef: You can swap the ground beef for ground turkey, pork, or a mix of meats. Keep in mind that leaner meats like turkey might make the chili slightly less rich, so you may want to add an extra tablespoon of olive oil.
- Olive oil: Any keto-friendly oil works here – try avocado oil, coconut oil, or even butter for sautéing.
- Green chilies: If you can’t find canned green chilies, use fresh jalapeños (remove seeds for less heat) or a few dashes of hot sauce. Start with less and adjust to taste.
- Chili powder: You can make your own blend using paprika, cumin, and cayenne if you’re out of chili powder. Start with 3 tablespoons paprika, and add more cumin and cayenne to taste.
- Worcestershire sauce: You can replace this with coconut aminos or a splash of apple cider vinegar mixed with a pinch of salt to keep it keto-friendly.
- Onion: Feel free to use red onion instead of white/yellow, or substitute with 1 tablespoon of onion powder if you’re watching your carbs more strictly.
Watch Out for These Mistakes While Cooking
The biggest mistake when making keto chili is not browning the ground beef properly before adding it to the slow cooker – take the time to brown it in batches to develop a rich, meaty flavor and avoid a greasy, soupy texture. Another common error is lifting the slow cooker lid too frequently during cooking, which releases essential heat and moisture, adding up to 30 minutes of extra cooking time each time you peek. To get the seasoning just right, avoid adding all the spices at once – instead, add half at the beginning and adjust the remaining seasonings in the last hour of cooking, as slow cooking can intensify some spices while muting others. For the best texture, don’t skip draining excess fat from the beef after browning, and if your chili seems too liquid towards the end, try cooking on high with the lid off for the last 30 minutes to help it thicken naturally.
What to Serve With Keto Chili?
Since this hearty chili is keto-friendly, you’ll want to skip the traditional cornbread and instead focus on low-carb sides that complement the rich, meaty flavors. A simple side of cauliflower rice makes a great base for soaking up all that tasty chili sauce, while a fresh avocado salad adds a cool, creamy contrast. For toppings, try shredded cheddar cheese, sour cream, diced red onions, or sliced jalapeños – they’re all keto-approved and add extra flavor and texture to your bowl. If you’re feeling adventurous, try making some keto cheese crackers or pork rinds for that satisfying crunch factor that chili often needs.
Storage Instructions
Keep Fresh: This keto chili is even better the next day! Pop it in an airtight container and keep it in the fridge for up to 5 days. The flavors continue to develop over time, making each serving more tasty than the last. It’s perfect for meal prep since you can portion it out for easy lunches throughout the week.
Freeze: Got leftovers? This chili freezes like a dream! Let it cool completely, then portion it into freezer-safe containers or bags. It’ll stay good in the freezer for up to 3 months. I like to freeze it in individual portions for easy grab-and-go meals.
Reheat: When you’re ready to enjoy your chili again, warm it up on the stovetop over medium-low heat, stirring occasionally. If it’s frozen, thaw overnight in the fridge first. You can also microwave it in 1-minute intervals, giving it a good stir between each. Add a splash of water or broth if it seems too thick after reheating.
| Preparation Time | 15-30 minutes |
| Cooking Time | 180-480 minutes |
| Total Time | 195-510 minutes |
| Level of Difficulty | Medium |
Estimated Nutrition
Estimated nutrition for the whole recipe (without optional ingredients):
- Calories: 2000-2200
- Protein: 150-170 g
- Fat: 120-140 g
- Carbohydrates: 80-90 g
Ingredients
- 1 tbsp dried oregano
- 1 (4 oz) can green chilies
- 8 garlic cloves (minced for best flavor)
- 1 tbsp olive oil (or any neutral cooking oil)
- 2 (15 oz) cans diced tomatoes
- 1 (6 oz) can tomato paste
- 2 tsp sea salt
- 1/2 large onion (finely chopped)
- 2 tbsp ground cumin
- 1 tsp ground black pepper
- 2.5 lb ground beef (80/20 for richer flavor)
- 2 tbsp Worcestershire sauce (Lea & Perrins is my go-to)
- 1 bay leaf
- 1/4 cup chili powder
Step 1: Sauté the Onion and Garlic
In a lightly oiled skillet, Dutch oven, or select the “Sauté” setting on a pressure cooker, heat the oil over medium-high heat.
Add the onion and cook for 5-7 minutes until translucent.
If you prefer caramelized onions, extend the cooking time to about 20 minutes.
Add the garlic and continue cooking for about 1 minute until fragrant.
Step 2: Brown the Ground Beef
Add the ground beef to the skillet, Dutch oven, or pressure cooker.
Cook for 8-10 minutes, using a spatula to break the beef apart, until it is fully browned.
Ensure there are no large chunks remaining and the beef is evenly cooked through.
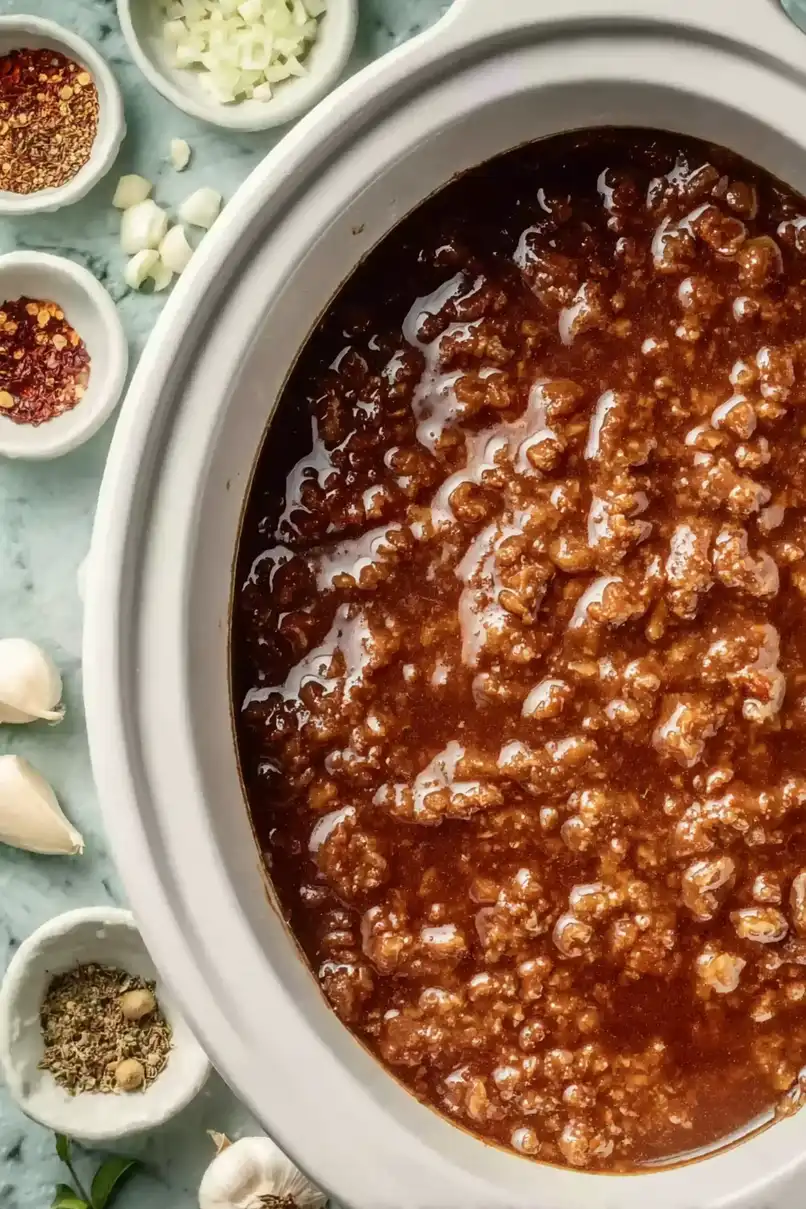
Step 3: Combine Ingredients in Slow Cooker
If using a slow cooker: Transfer the beef mixture into the slow cooker.
Add all remaining ingredients except the bay leaf.
Stir until well combined.
Place the bay leaf in the middle, if using.
Cook on Low for 6-8 hours or on High for 3-4 hours.
If using a bay leaf, remember to remove it before serving.
Step 4: Combine Ingredients in Instant Pot
If using an Instant Pot: After browning the beef, add all remaining ingredients to the pot, except the bay leaf.
Add a cup of water or broth for optimal pressure cooking.
Stir until everything is combined.
Place the bay leaf in the middle, if using.
Close the lid, press “Keep Warm/Cancel” to stop the saute cycle, and select the “Meat/Stew” setting for 35 minutes.
Allow the natural release or use quick release by turning the valve to “vent” if you’re short on time.
Remove the bay leaf before serving.
Step 5: Combine Ingredients in Dutch Oven
If using a Dutch oven: After browning the beef, add all remaining ingredients to the Dutch oven, except the bay leaf.
Stir well until combined.
Place the bay leaf in the middle, if using.
Cover the Dutch oven and simmer for about 1 hour, allowing the flavors to meld to your liking.
Remove the bay leaf before serving.
Step 6: Serve
Once cooking is complete, serve the dish hot.
Enjoy the robust flavors and tender textures developed during the cooking process.
Remember to adjust seasoning to taste, and enjoy your delicious, hearty meal!
