If you ask me, mini phyllo quiche cups are one of the smartest brunch ideas around.
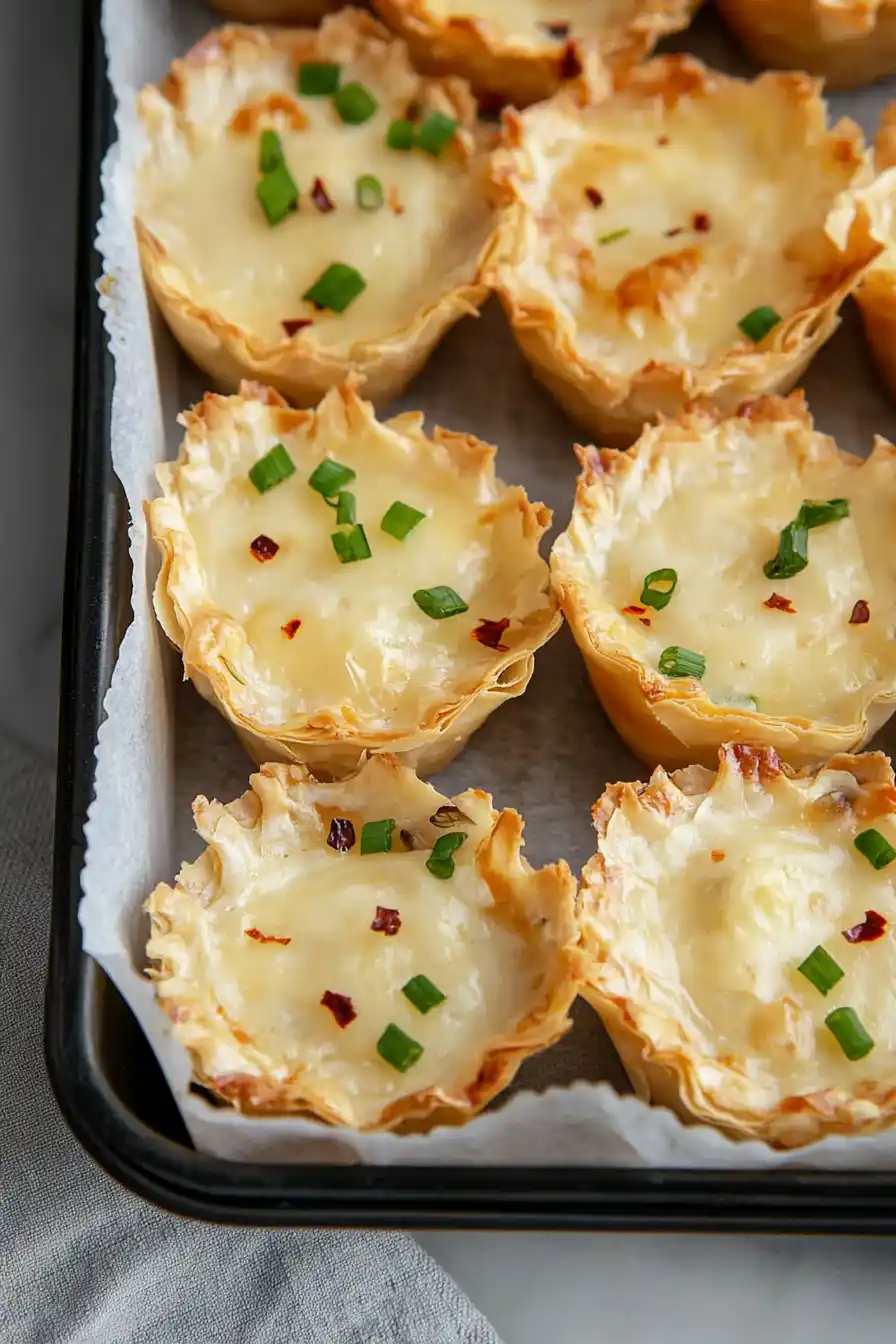
These bite-sized treats take the classic quiche and wrap it in crispy, flaky phyllo dough for an easy-to-serve twist. The buttery layers cradle a creamy egg filling that you can customize with your favorite mix-ins.
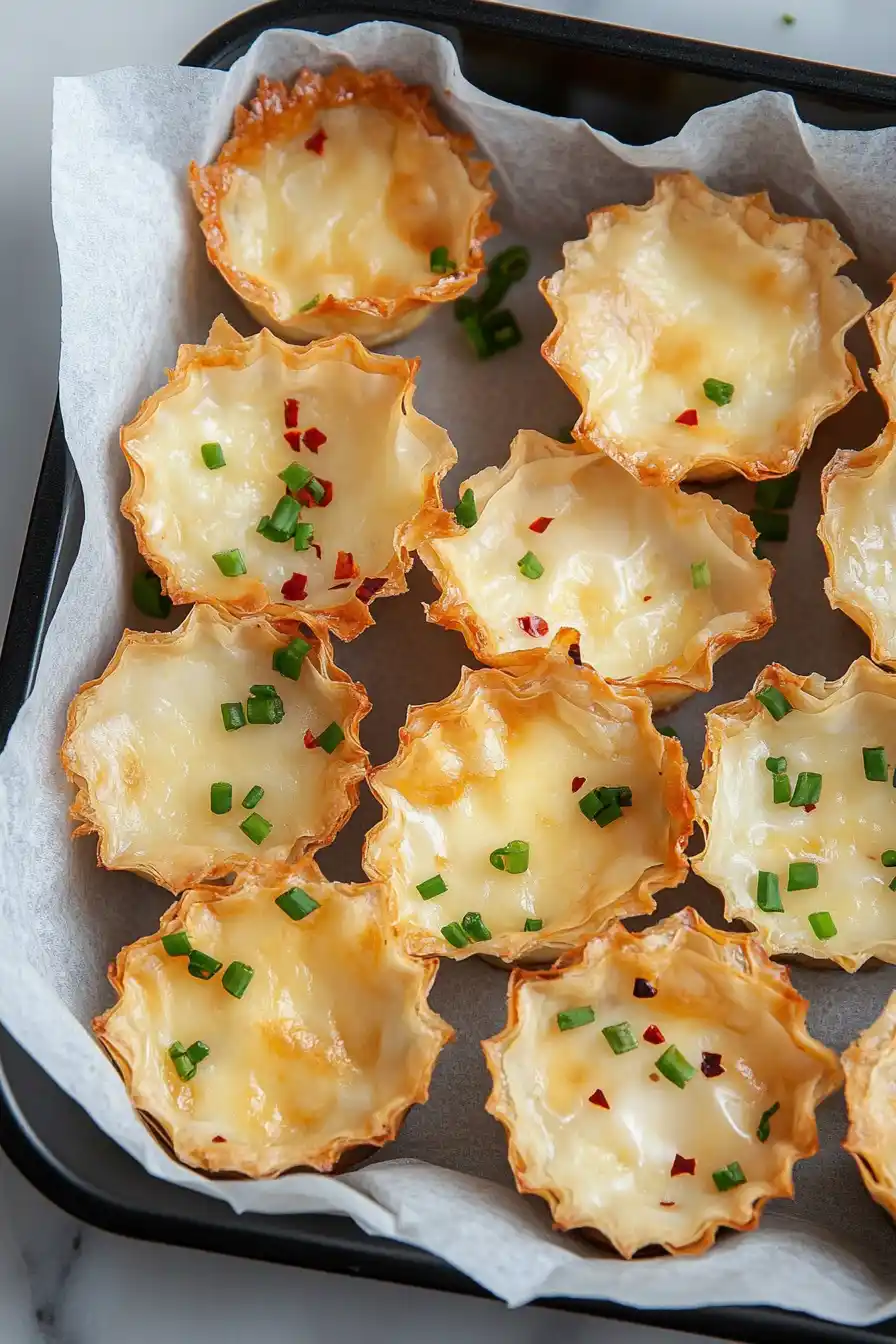
They’re perfectly portioned and bake up golden brown in a muffin tin, making them ideal for everything from casual weekend brunches to holiday gatherings. The phyllo shells give that satisfying crunch while the soft, custardy center melts in your mouth.
It’s a no-fuss recipe that looks fancy without the extra work, perfect for feeding a hungry crowd.
Why You’ll Love These Mini Quiche Cups
- Quick preparation – These bite-sized quiches come together in just 20-30 minutes, making them perfect for busy mornings or last-minute entertaining.
- Customizable recipe – You can mix and match your favorite vegetables, cheeses, and toppings to create your perfect combination – everyone in the family can have their own version.
- Perfect party food – These mini quiches are ideal for brunches, appetizers, or holiday gatherings since they’re portable, portion-controlled, and can be eaten without utensils.
- Make-ahead friendly – You can prepare these little bites in advance and reheat them when needed, saving you time and stress when hosting guests.
- No crust-making required – Using ready-made phyllo cups eliminates the need to make pastry from scratch, making this recipe accessible even for beginner cooks.
What Kind of Phyllo Cups Should I Use?
You’ll find pre-made phyllo cups in the freezer section of most grocery stores, usually near the desserts or pastry items. These little shells come already formed and baked, which saves you tons of time compared to making them from scratch with phyllo dough sheets. Most brands come in packs of 15, and while they’re all pretty similar in quality, Athens is a common brand that works great for this recipe. Just make sure to keep them frozen until you’re ready to use them – they can get soggy if left to thaw for too long. When you’re ready to fill them, there’s no need to thaw first; you can fill them while they’re still frozen and they’ll crisp up perfectly in the oven.
Options for Substitutions
These mini quiches are super adaptable and perfect for using what you have on hand:
- Phyllo cups: Can’t find phyllo cups? You can use wonton wrappers pressed into mini muffin tins, or even cut pieces of puff pastry. Just pre-bake them until light golden brown.
- Half and half: Feel free to use whole milk, heavy cream, or even non-dairy alternatives like unsweetened almond milk or oat milk. The richer the dairy, the creamier your quiche will be.
- Eggs: This is the one ingredient you really can’t substitute – it’s what makes a quiche a quiche! However, you can use liquid egg substitute if needed (use equivalent to 2 eggs).
- Cheese: Any melting cheese works great here – try cheddar, Swiss, mozzarella, or Gruyere. For dairy-free options, vegan cheese alternatives will work too, though they might not melt as smoothly.
- Veggies and toppings: This is where you can get creative! Use any cooked vegetables, meats, or herbs you have in your fridge. Just make sure to cook watery vegetables like mushrooms or spinach first and drain well to prevent soggy cups.
Watch Out for These Mistakes While Baking
The biggest challenge when making mini phyllo quiche cups is preventing them from becoming soggy – make sure to keep the phyllo shells frozen until right before you’re ready to fill them, and avoid overfilling which can lead to a wet, undercooked center. A common mistake is adding raw vegetables without pre-cooking them first, which can release excess moisture and make your quiche cups watery – quickly sauté your veggies beforehand and let them cool completely before adding to the egg mixture. For the perfect texture, fill the cups only about 2/3 full since the egg mixture will puff up during baking, and watch them closely in the last few minutes as they can go from perfectly golden to overcooked very quickly. To ensure crispy shells, pre-bake the empty phyllo cups for 3-4 minutes before adding your filling, and serve them shortly after baking while they’re still warm and crispy.

What to Serve With Mini Phyllo Quiche Cups?
These bite-sized quiche cups are perfect for brunch or as party appetizers, and they pair wonderfully with a few simple sides. A fresh fruit salad with berries and melon adds a sweet contrast to the savory quiche and helps round out the meal. For a brunch spread, try serving them alongside crispy hash browns or roasted breakfast potatoes – the combination of flaky phyllo and crispy potatoes is really satisfying. If you’re serving these as appetizers at a party, they go great with a light green salad or even a simple tomato soup for dipping.
Storage Instructions
Keep Fresh: These mini quiche cups stay good in an airtight container in the fridge for up to 3 days. The phyllo shells might soften a bit, but they’re still really tasty! I like to place them in a single layer to keep their shape intact.
Freeze: Want to make these ahead? Once they’re completely cool, pop them in a freezer-safe container with wax paper between layers. They’ll keep well for up to 2 months. Just remember to label the container with the date – trust me, it helps!
Warm Up: When you’re ready to eat your stored quiche cups, heat them in a 350°F oven for about 8-10 minutes if refrigerated, or 12-15 minutes if frozen. The microwave works too – just use 50% power for about 30 seconds to keep the phyllo from getting too soft.
| Preparation Time | 10-15 minutes |
| Cooking Time | 10-15 minutes |
| Total Time | 20-30 minutes |
| Level of Difficulty | Easy |
Estimated Nutrition
Estimated nutrition for the whole recipe (without optional ingredients):
- Calories: 400-450
- Protein: 20-25 g
- Fat: 25-30 g
- Carbohydrates: 35-40 g
Ingredients
For the quiche base:
- Pinch garlic powder
- Small amount of oil
- 2 large eggs
- Pinch black pepper (freshly ground preferred)
- Few tsp assorted vegetables
- 15 mini phyllo cups
- 1 oz shredded cheese
- 2 tbsp half and half
- Pinch salt
For the optional toppings:
- Chopped green onion
- Mushroom
- Red pepper flakes
- Fresh cilantro (chopped)
- Crumbled sausage
- Onion
- Spinach
- Paprika
- Jalapeno
- Bacon
- Salsa
- Hot sauce
Step 1: Prepare the Oven and Baking Sheet
Pre-heat your oven or toaster oven to 385°F.
While the oven warms up, line a baking sheet with foil or parchment paper.
Arrange the phyllo cups very close together on the baking sheet to prevent them from spreading out too much while cooking.
Choose your baking sheet size based on the number of cups you’re making; a small sheet is perfect for a few cups, while a large one is great for family-sized batches.
Step 2: Prepare Your Veggie Fillings
If you prefer soft veggies, use pre-cooked leftovers from your fridge.
For an added crunch, you can use raw veggies.
This is the perfect opportunity to use leftover veggies, making it a great way to reduce food waste!
Step 3: Whisk the Egg Mixture
In a bowl, whisk together your egg and half-and-half.
You can use a hand-cranked mixer or do this by hand.
Whisk until the mixture is frothy, as this will make pouring into the phyllo cups much easier.
If you need substitutions for half-and-half, consider using milk or a non-dairy alternative.
Step 4: Assemble the Phyllo Cups
Line the bottom of each phyllo cup with your chosen veggie mix-ins.
Using a spouted measuring cup, carefully pour the egg mixture into each cup, ensuring even distribution.
This tool helps control the flow of the egg mixture and prevents overfilling.
Step 5: Add Cheese and Toppings
Top each phyllo cup with cheese and any additional favorite toppings you desire.
Feel free to get creative with your choices to suit your taste preferences.
Step 6: Bake and Serve
Place the baking sheet on the center rack of your preheated oven and bake for 10-11 minutes, or until the egg mixture is set and the cheese is melted.
Once done, remove the breakfast bites from the oven and let them cool briefly before serving.
Enjoy your delicious, personalized breakfast bites!
