Here’s my go-to recipe for homemade oven baked tortilla chips, made with corn tortillas, a light coating of oil, and just the right amount of salt to make them perfectly crispy every time.
These chips have become our family’s favorite snack for movie nights and game days. I often make a double batch because they disappear so quickly – especially when there’s fresh salsa or guacamole around. Who doesn’t love warm chips straight from the oven?
Why You’ll Love These Tortilla Chips
- Quick and easy – These homemade chips take less than 30 minutes from start to finish, making them perfect for last-minute snacking or entertaining.
- Simple ingredients – You only need 4 basic ingredients that you probably already have in your kitchen – no special shopping trip needed.
- Healthier than store-bought – By baking instead of frying and controlling the amount of oil and salt, you’re making a better-for-you version of everyone’s favorite snack.
- Customizable seasoning – You can adjust the salt level and add your favorite seasonings to make these chips exactly how you like them.
What Kind of Corn Tortillas Should I Use?
Yellow corn tortillas are the way to go for making homemade tortilla chips – they tend to get crispier than white corn or flour tortillas and have that classic tortilla chip flavor we all know and love. Fresh tortillas from the refrigerated section usually work better than shelf-stable ones, since they’re less likely to be dried out already. If your tortillas are a few days old or seem brittle, you can wrap them in slightly damp paper towels and microwave them for 20-30 seconds to make them more pliable before cutting. For the best results, look for tortillas made with just corn, lime, and salt – the simpler the ingredient list, the better your chips will turn out.
Options for Substitutions
Making these chips at home is super easy, and you’ve got some flexibility with the ingredients:
- Corn tortillas: While corn tortillas give you that classic tortilla chip taste and crunch, you can use flour tortillas too. Just know they’ll be a bit less crispy and may need less cooking time. White corn tortillas work just as well as yellow ones.
- Olive oil: Any neutral-flavored oil works here – try avocado oil, canola oil, or even melted coconut oil. Just avoid strongly flavored oils like sesame oil unless you’re going for a specific taste.
- Lime juice: Lemon juice makes a great substitute, or you can skip the citrus altogether. Some folks like to use a splash of white vinegar instead for that tangy kick.
- Salt: Regular table salt works fine, but you can experiment with different seasonings too – try garlic salt, chili powder, or even ranch seasoning for different flavors. Just remember to adjust the amount based on how salty your seasoning choice is.
Watch Out for These Mistakes While Baking
The biggest challenge when making oven-baked tortilla chips is uneven browning, which happens when you overcrowd the baking sheet – make sure to arrange your tortilla wedges in a single layer with a bit of space between each piece.
Another common mistake is not watching the chips closely during the last few minutes of baking, as they can go from perfectly golden to burnt in a matter of seconds – set your timer for 2-minute intervals near the end and check frequently.
For the crispiest results, avoid using too much oil (a light coating is all you need), and make sure to pat your tortillas dry if you’ve applied lime juice, as excess moisture can make them chewy rather than crispy.
Remember to season your chips right as they come out of the oven while they’re still hot, allowing the salt to stick better and distribute more evenly.
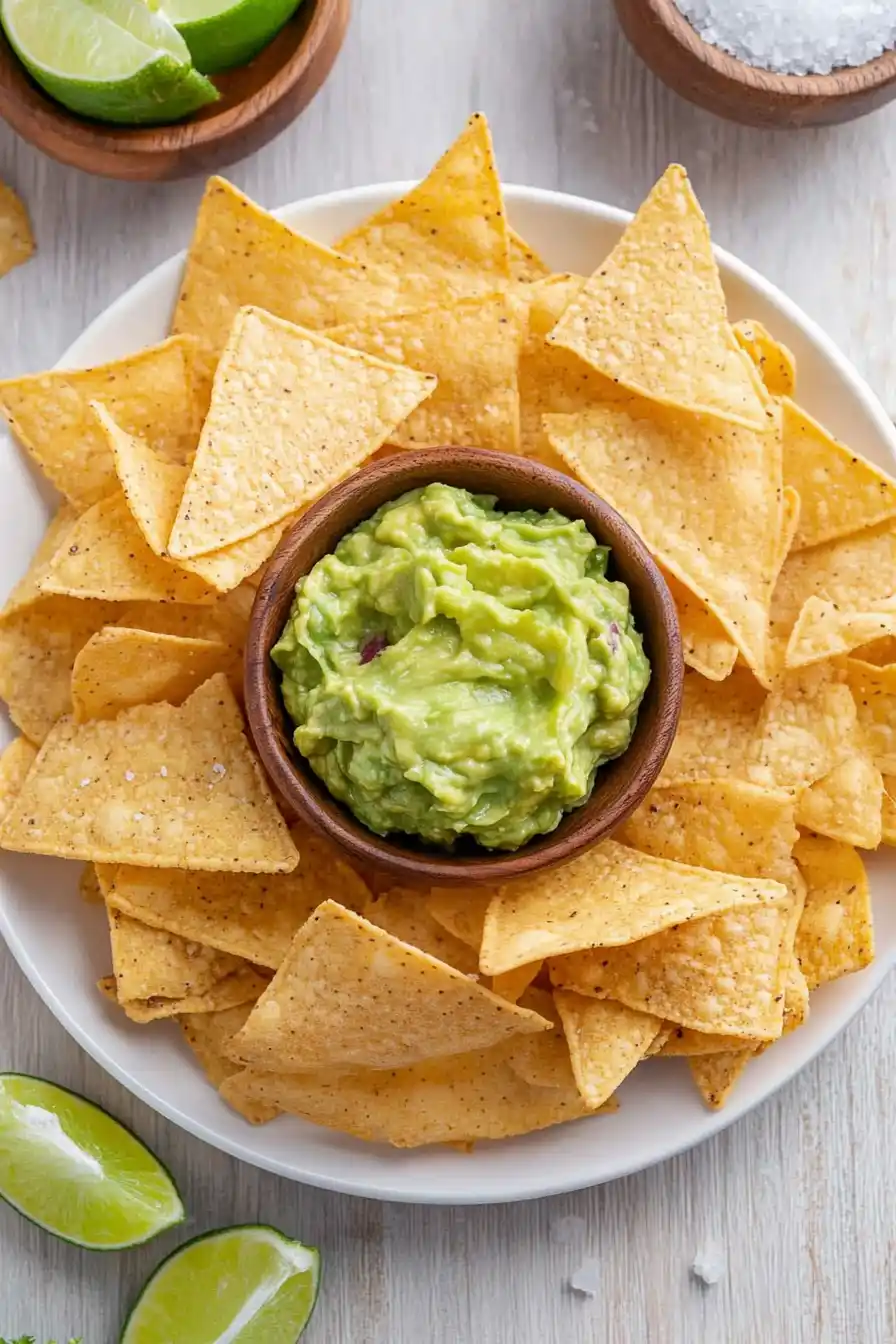
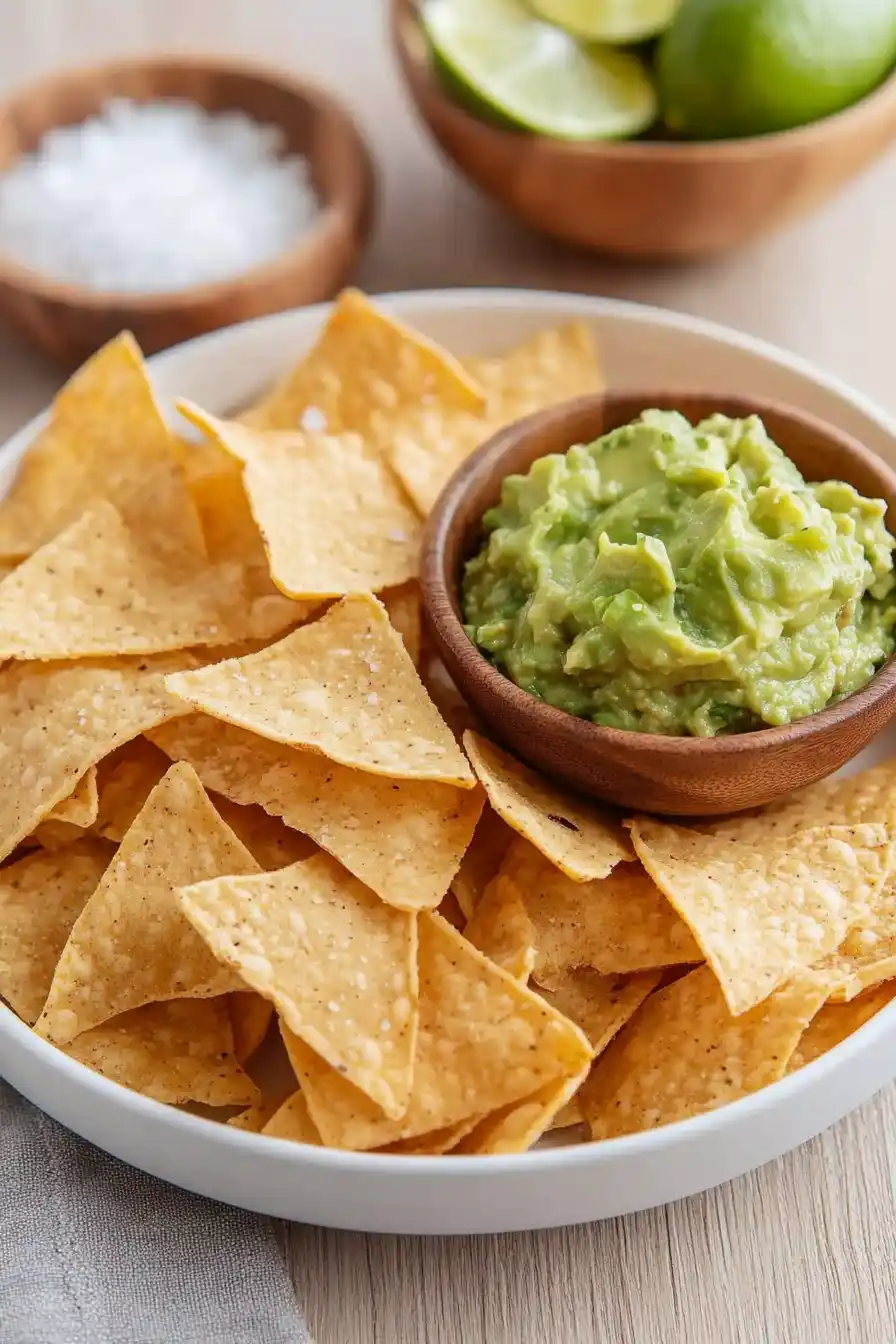
What to Serve With Tortilla Chips?
These homemade tortilla chips are perfect for scooping up all your favorite Mexican-inspired dips! I love serving them with classic guacamole, fresh pico de gallo, or a bowl of warm queso dip. For a casual party spread, set them out alongside some black bean dip and fresh salsa – your guests will definitely come back for seconds. You can also use these chips to make super quick nachos by loading them up with melted cheese, seasoned ground beef, and all your favorite toppings.
Storage Instructions
Keep Crispy: Once your homemade tortilla chips have cooled completely, pop them in an airtight container or zip-top bag. They’ll stay crispy at room temperature for up to 5 days. Pro tip: toss a paper towel in the container to absorb any extra moisture and keep them extra crunchy!
Make Ahead: These chips are perfect for making in advance before a party or game day. Just prepare them a day or two before you need them, and they’ll be ready to go when guests arrive. If they lose a bit of their crunch, spread them on a baking sheet and warm them in the oven at 350°F for 2-3 minutes.
Avoid: Skip storing these chips in the fridge – the moisture can make them soft and chewy. Also, try not to leave them out uncovered for too long, especially on humid days, as they can get stale pretty quickly.
| Preparation Time | 10-15 minutes |
| Cooking Time | 8-12 minutes |
| Total Time | 18-27 minutes |
| Level of Difficulty | Easy |
Estimated Nutrition
Estimated nutrition for the whole recipe (without optional ingredients):
- Calories: 700-800
- Protein: 9-12 g
- Fat: 30-35 g
- Carbohydrates: 95-105 g
Ingredients
- 1 tbsp lime juice (freshly squeezed for best flavor)
- 15 yellow corn tortillas (6-inch, for ideal chip size)
- 1 tbsp olive oil (for greasing baking sheets)
- salt (fine sea salt works best for even seasoning)
- 2 tbsp olive oil (I recommend California Olive Ranch extra virgin)
Step 1: Prepare Your Baking Sheets and Oven
Preheat your oven to 375ºF (190ºC).
Take two large baking sheets and either brush them with olive oil or coat them with cooking spray to prevent the tortilla chips from sticking during baking.
Step 2: Prepare the Oil Mixture and Tortillas
In a small bowl, combine 2 tablespoons of oil and 1 tablespoon of lime juice.
Use this mixture to brush one tortilla, ensuring the entire surface is covered.
Stack another tortilla on top and brush it as well.
Continue this process until you have a stack of about 7 or 8 tortillas.
Once stacked and oiled, cut the tortillas in half, and then cut each half into small triangles.
Repeat the oil brushing and cutting process for the remaining tortillas.
Step 3: Arrange and Season the Tortilla Pieces
Lay out the tortilla triangles on the prepared baking sheets in a single layer.
It’s okay if they are placed close together since they will shrink while baking.
Once arranged, sprinkle salt evenly over the tortilla pieces to add flavor.
Step 4: Bake the Tortilla Chips
Place the baking sheets in the preheated oven and bake the tortilla chips for 8 to 12 minutes, checking for a golden color as your indicator of doneness.
Depending on the size of your baking sheets, you might need to bake the chips in two batches to ensure even cooking.
Step 5: Cool and Store the Chips
Once the chips are golden and crisp, remove them from the oven and let them cool completely.
To maintain their crispy texture, store the cooled chips in an airtight container.
They should remain crispy for 1 to 2 weeks, ready to be enjoyed anytime!
