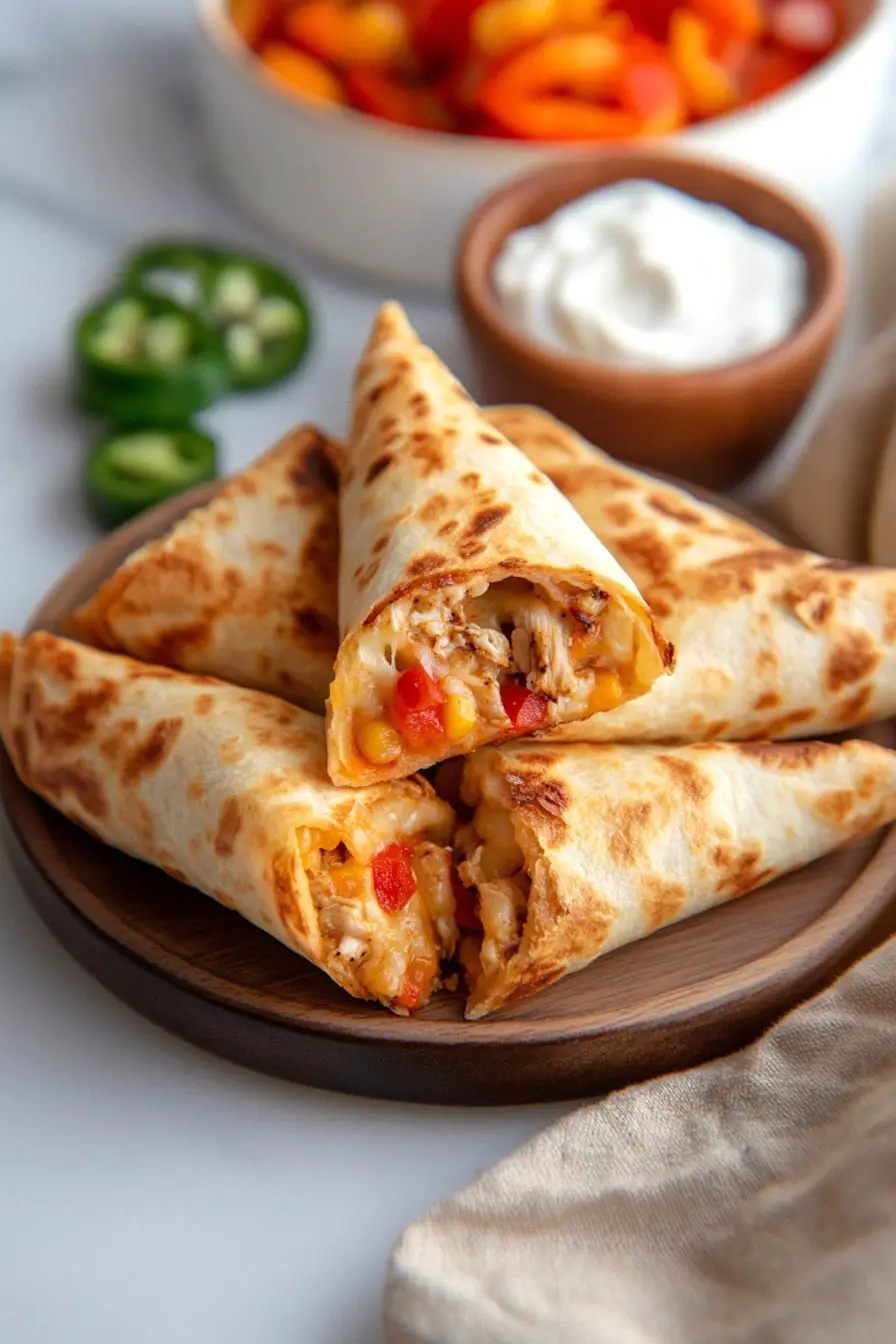
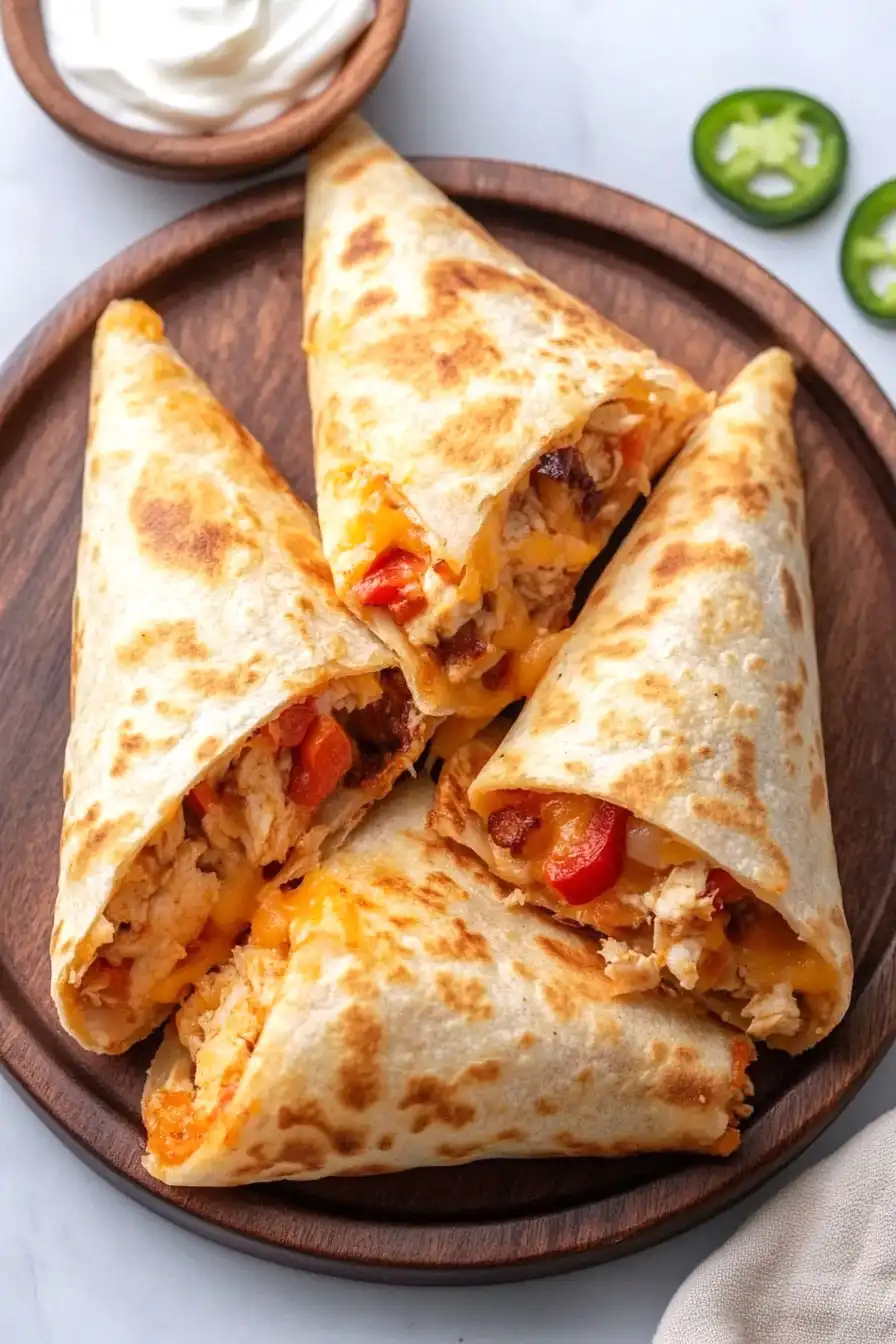
Here’s my go-to quesadilla cones recipe, with a crispy tortilla shell that’s shaped into a fun cone, stuffed with melted cheese, seasoned meat, and all your favorite Mexican-inspired toppings.
These quesadilla cones have become my kids’ most-asked-for weeknight dinner. I usually make a few extra because they disappear so quickly at the table. Nothing better than putting a fresh spin on taco night, right?

Why You’ll Love These Quesadilla Cones
- Fun twist on classic quesadillas – These cone-shaped quesadillas are a playful take on the traditional flat version, making them perfect for parties or when you want to make dinner more exciting.
- Kid-friendly meal – The handheld cone shape makes these quesadillas easy and fun to eat – kids especially love the interactive eating experience.
- Customizable filling options – While this recipe uses chicken and peppers, you can easily swap in your favorite proteins, vegetables, or cheese to make them exactly how you like them.
- Great for gatherings – These portable cones are perfect for parties, game days, or casual get-togethers since they’re easy to hold and eat while mingling.
- Simple ingredients – You’ll only need basic ingredients that are easy to find at any grocery store, making this a convenient option for last-minute meals.
What Kind of Tortillas Should I Use?
Regular flour tortillas are your best bet for this recipe since they’re pliable enough to form into cones without cracking. While corn tortillas are great for traditional Mexican dishes, they tend to break when folded into cone shapes, so stick with wheat flour varieties here. The 9-10 inch size specified in the recipe is ideal – anything smaller won’t hold enough filling, and larger ones might be tricky to shape. If you can find them, burrito-style tortillas work particularly well since they’re usually a bit thicker and sturdier than standard flour tortillas, which helps them hold their shape better when filled.

Options for Substitutions
This fun twist on quesadillas is pretty adaptable! Here are some easy swaps you can try:
- Chicken: You can easily swap the cooked chicken with shredded pork, ground beef, or black beans for a vegetarian version. Just make sure whatever protein you use is well-seasoned.
- Flour tortillas: While flour tortillas work best for holding the cone shape, you can try corn tortillas if you need a gluten-free option. Just warm them first so they’re more pliable and less likely to crack.
- Cheddar cheese: Feel free to use Monterey Jack, Mexican cheese blend, or pepper jack instead. For best results, always use freshly grated cheese as pre-shredded doesn’t melt as smoothly.
- Bell peppers and onions: You can mix up the vegetables – try mushrooms, zucchini, or corn. Just make sure to slice them thinly and cook until tender.
- Fajita spice mix: Out of fajita seasoning? Use taco seasoning, or make your own with chili powder, cumin, paprika, garlic powder, and oregano.
- Sour cream: Greek yogurt makes a great substitute for sour cream if you’re looking for a lighter option. You could also try guacamole or Mexican crema.
Watch Out for These Mistakes While Cooking
The biggest challenge when making quesadilla cones is getting the cone shape right – avoid rushing this step by making sure your tortillas are warm and pliable before shaping, and secure them well with toothpicks to prevent unraveling during baking. A common error is overfilling the cones, which can lead to messy spillage and uneven cooking – stick to about 2-3 tablespoons of filling per cone and layer your ingredients starting with cheese to help everything stick together. To prevent soggy cones, make sure to drain any excess liquid from your salsa and let your cooked vegetables cool slightly before assembling, as trapped steam can make the tortillas lose their crispiness. For the best texture, position the cones upright during baking (you can use a small oven-safe cup or create foil stands) and rotate them halfway through cooking to ensure even browning.

What to Serve With Quesadilla Cones?
These fun and handy quesadilla cones are perfect for serving with classic Mexican-inspired sides that’ll make your meal complete. A simple bowl of Mexican rice or black beans (or both!) makes a filling addition to these hand-held treats. I love setting up a DIY toppings bar with extra salsa, guacamole, shredded lettuce, and diced tomatoes so everyone can customize their cones. For a fresh contrast to the warm, cheesy cones, try serving them with a quick corn and black bean salad tossed with lime juice and cilantro.
Storage Instructions
Keep Fresh: These quesadilla cones are best enjoyed right away while the cheese is melty and the tortilla is crispy. If you have leftovers, wrap them in aluminum foil and keep them in the fridge for up to 2 days. Just know that the tortilla might lose some of its crispiness.
Make Ahead: You can prep the filling mixture (chicken, peppers, onions, and spices) up to 2 days in advance and store it in an airtight container in the fridge. When you’re ready to eat, just warm up the filling, assemble your cones, and cook them fresh – this way you’ll get that perfect crispy texture!
Warm Up: To enjoy leftover cones, wrap them in foil and pop them in a preheated oven at 350°F (175°C) for about 10-15 minutes. The microwave works too, but the tortilla won’t be as crispy. Add fresh toppings like sour cream and cilantro just before serving.
| Preparation Time | 20-30 minutes |
| Cooking Time | 8-12 minutes (Air Fryer) / 12 minutes (Oven) |
| Total Time | 28-42 minutes |
| Level of Difficulty | Medium |
Estimated Nutrition
Estimated nutrition for the whole recipe (without optional ingredients):
- Calories: 2000-2200
- Protein: 120-140 g
- Fat: 120-140 g
- Carbohydrates: 180-200 g
Ingredients
- A splash of olive oil
- 1 medium red onion, thinly sliced
- 2 bell peppers, thinly sliced and halved
- 400g/14oz cooked chicken, shredded
- 2 tablespoons fajita spice mix
- 300g/10.5oz jar of hot doritos salsa, or an equal amount of your favorite salsa
- 5 flour tortilla wraps, 23-25cm/9-10 inches
- 300g or 3 cups of freshly grated cheddar cheese
- Oil spray, as required
- Sour cream, for serving
- Finely chopped fresh cilantro, for serving
Step 1: Preheat and Prepare Ingredients
If you are using the oven, preheat it to 180°C/350°F.
Meanwhile, add a drizzle of oil to a large pan over high heat, then add the onion and peppers.
Fry them until they soften and become lightly charred, then remove the pan from the heat to let the vegetables cool slightly.
Step 2: Mix Chicken Filling
In a large mixing bowl, toss the shredded chicken with your chosen seasoning.
Stir in the cooled peppers, onions, and salsa until just combined, ensuring the ingredients are evenly distributed.
Step 3: Prepare Tortilla Cones
Stack the tortillas and use a sharp knife to halve them.
Take each half and fold it into a cone shape, securing the seam with a toothpick.
This may need a little practice.
Begin by sprinkling some cheese at the bottom of the cone, then spoon in a generous amount of the chicken mixture so the cone is well packed.
Top the filling with more cheese, pressing it down gently so it sticks.
Repeat this process until all cones are filled.
Step 4: Cook the Cones
For Air Frying: Line the base of your air fryer with baking paper and space out the filled cones, working in batches if necessary to ensure they have enough space.
Lightly spray the cones with oil.
Cook at 180°C/350°F for approximately 8 minutes or until they are crispy on the outside and hot through the center.
For Baking: Line a large baking tray with baking paper and space the cones out evenly.
Lightly spray with oil and bake for around 12 minutes, or until crispy on the outside and hot through the center.
Step 5: Serve and Enjoy
Once cooked, carefully remove the toothpicks from each cone.
Serve them with napkins or kitchen roll to catch any excess oil.
Top with sour cream and coriander as needed for added flavor and garnish.
Enjoy your tasty and fun homemade tortilla cones!

