Growing up, I never thought gluten-free biscuits could taste like “real” ones. My mom’s attempts usually turned out like hockey pucks, and store-bought versions weren’t much better. We just accepted that giving up gluten meant saying goodbye to fluffy biscuits.
But then I discovered Bisquick’s gluten-free mix, and it changed everything. These biscuits aren’t just “good for gluten-free” – they’re actually good, period. They’re simple to make, and even my wheat-loving husband reaches for seconds. Trust me, if you’ve been missing real biscuits since going gluten-free, this recipe is about to make your day.
Why You’ll Love These Gluten-Free Biscuits
- Allergy-friendly – These biscuits are not only gluten-free but also dairy-free and vegan, making them perfect for those with various dietary restrictions.
- Quick preparation – With just 5 ingredients and about 30 minutes, you can have fresh, warm biscuits on your table.
- Simple ingredients – Using gluten-free Bisquick as the base means you don’t need to stock multiple different flours or complicated ingredients.
- Classic texture – The combination of arrowroot starch and xanthan gum helps create that traditional flaky, tender biscuit texture that everyone loves.
What Kind of Gluten-Free Bisquick Should I Use?
Betty Crocker’s Gluten-Free Bisquick is the go-to choice for these biscuits, and it’s usually found in the baking aisle of most grocery stores. While there are other gluten-free baking mixes out there, Bisquick’s version is specifically formulated to mimic the texture and taste of traditional Bisquick, making it ideal for biscuits. The mix already contains rice flour, potato starch, and leavening agents, but adding a bit of arrowroot starch and xanthan gum helps create an even better texture. Just make sure to give the mix a good stir before measuring, as gluten-free flours can settle and compact in the box during shipping and storage.

Options for Substitutions
When making these gluten-free biscuits, here are some helpful substitution tips:
- Gluten-free Bisquick mix: This is the main ingredient and can’t be easily substituted without changing the recipe completely. However, if you can’t find it, you can make your own by mixing 1¾ cups of gluten-free all-purpose flour with 2½ teaspoons baking powder and ½ teaspoon salt.
- Arrowroot starch: You can swap this with cornstarch or tapioca starch in equal amounts. Each will work just as well to help bind the biscuits.
- Xanthan gum: If your gluten-free Bisquick already contains xanthan gum, you can skip this. Otherwise, you could use guar gum in the same amount, but xanthan gum works best for texture.
- Vegan butter: Regular cold butter works perfectly fine if you’re not following a vegan diet. Just make sure it’s cold! You could also use cold coconut oil, but the texture might be slightly different.
- Almond milk: Any plant-based milk will work here – try oat milk, soy milk, or coconut milk. Regular dairy milk is fine too if you’re not dairy-free.
Watch Out for These Mistakes While Baking
The biggest challenge with gluten-free biscuits is overworking the dough, which can make your biscuits tough and dense instead of light and fluffy – mix just until the ingredients come together, even if the dough looks a bit shaggy.
Temperature control is crucial: your butter needs to stay cold throughout the process, so if the dough starts feeling warm while you’re working with it, pop it in the fridge for 10-15 minutes before continuing.
Another common mistake is rolling the dough too thin – aim for about 1-inch thickness to achieve tall, flaky biscuits, and avoid twisting your biscuit cutter when cutting the dough, as this can seal the edges and prevent proper rising.
For the best texture, make sure your oven is fully preheated before baking, and resist the urge to open the oven door during the first 10 minutes of baking time, as this can affect how well your biscuits rise.
What to Serve With Gluten-Free Biscuits?
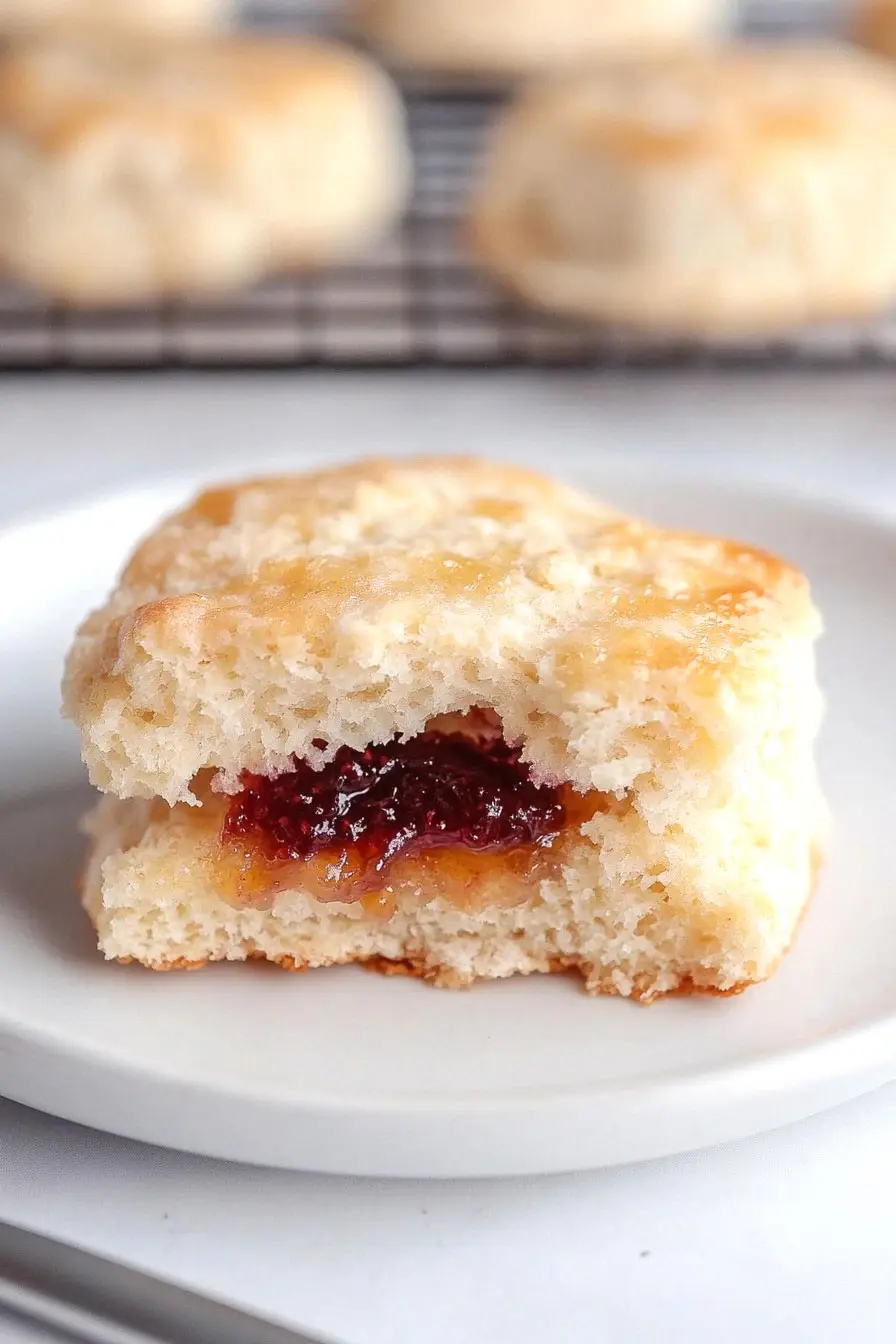
These warm, buttery biscuits are perfect for breakfast, lunch, or dinner! For breakfast, serve them with your favorite jam or honey, or use them to make mini breakfast sandwiches with eggs and dairy-free cheese. At lunch or dinner time, these biscuits are great alongside a bowl of chili or hearty soup – they’re perfect for soaking up all those tasty flavors. You can also serve them as a side with classic comfort foods like dairy-free gravy, chicken-style dishes, or a big helping of roasted vegetables.
Storage Instructions
Keep Fresh: These gluten-free biscuits are best enjoyed the day they’re made, but if you have leftovers, place them in an airtight container and keep at room temperature for up to 2 days. Since they don’t have preservatives, they might get a bit crumbly after the first day.
Freeze: Good news – these biscuits freeze really well! Once they’ve cooled completely, pop them in a freezer bag or container and they’ll stay good for up to 3 months. I like to freeze them individually so I can grab just what I need.
Warm Up: To enjoy your frozen biscuits, thaw them at room temperature for about 30 minutes. For that fresh-baked taste, wrap them in foil and warm in a 350°F oven for 5-7 minutes. You can also give them a quick 15-20 second zap in the microwave if you’re in a hurry.
| Preparation Time | 15-20 minutes |
| Cooking Time | 18-20 minutes |
| Total Time | 33-40 minutes |
| Level of Difficulty | Easy |
Estimated Nutrition
Estimated nutrition for the whole recipe (without optional ingredients):
- Calories: 800-900
- Protein: 10-15 g
- Fat: 50-60 g
- Carbohydrates: 75-85 g
Ingredients
- 1 3/4 cups gluten-free bisquick mix (228 grams)
- 2 teaspoons arrowroot starch (6 grams)
- 1/2 teaspoon xanthan gum
- 6 tablespoons cold vegan butter
- 1/4 cup almond milk
Step 1: Prepare the Dry Ingredients
In a medium-sized bowl, combine the Bisquick baking mix, arrowroot powder, and xanthan gum.
Mix these ingredients together until they are well combined, ensuring the xanthan gum is evenly distributed for a good consistency in the dough.
Step 2: Incorporate the Butter
Using a pastry blender, cut in the cold butter into the dry ingredients.
Continue mixing until the mixture resembles coarse crumbs with small chunks of butter scattered throughout.
This will help create a flaky texture in the biscuits.
Step 3: Form the Dough
Pour the almond milk all at once into the bowl with the butter and dry ingredient mixture.
Stir until the dough comes together and forms a cohesive ball.
Wrap the dough in plastic wrap and place it in the refrigerator to chill for 10 minutes.
This resting period allows the butter to firm up slightly, contributing to a tender biscuit texture.
Step 4: Preheat the Oven
While the dough is chilling, preheat your oven to 400°F (200°C).
This allows the oven to reach the proper temperature for baking the biscuits to a golden brown perfection.
Step 5: Roll Out and Cut the Dough
Turn the chilled dough onto a lightly floured surface.
Gently pat or roll out the dough until it’s about 1 inch thick, being careful not to overwork it.
Use a 2-inch biscuit or cookie cutter to cut out biscuits from the dough.
Arrange the biscuits on a baking sheet lined with parchment paper.
Step 6: Bake and Serve
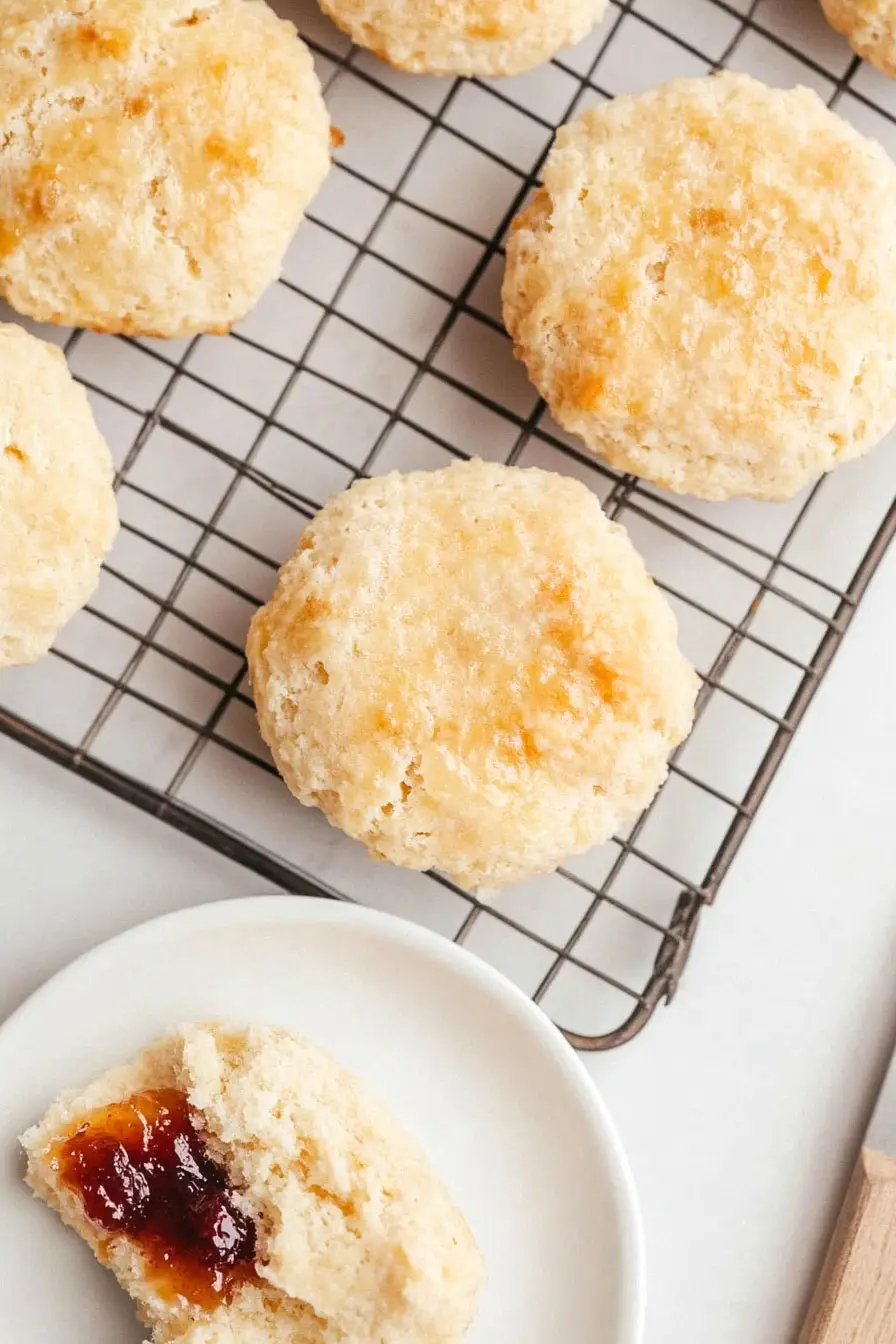
Place the baking sheet in the preheated oven and bake the biscuits for 18 minutes or until they are golden brown.
Remove them from the oven and let them cool slightly before serving warm.
Enjoy your fluffy, golden biscuits!
