If you ask me, using sourdough discard in Irish soda bread is one of those “why didn’t I think of that sooner?” moments.
This simple twist on traditional Irish soda bread brings a subtle tang and helps reduce kitchen waste. The discard adds a nice depth to the classic recipe while keeping that signature dense, hearty texture we all know and love.
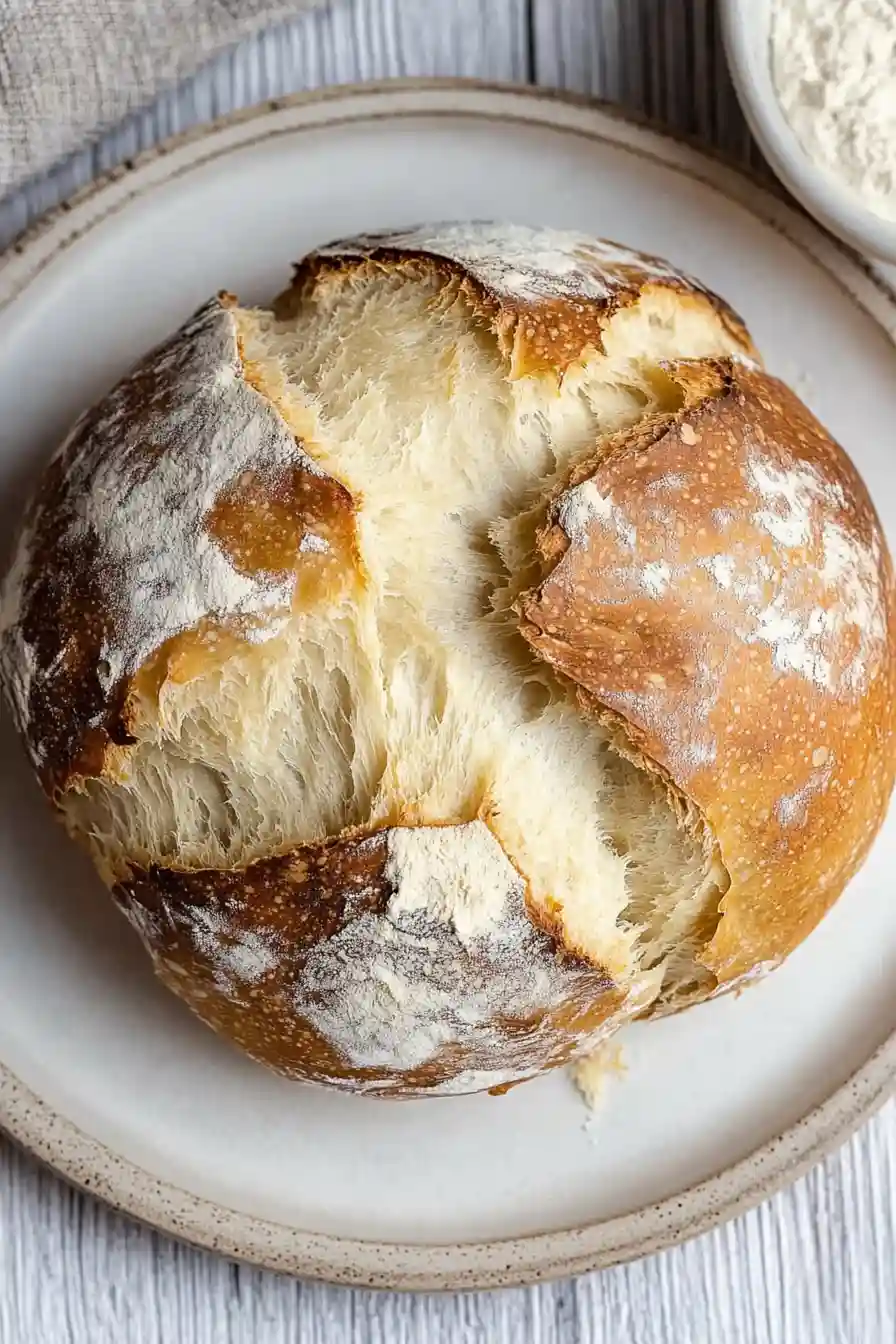
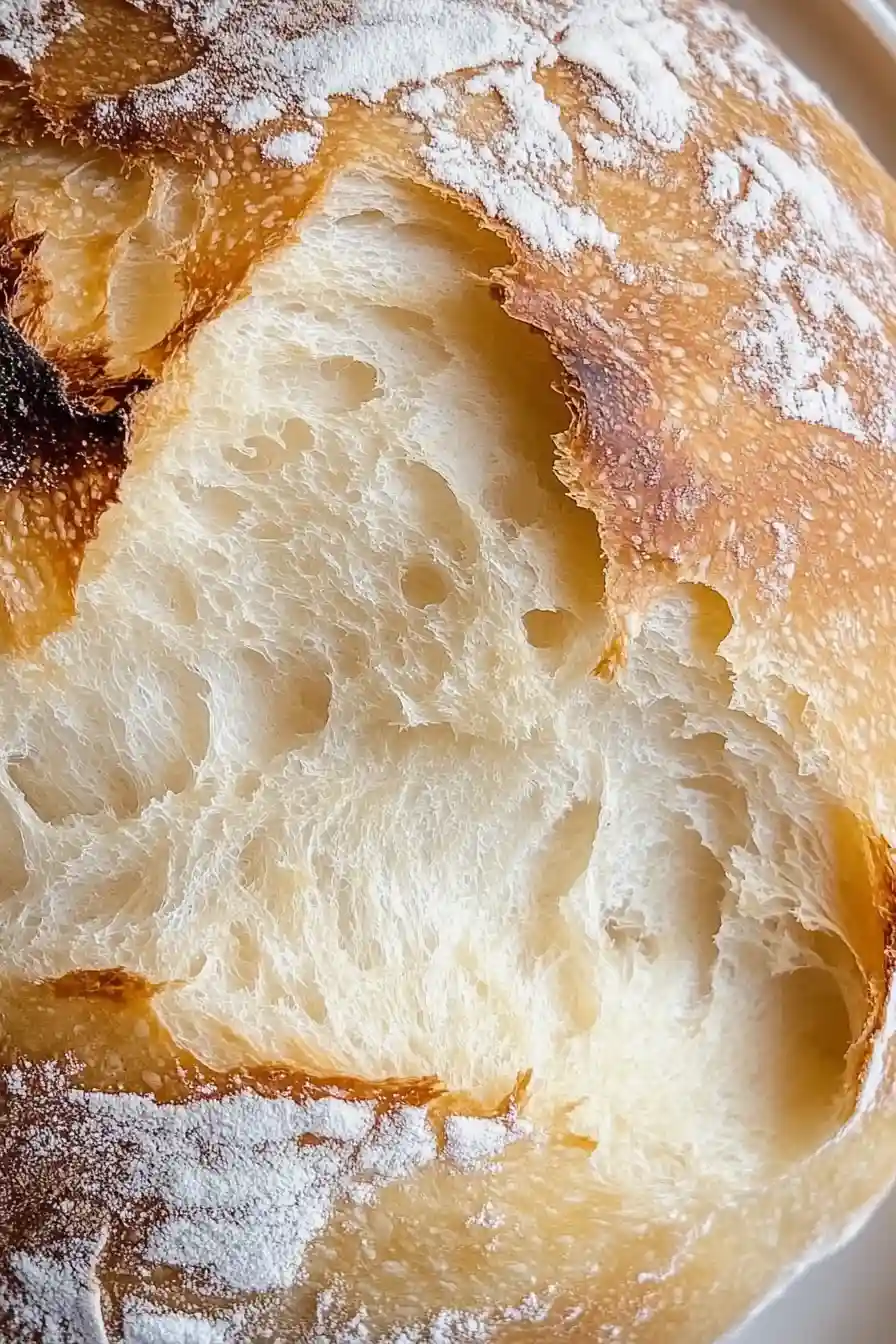
It’s mixed with basic pantry ingredients – flour, baking soda, salt, and buttermilk – then shaped into a rustic round loaf with that classic X on top. The crust bakes up golden brown while the inside stays tender and moist.
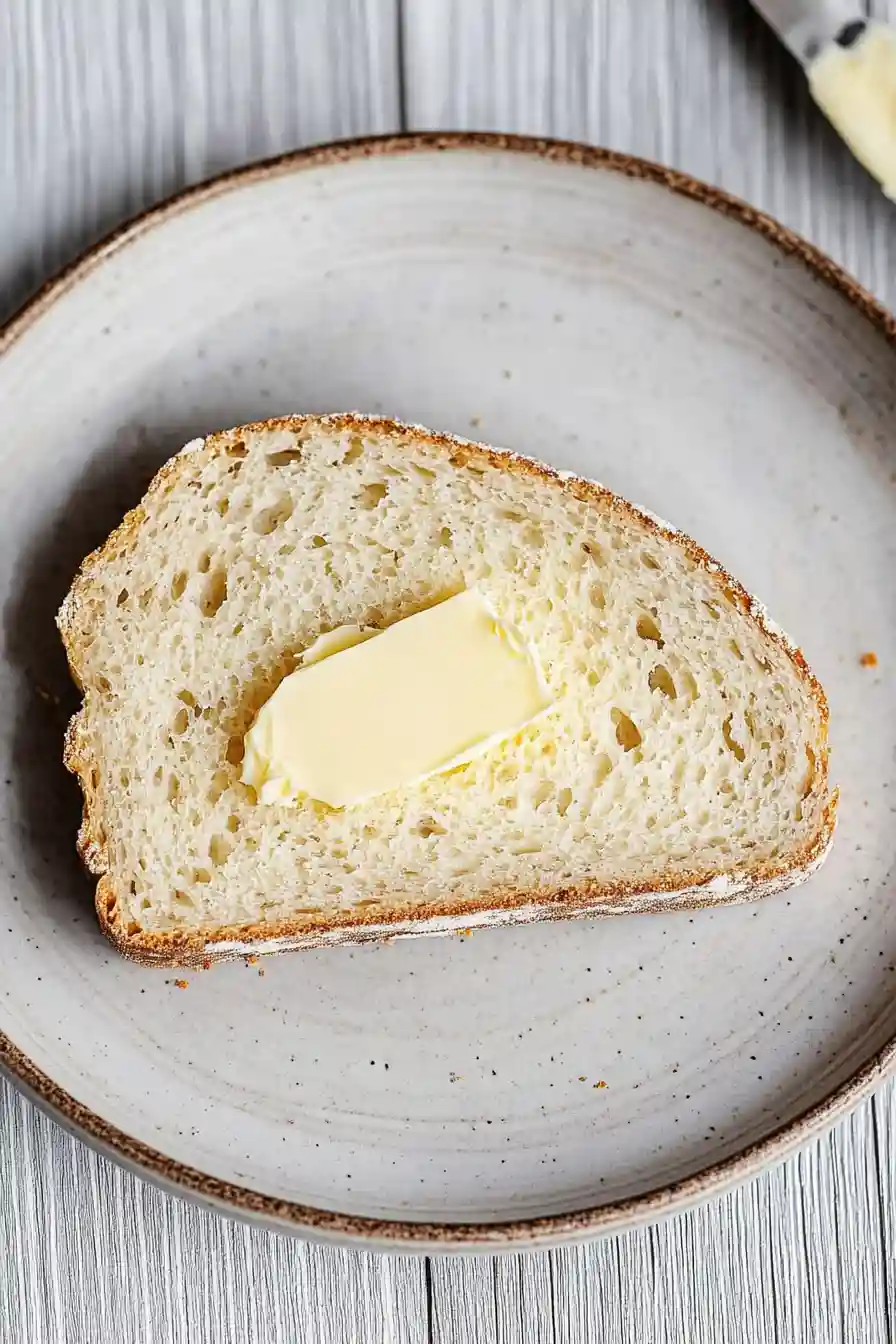
It’s a practical, no-fuss bread that comes together quickly, perfect for serving alongside soups or enjoying with a generous pat of butter.
Why You’ll Love This Irish Soda Bread
- No-waste baking – This recipe helps you use up that extra sourdough discard sitting in your fridge, making it both practical and eco-friendly.
- Quick bread – Unlike traditional sourdough, there’s no long fermentation time – you can have fresh, warm bread on your table in just over an hour.
- Simple ingredients – With just 6 basic ingredients, this bread proves that delicious baking doesn’t require a lengthy shopping list.
- No kneading required – The dough comes together with just a few gentle folds – perfect for beginners or anyone who wants to avoid arm-tiring kneading.
- Extra flavor boost – The sourdough discard adds a subtle tang that makes this Irish soda bread more interesting than traditional versions.
What Kind of Flour Should I Use?
All-purpose flour is the go-to choice for Irish soda bread, though you’ve got some flexibility here. Regular all-purpose flour from any major brand will give you great results, but if you want to experiment, you can swap out up to half of it with whole wheat flour for a more rustic, nutty flavor. Just make sure you’re using unbleached all-purpose flour – bleached flour can affect the texture of your final loaf. When measuring flour for this recipe, it’s best to use a kitchen scale for accuracy, but if you’re using cups, remember to fluff up your flour first, spoon it into the measuring cup, and level it off with a knife rather than scooping directly from the bag. This prevents using too much flour, which could make your bread dense.
Options for Substitutions
Let’s talk about what you can swap in this Irish soda bread recipe if you’re missing something:
- All-purpose flour: You can use whole wheat flour for up to half of the all-purpose flour to add some nutty flavor and extra nutrition. Just note that the bread might be slightly denser.
- Buttermilk: No buttermilk? Mix 220 grams of regular milk with 2 tablespoons of lemon juice or white vinegar, let it sit for 5 minutes, and you’ve got a perfect substitute.
- Sourdough discard: If you don’t have sourdough discard, you can replace it with 56 grams each of flour and buttermilk. The flavor won’t be quite the same, but your bread will still turn out great.
- Unsalted butter: Salted butter works fine – just reduce the added salt by ¼ teaspoon. You could also use cold coconut oil, though the flavor will be slightly different.
- Baking soda: This is one ingredient you can’t substitute – it’s essential for the bread to rise properly when it reacts with the acidic buttermilk.
Watch Out for These Mistakes While Baking
The biggest challenge when making sourdough soda bread is overmixing the dough – you’ll want to mix just until the ingredients come together, as excessive handling can make your bread tough and dense instead of tender.
Temperature matters more than you might think – make sure your buttermilk and sourdough discard are at room temperature before starting, as cold ingredients can affect how well the baking soda reacts and impact your bread’s rise.
One common error is cutting too shallow of a cross on top of the loaf – make sure to cut about 1/2 inch deep, as this helps the bread bake evenly and gives it that classic appearance while allowing the center to cook properly.
For the best crust, avoid opening the oven door during the first 20 minutes of baking, and test for doneness by tapping the bottom of the loaf – it should sound hollow when ready.
What to Serve With Irish Soda Bread?
This rustic bread is perfect for breakfast or as a side to your favorite soups and stews. Spread a thick slice with good Irish butter and honey for a simple but satisfying breakfast, or use it to soak up the last bits of beef stew or potato soup. Since this bread has a nice tang from the sourdough discard and buttermilk, it pairs really well with sharp cheddar cheese and sliced ham for a quick lunch. You can also toast it and serve it alongside scrambled eggs and bacon for a hearty weekend brunch.
Storage Instructions
Keep Fresh: Your Irish soda bread will stay good at room temperature for about 2-3 days when wrapped well in plastic wrap or stored in an airtight container. The crust might soften a bit, but that’s totally normal. I like to keep it in a bread bag or wrapped in a clean kitchen towel if I’m planning to finish it within a day.
Freeze: This bread freezes really well! Let it cool completely, then wrap it tightly in plastic wrap and pop it in a freezer bag. It’ll keep for up to 3 months in the freezer. You can freeze the whole loaf or slice it first for easier portioning.
Revive: To bring back that fresh-baked taste, pop frozen slices directly in the toaster, or warm the thawed bread in a 350°F oven for about 5-10 minutes. If your room-temperature bread gets a bit stale, toasting it brings it right back to life – it’s especially good with a pat of butter!
| Preparation Time | 20-30 minutes |
| Cooking Time | 30-45 minutes |
| Total Time | 50-75 minutes |
| Level of Difficulty | Medium |
Estimated Nutrition
Estimated nutrition for the whole recipe (without optional ingredients):
- Calories: 1300-1500
- Protein: 30-35 g
- Fat: 70-80 g
- Carbohydrates: 150-170 g
Ingredients
- 6 g salt
- 3 g baking soda (ensure it’s fresh for best rise)
- 226 g buttermilk
- 113 g sourdough starter (discard or unfed works great)
- 56 g unsalted butter (melted and cooled for easier mixing)
- 1 tbsp all-purpose flour
- 300 g all-purpose flour (I use King Arthur all-purpose flour)
Step 1: Prepare the Oven and Mixing Setup
Preheat your oven to 425°F (220°C).
Line a baking sheet or skillet with parchment paper to prevent sticking and ensure even baking.
Gather all your ingredients and tools to streamline the process.
Step 2: Mix Dry Ingredients
In a mixing bowl, whisk together the all-purpose flour, salt, and baking soda.
Ensure these dry ingredients are well integrated to provide consistent flavor and texture throughout the dough.
Step 3: Mix Wet Ingredients
In a separate bowl, stir the sourdough discard into the buttermilk until completely dissolved.
Ensure the discard is fully blended to avoid any gummy spots in your bread.
Set this mixture aside temporarily.
Step 4: Create the Dough
Add unsalted butter to the dry mixture and rub it in with your fingers until the flour is completely coated, achieving a texture that resembles wet sand.
Make a well in the center of the dry ingredients and pour in the discard mixture.
Stir everything using a fork or wooden spoon until no dry bits of flour are visible.
Knead the mixture with your hand until it forms a shaggy but cohesive dough.
Step 5: Rest and Knead the Dough
Cover the bowl with a tea towel and let the dough rest for 10 to 15 minutes to allow full hydration.
After resting, dust a clean work surface with about 1 tablespoon (7 grams) of flour.
Turn the dough onto this surface and knead it 4 to 5 times until smooth.
This will help ensure a uniform texture in the final baked bread.
Step 6: Shape the Dough and Prepare for Baking
Shape the dough into a tight ball using the edges of your palms.
Transfer it to your prepared baking sheet or skillet.
With a bench scraper, cut the dough into quarters to ensure it bakes thoroughly in the center.
Pinch the edges together to maintain a rounded loaf during baking.
Step 7: Bake the Bread
Place the dough in the preheated oven and bake for 30 to 45 minutes, until the loaf is golden brown and an instant-read thermometer registers at least 200°F (93°C) in the center.
Once baked, remove from the oven and allow to cool slightly before serving.
