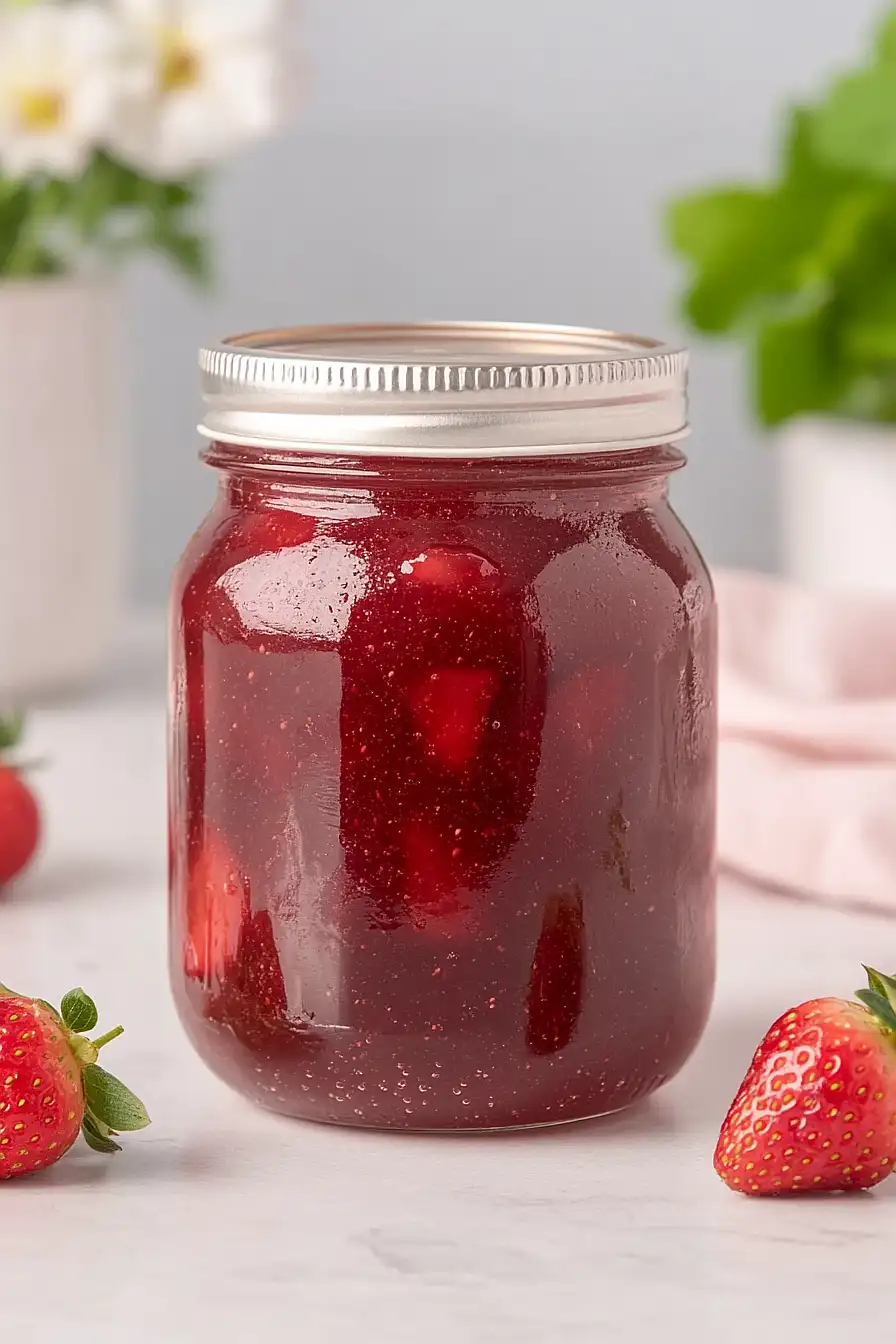
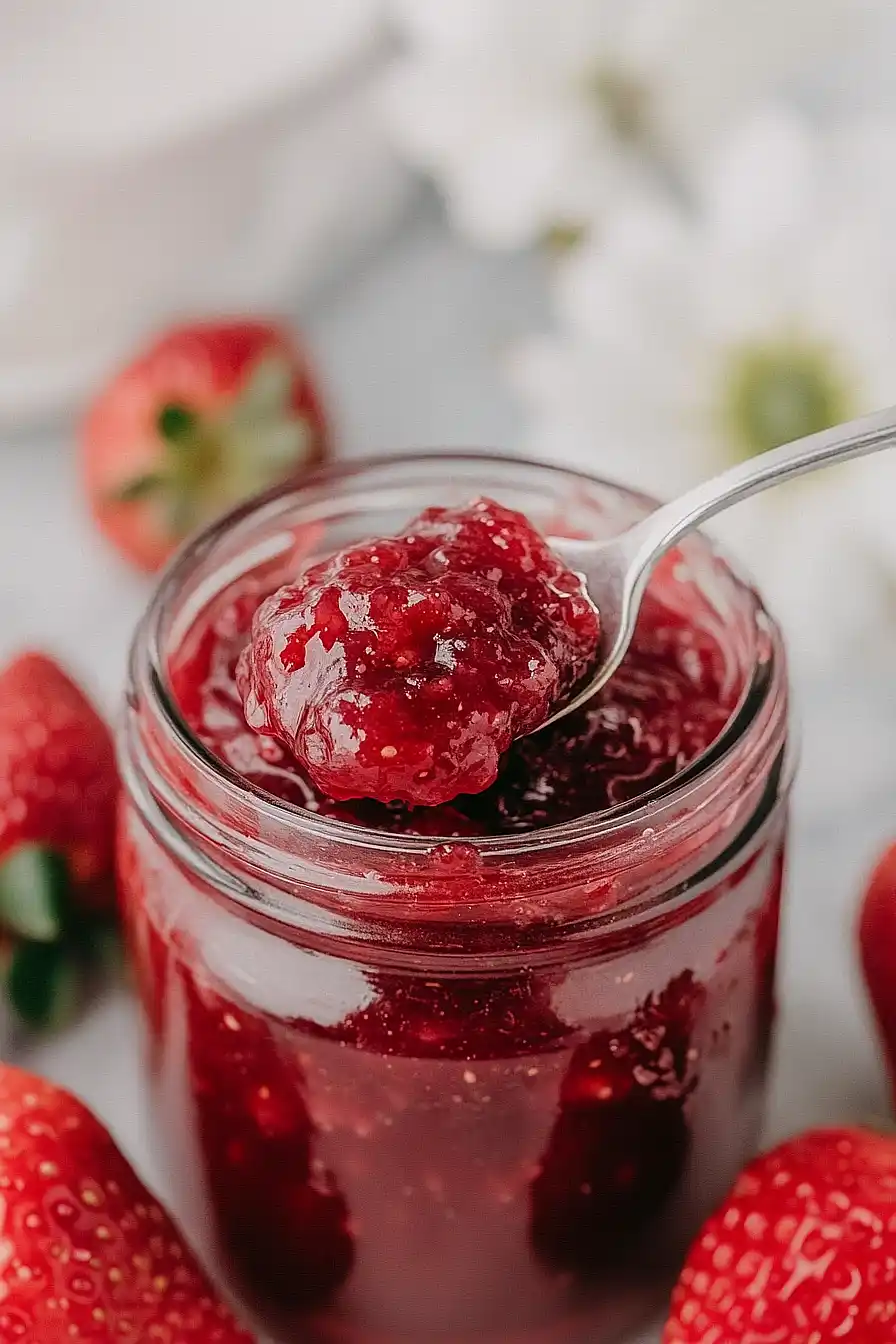
There’s something so satisfying about making homemade jam. I’ve been making this strawberry jam recipe for years, and it never fails to bring a smile to my face when I see those jars lined up in my pantry. The best part? It’s much easier than most people think. You don’t need fancy equipment or chef-level skills to make this happen.
I learned this recipe from my mom, who always said store-bought jam just couldn’t compare to homemade. After trying it myself, I have to agree – the fresh strawberry flavor really comes through, and you can control exactly how sweet you want it. Plus, there’s nothing better than spreading your own homemade jam on warm toast in the morning.
Whether you’re new to jam-making or have been doing it for years, this recipe is straightforward and reliable. I love making a big batch when strawberries are in season and sharing jars with friends and neighbors. Trust me, once you try making your own jam, you might never go back to store-bought.

Why You’ll Love This Strawberry Jam
- Just 3 ingredients – You only need fresh strawberries, sugar, and lemon juice to make this classic jam – no fancy ingredients or pectin required.
- Better than store-bought – This homemade version lets you control the sweetness and gives you pure strawberry flavor without any artificial preservatives or additives.
- Perfect for beginners – If you’ve never made jam before, this straightforward recipe is an ideal place to start – it’s nearly impossible to mess up.
- Make-ahead friendly – You can make a batch when strawberries are in season and enjoy homemade jam for months to come.
What Kind of Strawberries Should I Use?
Fresh strawberries are your best bet for making homemade jam, and you’ll want to look for berries that are bright red and fully ripe – but not overripe or mushy. Local, in-season strawberries typically have the best flavor, though store-bought ones will still make a tasty jam. If you’re using store-bought berries, give them a sniff – they should have a sweet, fragrant smell that tells you they’re ripe enough for jamming. Skip any berries with white or green patches, and don’t worry if they’re not picture-perfect, as long as they’re free from mold or soft spots. While frozen strawberries can work in a pinch, fresh berries will give you the best color and flavor in your final jam.

Options for Substitutions
While this is a simple recipe, there are a few substitution options you can try:
- Strawberries: Fresh strawberries work best, but you can use frozen ones if needed – just thaw and drain them first. Keep in mind that frozen berries might make a slightly looser jam.
- Granulated sugar: Regular white sugar is ideal, but you can try using cane sugar or even honey (use ¾ cup honey for every 1 cup sugar). Note that honey will change the flavor and might make the jam a bit runnier.
- Lemon juice: Fresh lemon juice is best, but bottled works too. In a pinch, you can substitute with lime juice or even apple cider vinegar – just use half the amount since vinegar is stronger. The acid is necessary for proper setting, so don’t skip it!
Watch Out for These Mistakes While Cooking
The biggest mistake when making strawberry jam is not testing for doneness properly – instead of guessing, place a small plate in the freezer before you start, then drop a small amount of jam on the cold plate and run your finger through it; if it wrinkles and stays separated, your jam is ready.
Another common error is skipping the foam removal step – those white bubbles that form during cooking can make your jam cloudy and less appealing, so gently skim them off with a spoon throughout the cooking process.
Temperature control is crucial – cooking jam on too high heat can lead to burning or a runny consistency, so maintain a steady medium heat and stir frequently to prevent sticking.
For the perfect set, don’t skip the lemon juice as it provides the necessary pectin and acidity, and remember to let your jam cool completely before transferring it to jars to ensure proper thickness.

What to Serve With Strawberry Jam?
Fresh homemade strawberry jam is one of those simple pleasures that makes breakfast and snack time so much better! The classic way to enjoy it is spread on warm, buttery toast or English muffins, but don’t stop there. Try dolloping it on plain Greek yogurt or oatmeal for a sweet morning treat, or use it to fill buttery croissants and fluffy scones. For a quick afternoon snack, nothing beats spreading this jam on crackers with a slice of sharp cheddar cheese – the sweet and salty combo is just perfect.
Storage Instructions
Keep Fresh: Once your homemade strawberry jam has cooled completely, transfer it to clean, sterilized jars with tight-fitting lids. When stored in the refrigerator, it will stay fresh and yummy for up to 3 weeks. Just remember to always use a clean spoon when scooping out the jam to prevent any unwanted bacteria.
Preserve: If you want to keep your jam for longer, you can process the jars in a water bath. Properly sealed and processed jars will last up to 1 year when stored in a cool, dark place like your pantry. Once opened, move the jar to the fridge and use within 3 weeks.
Freeze: For an easy long-term storage option, you can freeze your jam in freezer-safe containers or bags. Leave about ½ inch of headspace for expansion, and your jam will keep well for up to 6 months. When you’re ready to use it, just thaw it overnight in the fridge.
| Preparation Time | 15-20 minutes |
| Cooking Time | 45-60 minutes |
| Total Time | 60-80 minutes |
| Level of Difficulty | Medium |
Estimated Nutrition
Estimated nutrition for the whole recipe (without optional ingredients):
- Calories: 1200-1300
- Protein: 5-10 g
- Fat: 0-5 g
- Carbohydrates: 300-320 g
Ingredients
- 2 lb strawberries (fresh, ripe, hulled, and halved, about 6 cups)
- 2 tbsp fresh lemon juice
- 1 1/4 cups white sugar (granulated sugar, I use Domino premium pure cane sugar)
Step 1: Prepare the Strawberries
- 2 lb strawberries, halved
Wash the strawberries thoroughly, hull them to remove the tops, and then roughly chop them into smaller pieces.
Preparing the strawberries well at this stage will help the jam cook down evenly and develop a great texture.
I always make sure the pieces aren’t too large, so they break down nicely during cooking.
Step 2: Combine Ingredients and Start Cooking
- chopped strawberries from Step 1
- 1 1/4 cups white sugar
- 2 tbsp fresh lemon juice
In a large pot, combine the chopped strawberries from Step 1, white sugar, and fresh lemon juice.
Place the pot over medium-high heat and stir frequently as the mixture begins to heat up.
The sugar will begin to dissolve and the strawberries will start releasing their juices.
Step 3: Simmer the Jam
- strawberry-sugar-lemon mixture from Step 2
Once the mixture comes to a boil, reduce the heat to medium-low to maintain a gentle simmer.
Stir frequently to prevent the jam from sticking or burning, adjusting the heat as needed to avoid overflowing.
Let the jam cook for about 45 minutes, stirring often, until it becomes thick and syrupy.
If you have a candy thermometer, aim for a temperature of 220°F (104°C) for the perfect set.
Personally, I like to skim off any foam that forms on top to keep the jam clear and glossy.
Step 4: Test and Finish the Jam
- simmered jam from Step 3
To check if the jam is ready, place a small drop of jam onto a frozen plate, then return it to the freezer for a couple of minutes.
If the jam wrinkles when pushed, it’s ready.
If not, continue to simmer, testing every few minutes until it reaches your desired consistency.
Remove the pot from heat once satisfied.
Step 5: Jar and Chill the Jam
- finished jam from Step 4
Pour the finished jam into a mason jar or another clean, heatproof container.
Let it cool slightly, then seal and refrigerate overnight to allow the jam to set fully.
After chilling, your homemade strawberry jam is ready to serve.
I find chilling the jam overnight truly enhances its flavor and texture.

